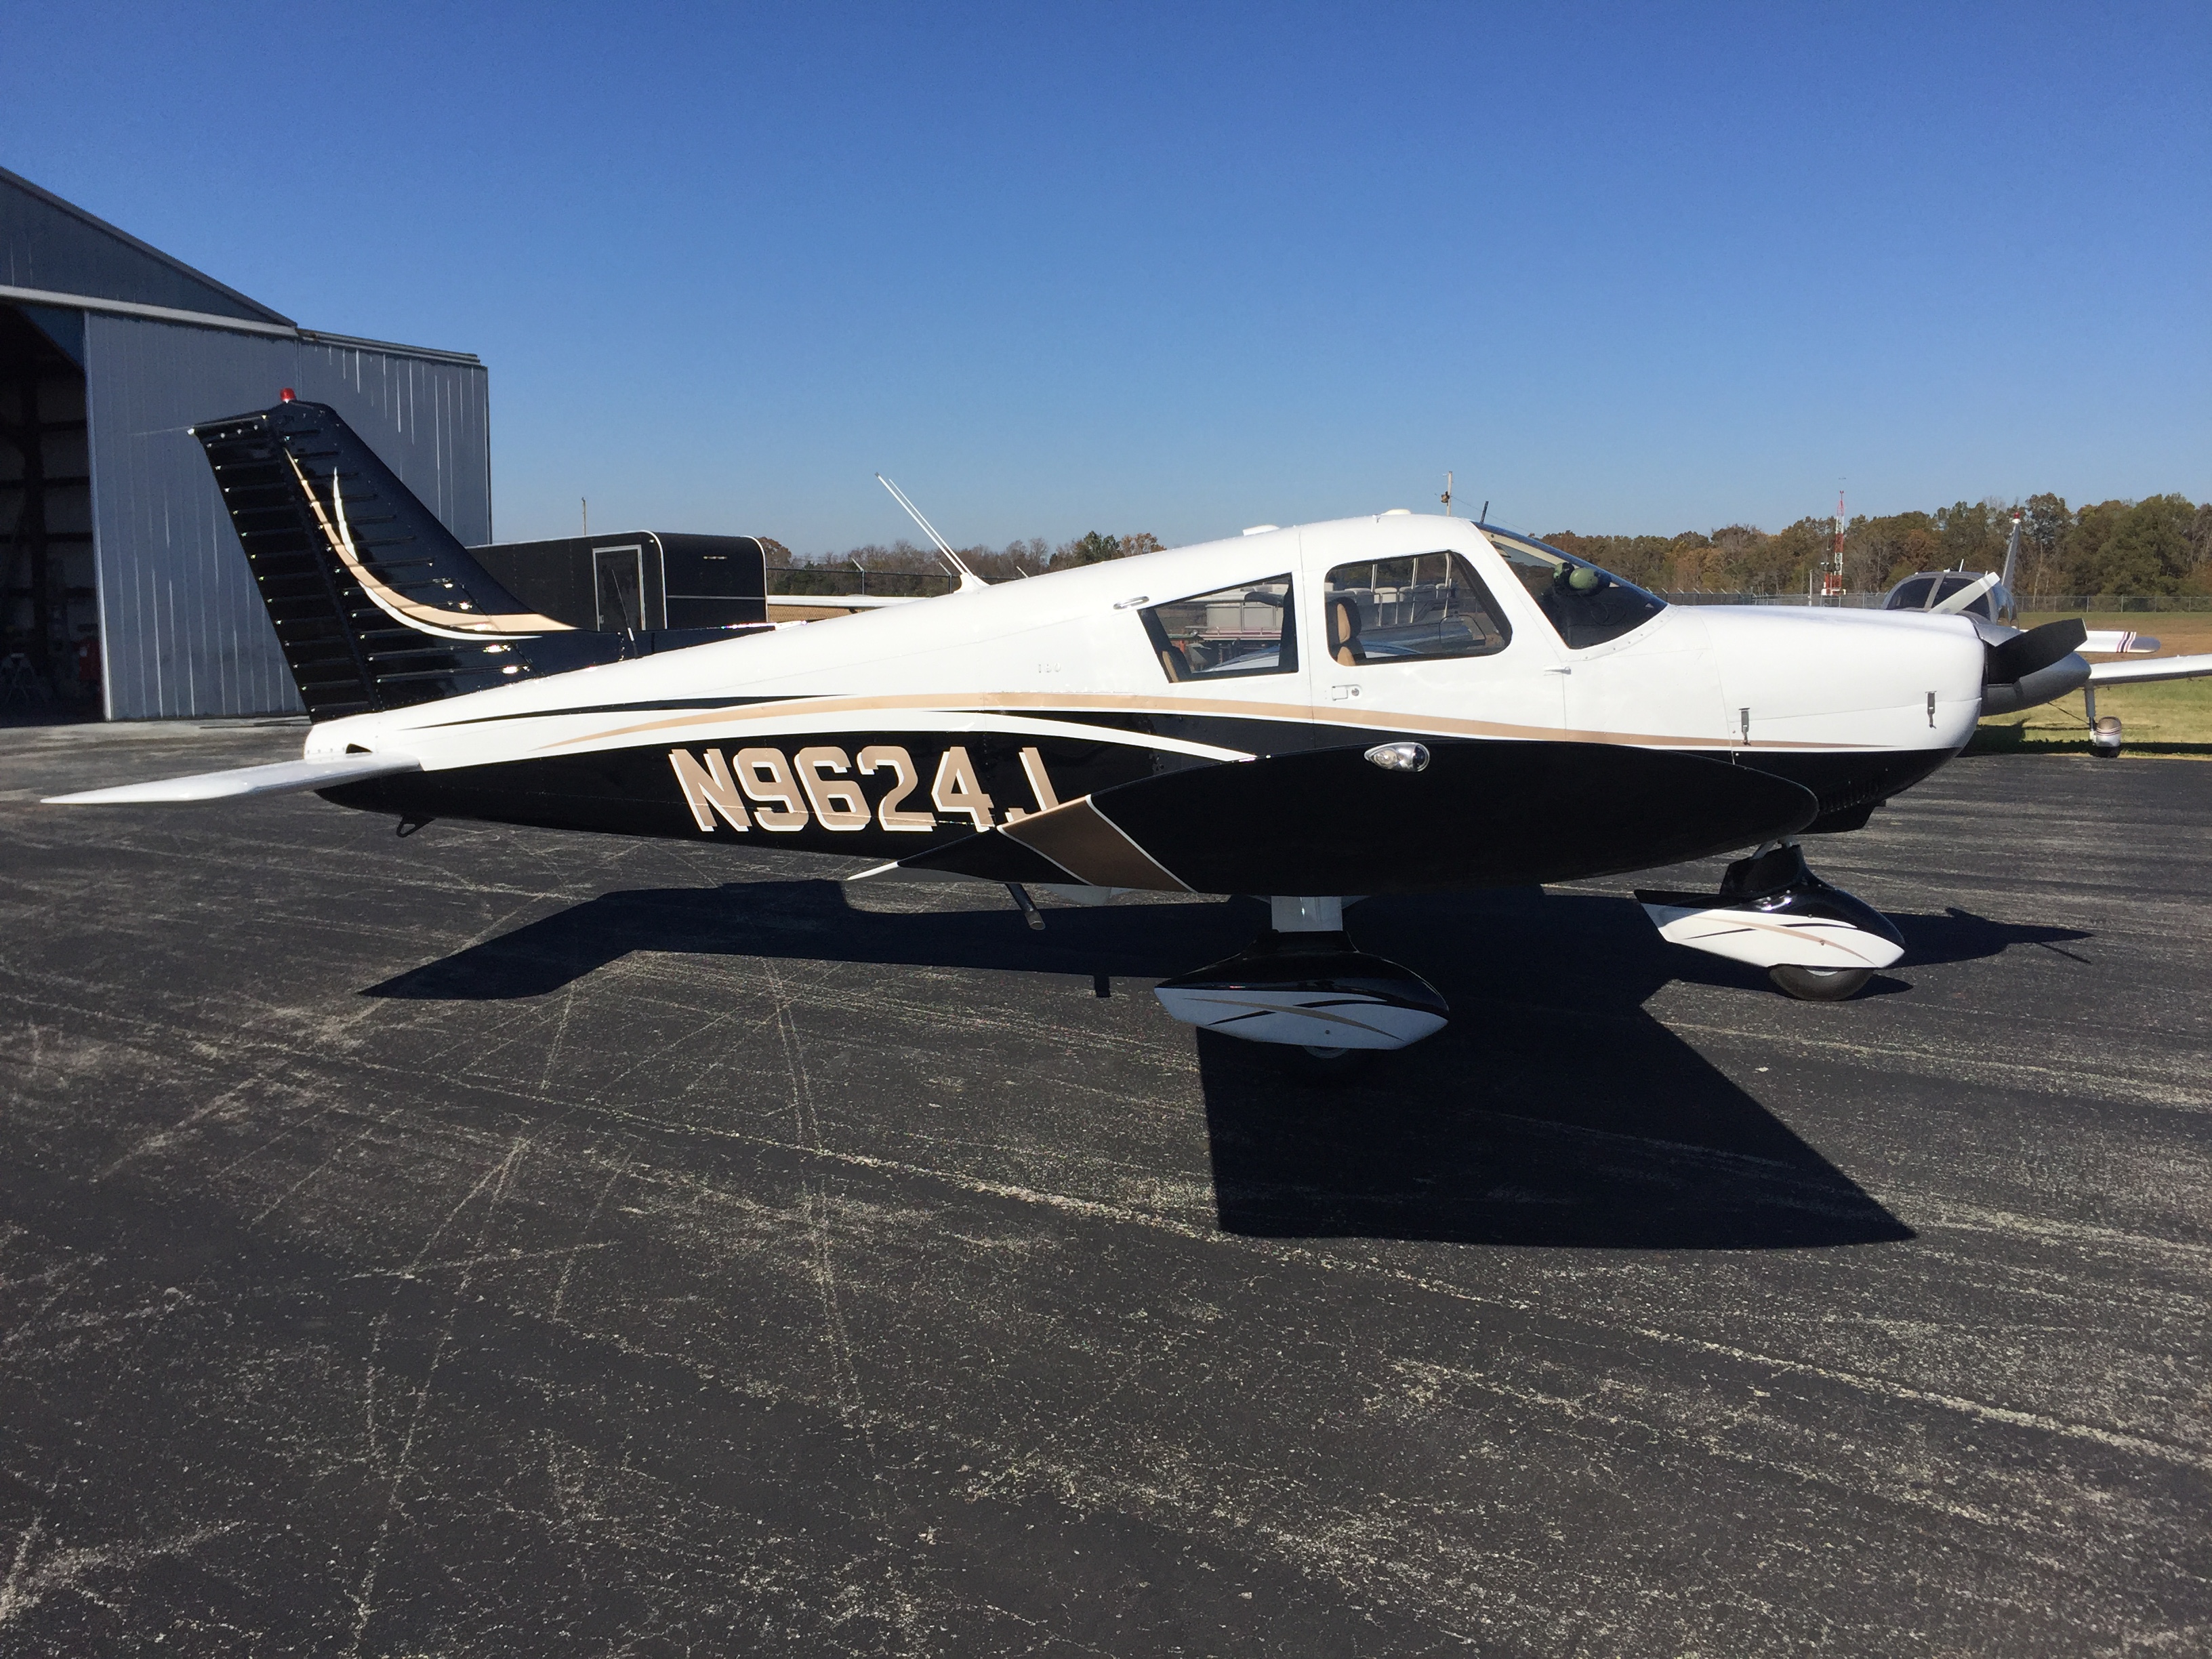
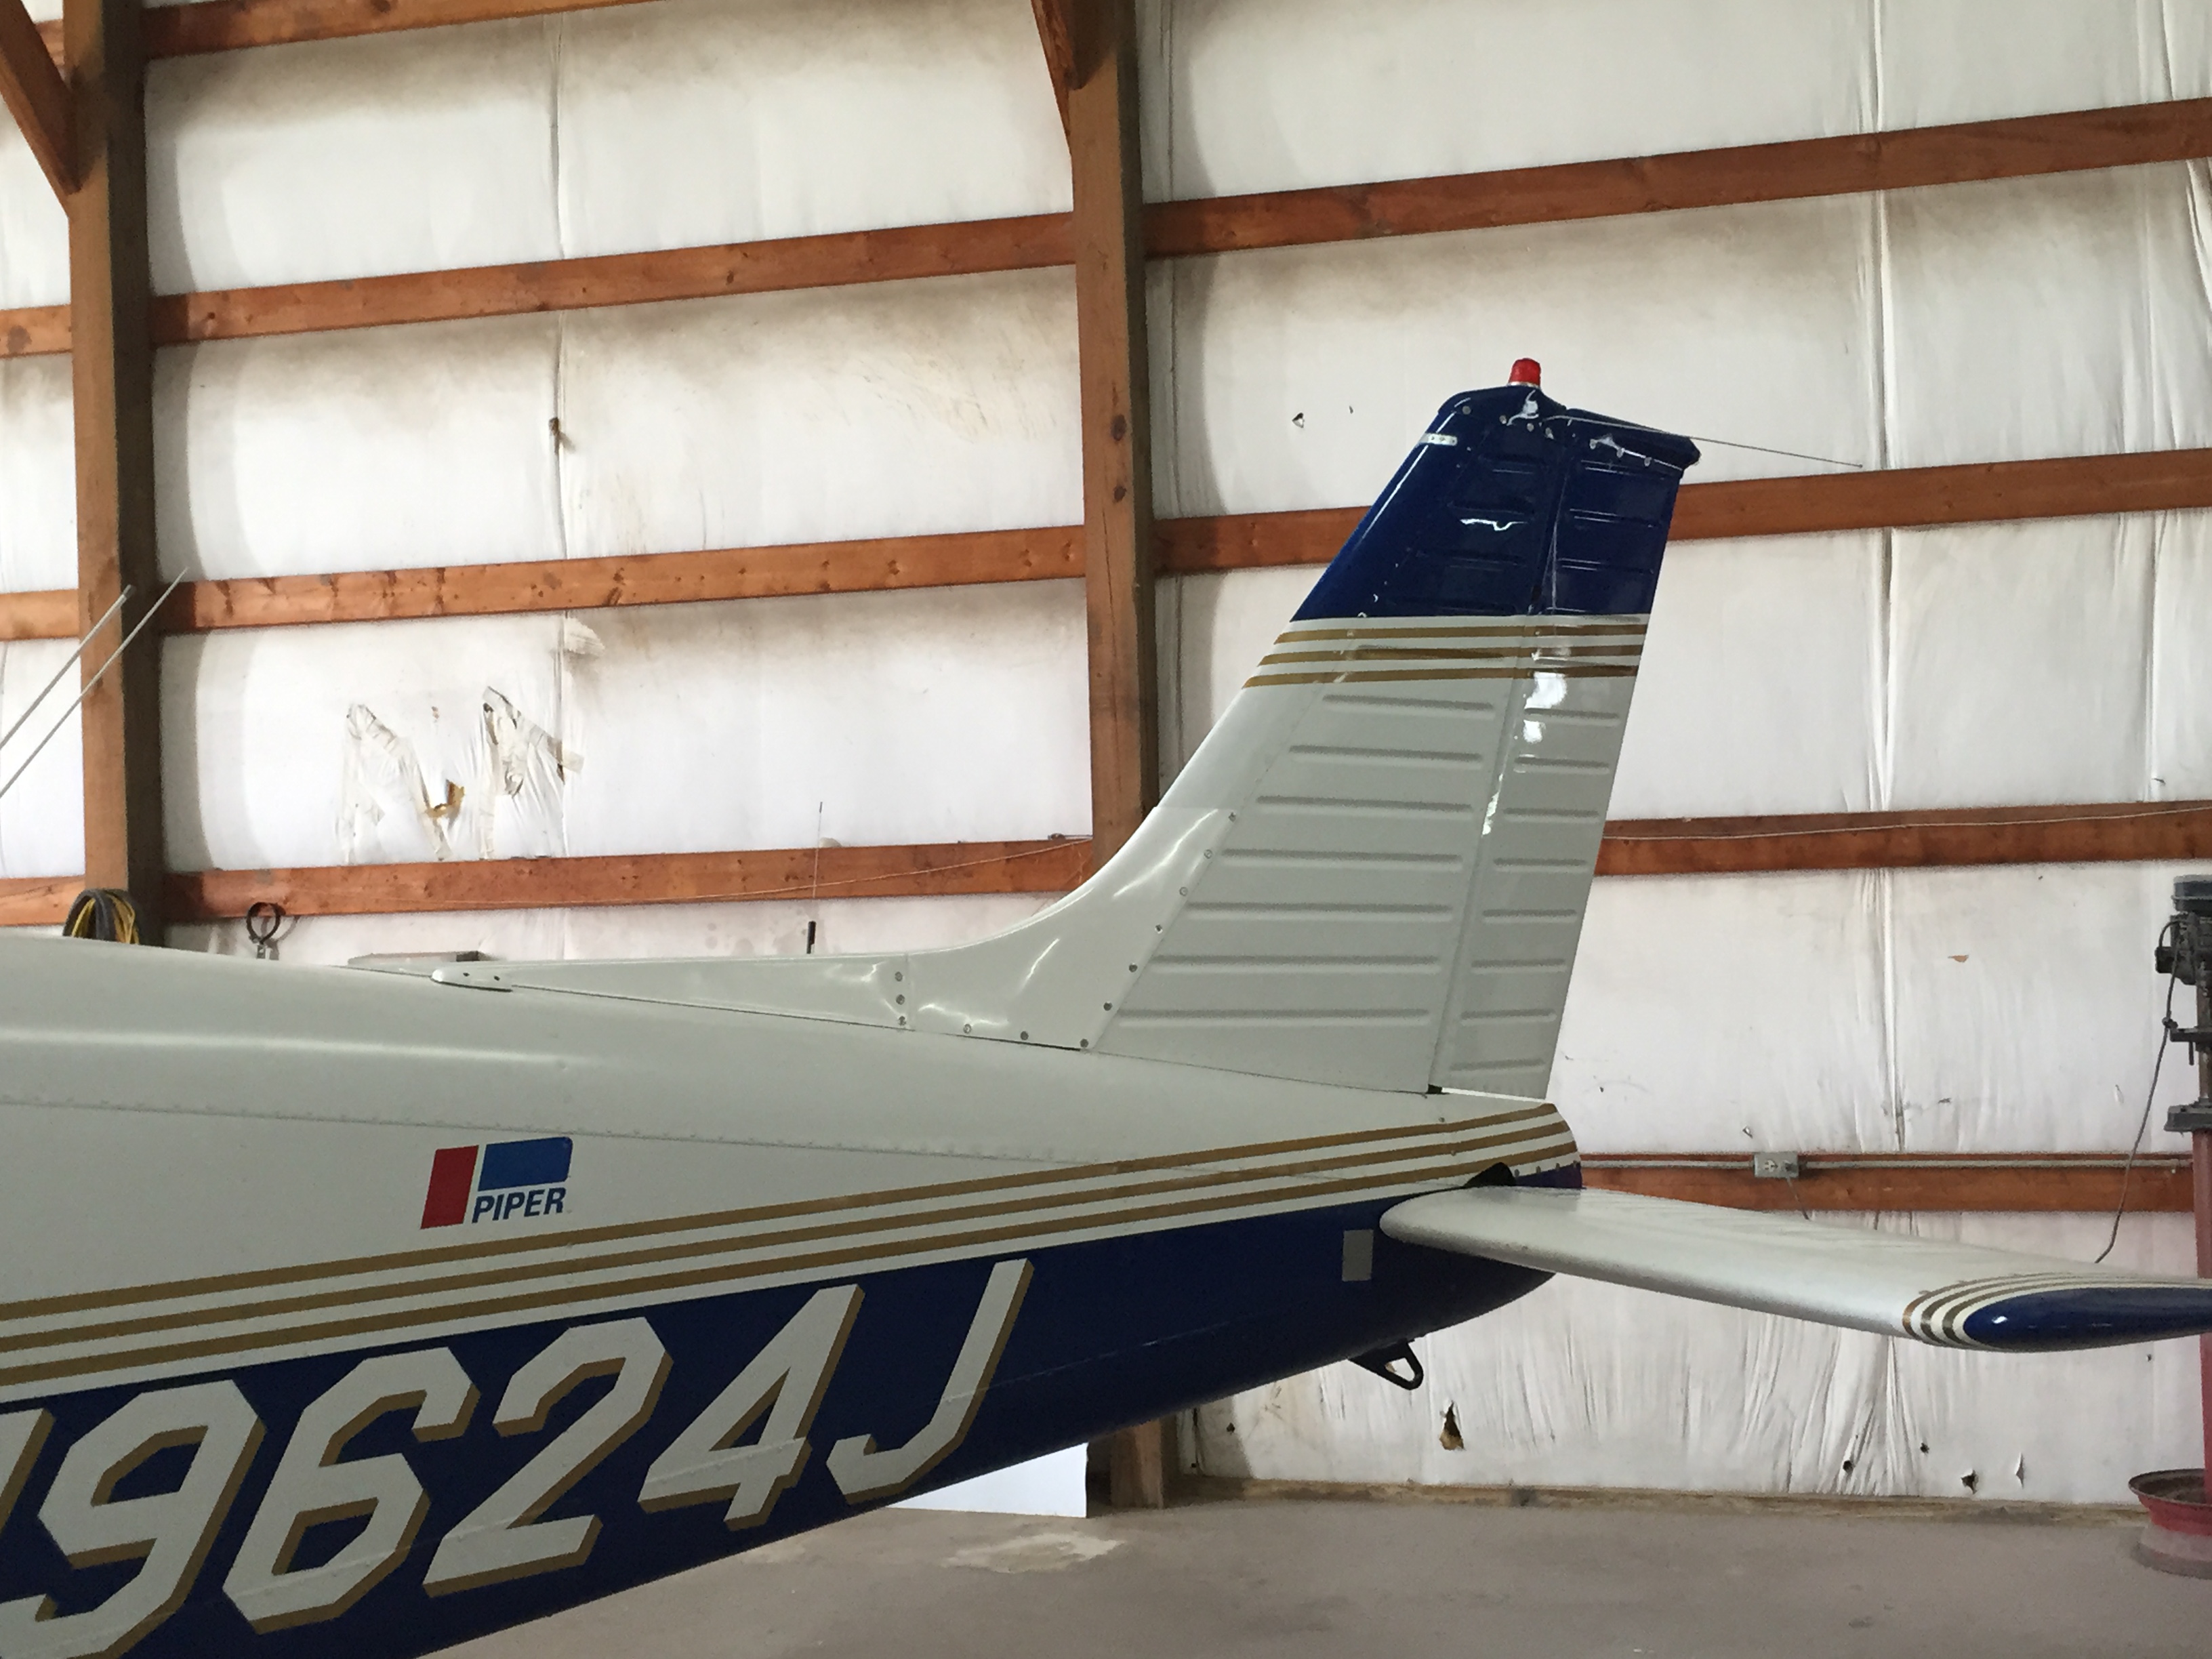
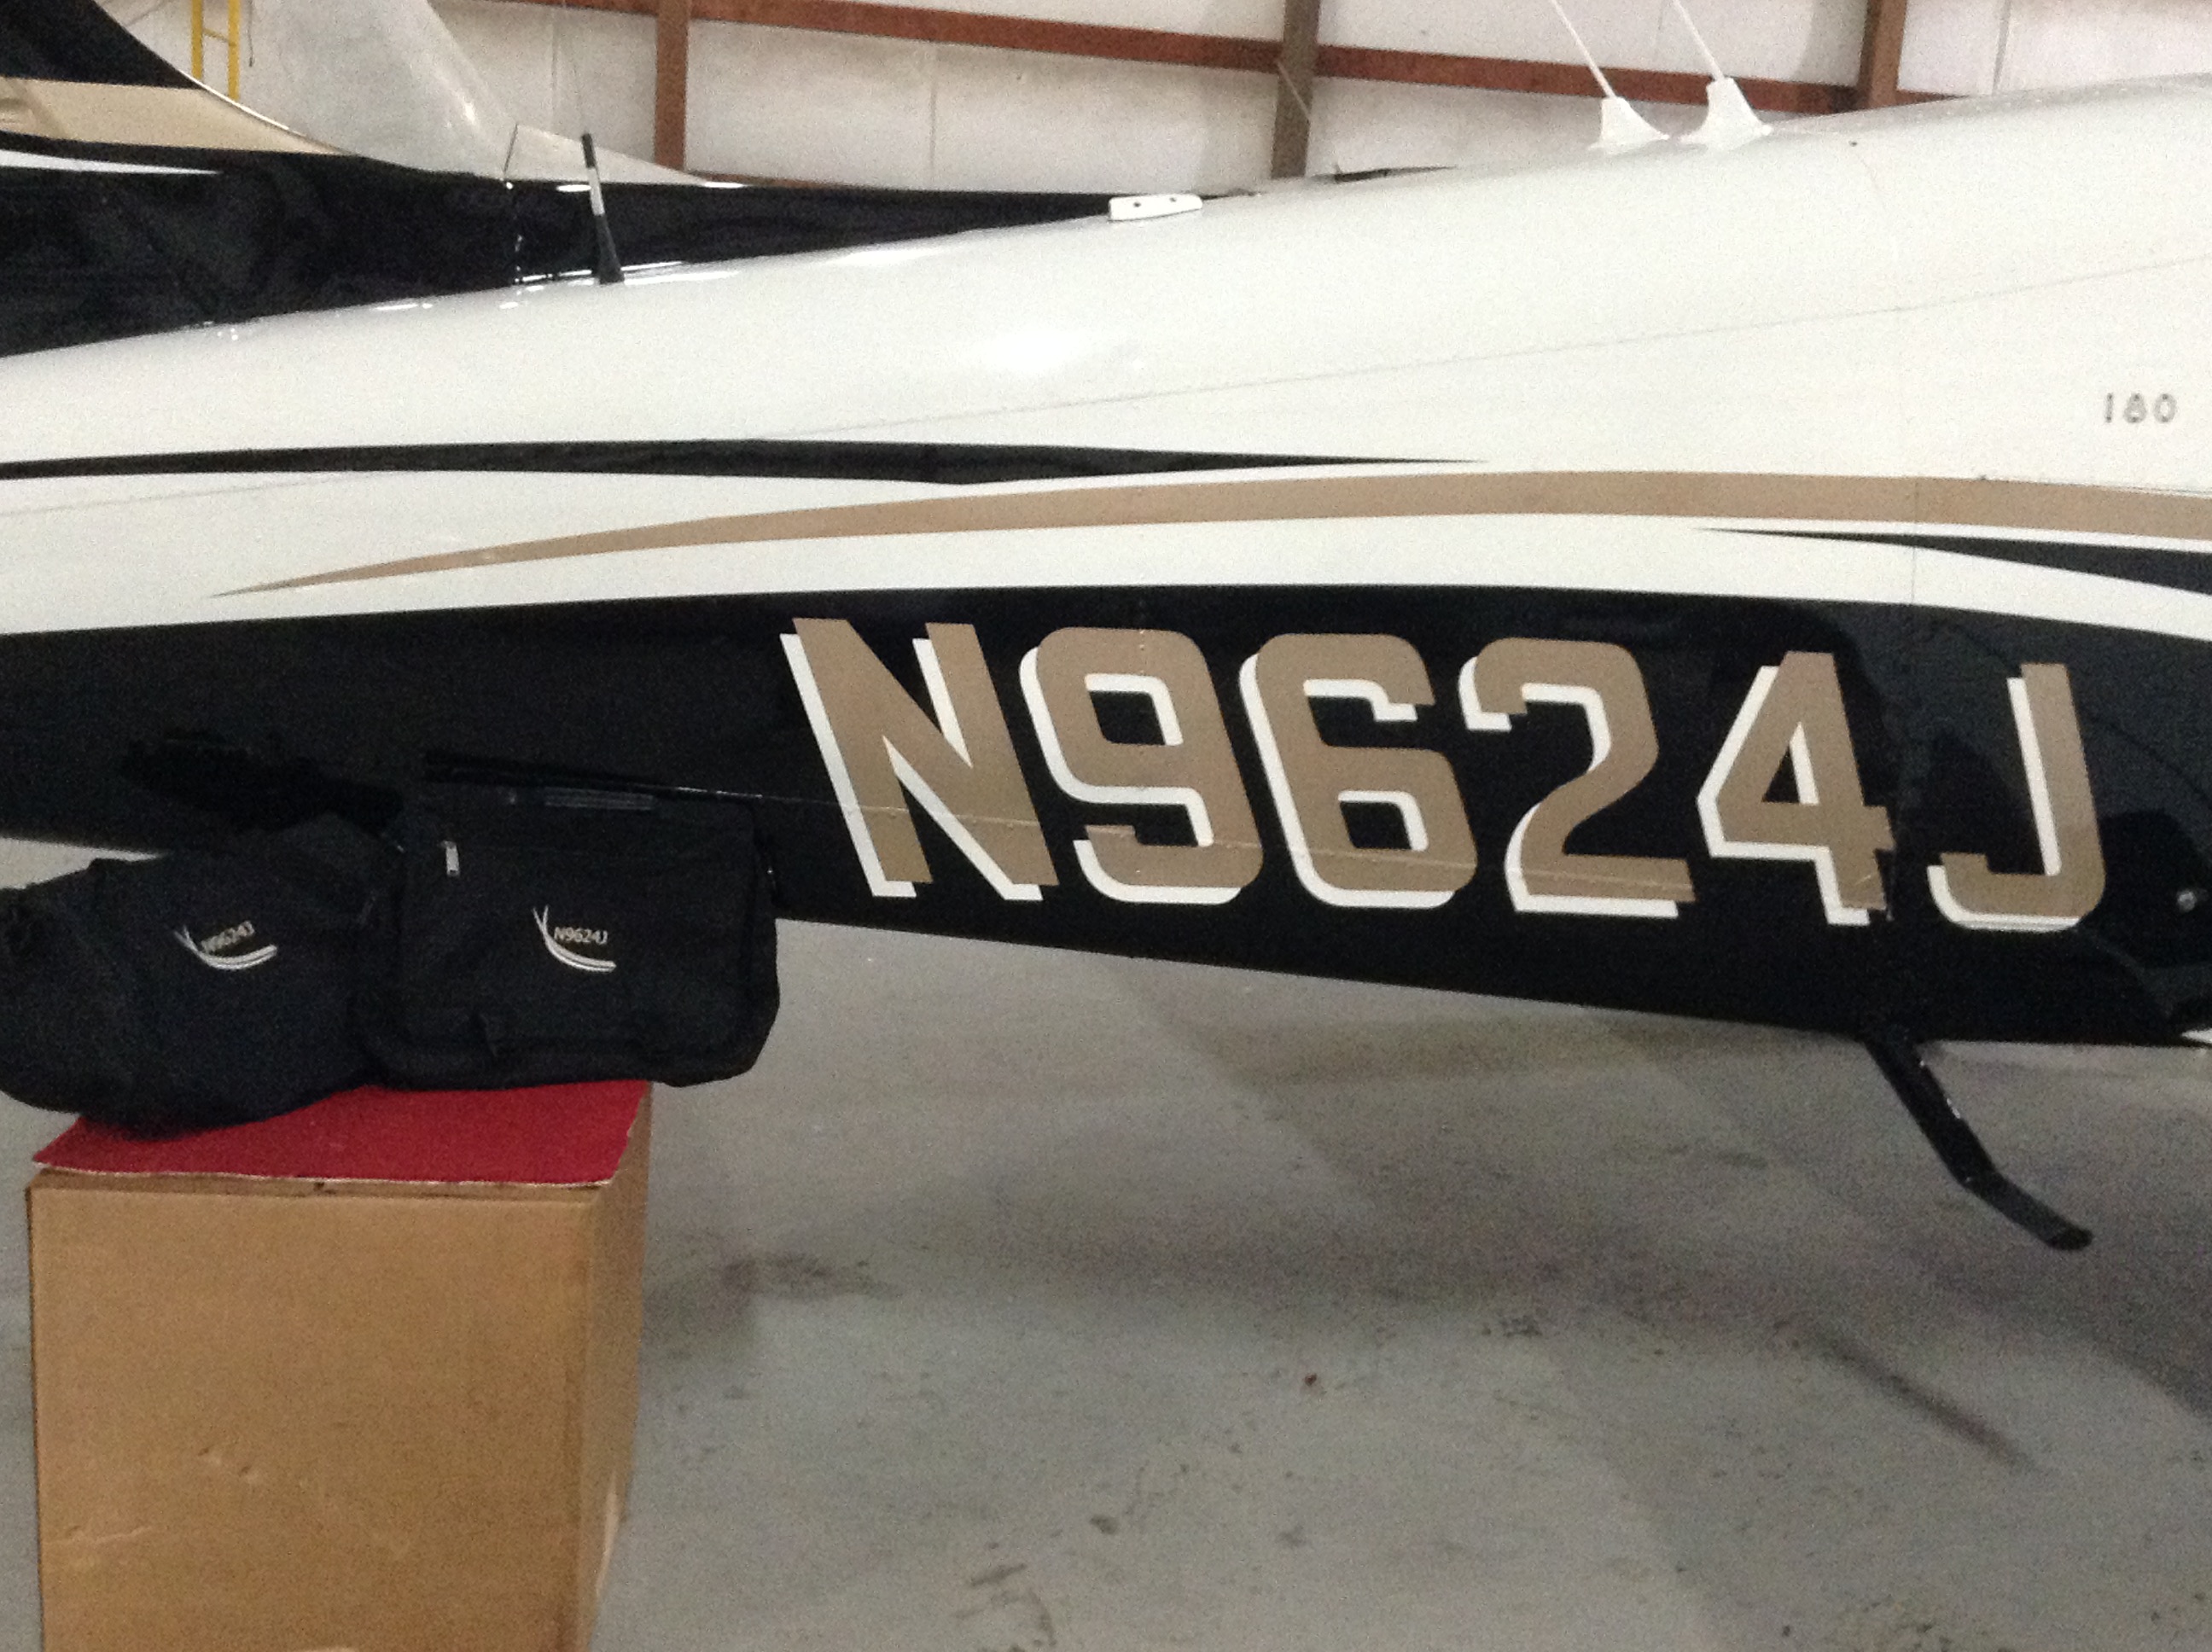
N9624J
1966 Piper Cherokee 180C
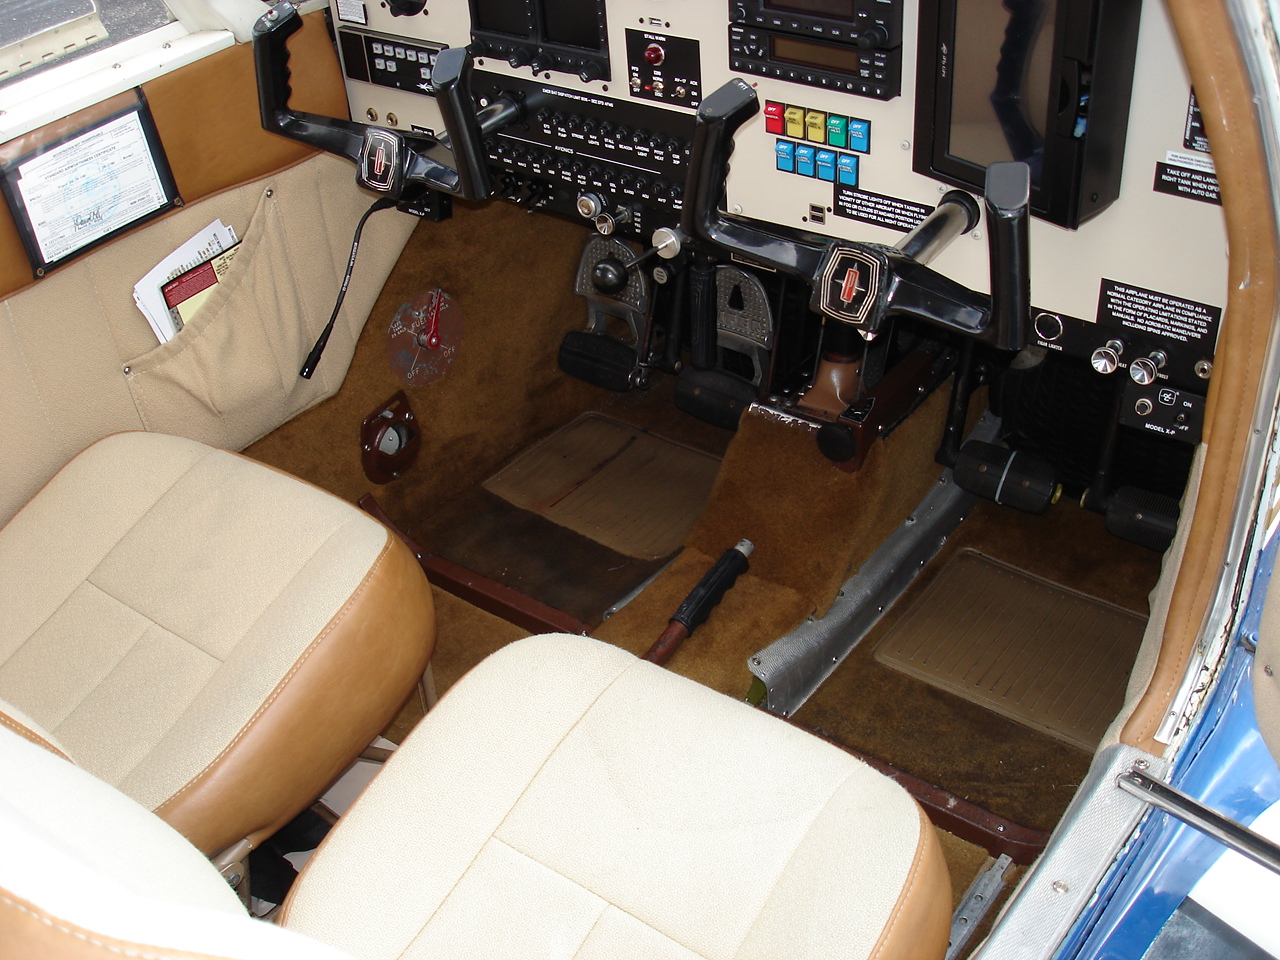
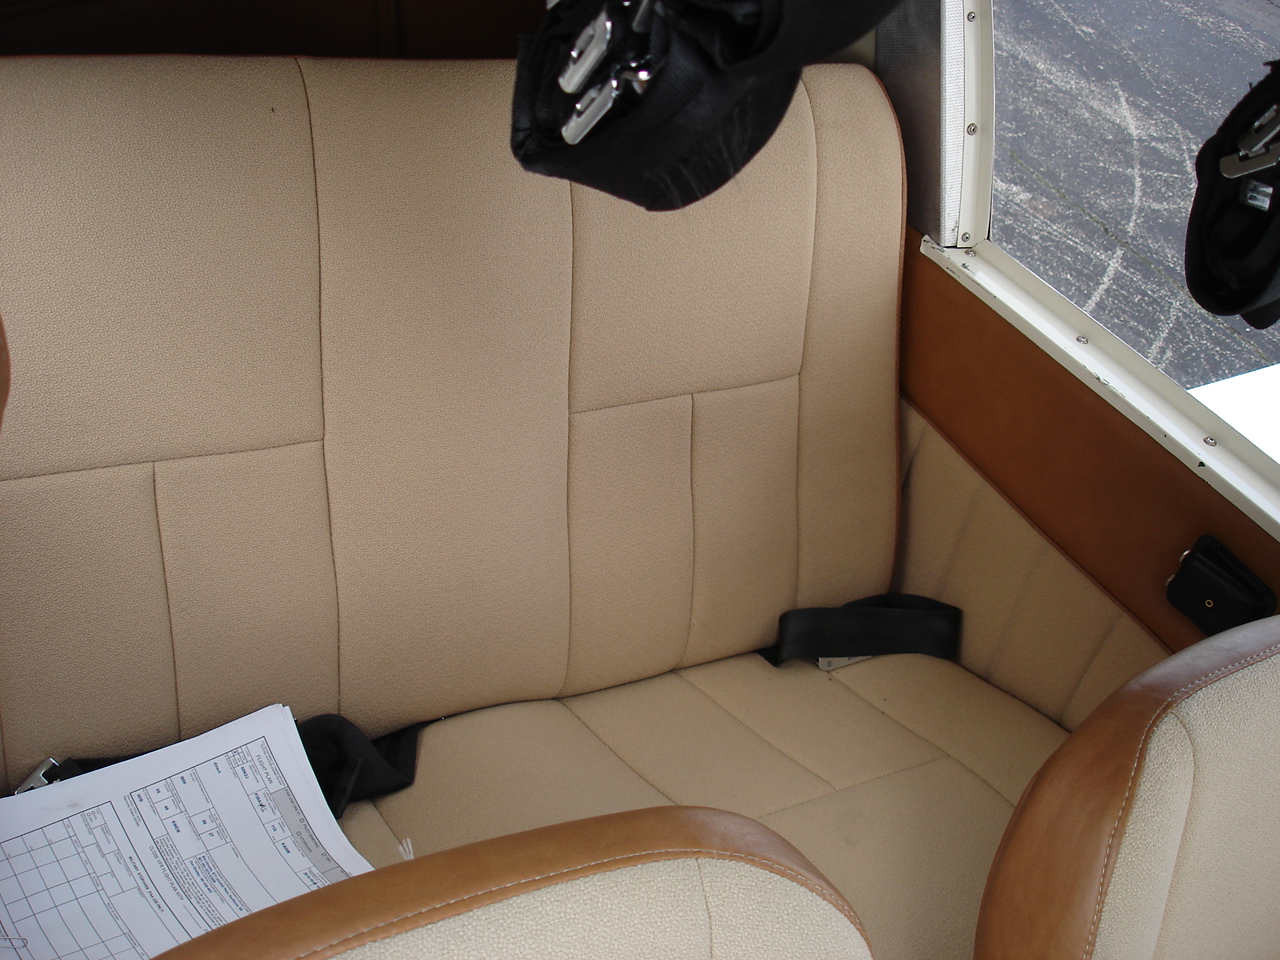
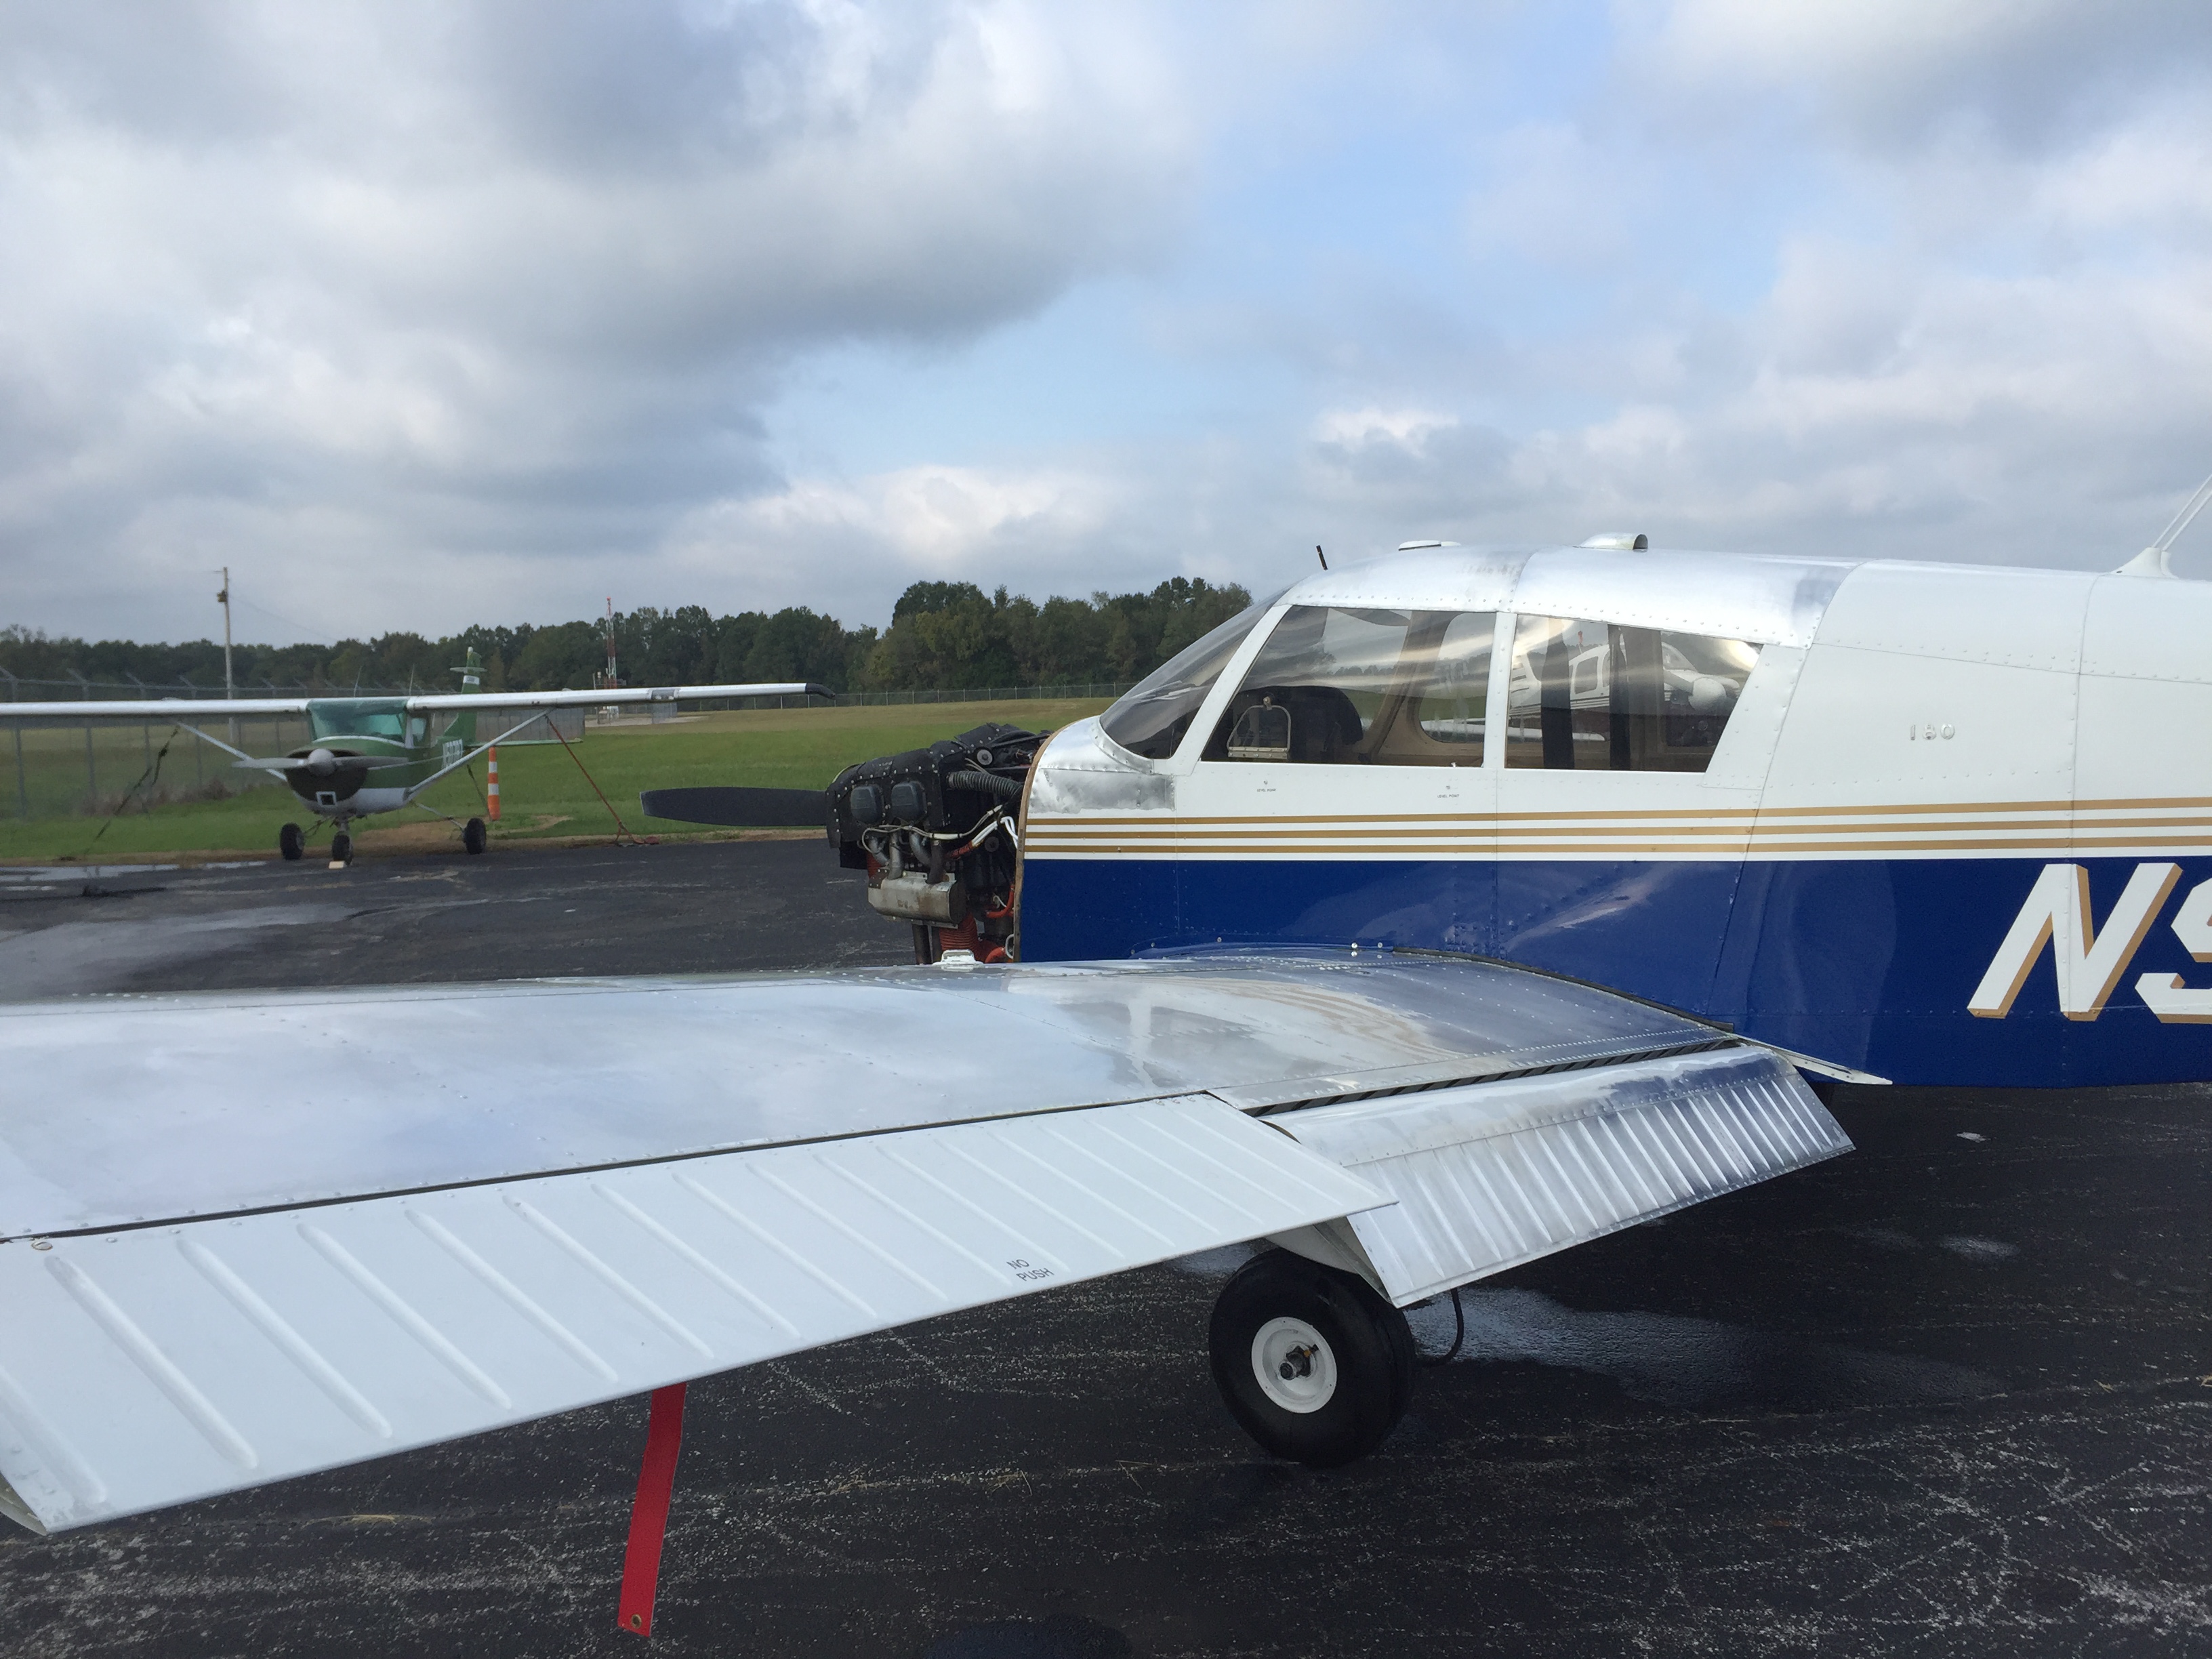
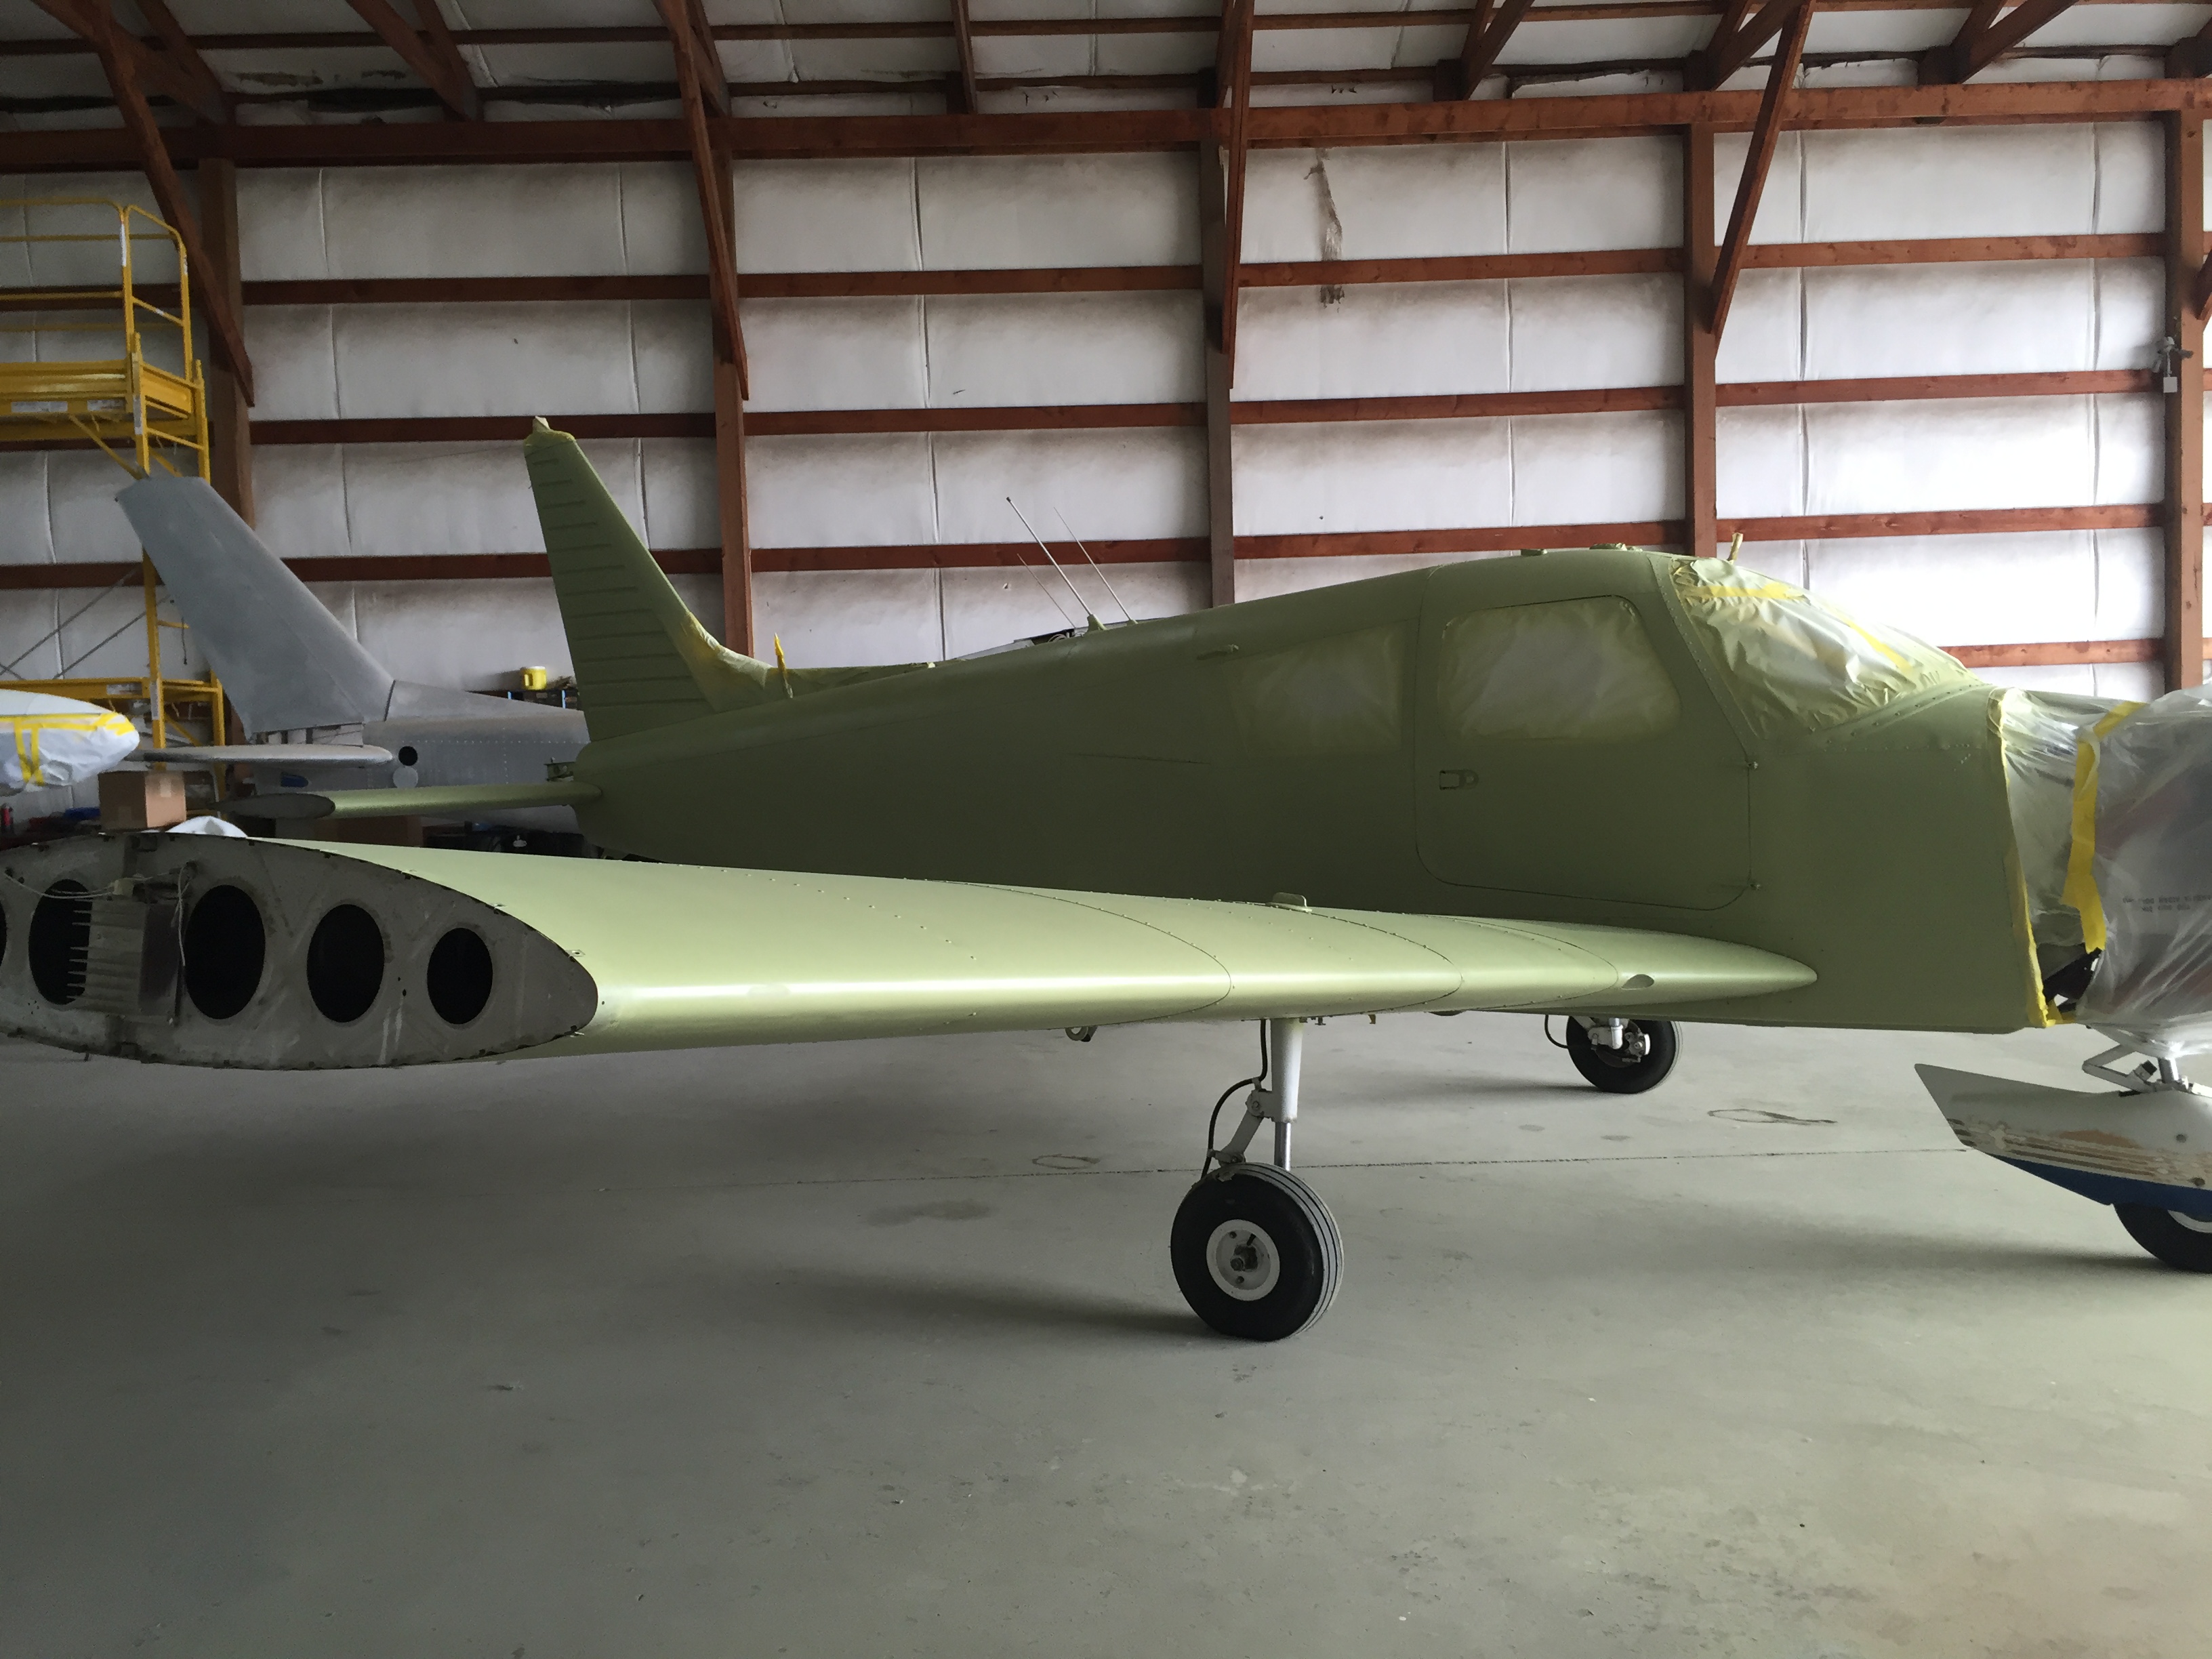
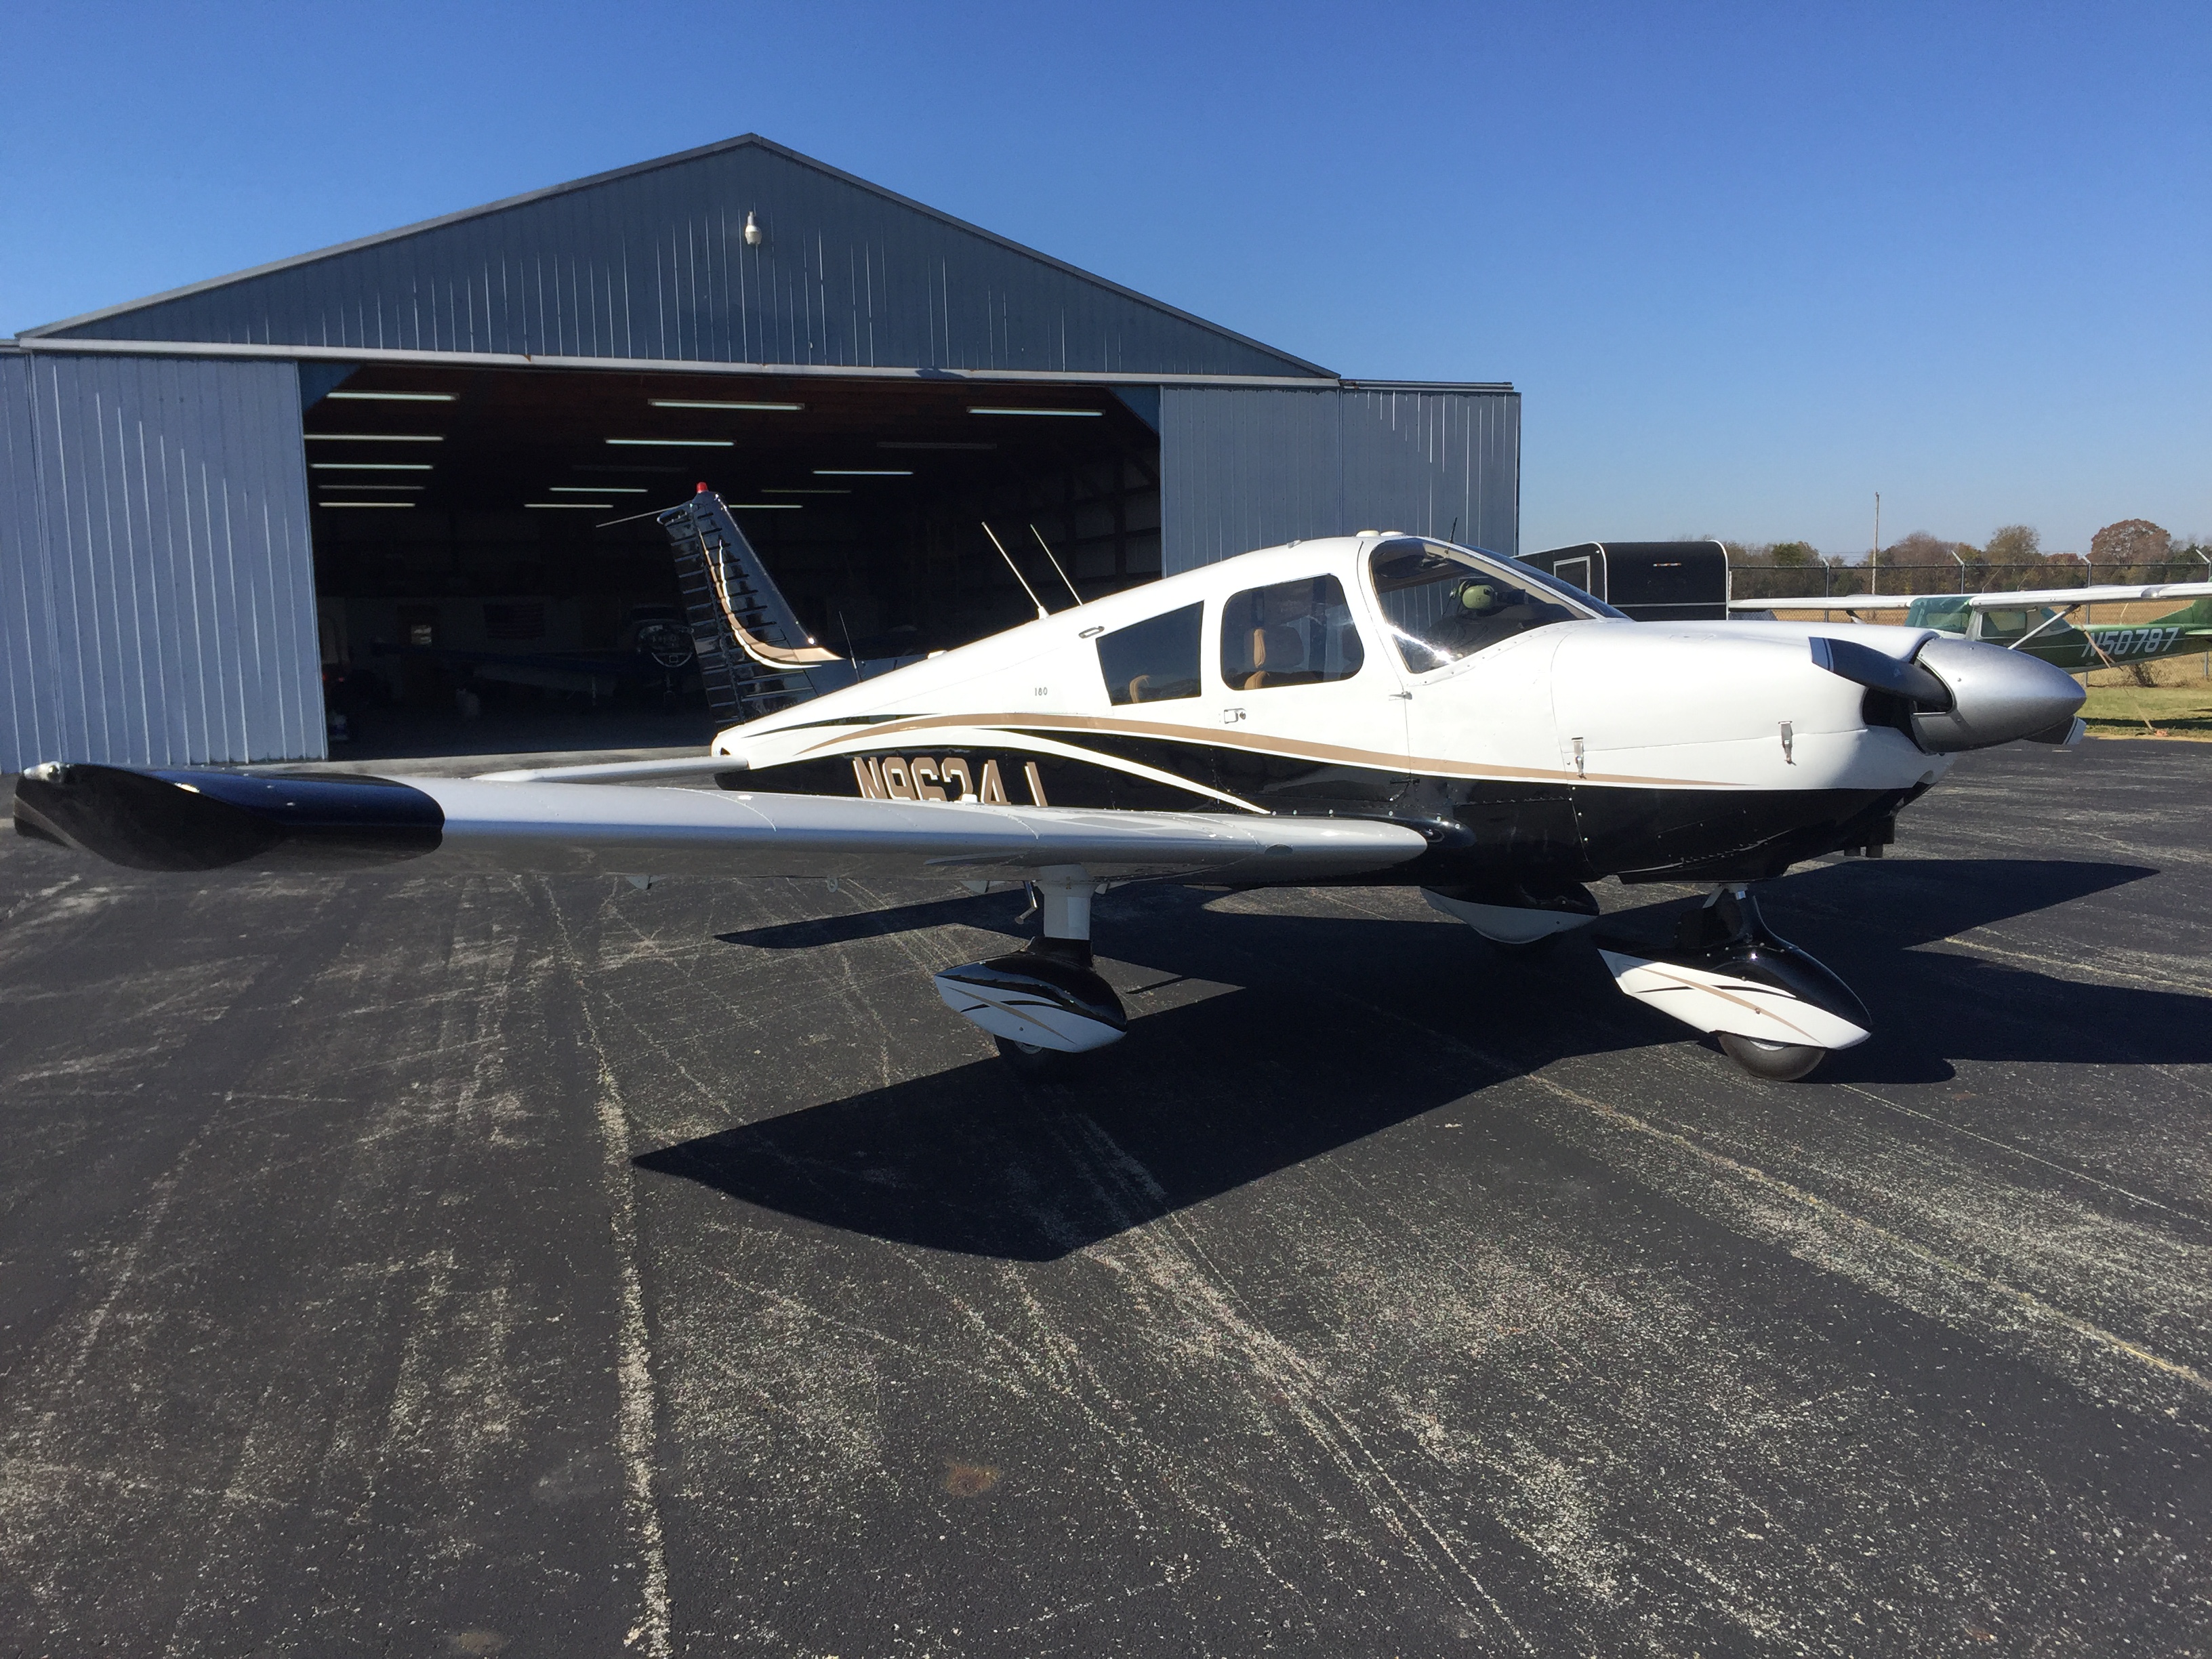
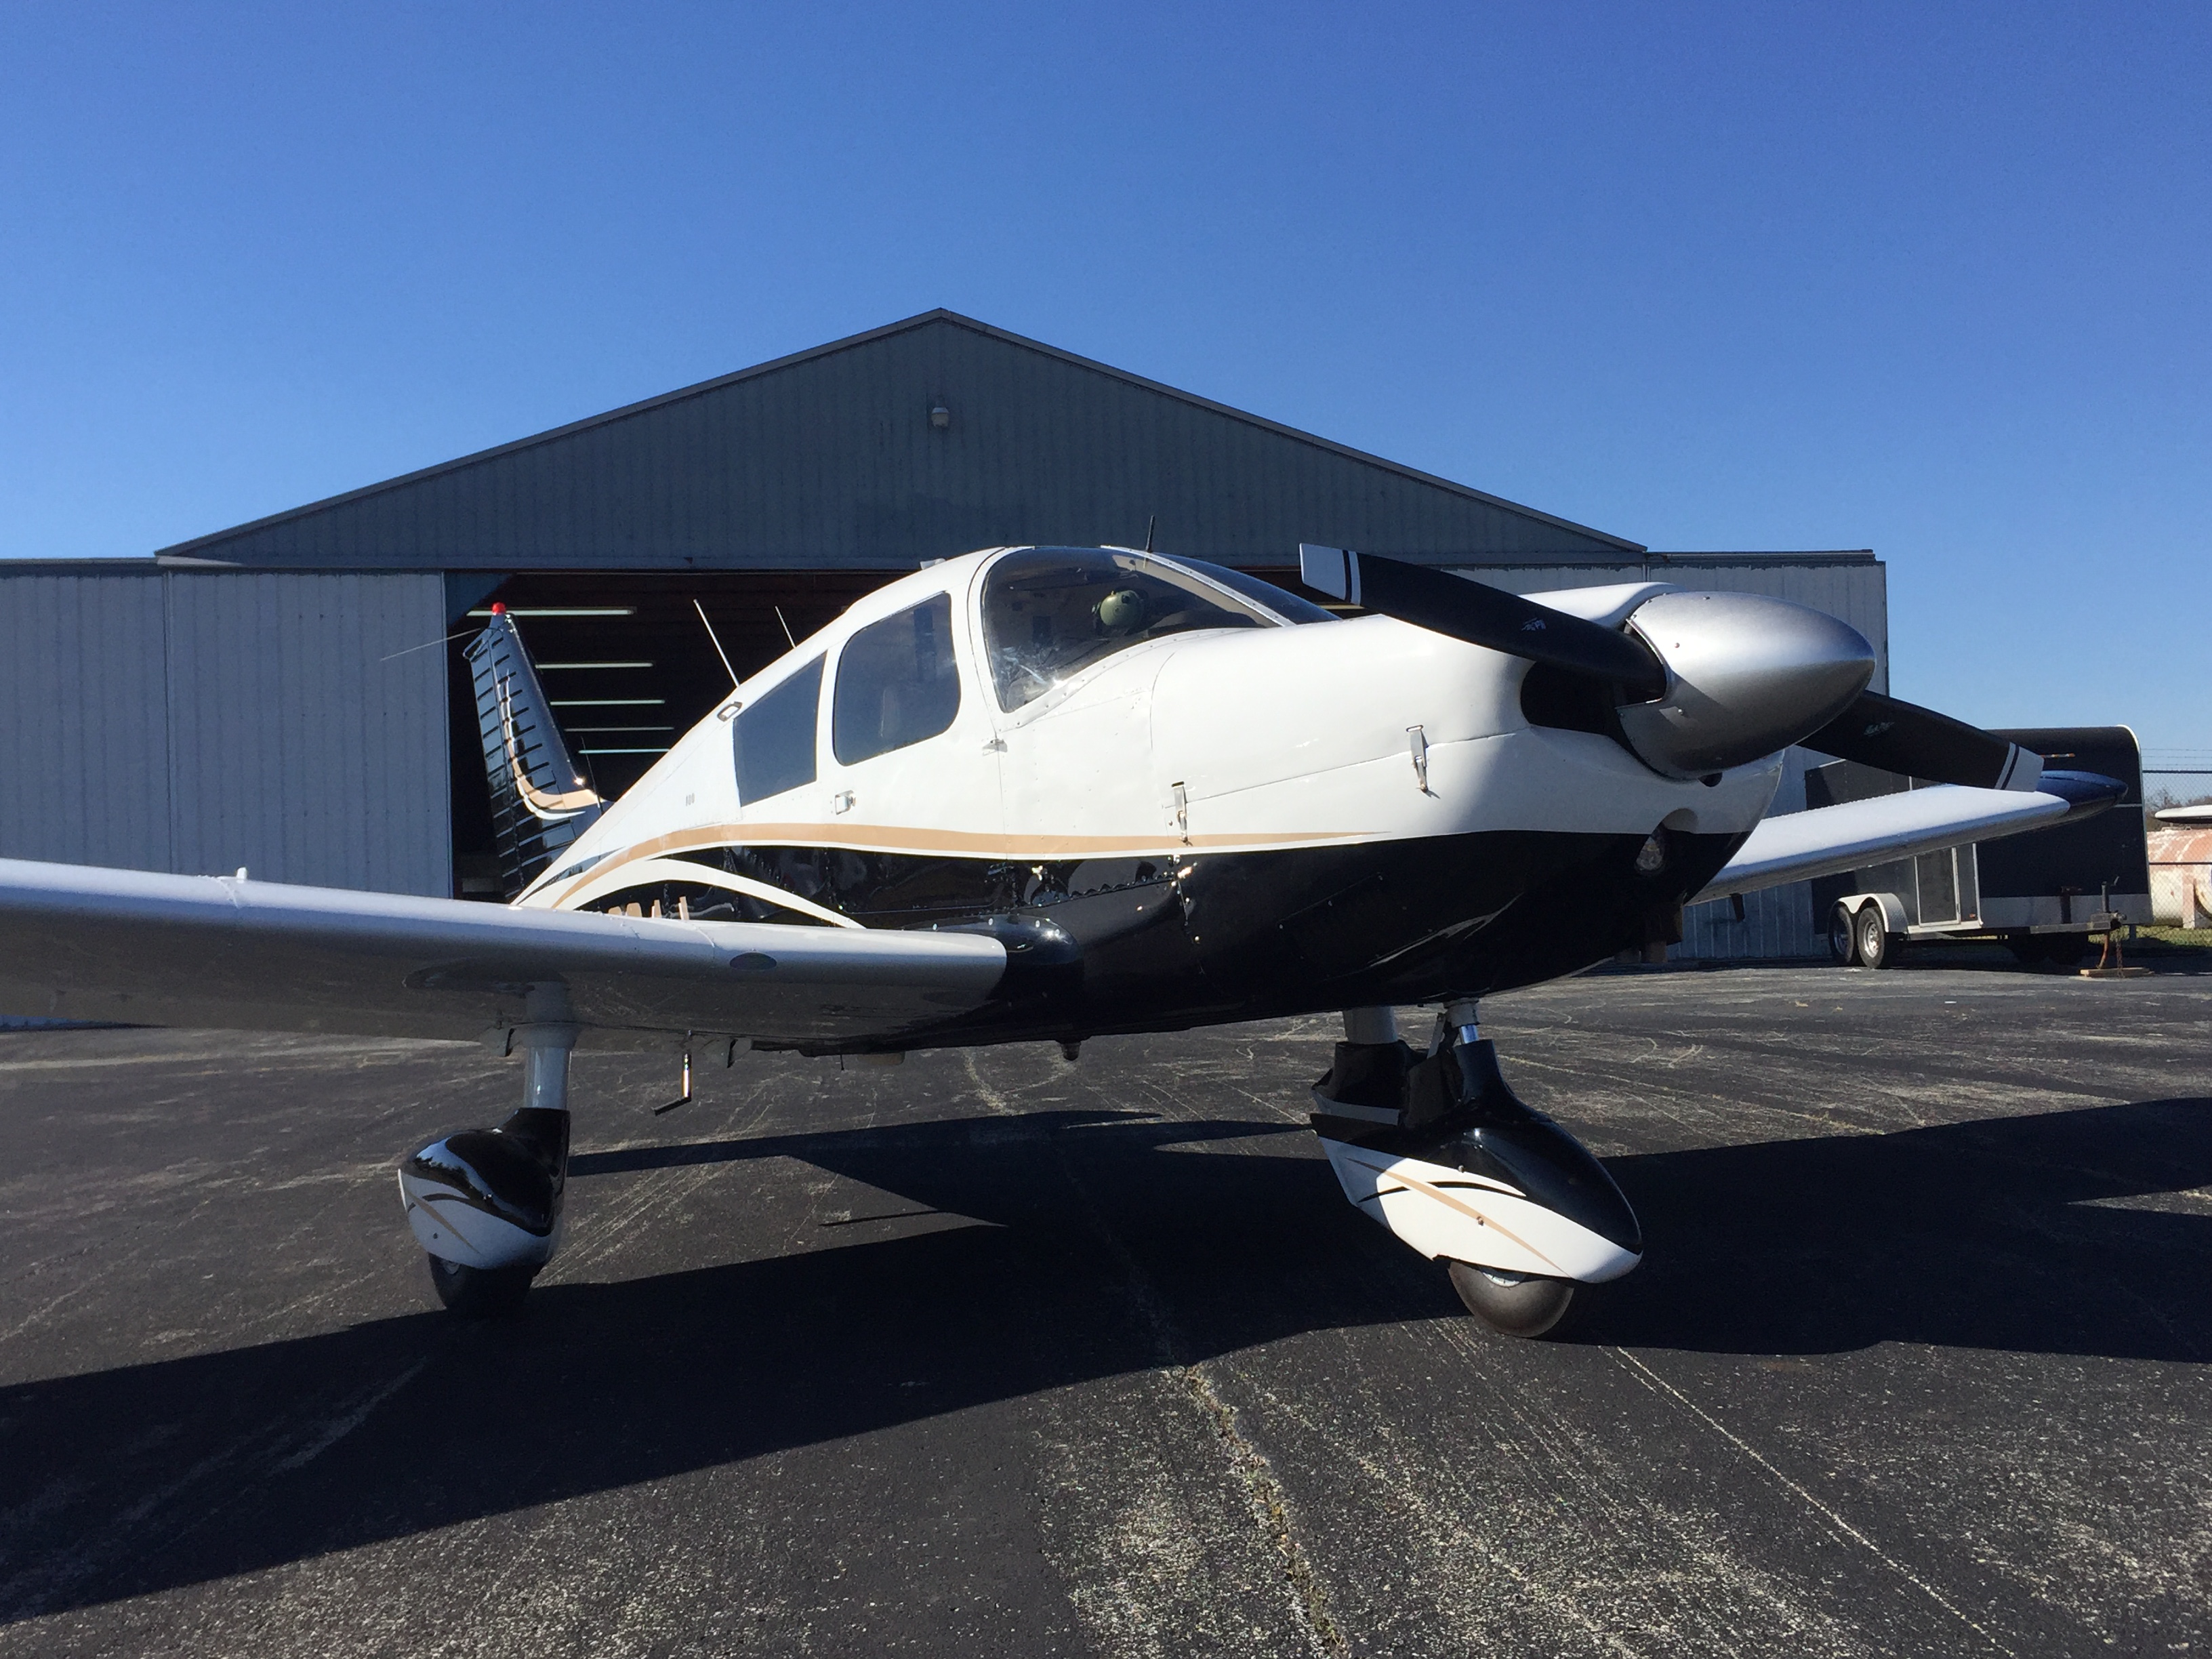
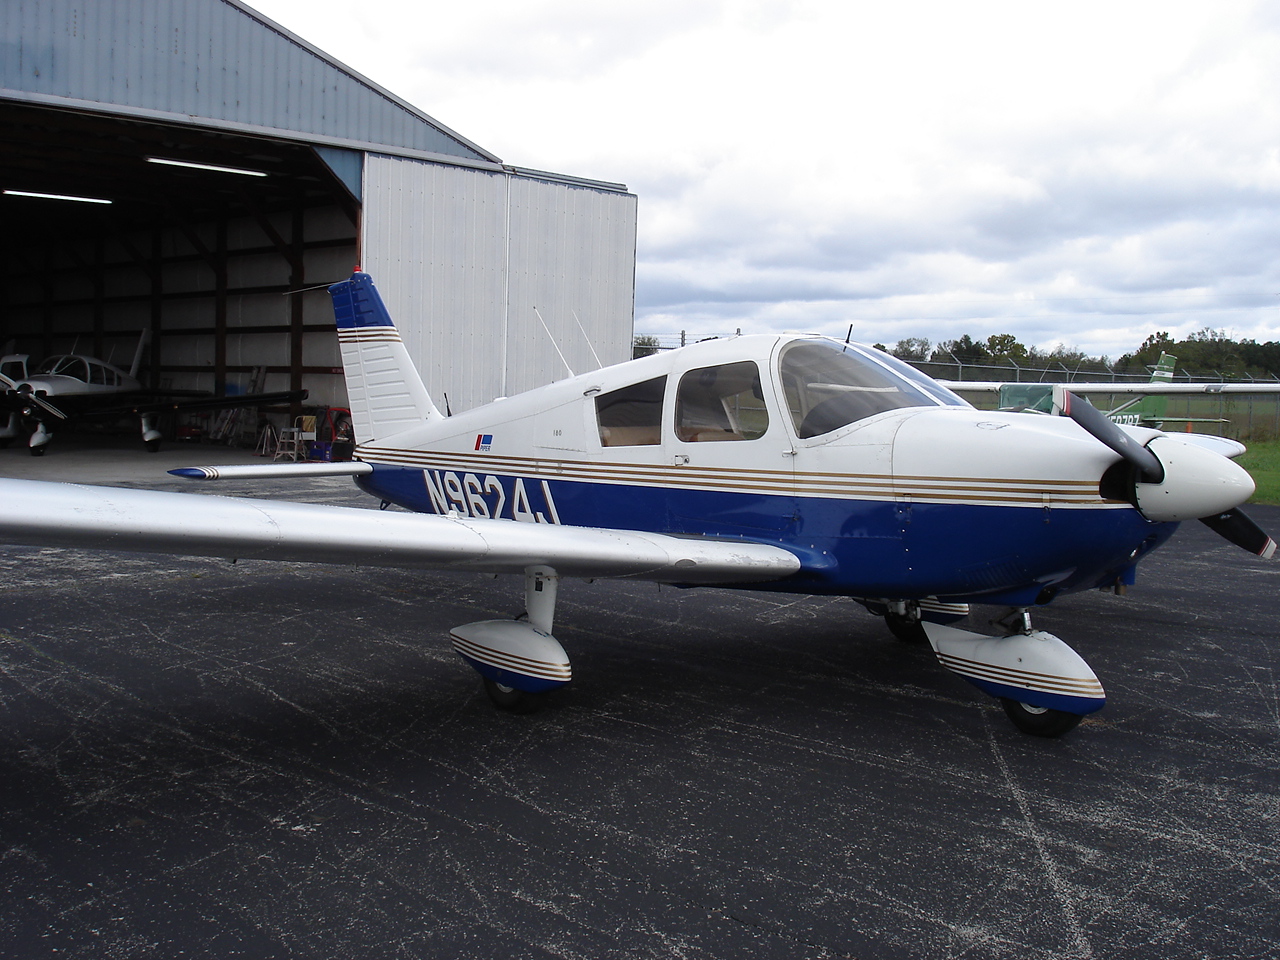
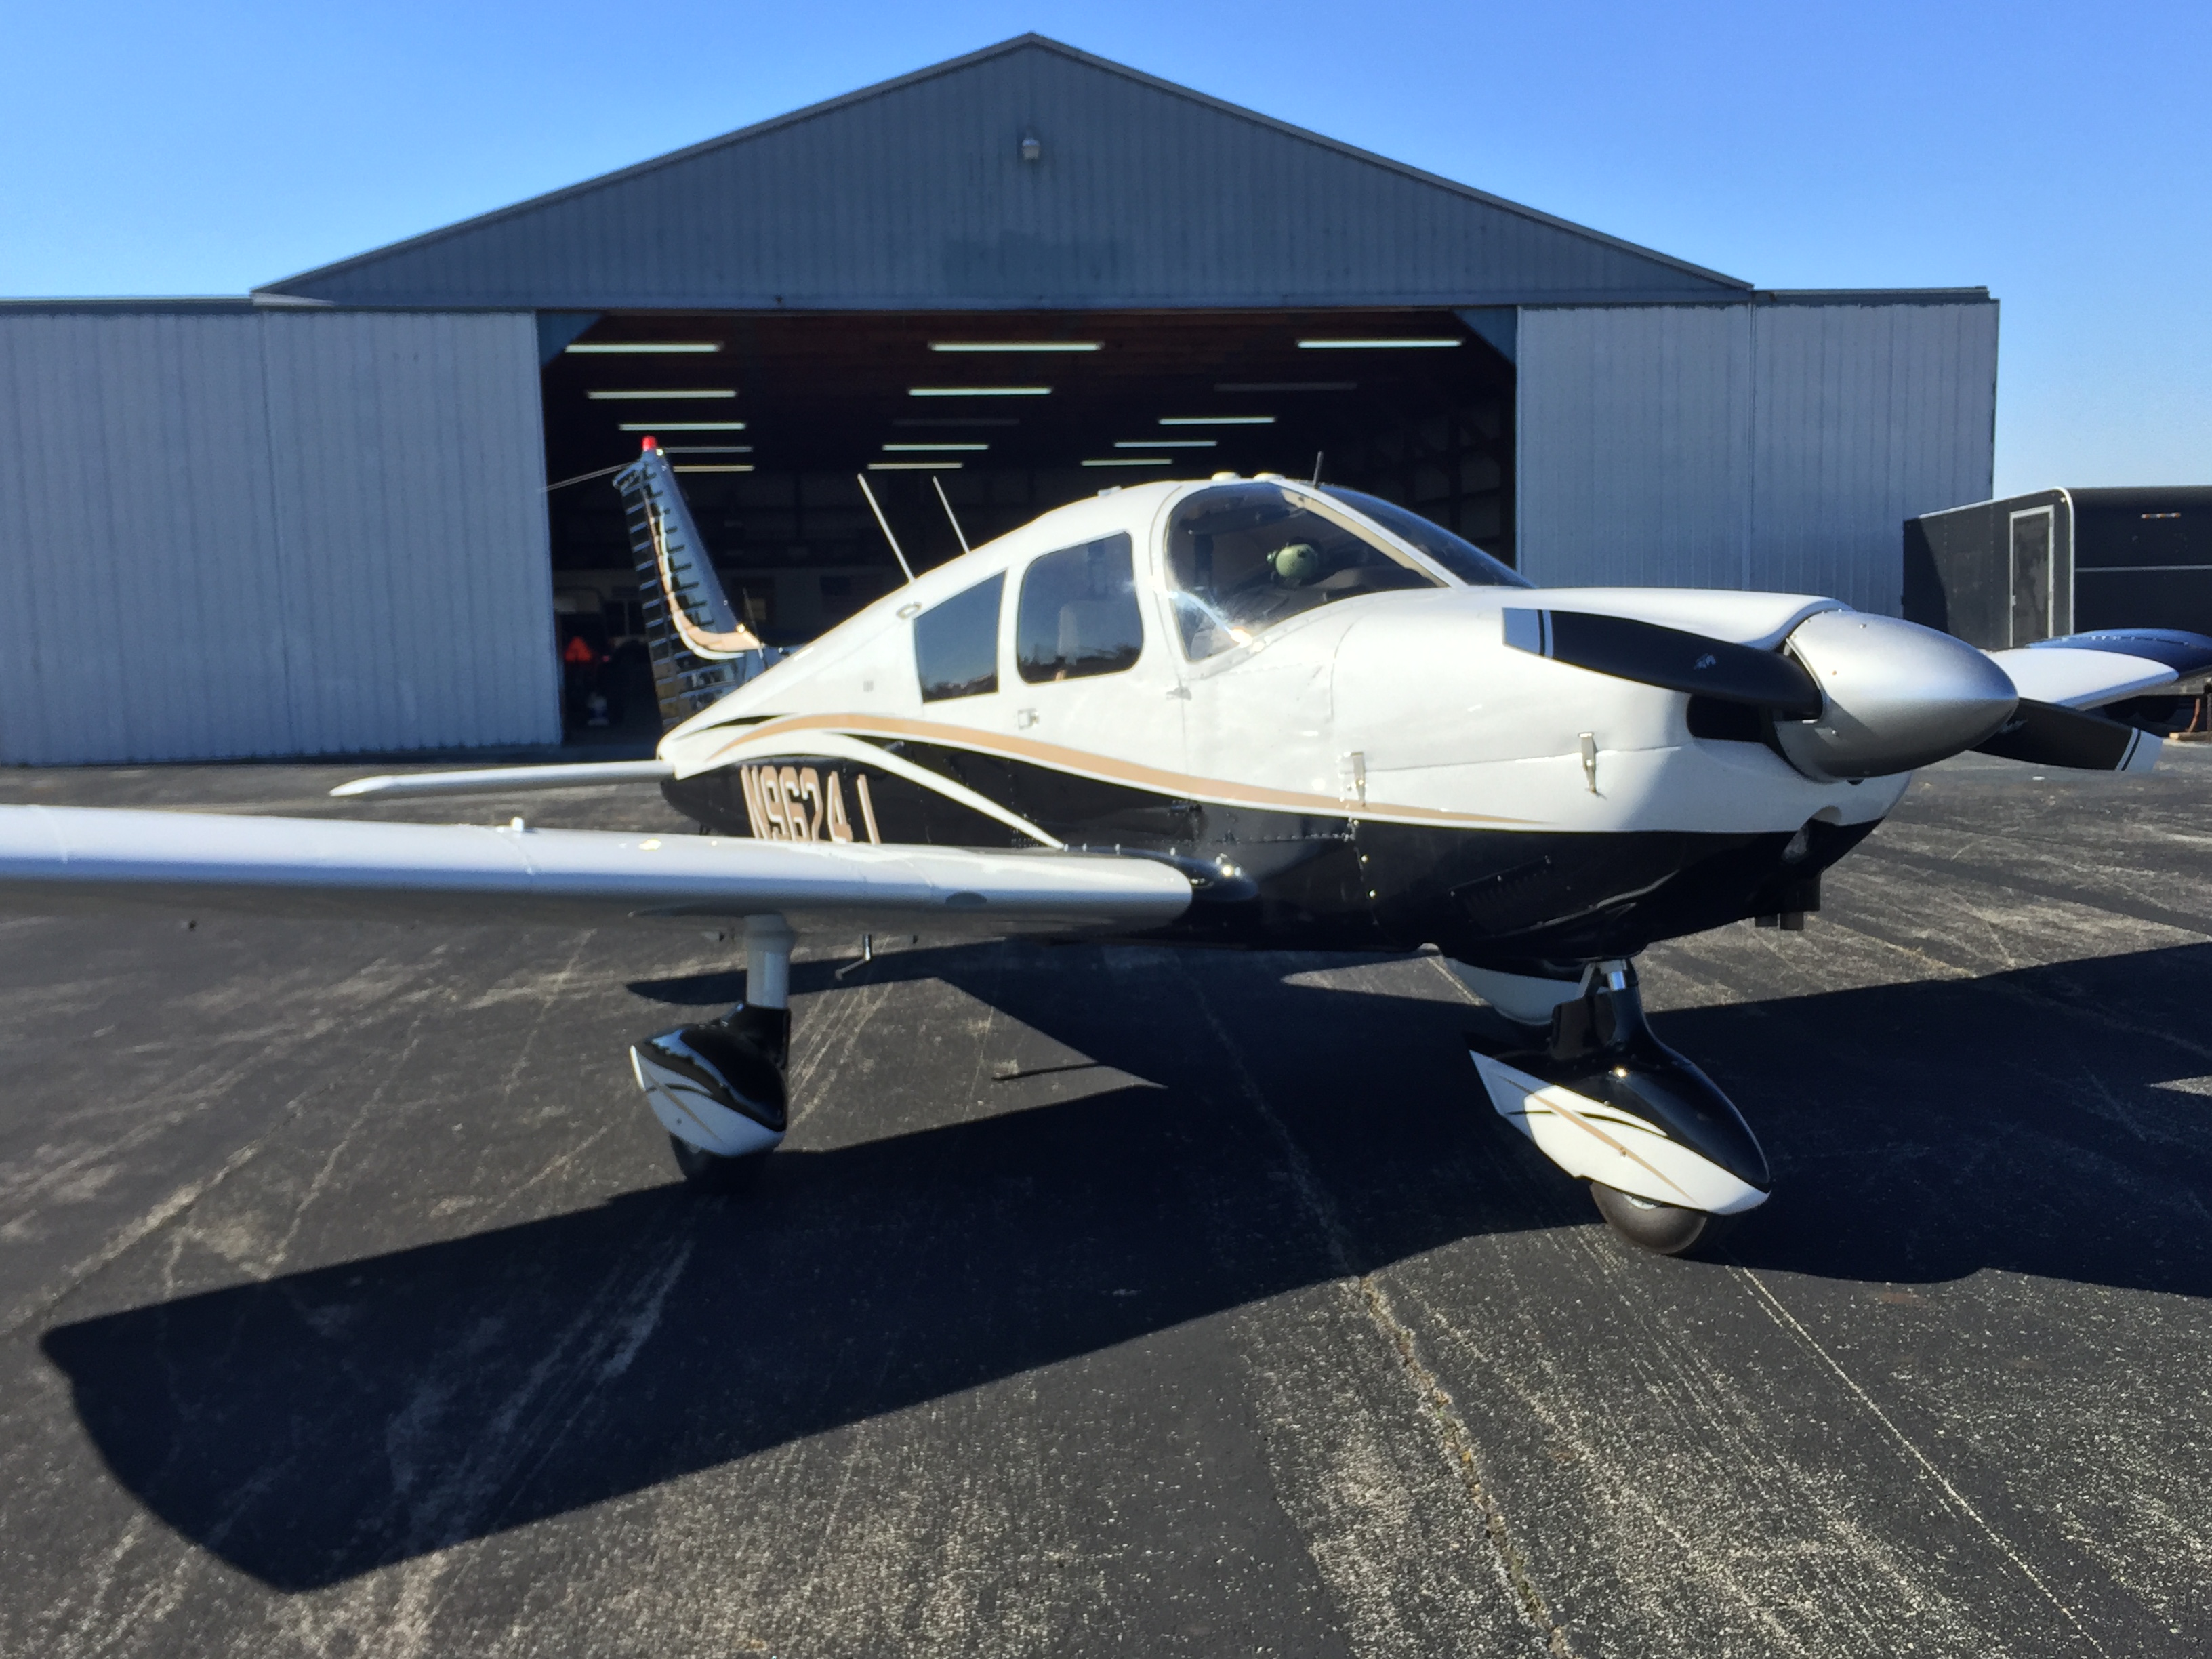
Here are the initial photos of 24J. What we'll be doing here consists of a complete interior and an exterior paint touch-up. Also, we'll be adding a few mods as well.
After removing the interior and getting everything fabricated, we'll go ahead and start with some of the mods and exterior clean-up.
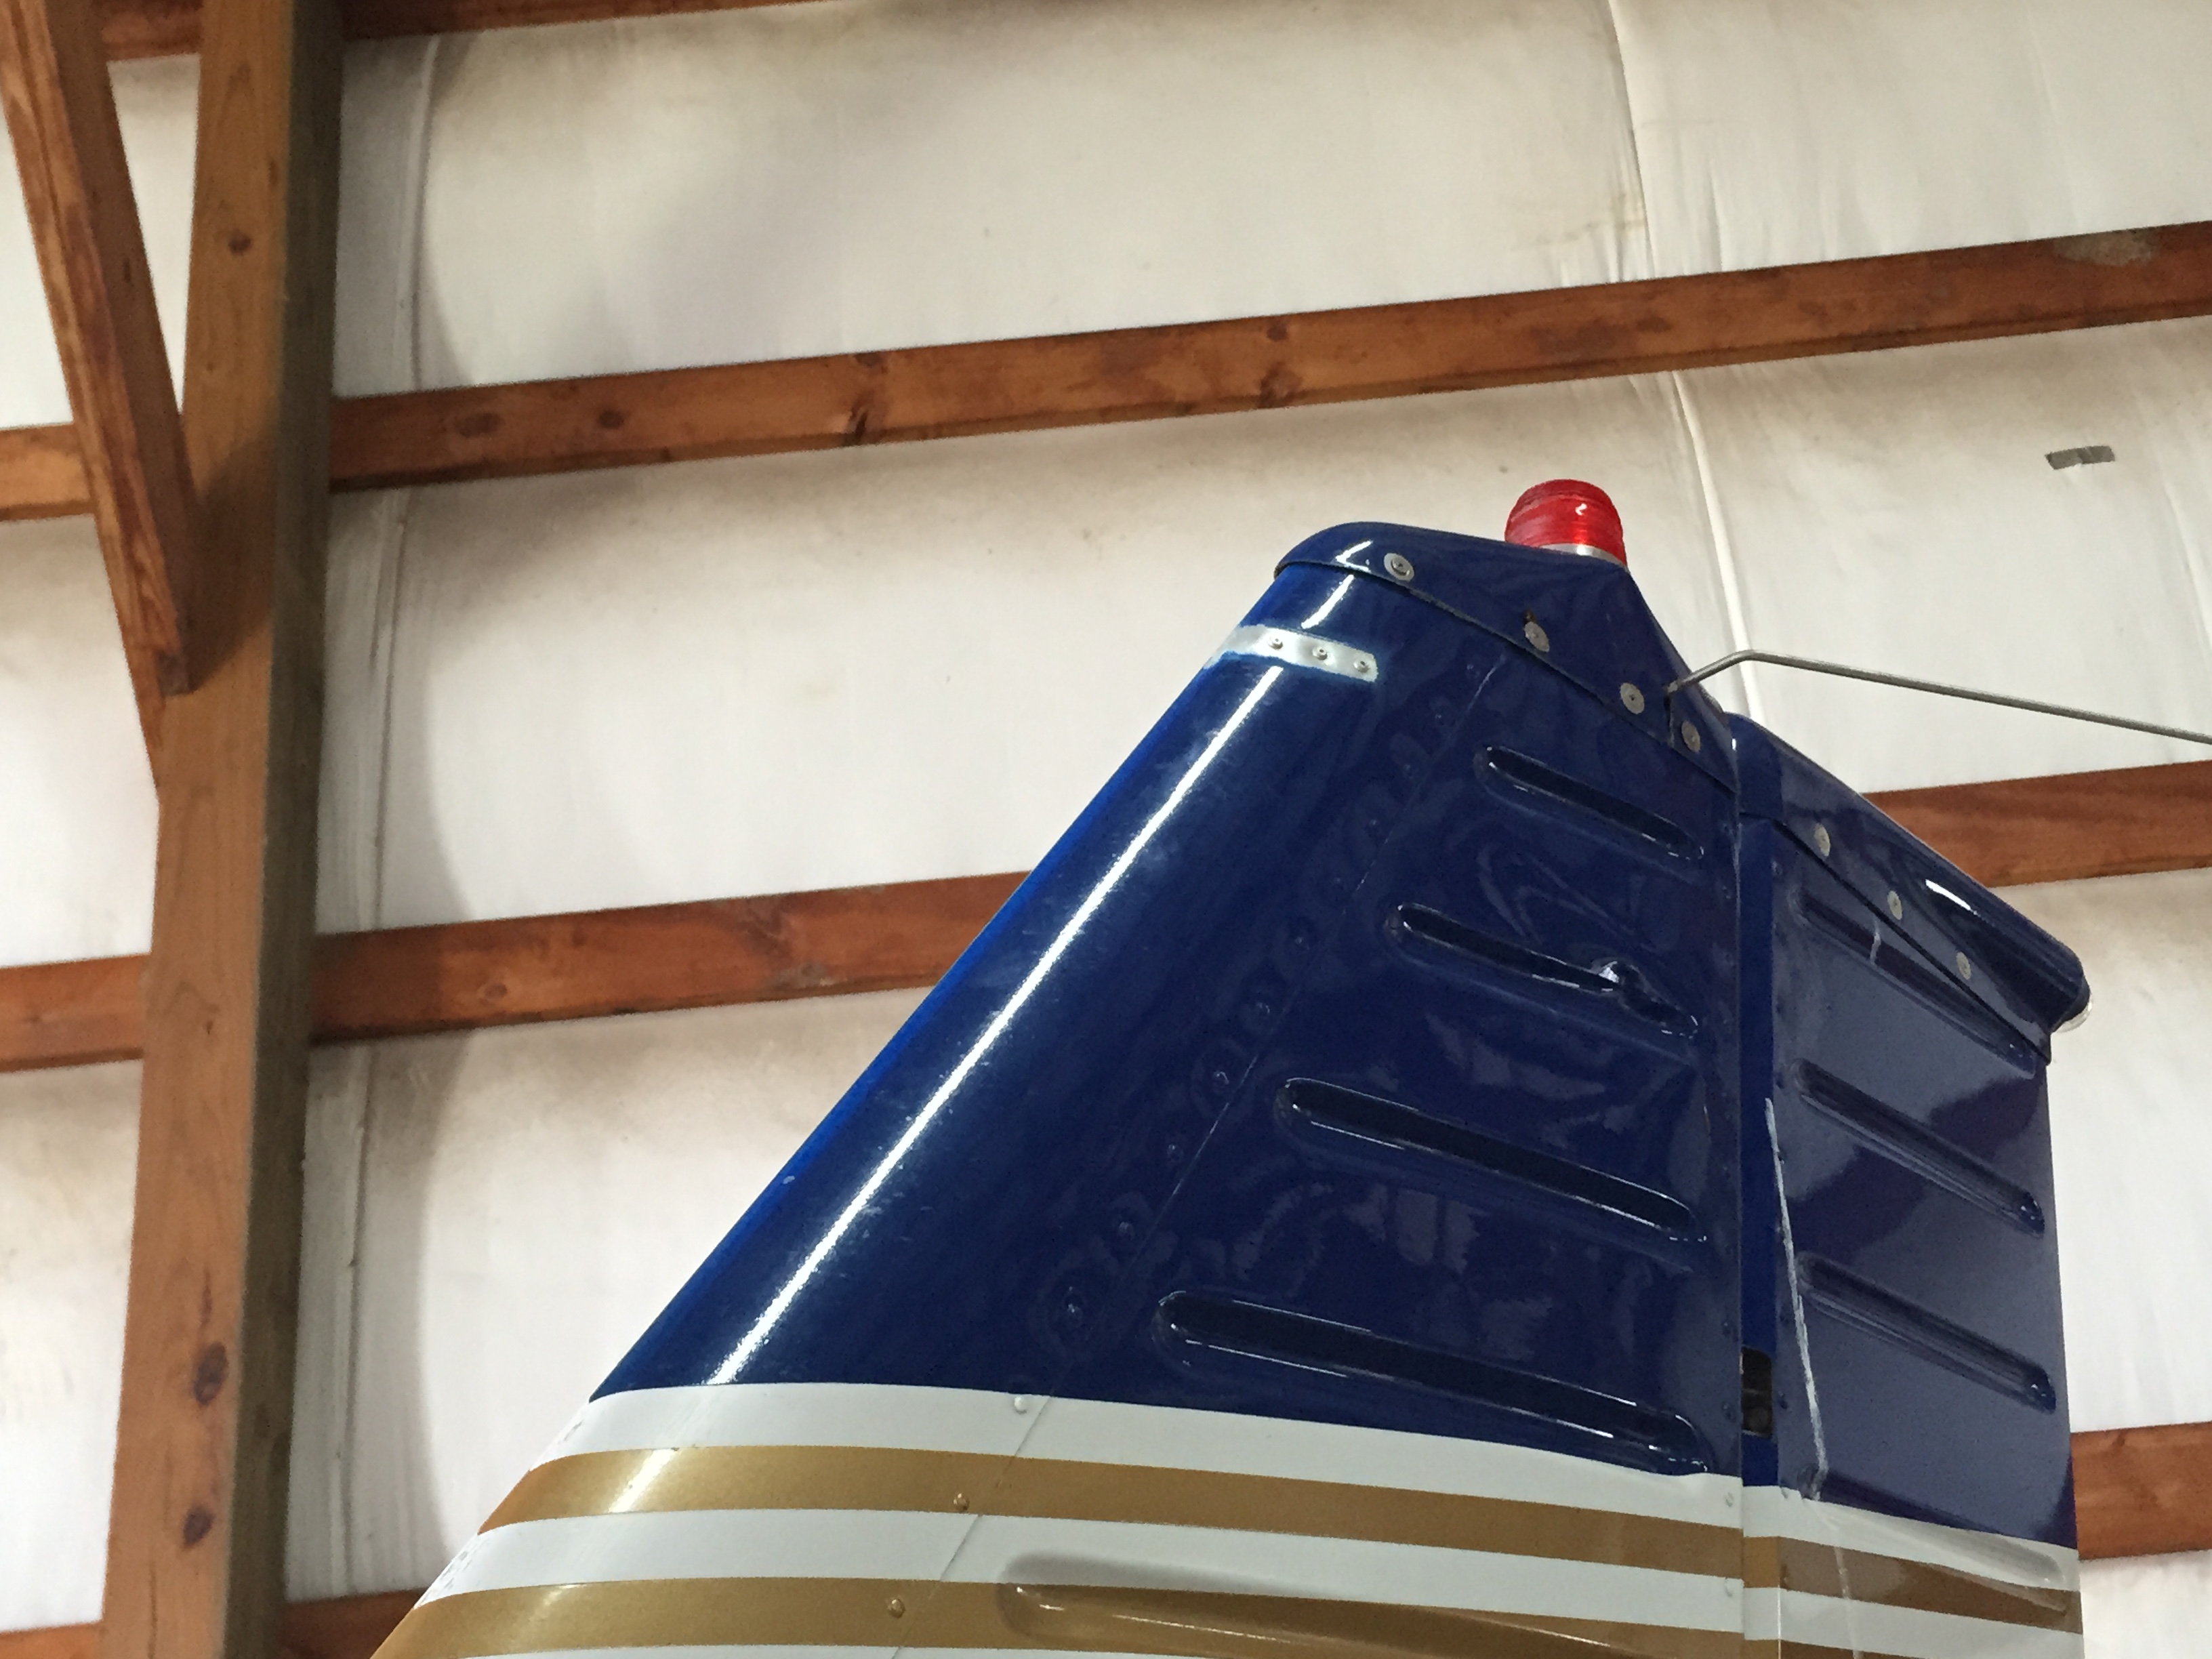
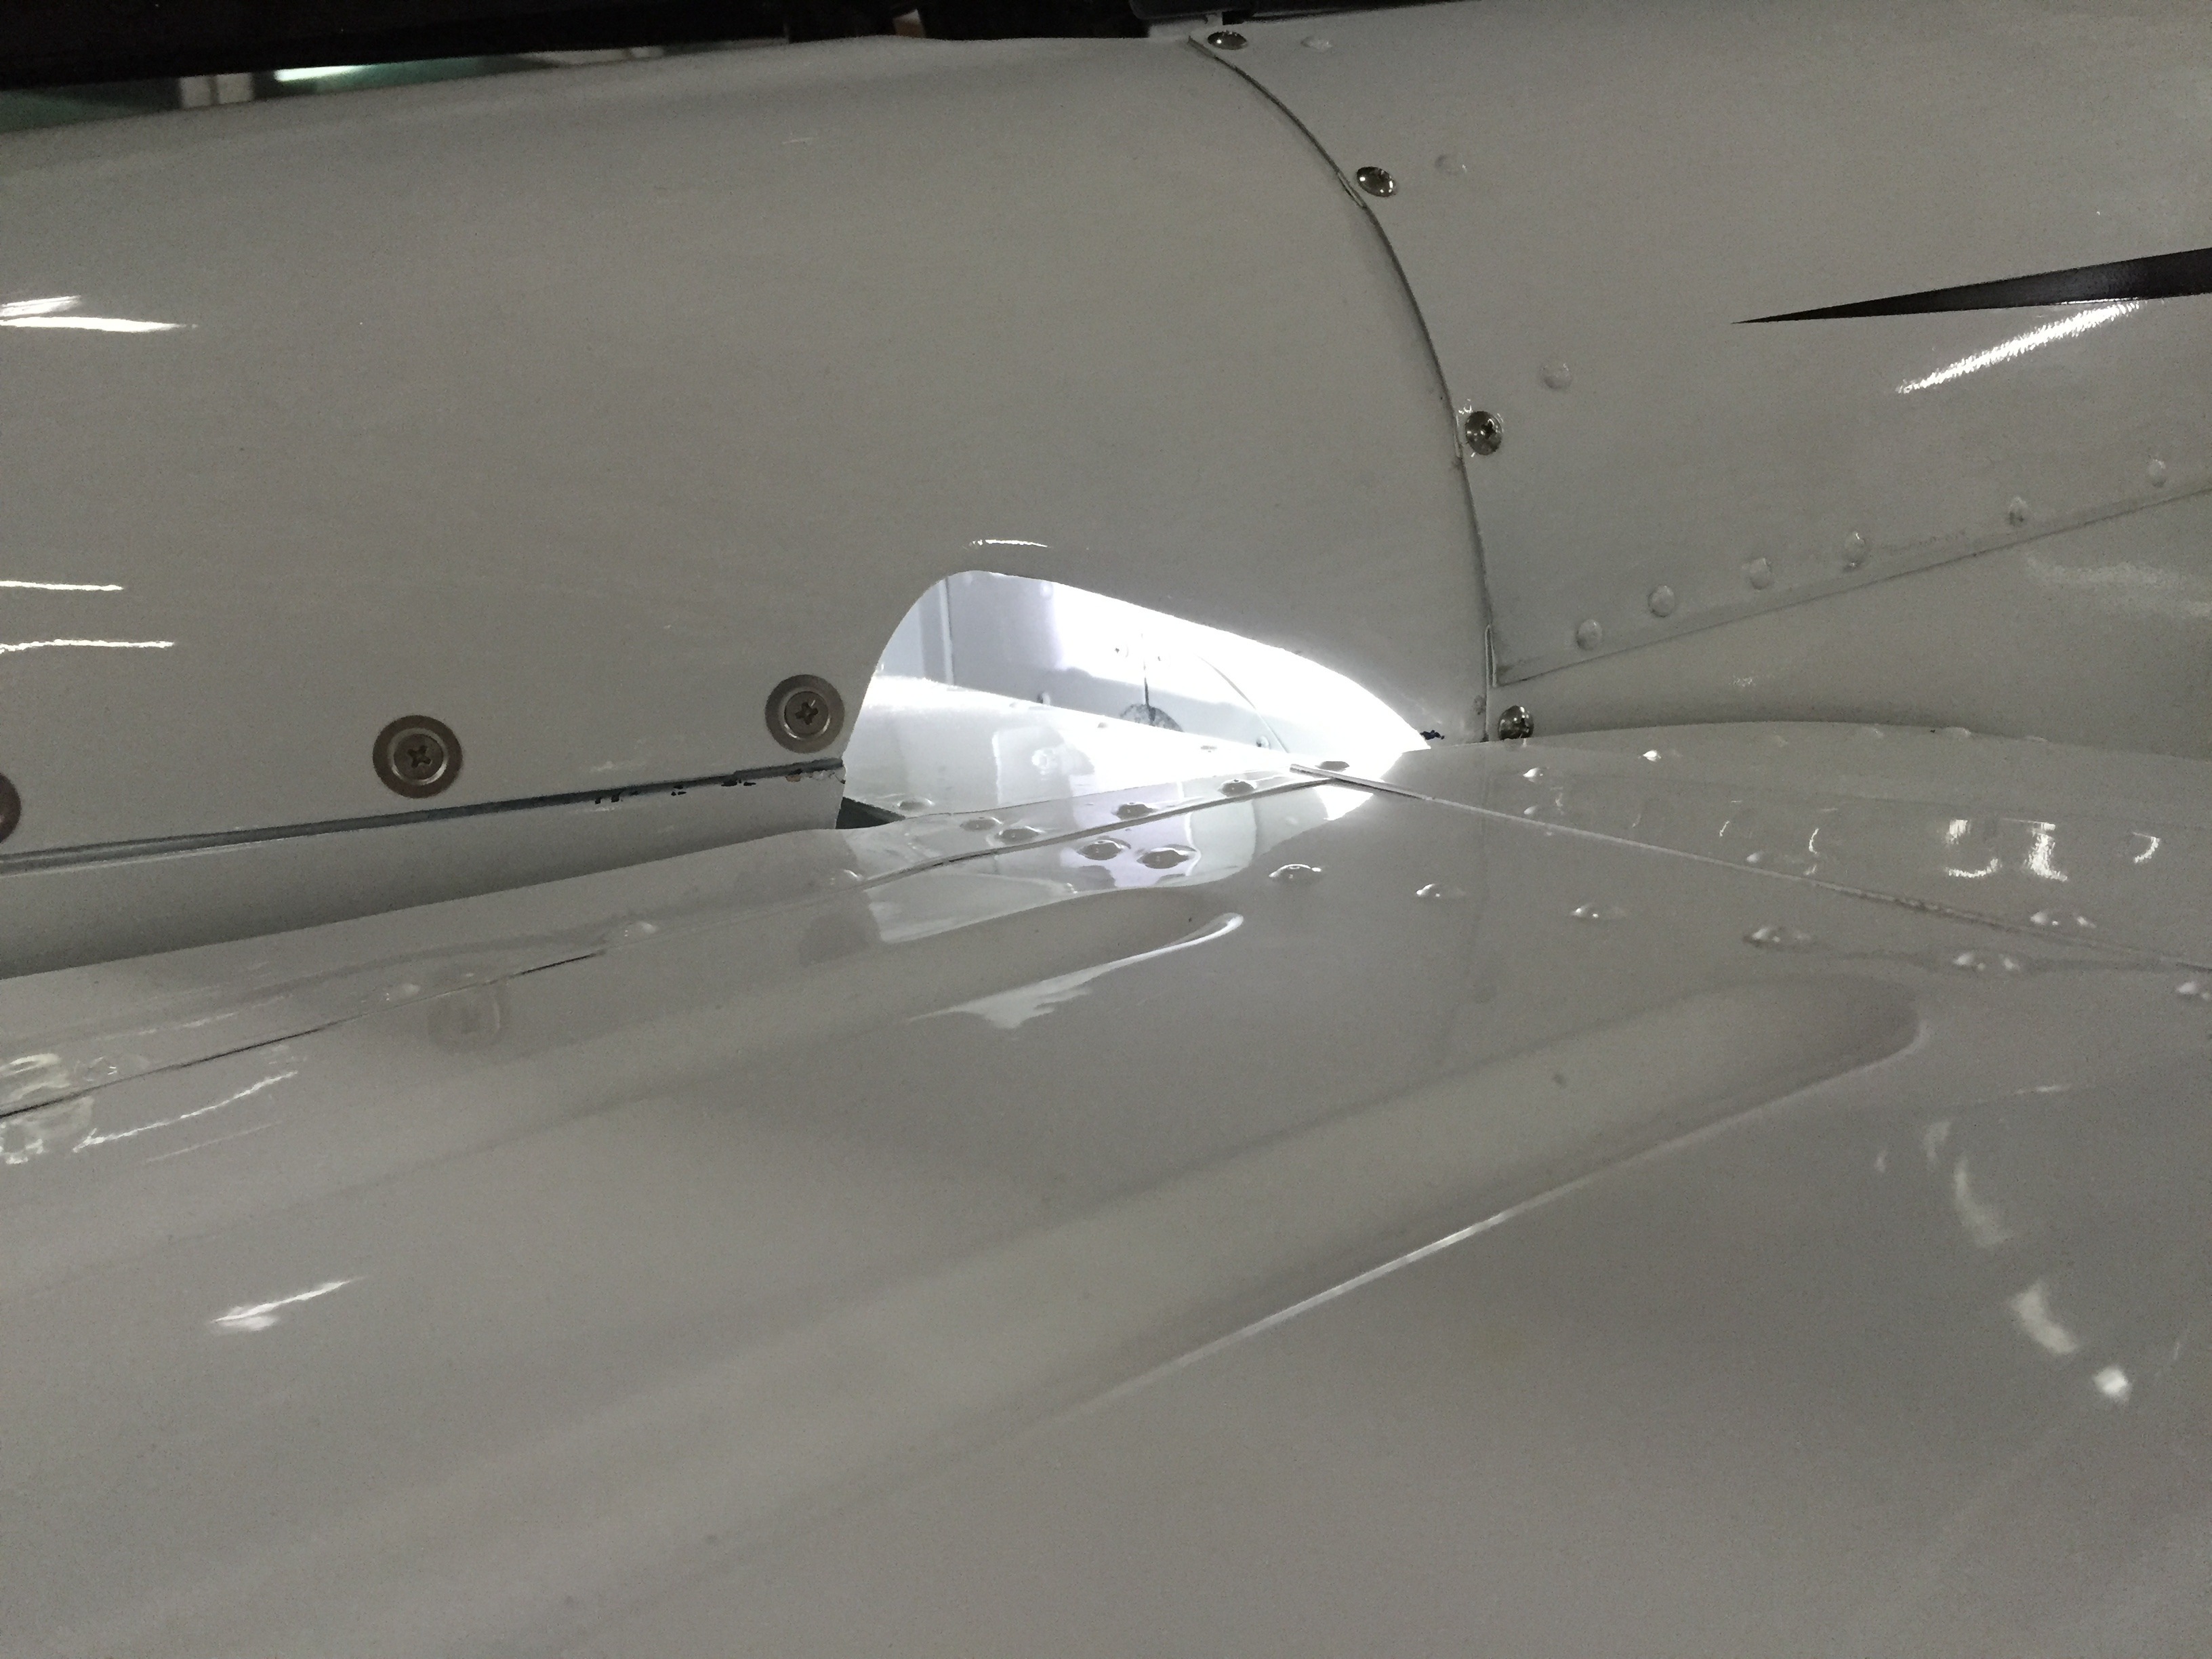
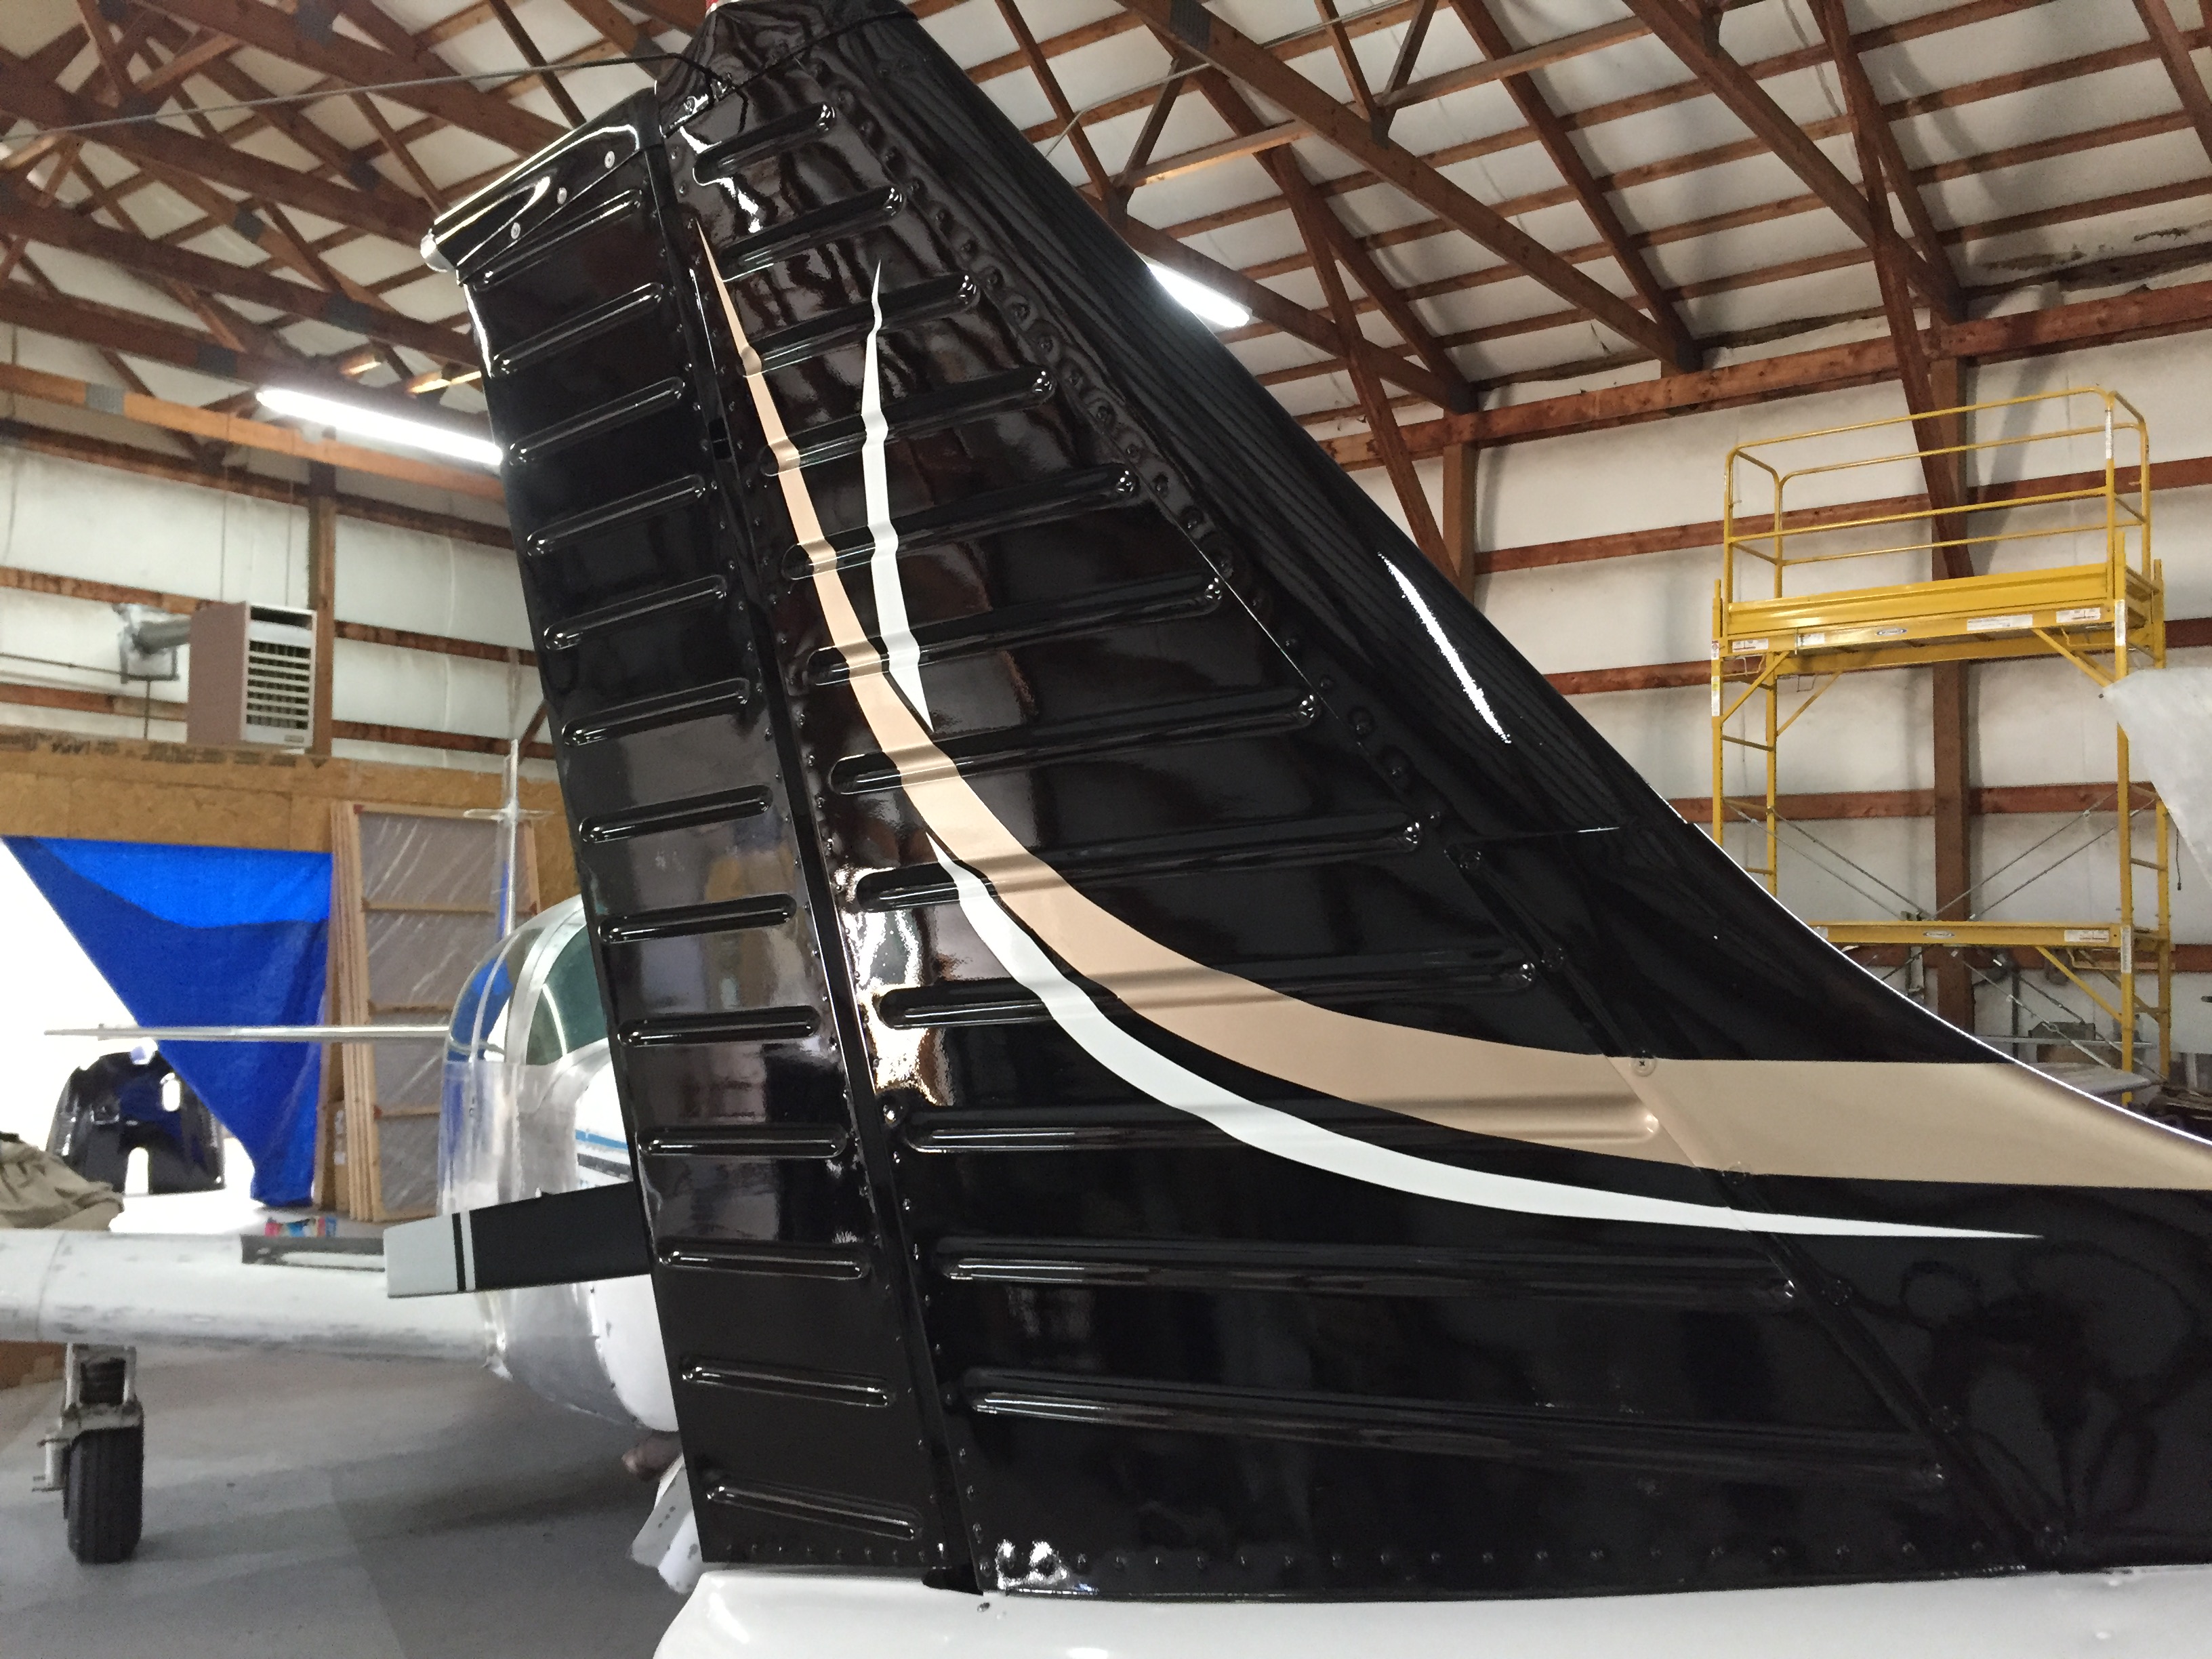
Beginning with everything that affects the paint work, the sense antenna bracket was removed and the holes filled. Also, we're going for a new dorsal fin modification. In order to install the fin, the ELT antenna had to be relocated.
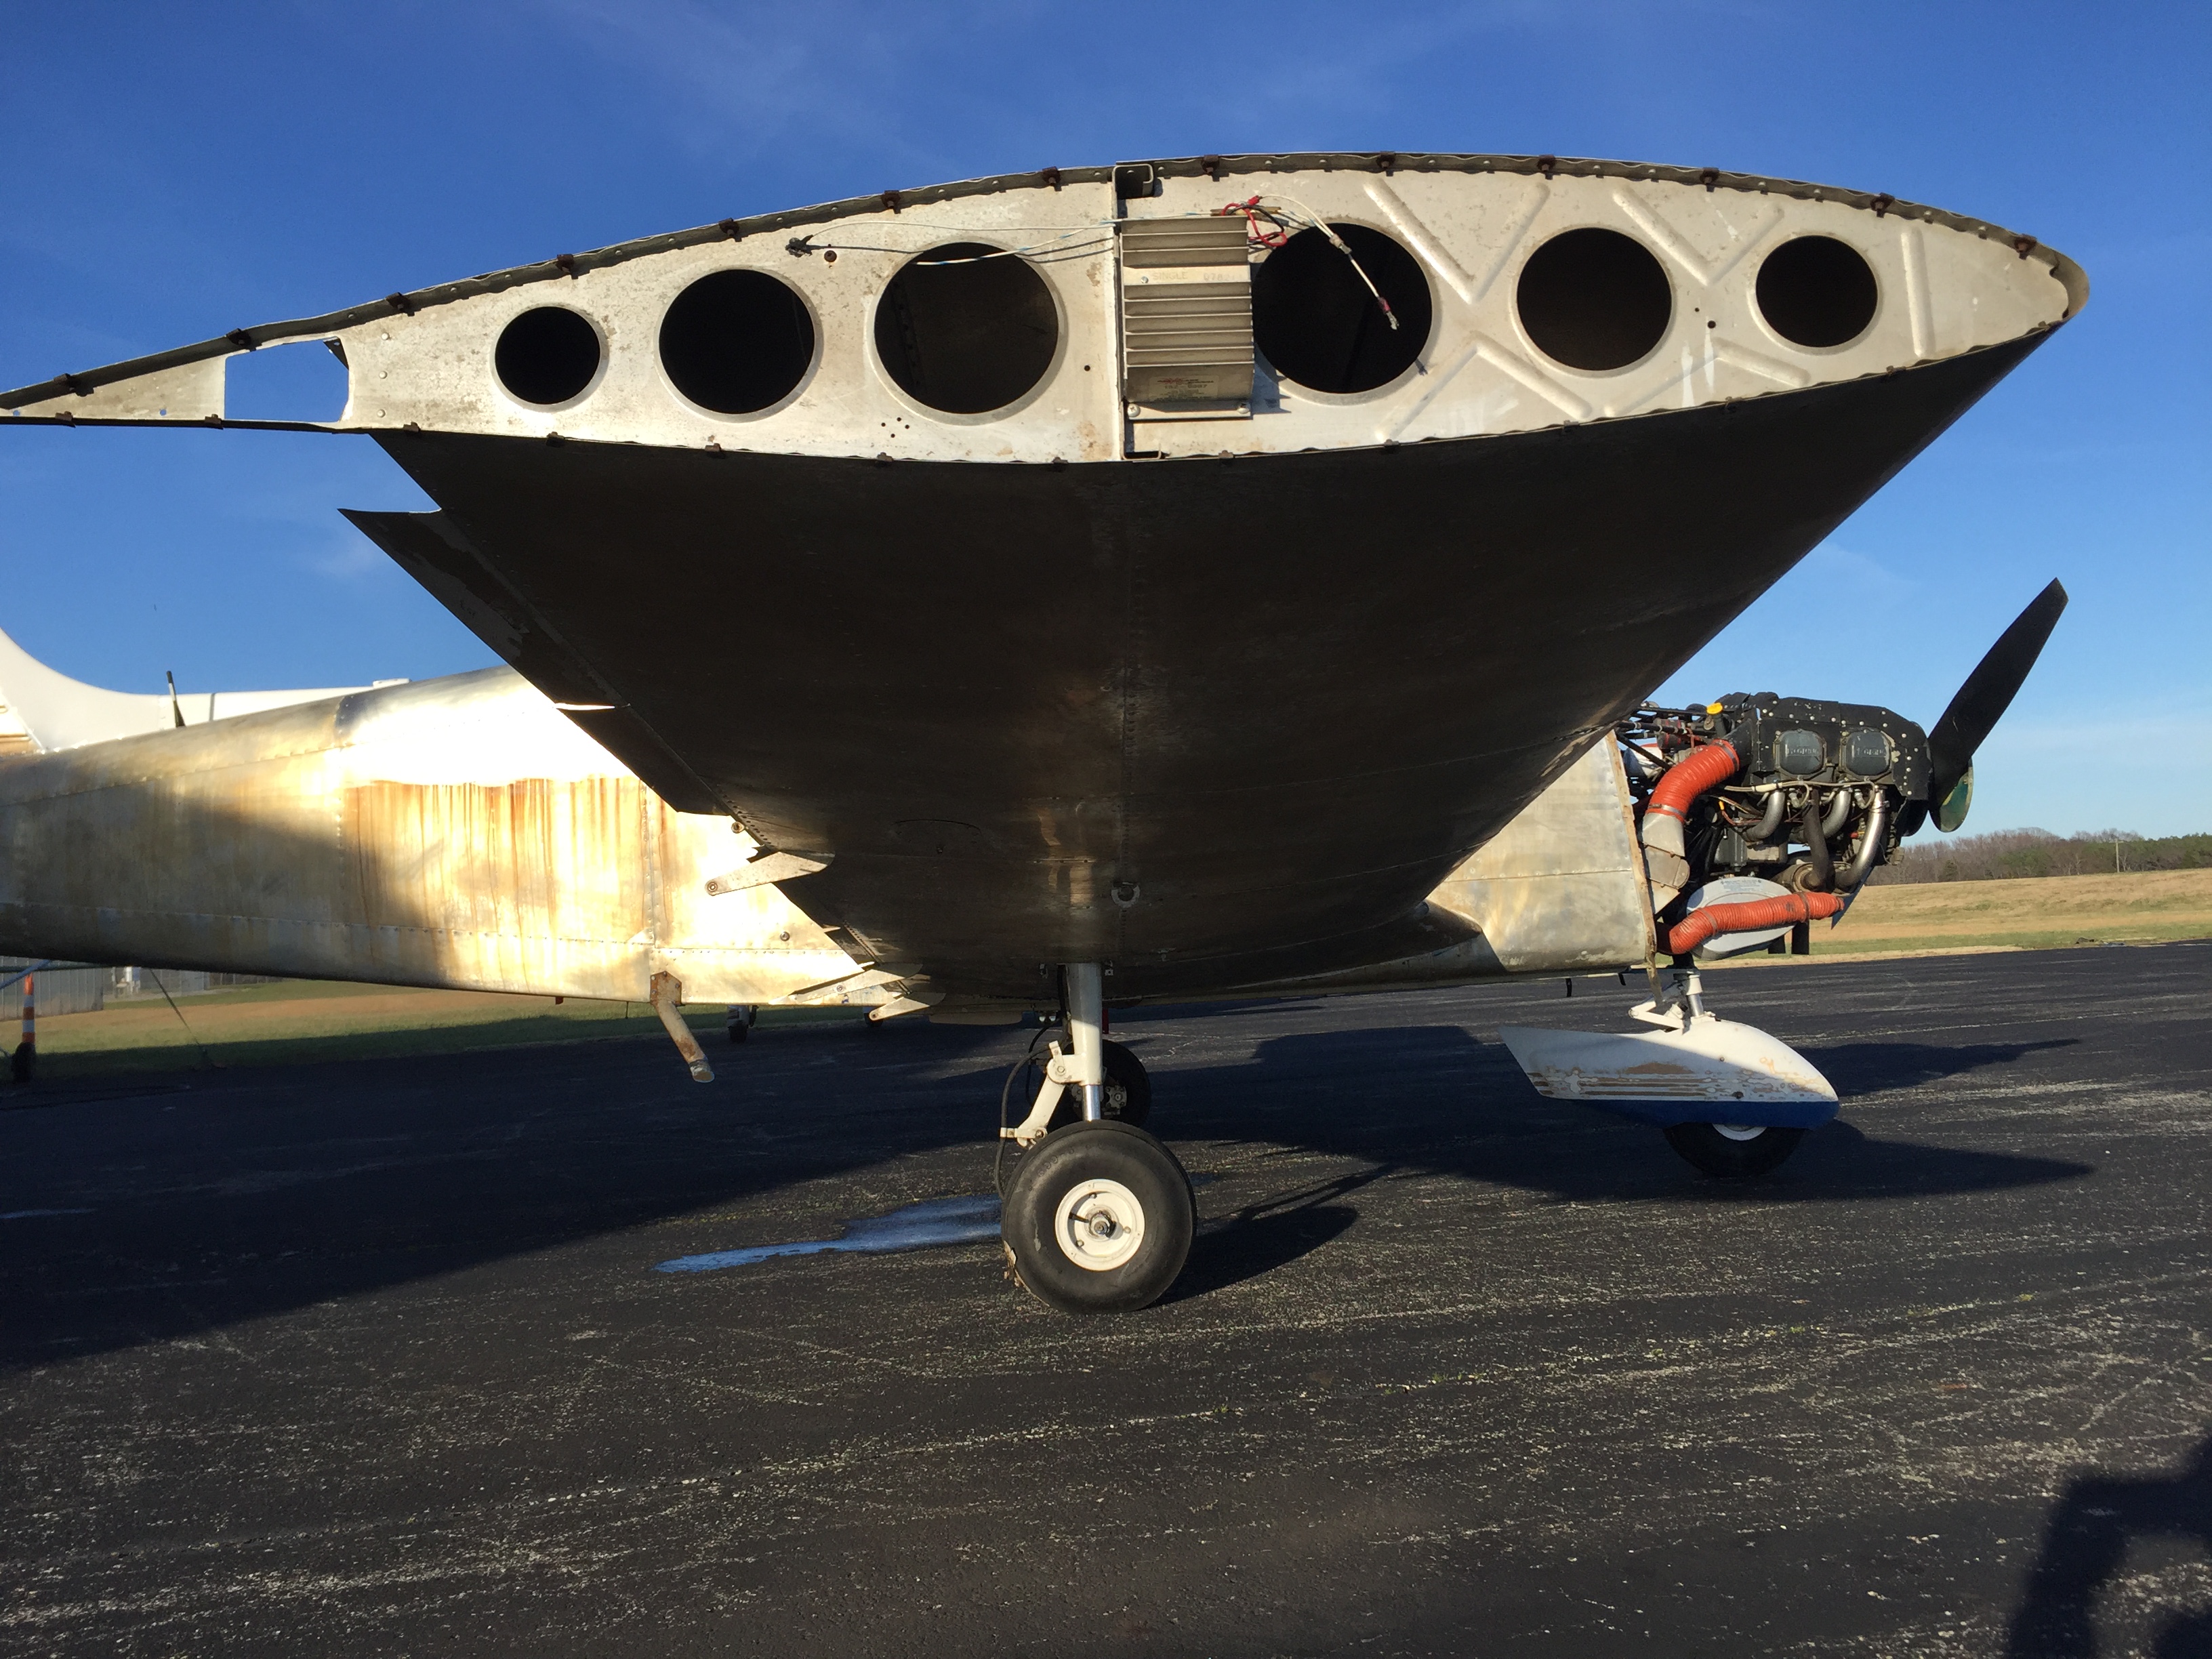
What started out as paint touch up for the top of the wings and fuselage has taken a turn. When we started cleaning the paint from the areas we intended to refinish, it was discovered that the existing paint had little to no primer under it. It was then decided to do the right thing and go ahead with a complete repaint of the exterior. O.k. here we go.
Before After Before After
Before After Before After
This project definitely didn't go as originally planned, but the focus remained on the quality of the outcome to make it the best it can be. The time was already invested and to have such a nice basic aircraft and give it any less than the best would've just not been acceptable. I hope you enjoyed this one as much as I did, and we'll see you around the shop !
Home
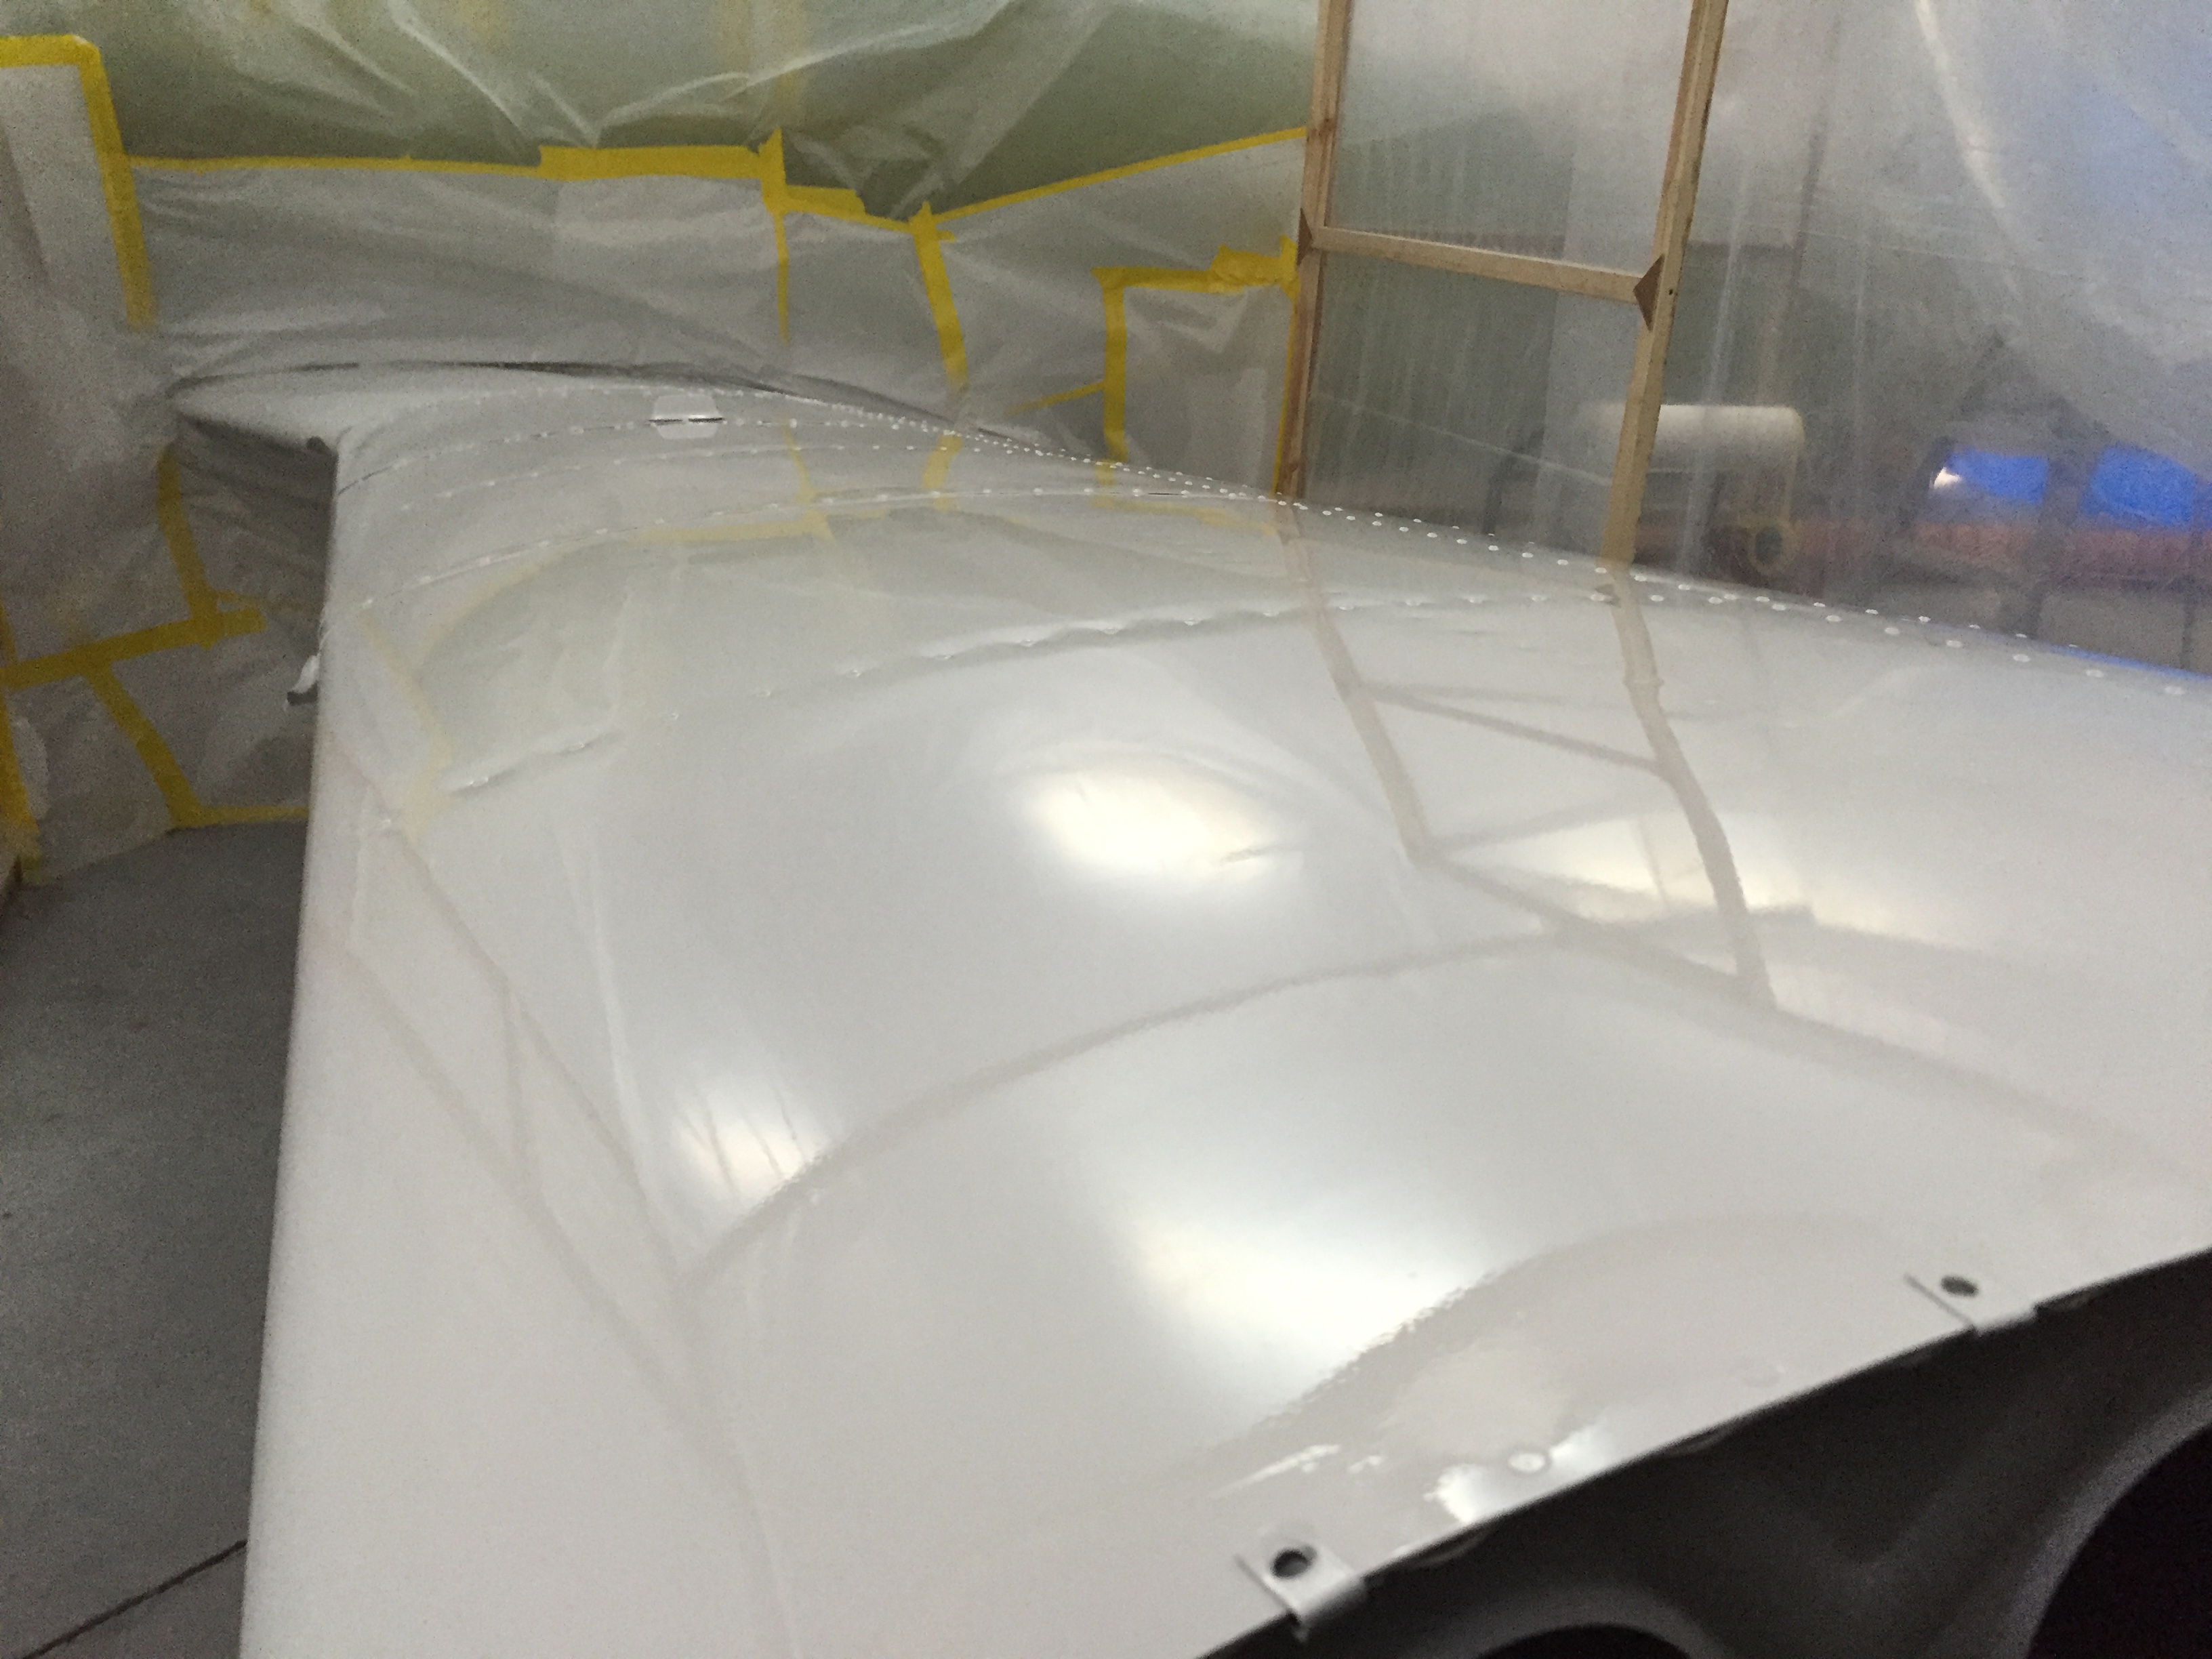
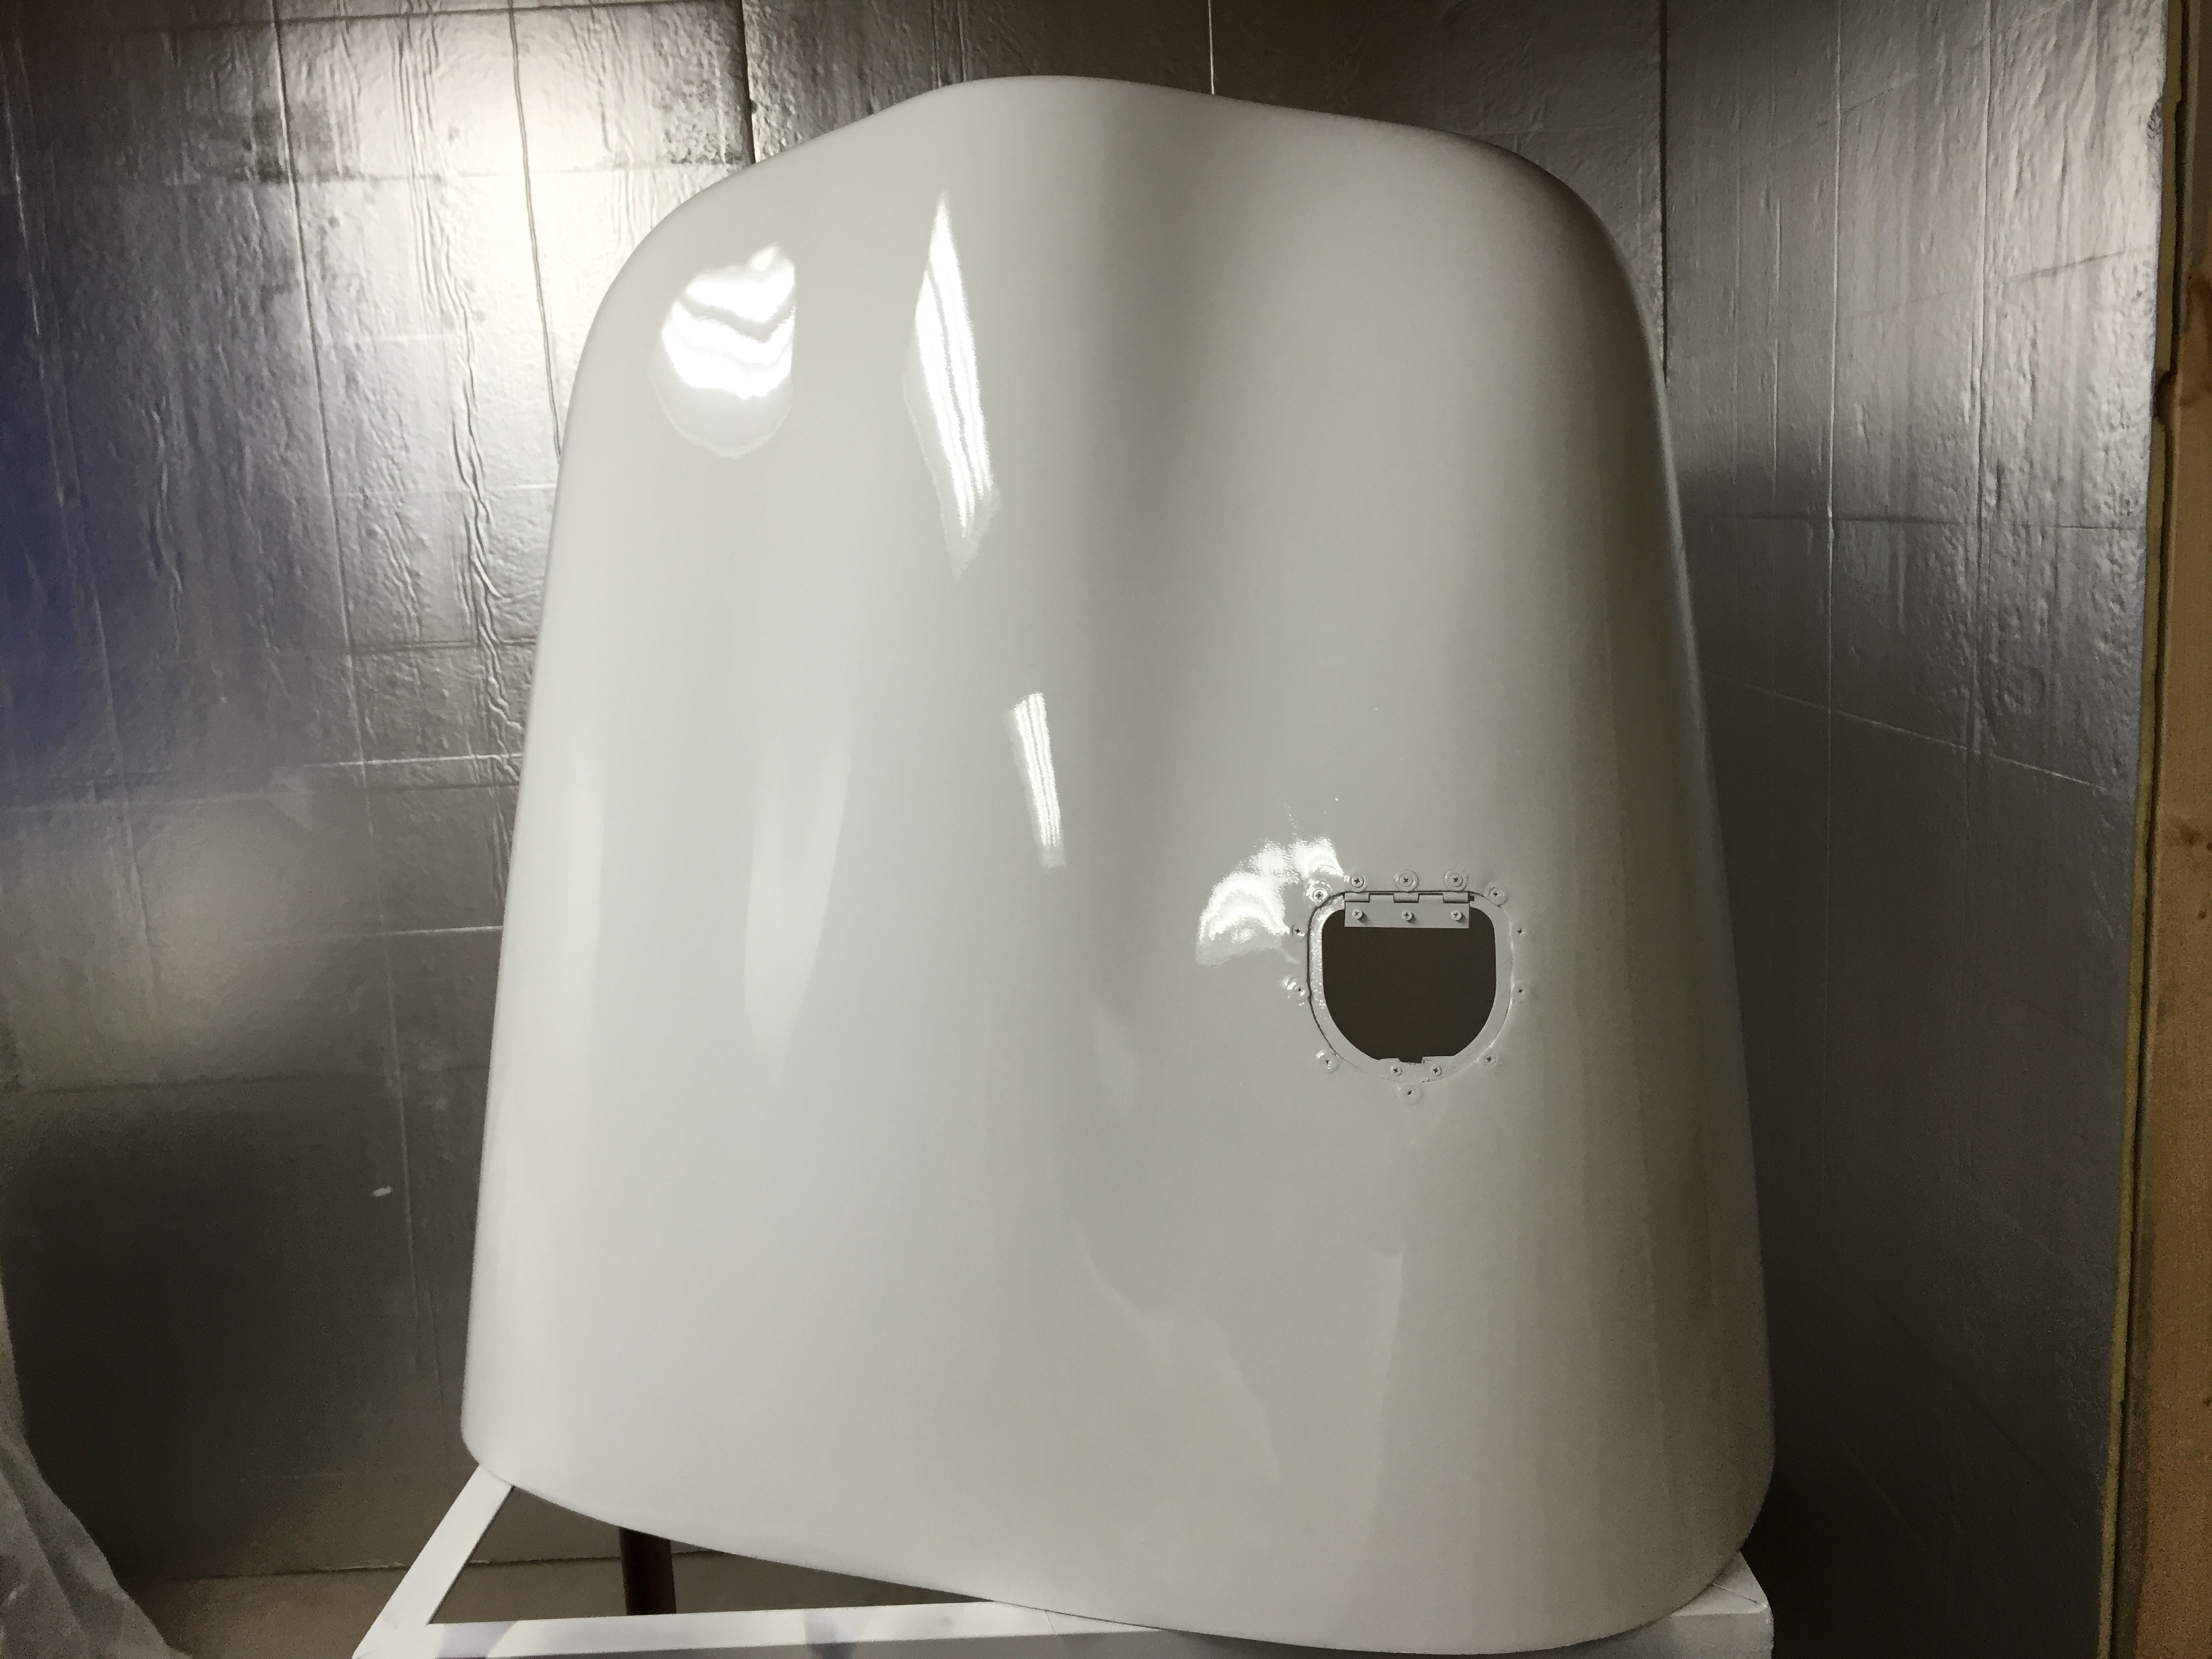
After a complete removal of the exterior paint, the surface is then cleaned with an acid etch product. After this dries, it is followed by an alodine conversion coating. The exterior is now ready for primer. Meantime, the fiberglass parts are prepped and primed with an epoxy primer-surfacer.
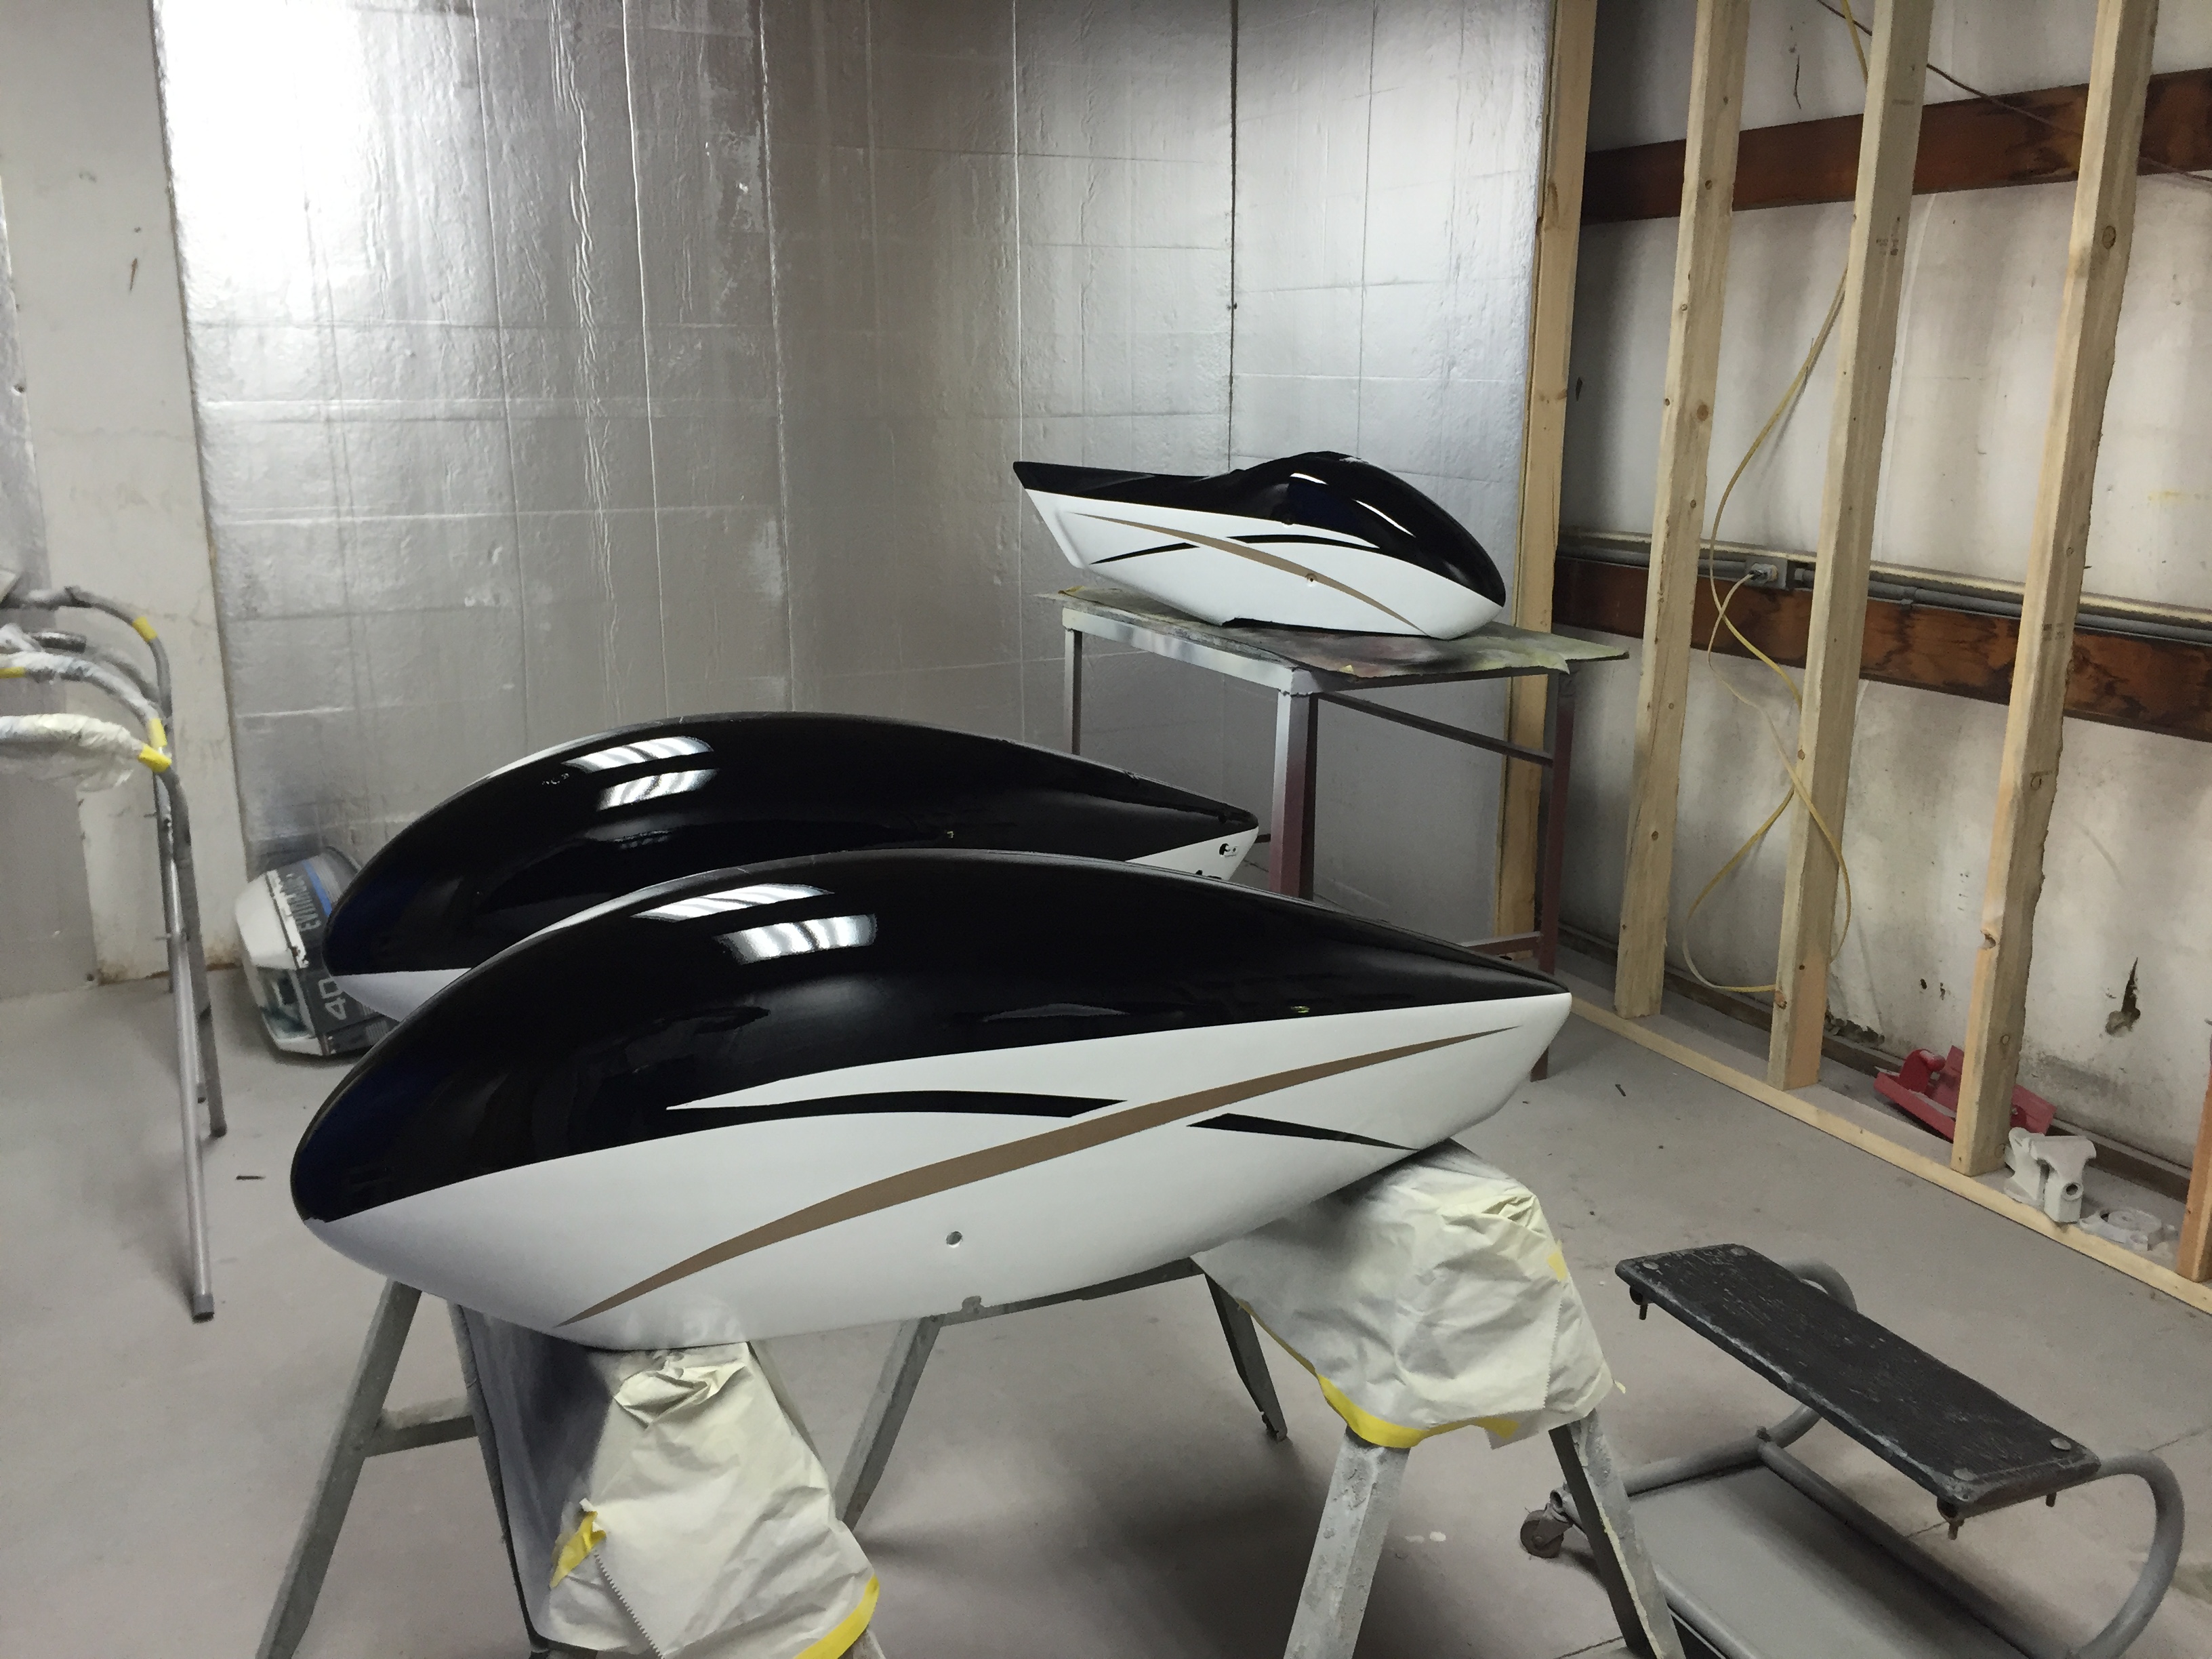
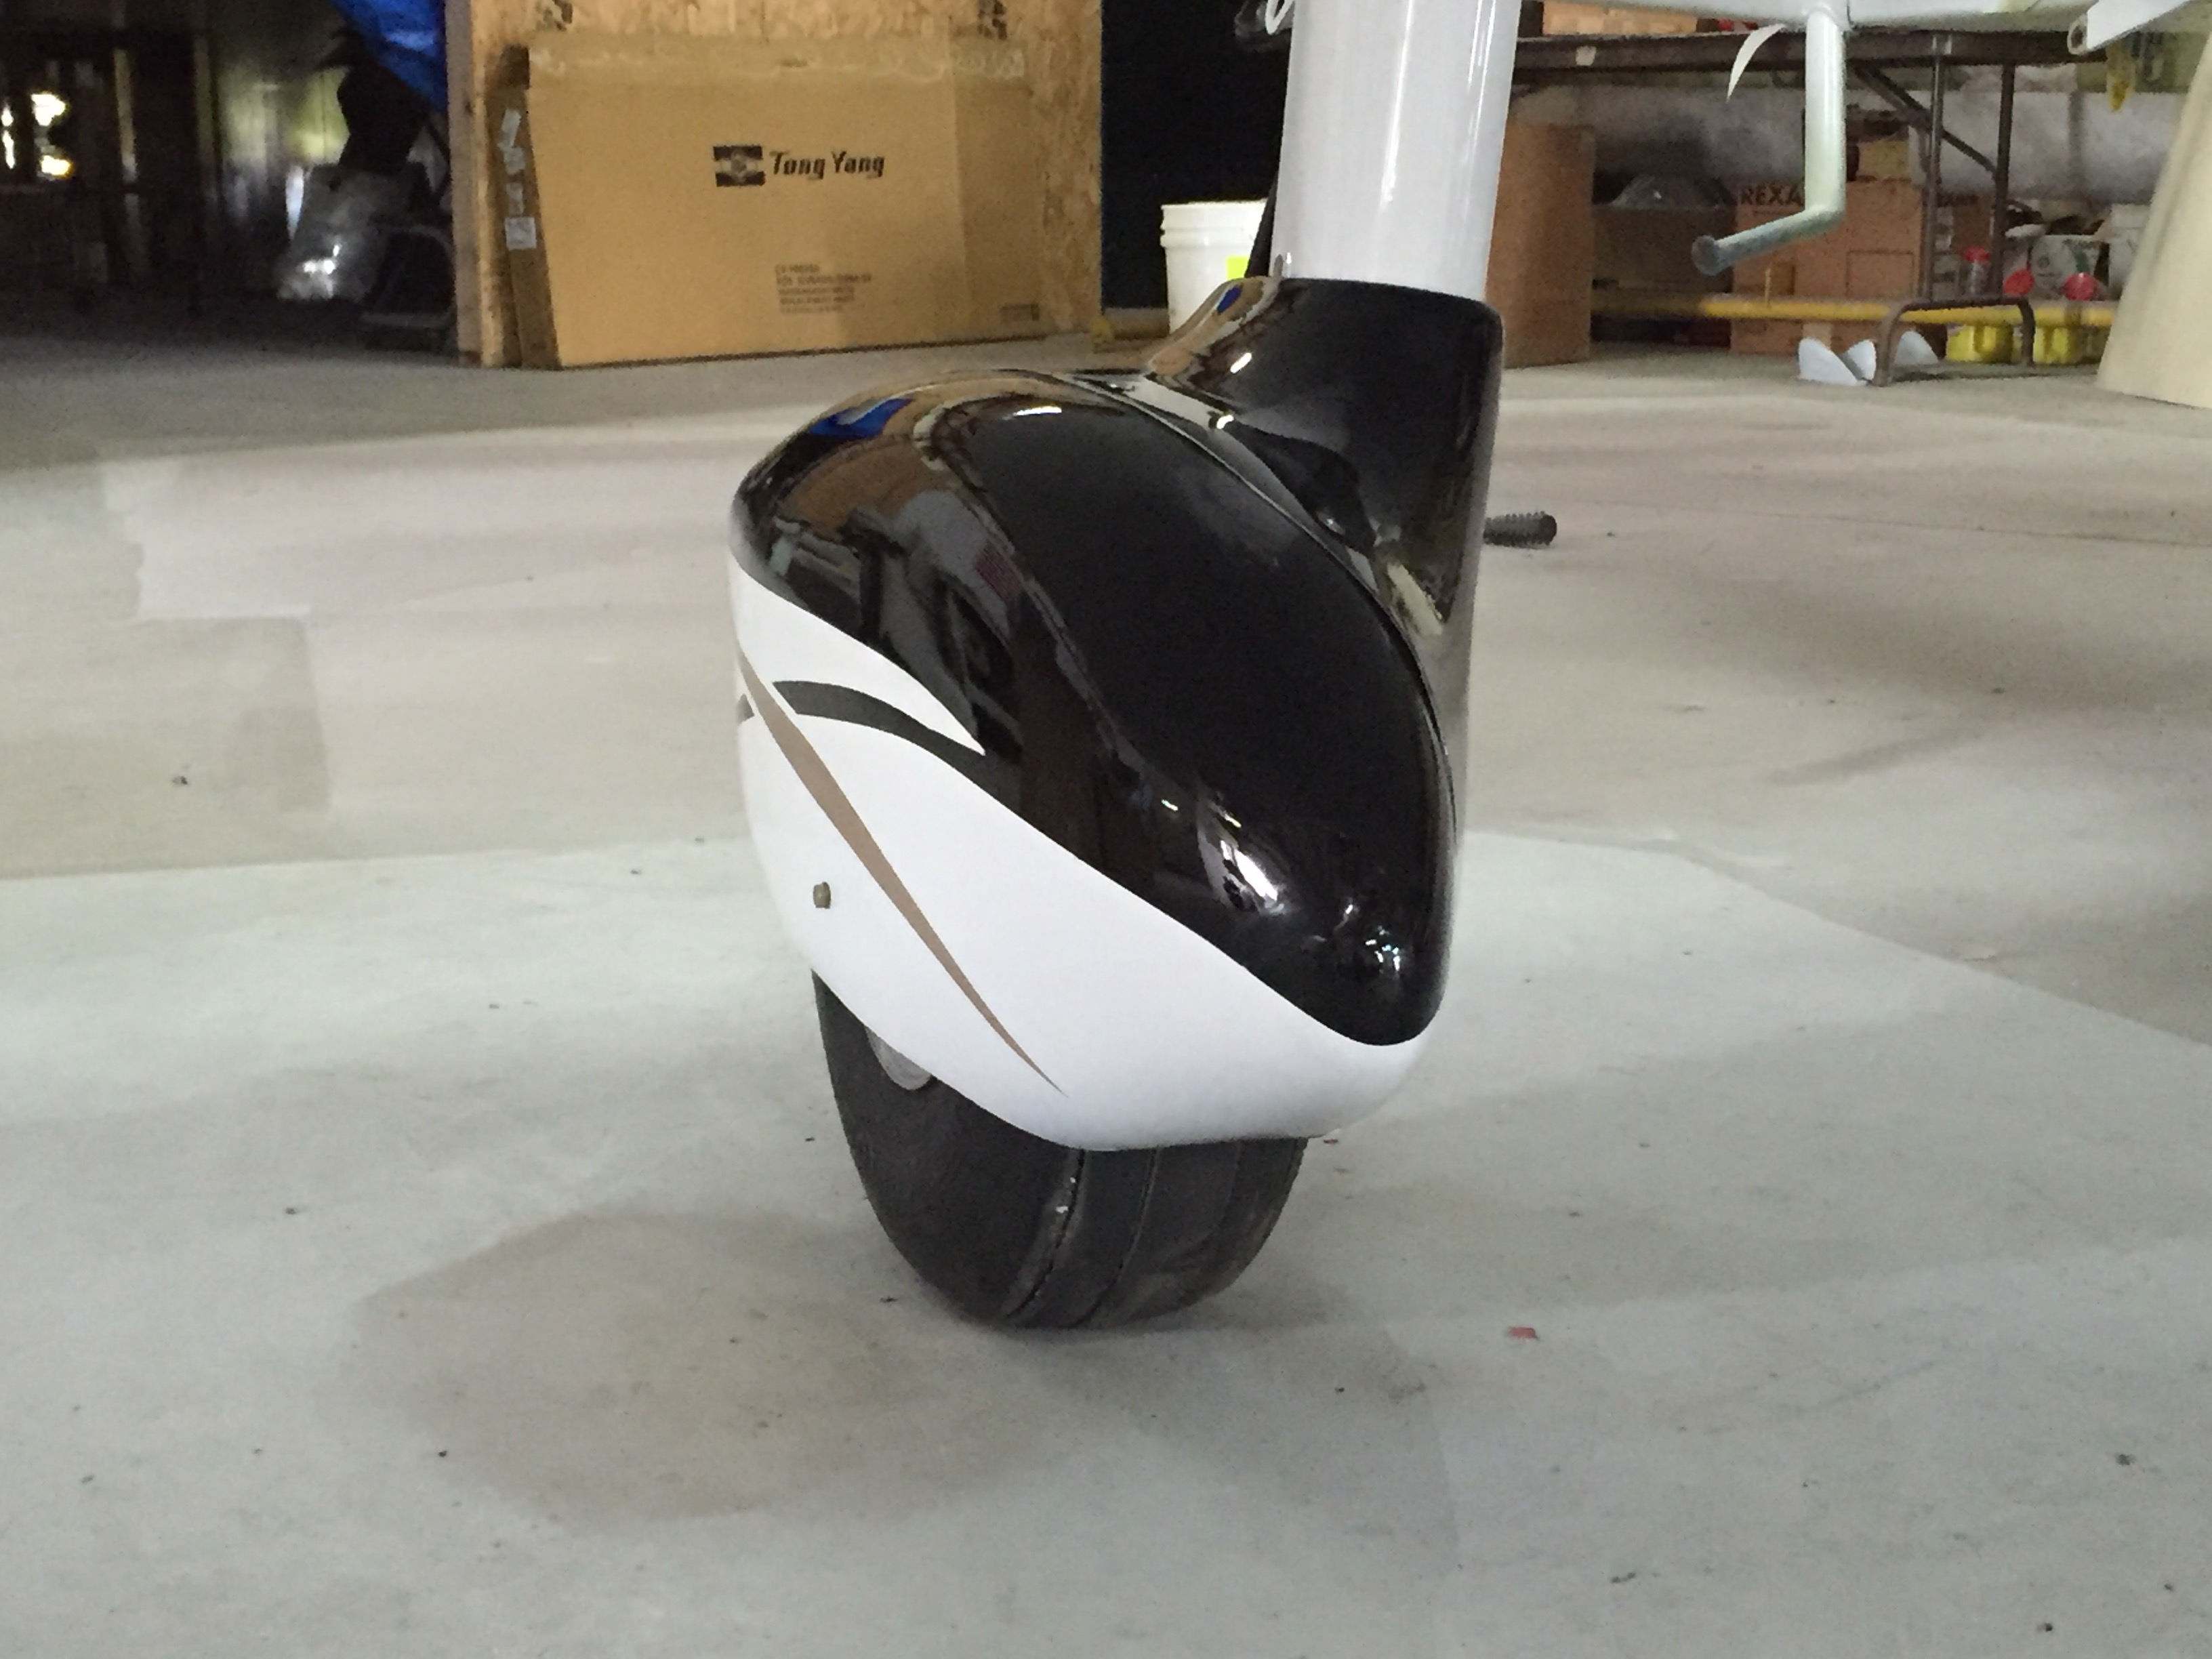
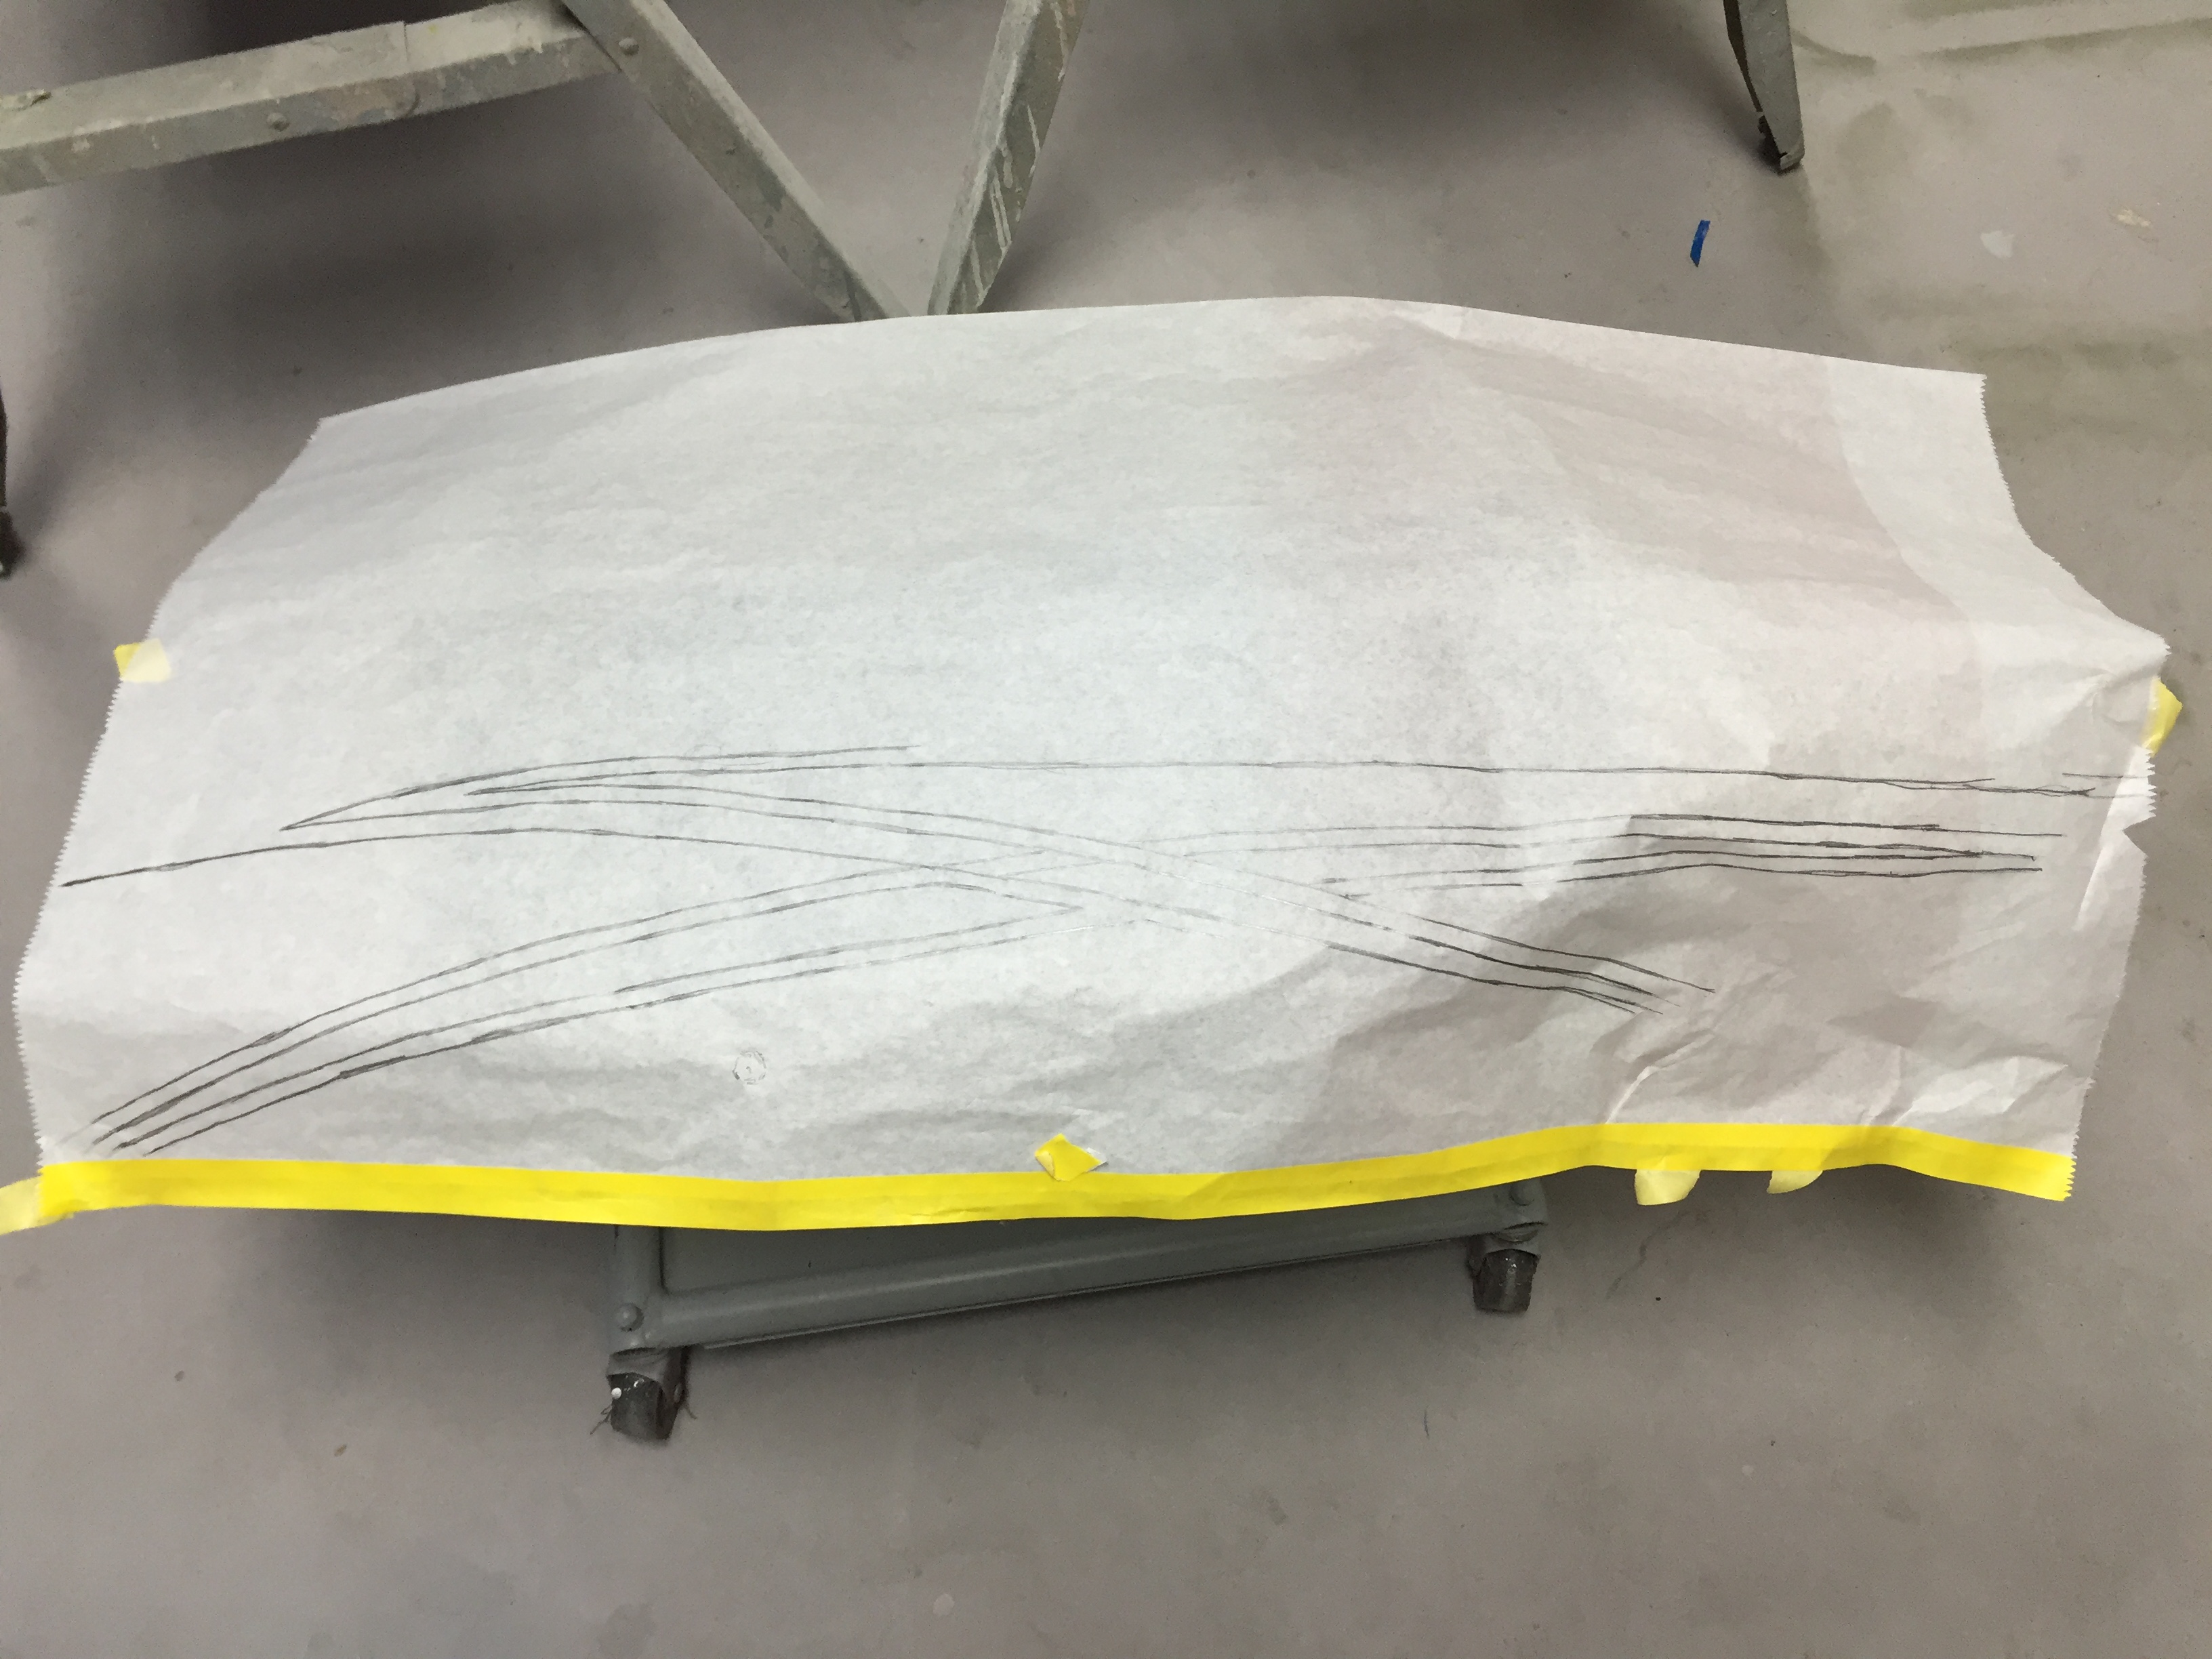
Jet-Glo epoxy corrosion preventative primer is then applied to the exterior surface. After this dries, it is then sanded (I'm old school, so I sand everything). This is then followed with Jet-Glo Matterhorn White. I've done a sketch art design to reflect what I'll do with the wheel pant stripes.
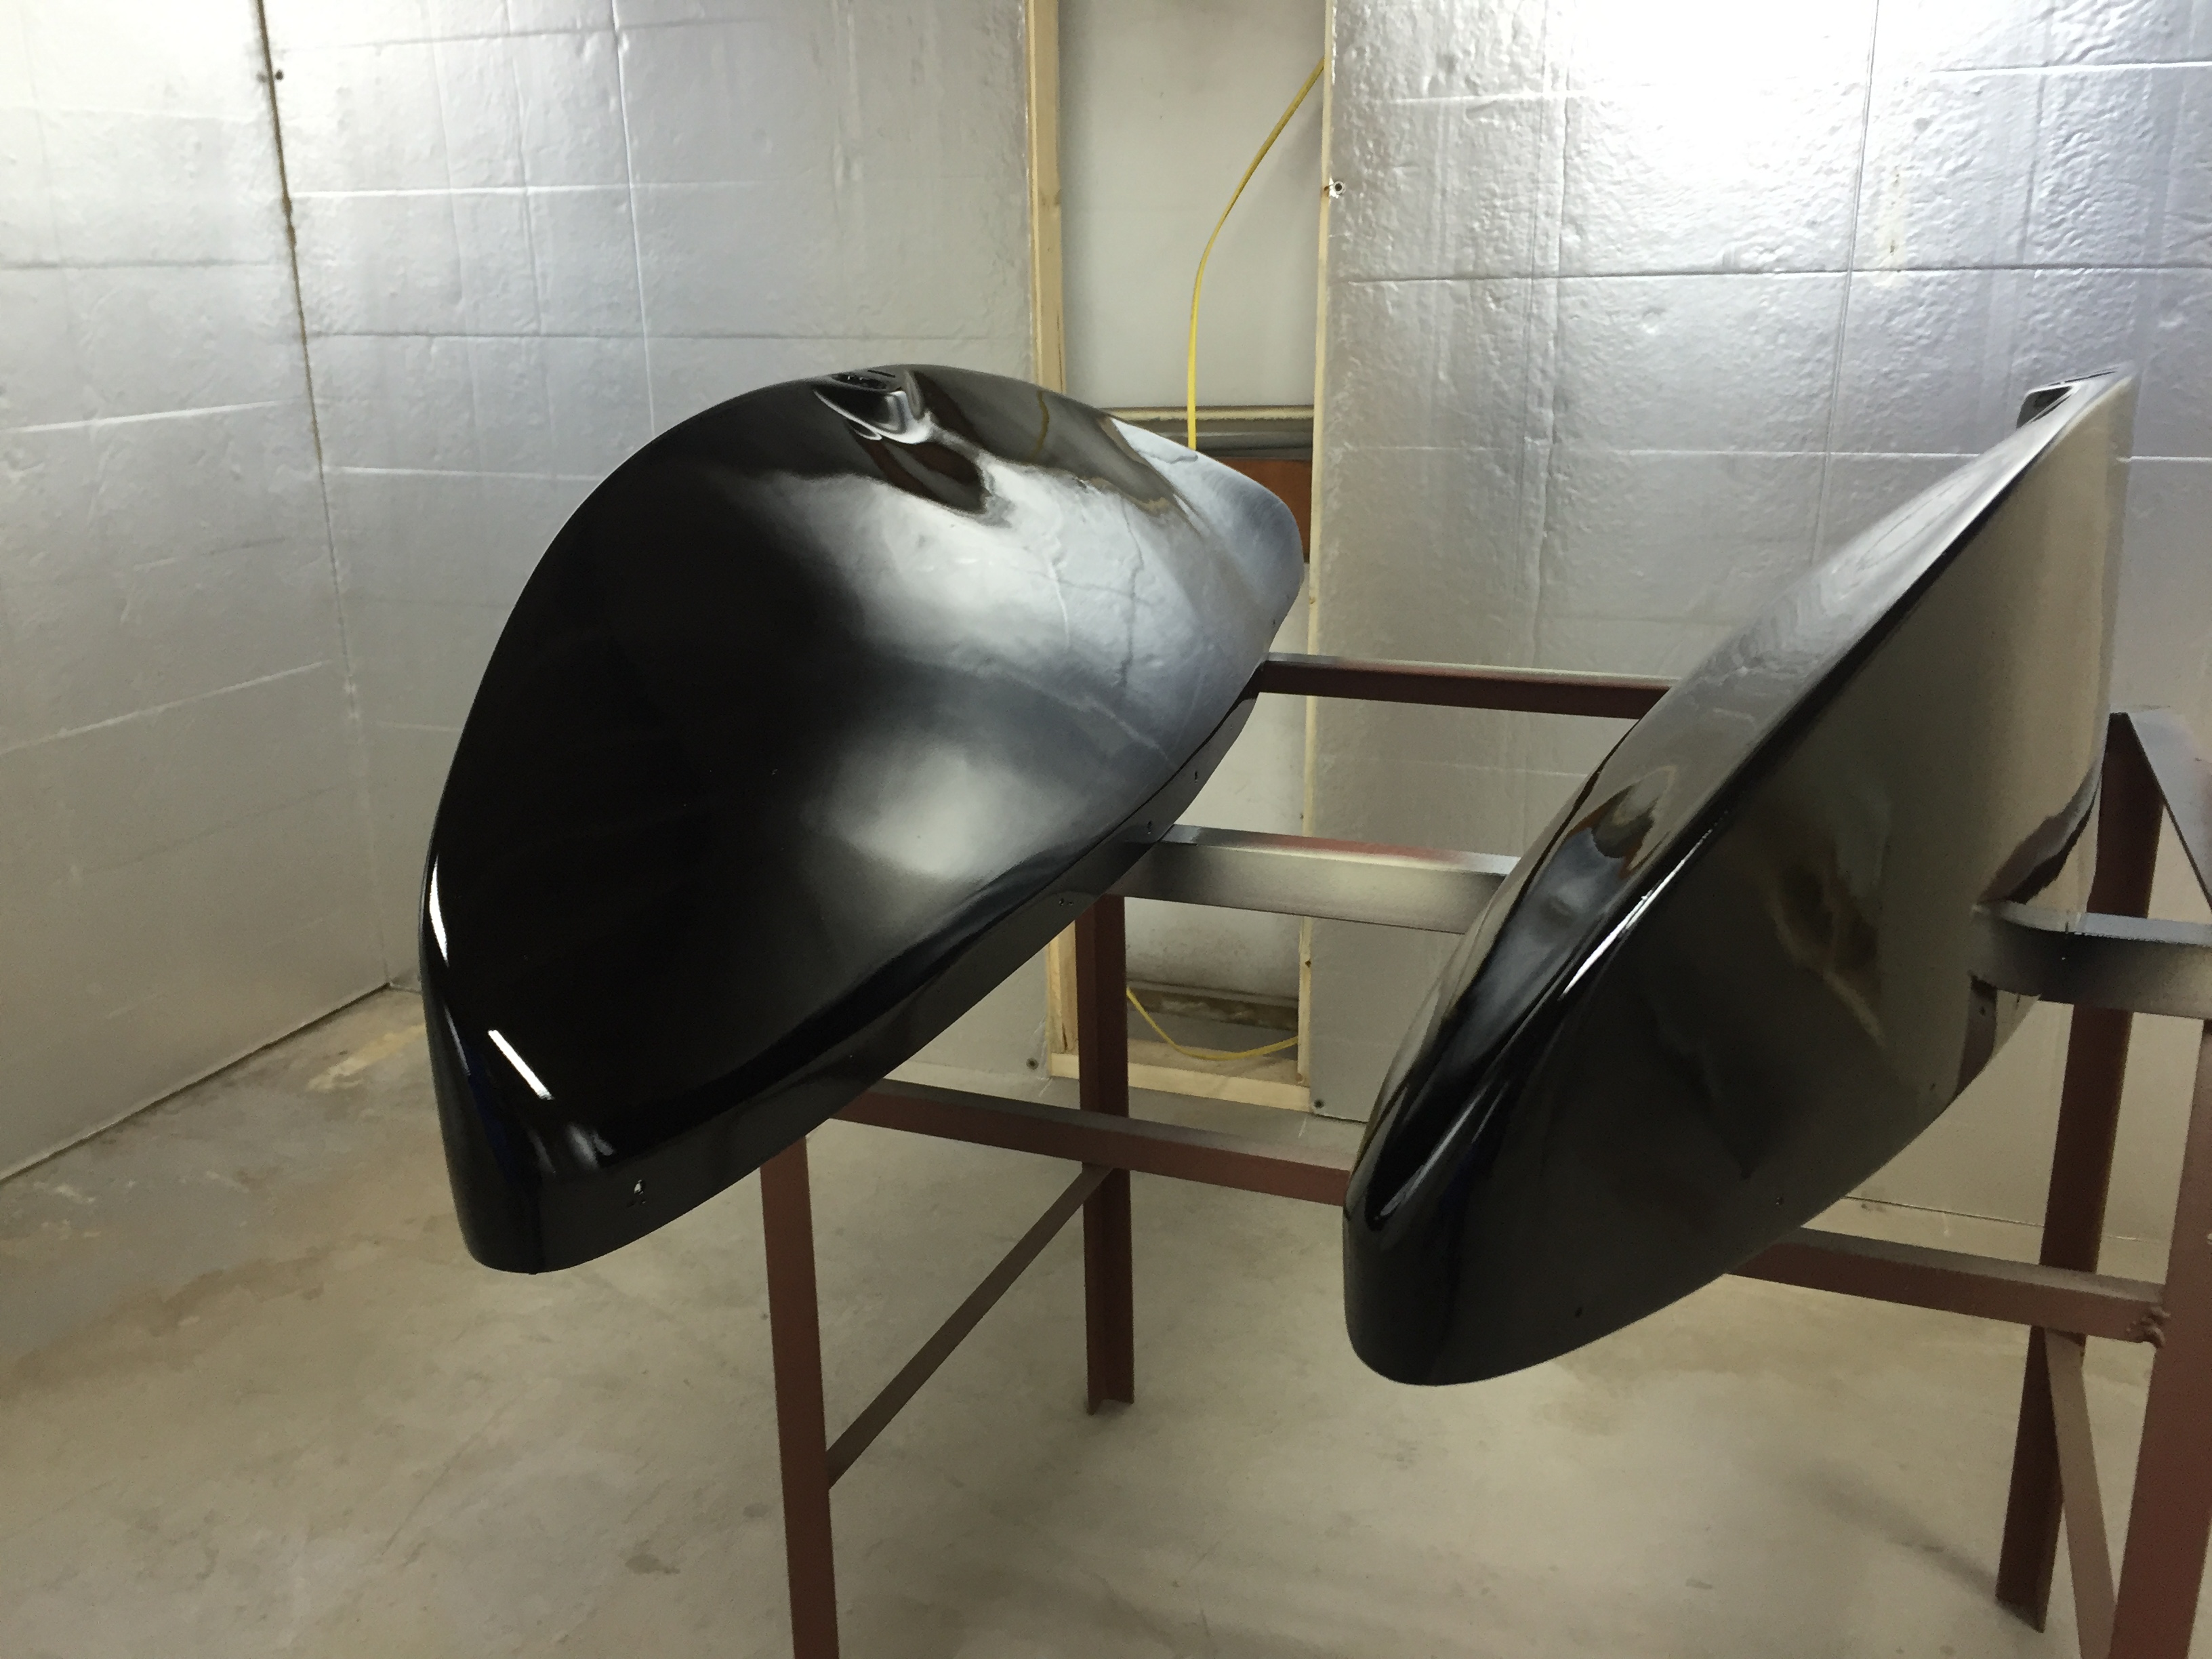
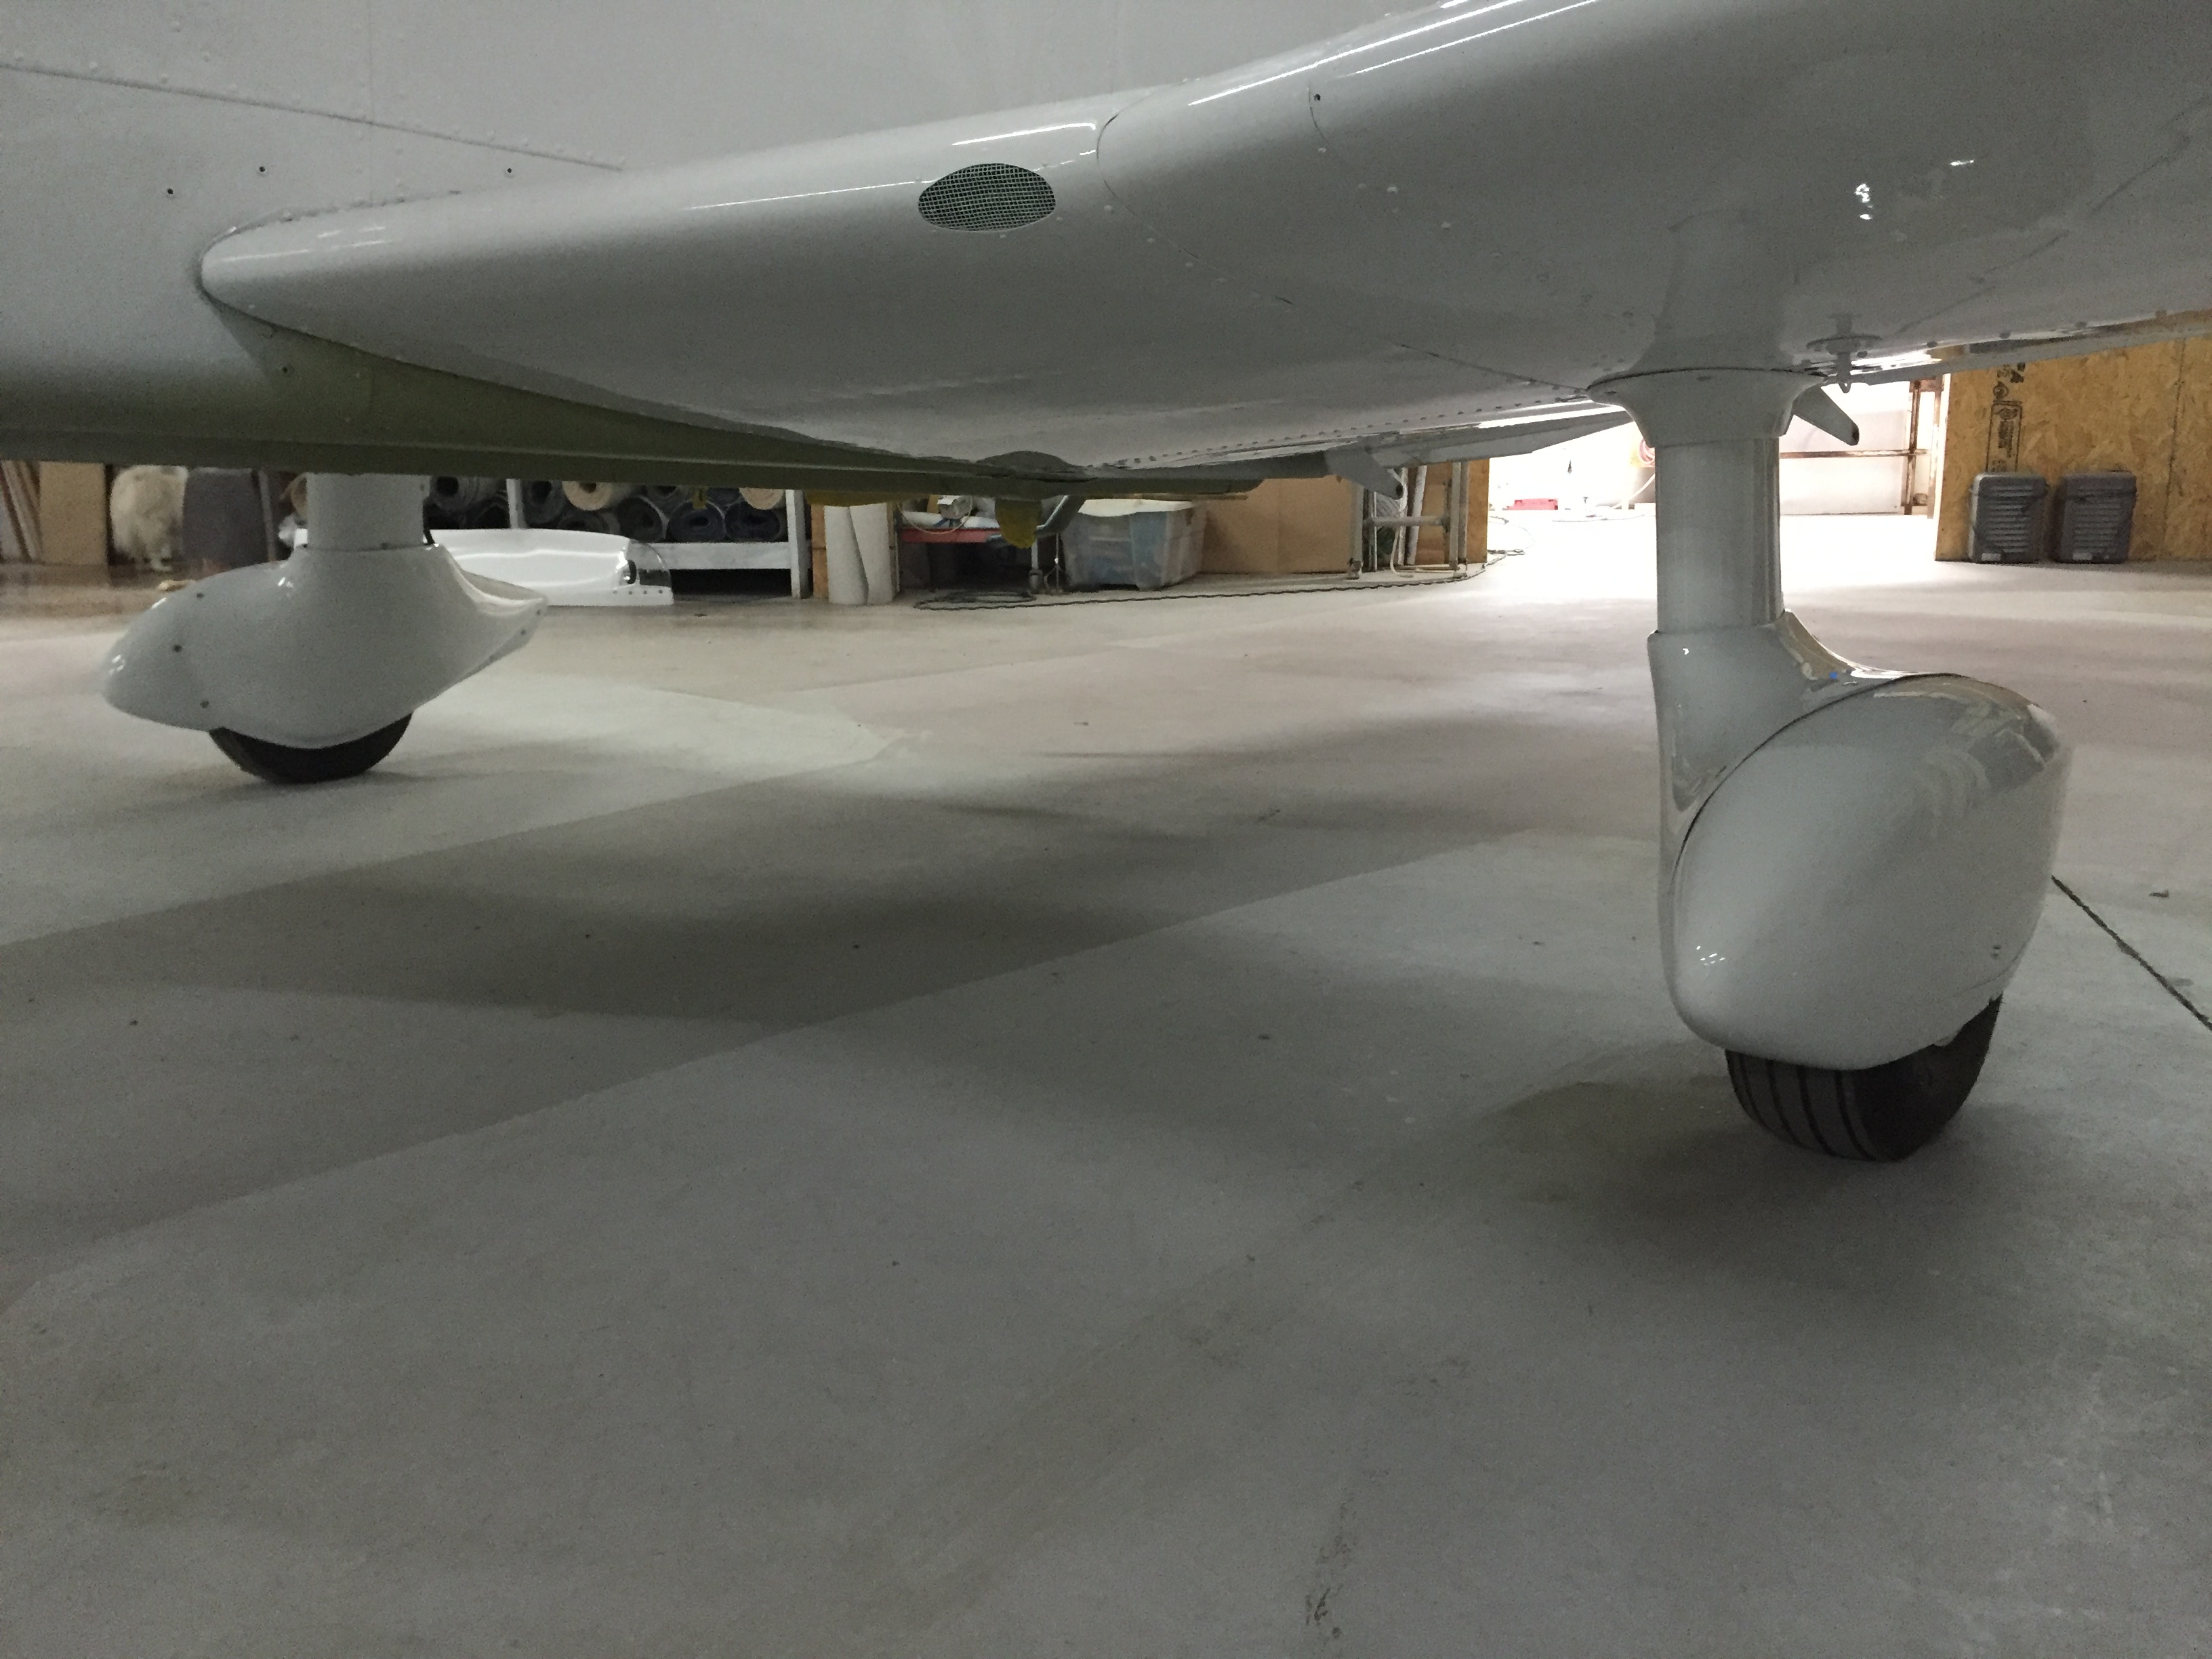
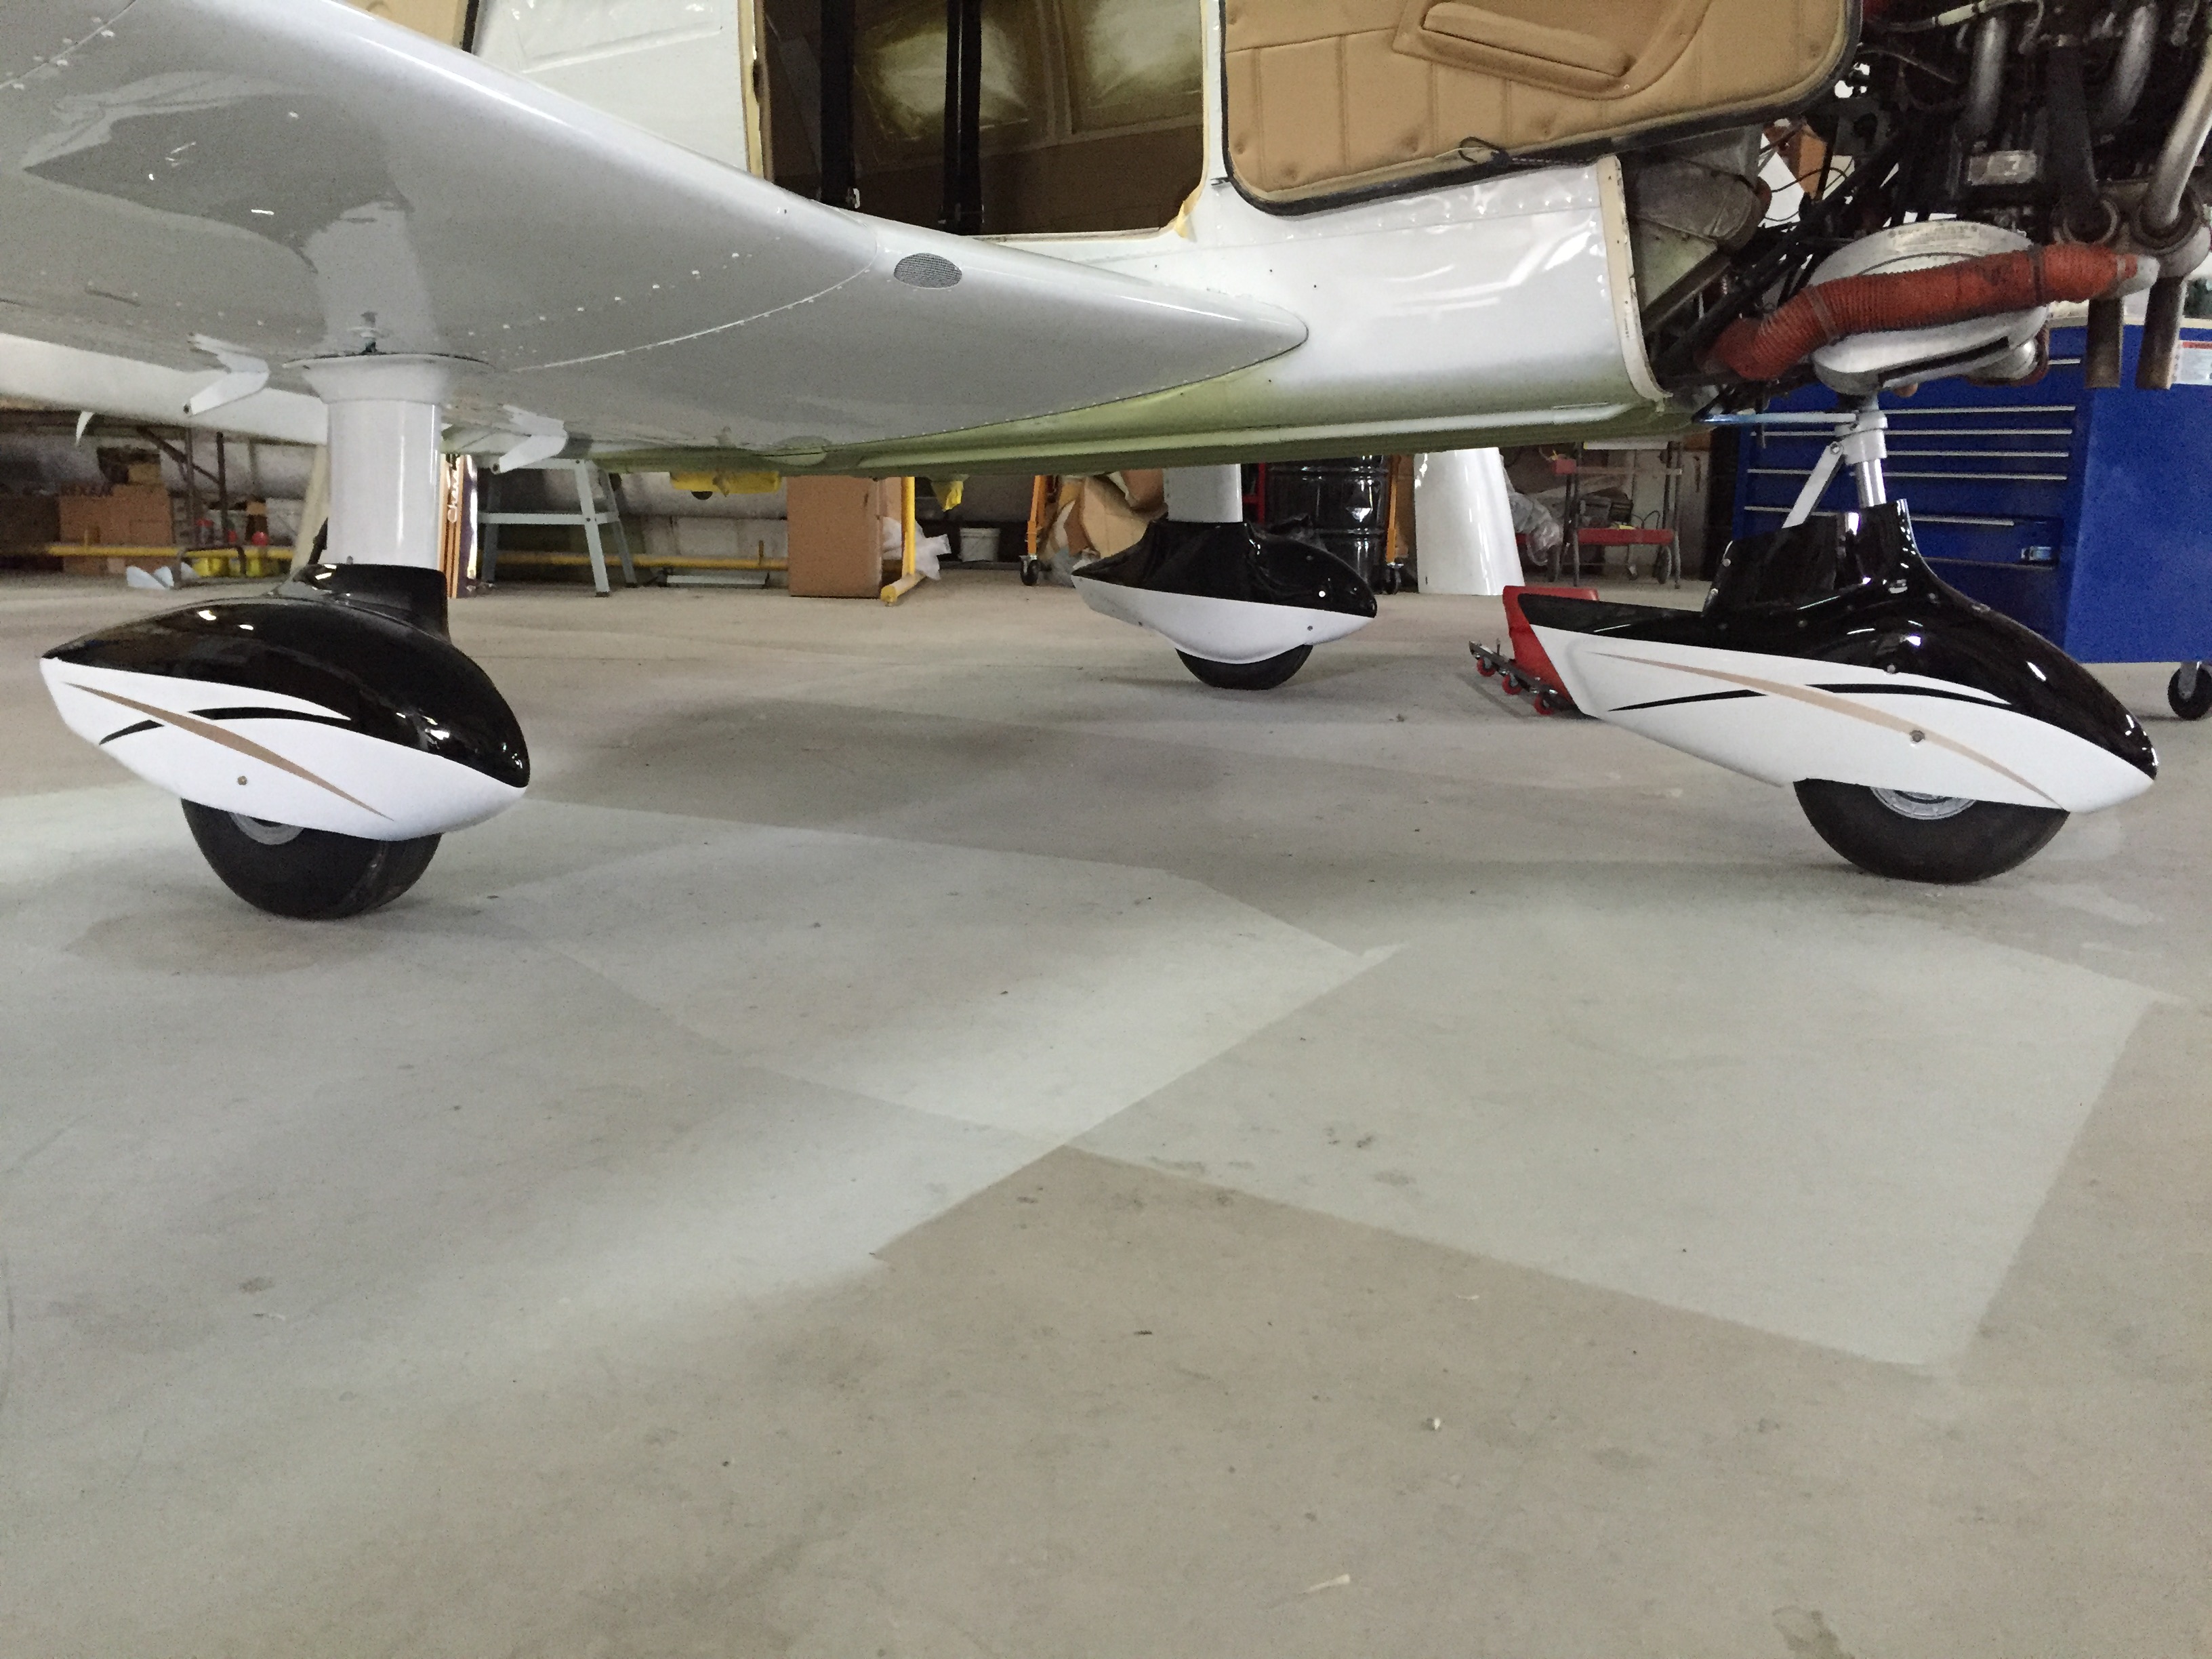
We decided to go ahead with new main landing gear and brake fairing modifications. Also, the nose gear fairing mod as well as replacing the droop wing tips with the horner style. These are being fitted to the aircraft and painted during the process.
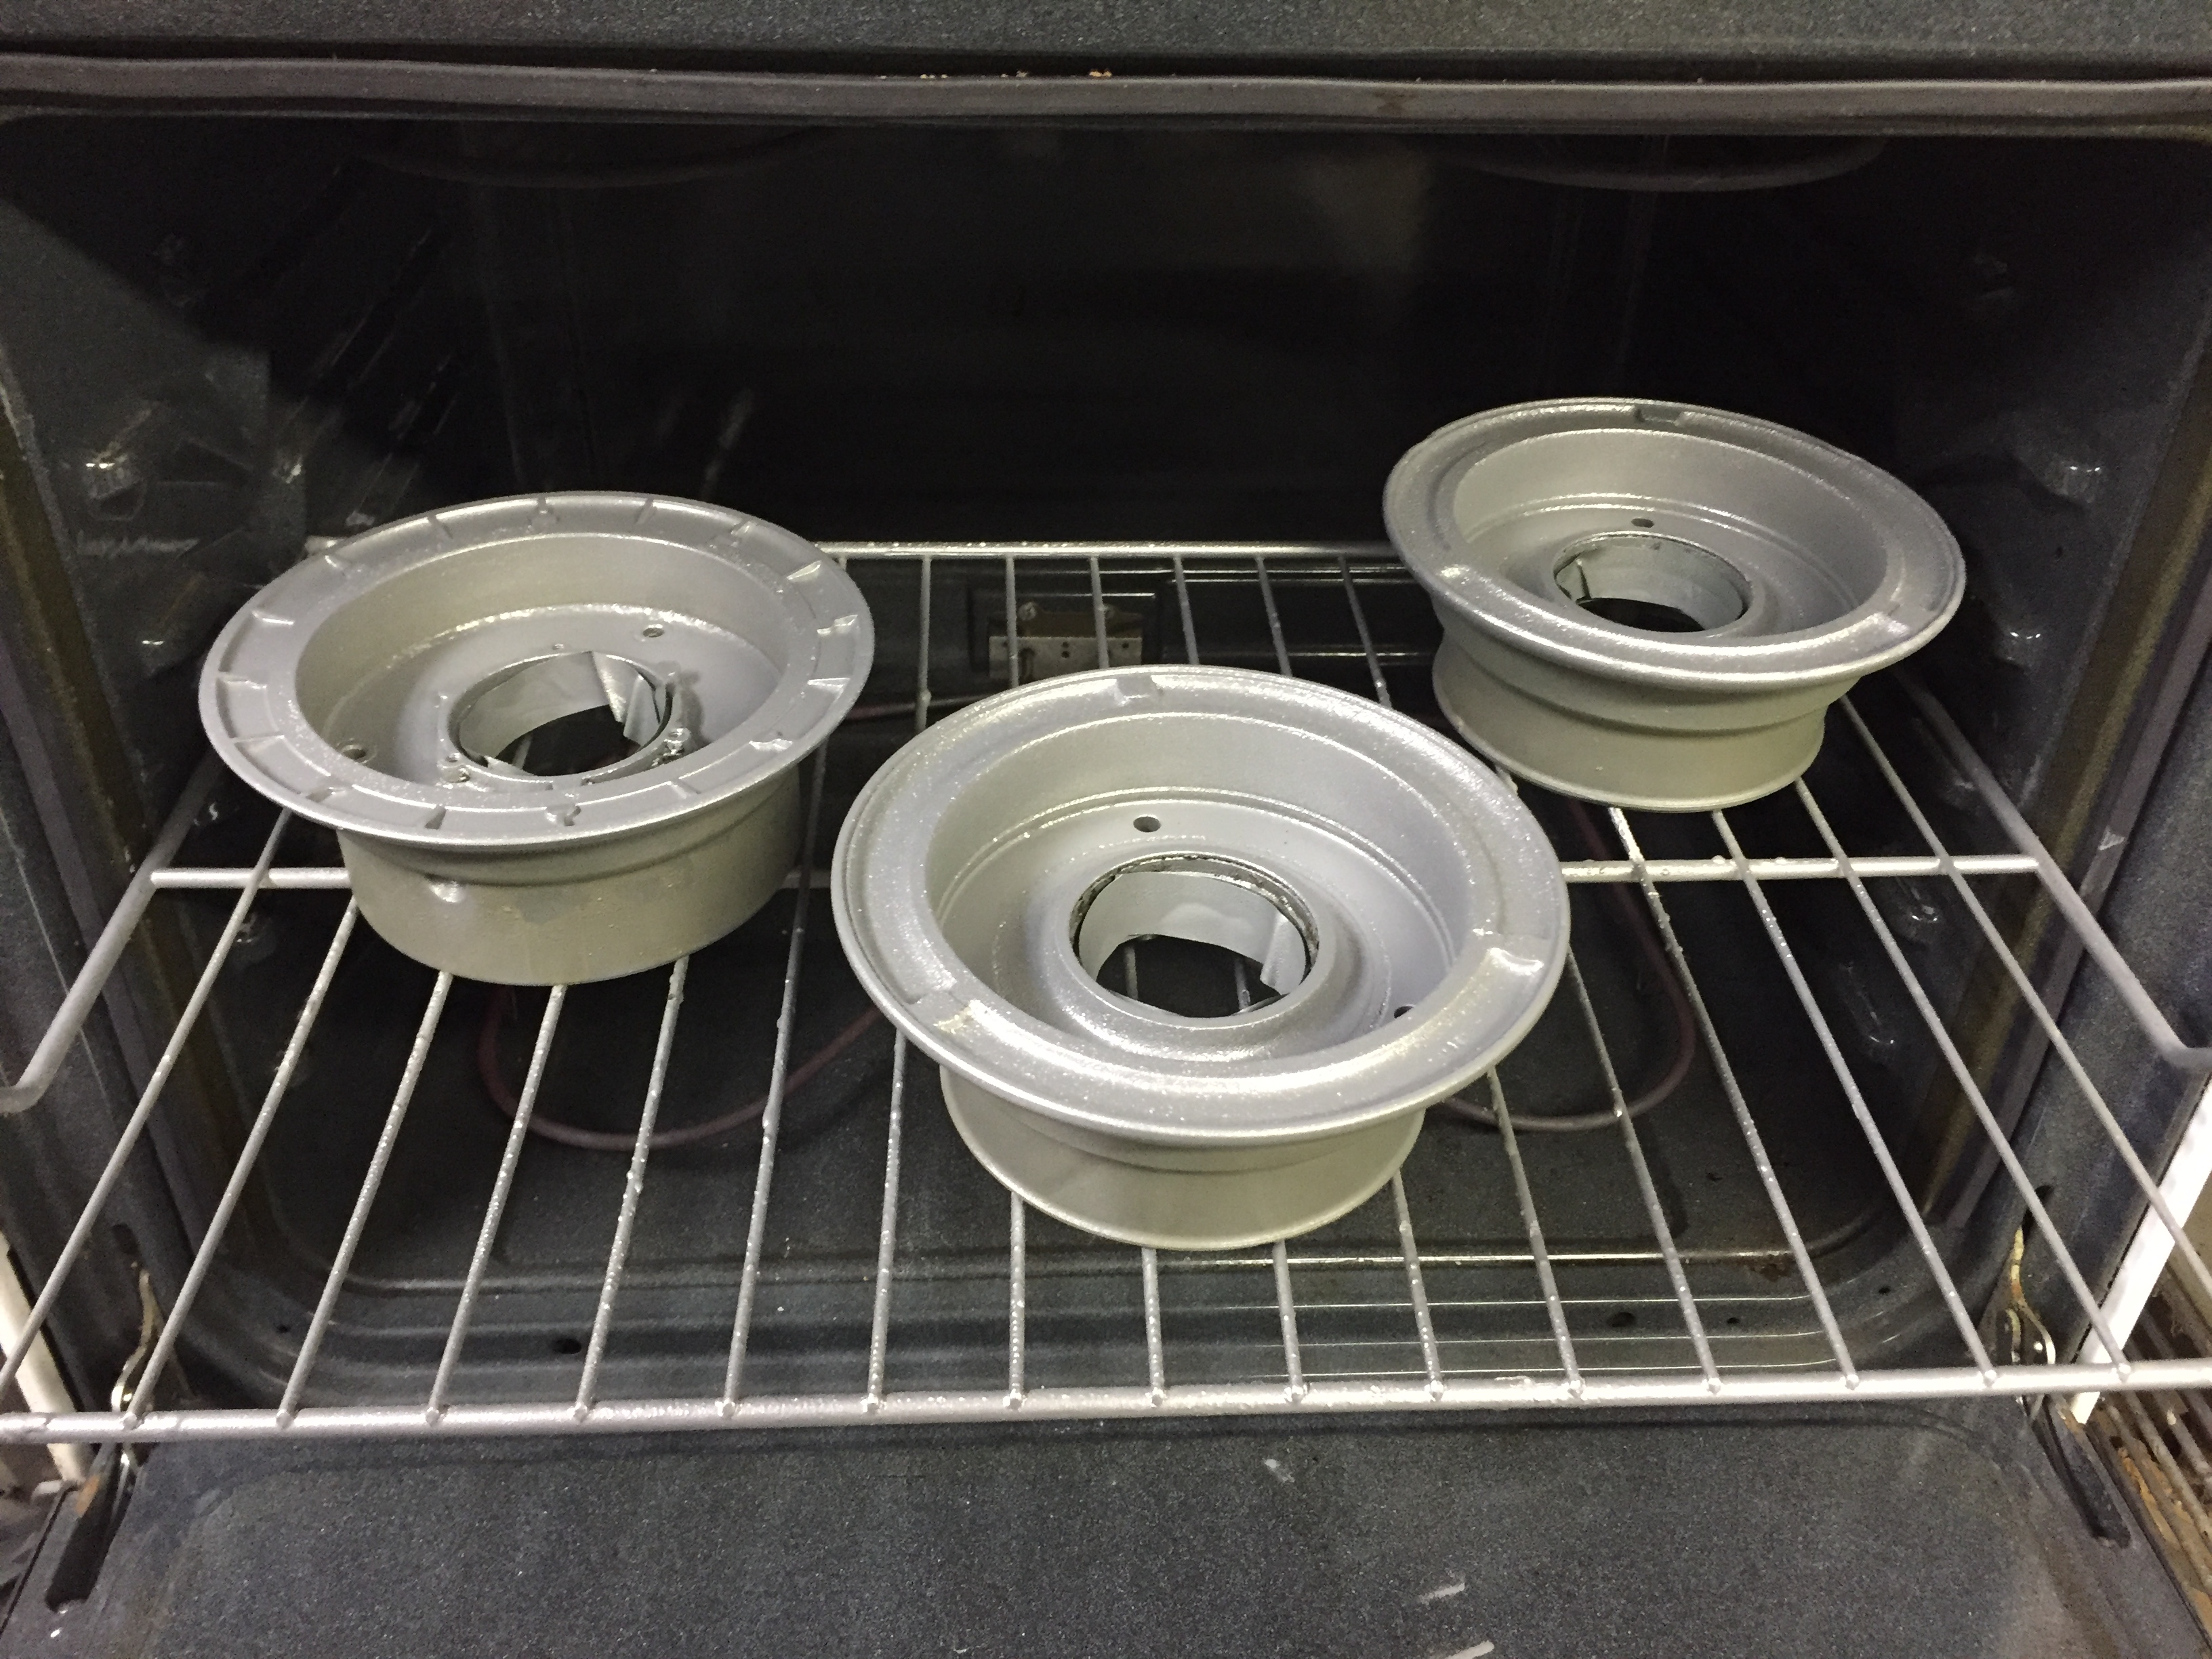
Lots of other inside work just to get it to this point. Both brake master cylinders were resealed, brake hoses at the master cylinders were replaced with new, the nose gear strut was resealed, all tire tubes replaced with 90 degree valve stems, all three gear struts serviced with nitrogen, gear strut housings and torque links repainted, and all wheel bearings cleaned and repacked. After all this work, plus powder coating the wheel halves with silver, we are now beginning to see some results for all the effort.
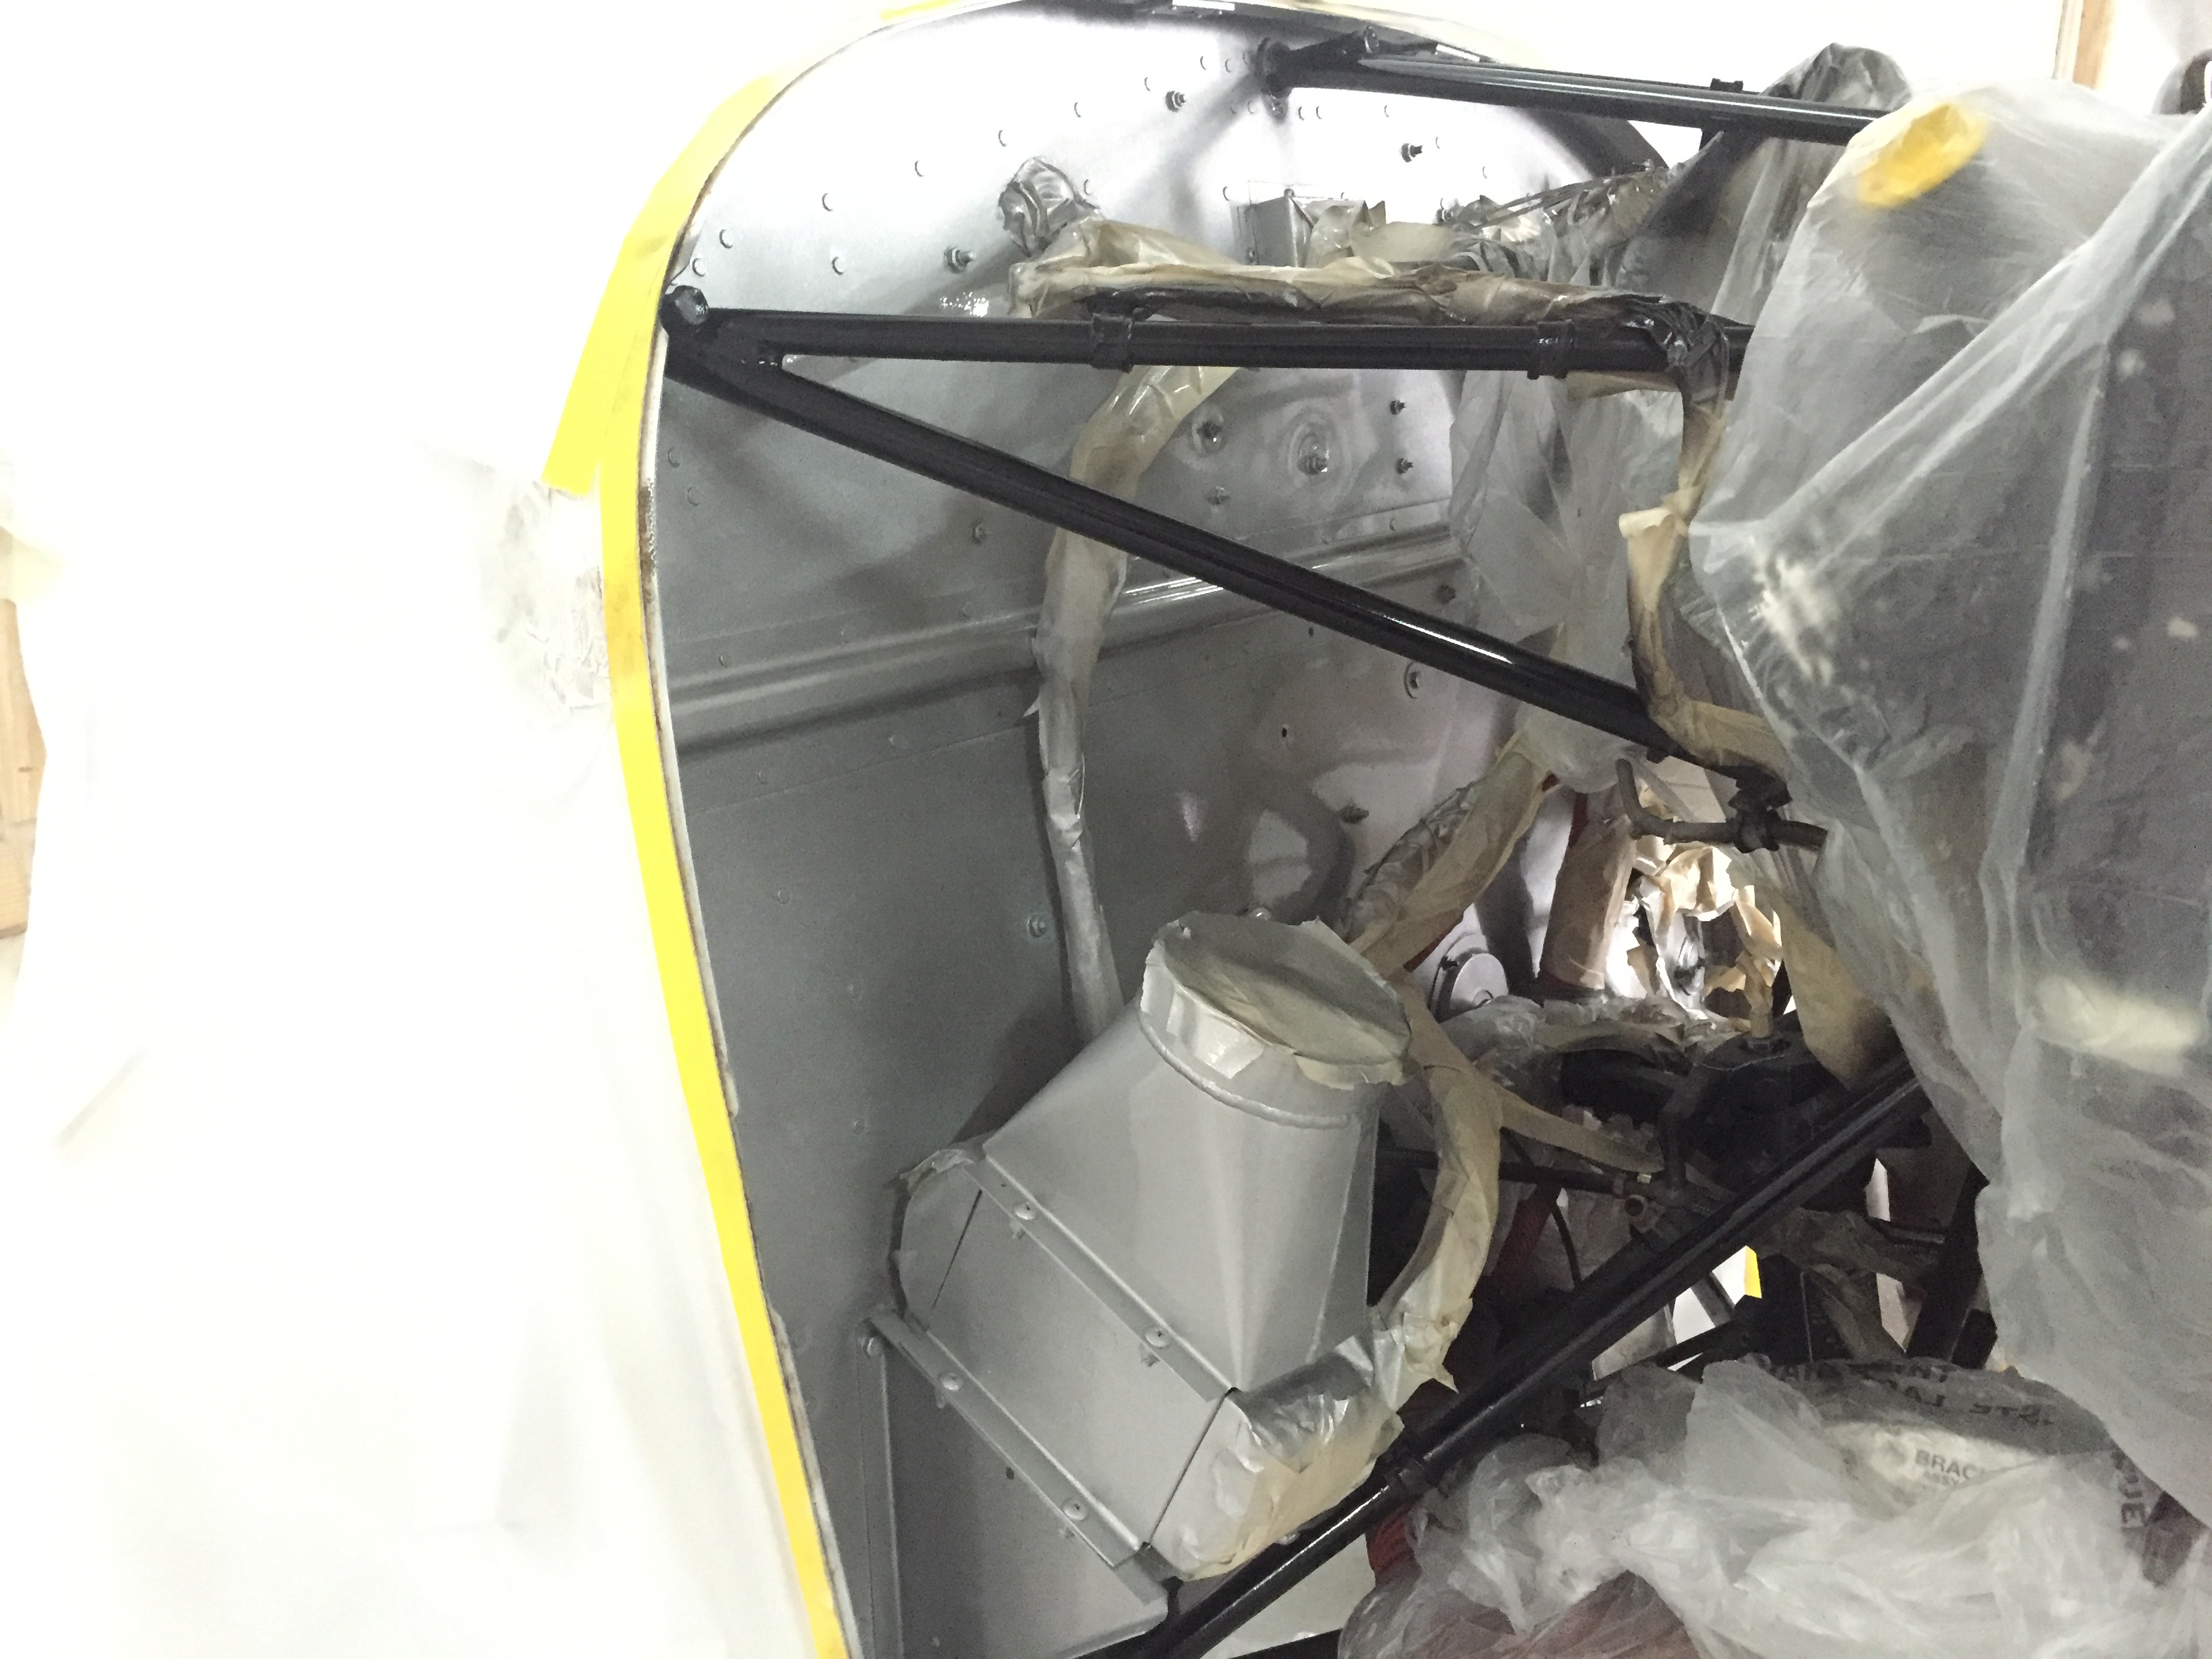
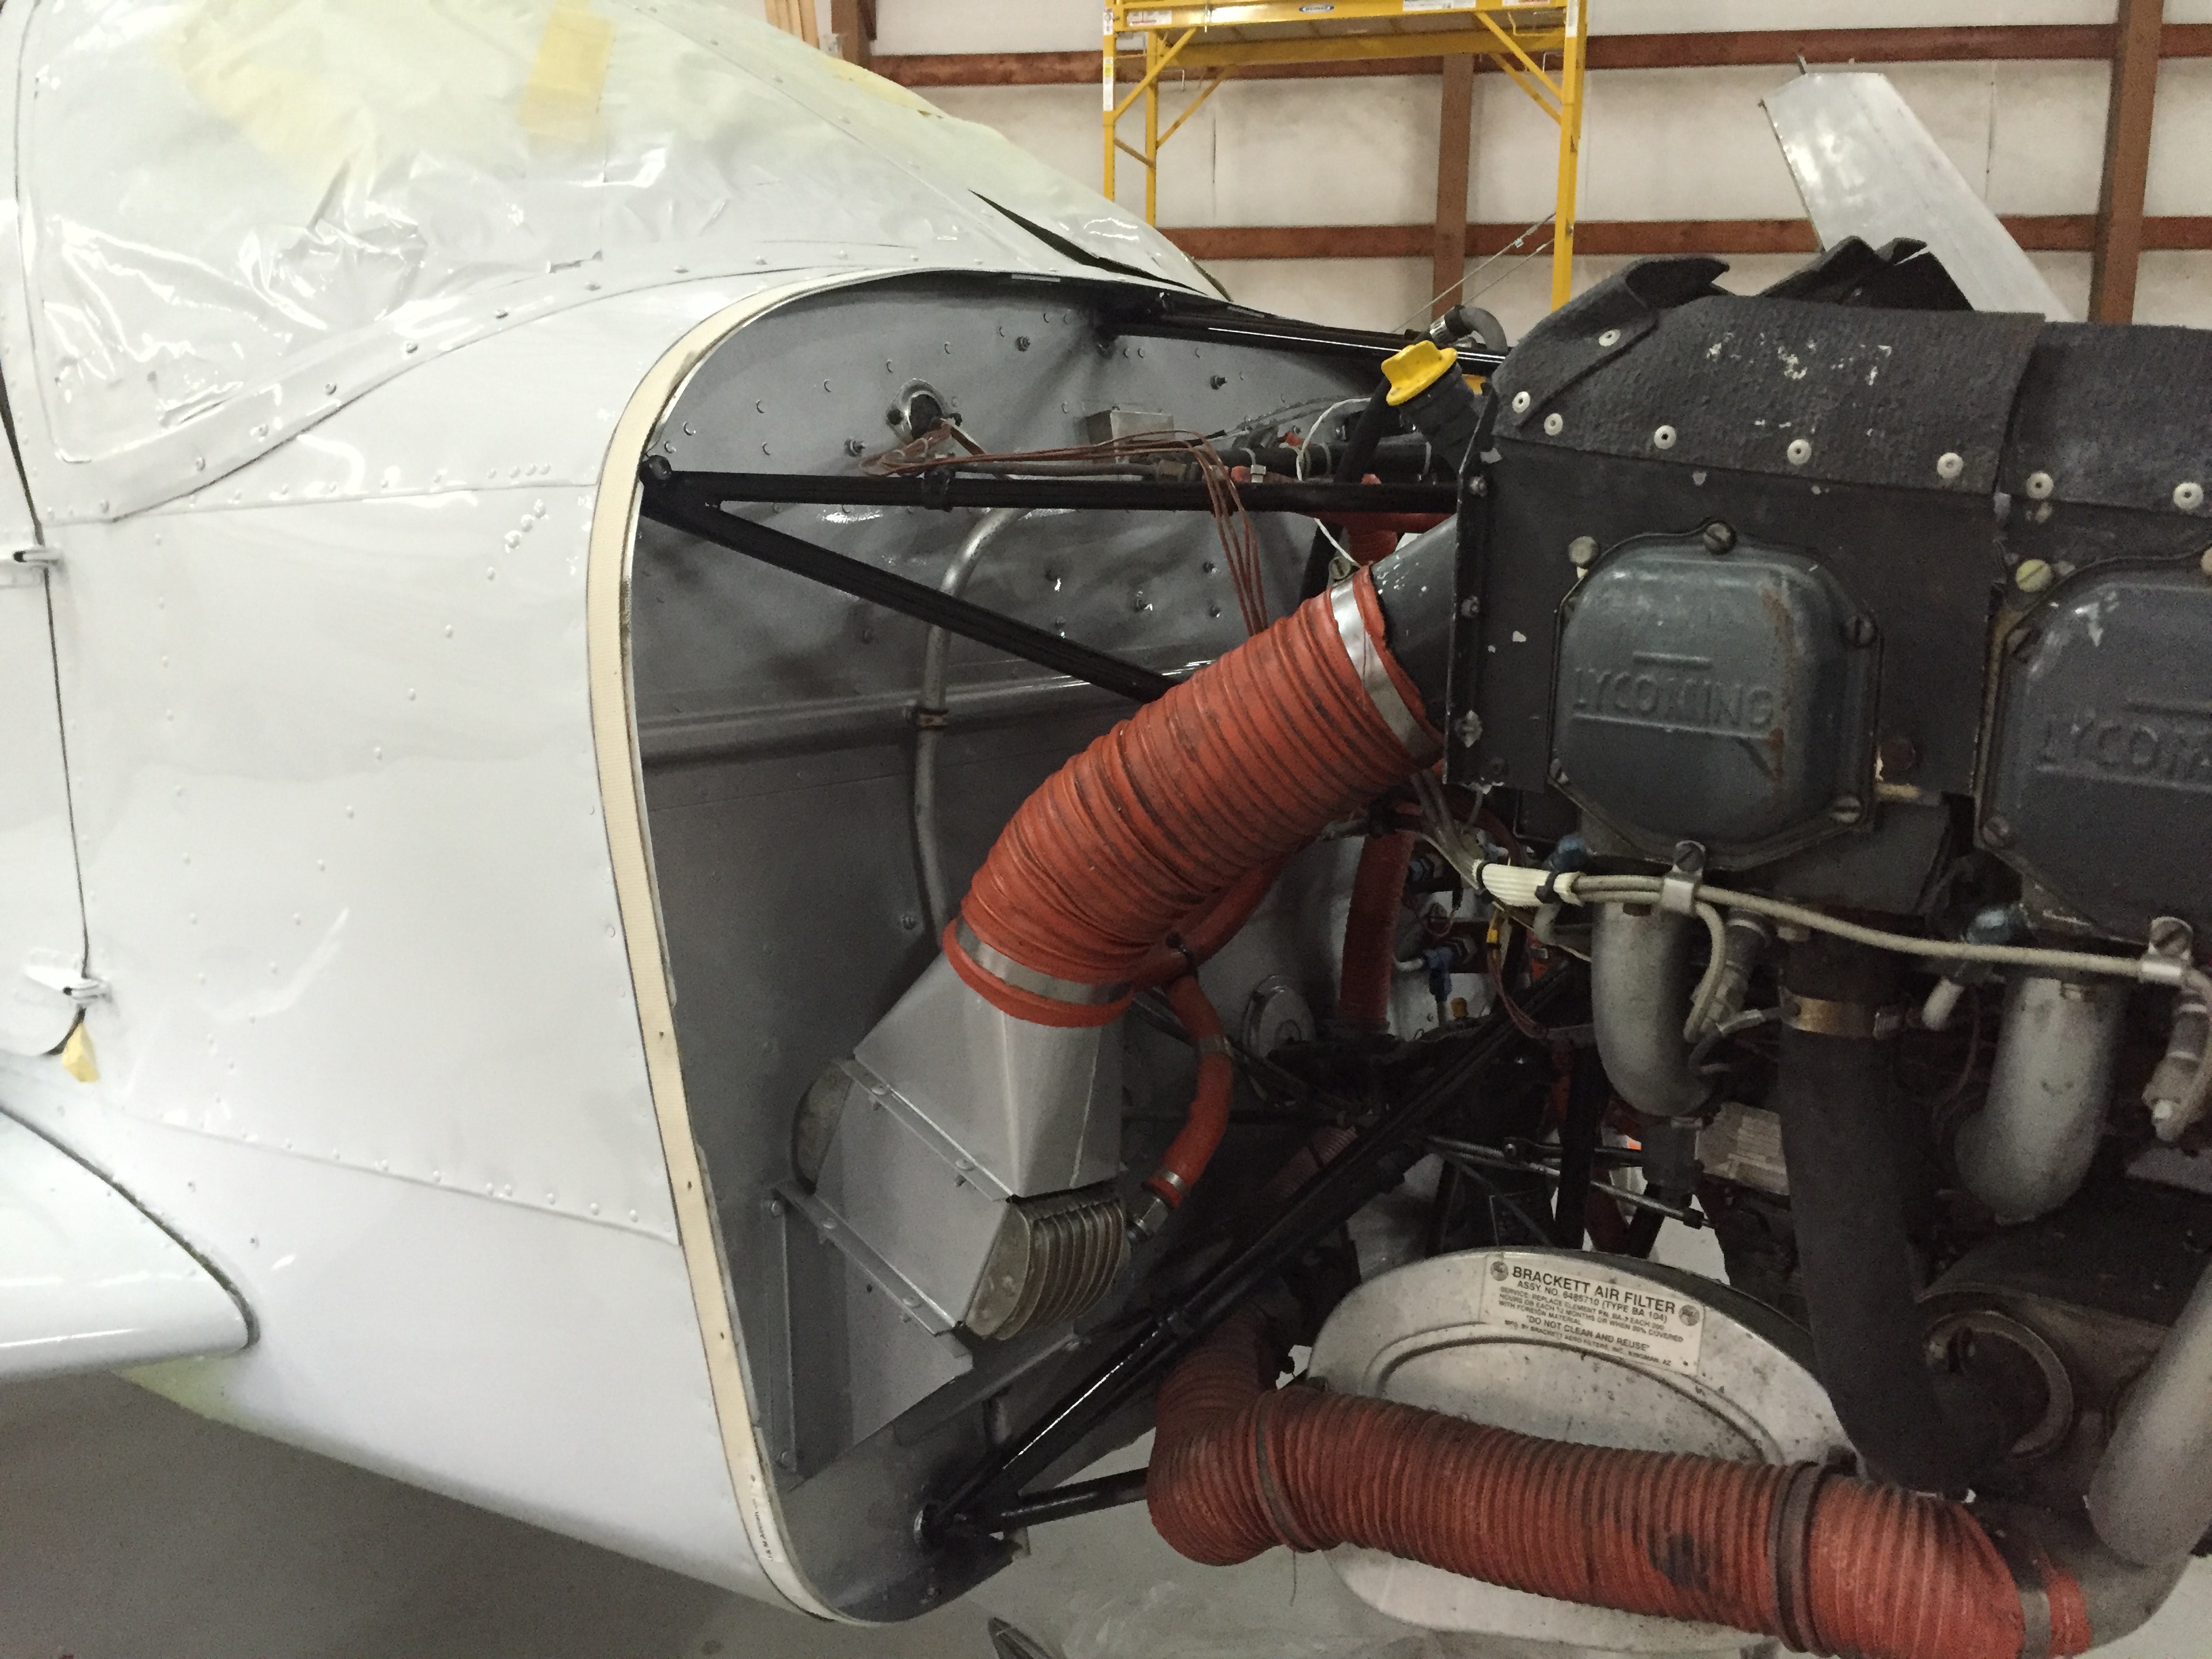
Something needed to be done with the nasty firewall. There was nothing really bad here, but it definitely needed some attention. Its hard to tell if you have an oil leak if everything inside the engine compartment is not clean and well kept. So, I primed the firewall with epoxy primer and refinished with Acryl-Glo Titanium Silver Metallic. Also, repainted the engine mount in black while I was in there. Applied new cowl chafe seal here since the old one had seen better days. Spent an unheard of amount of time on the stripe layout, but now we are finally beginning to see that we have something truly special here.
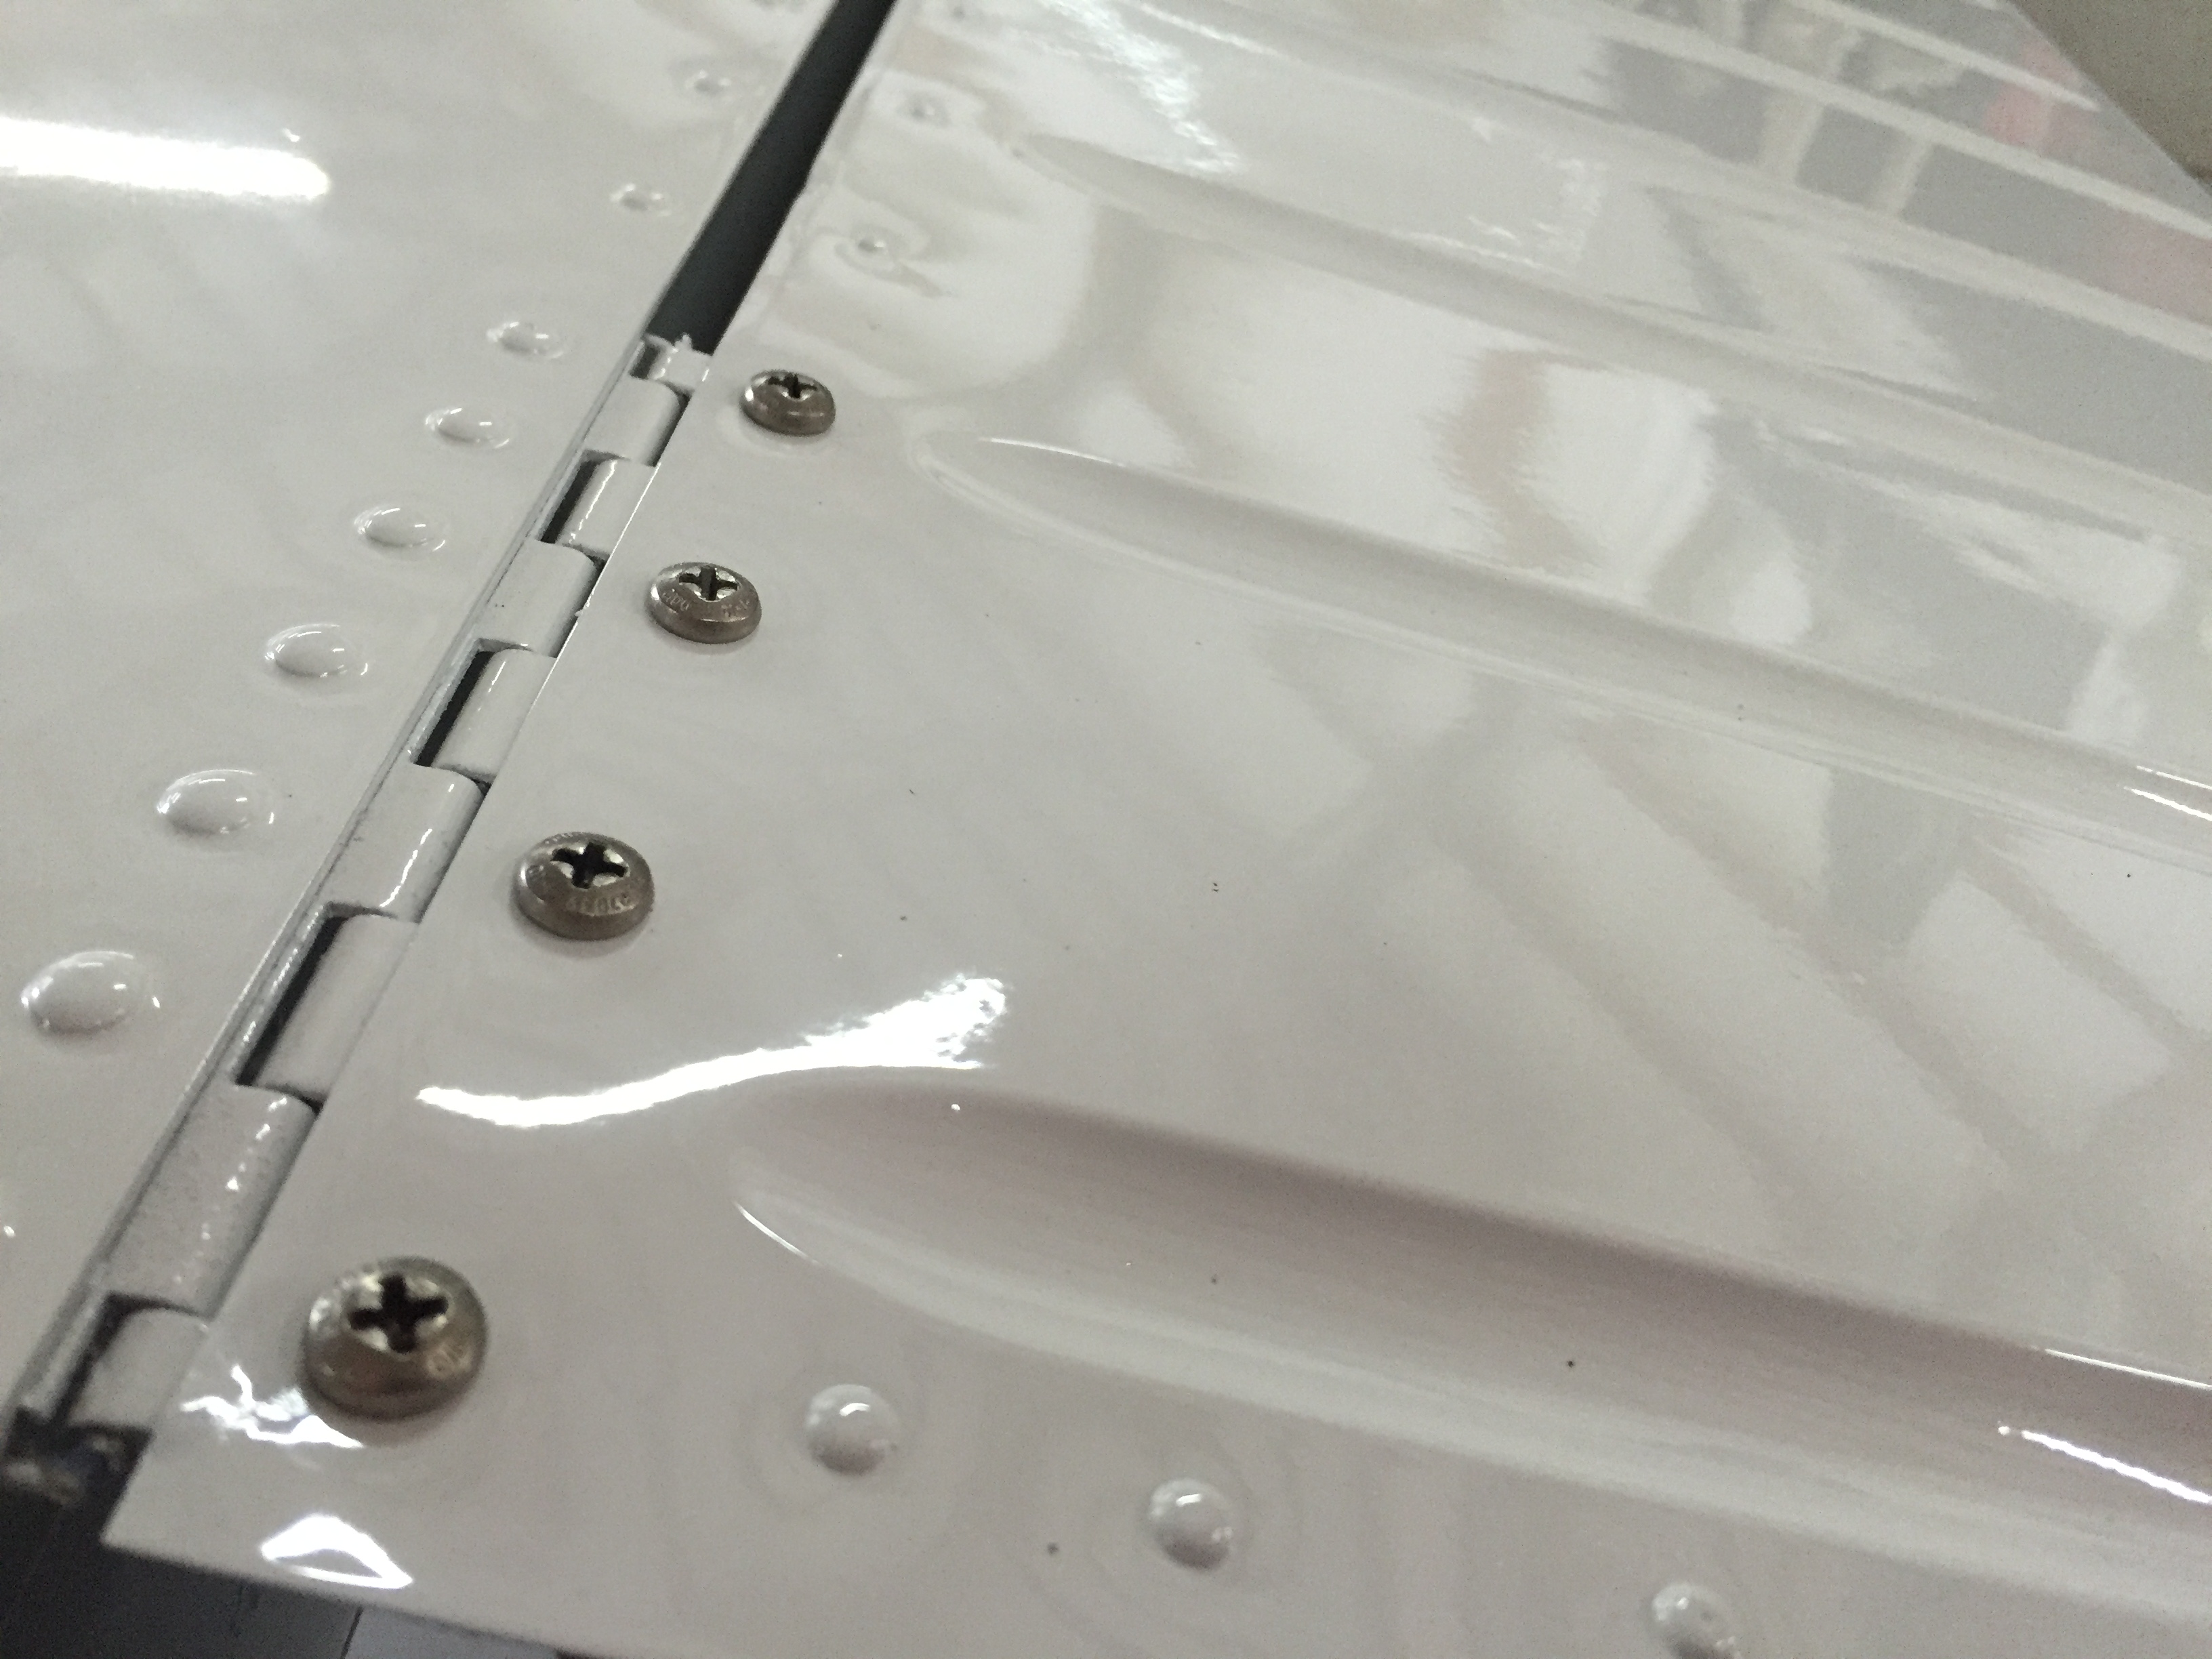
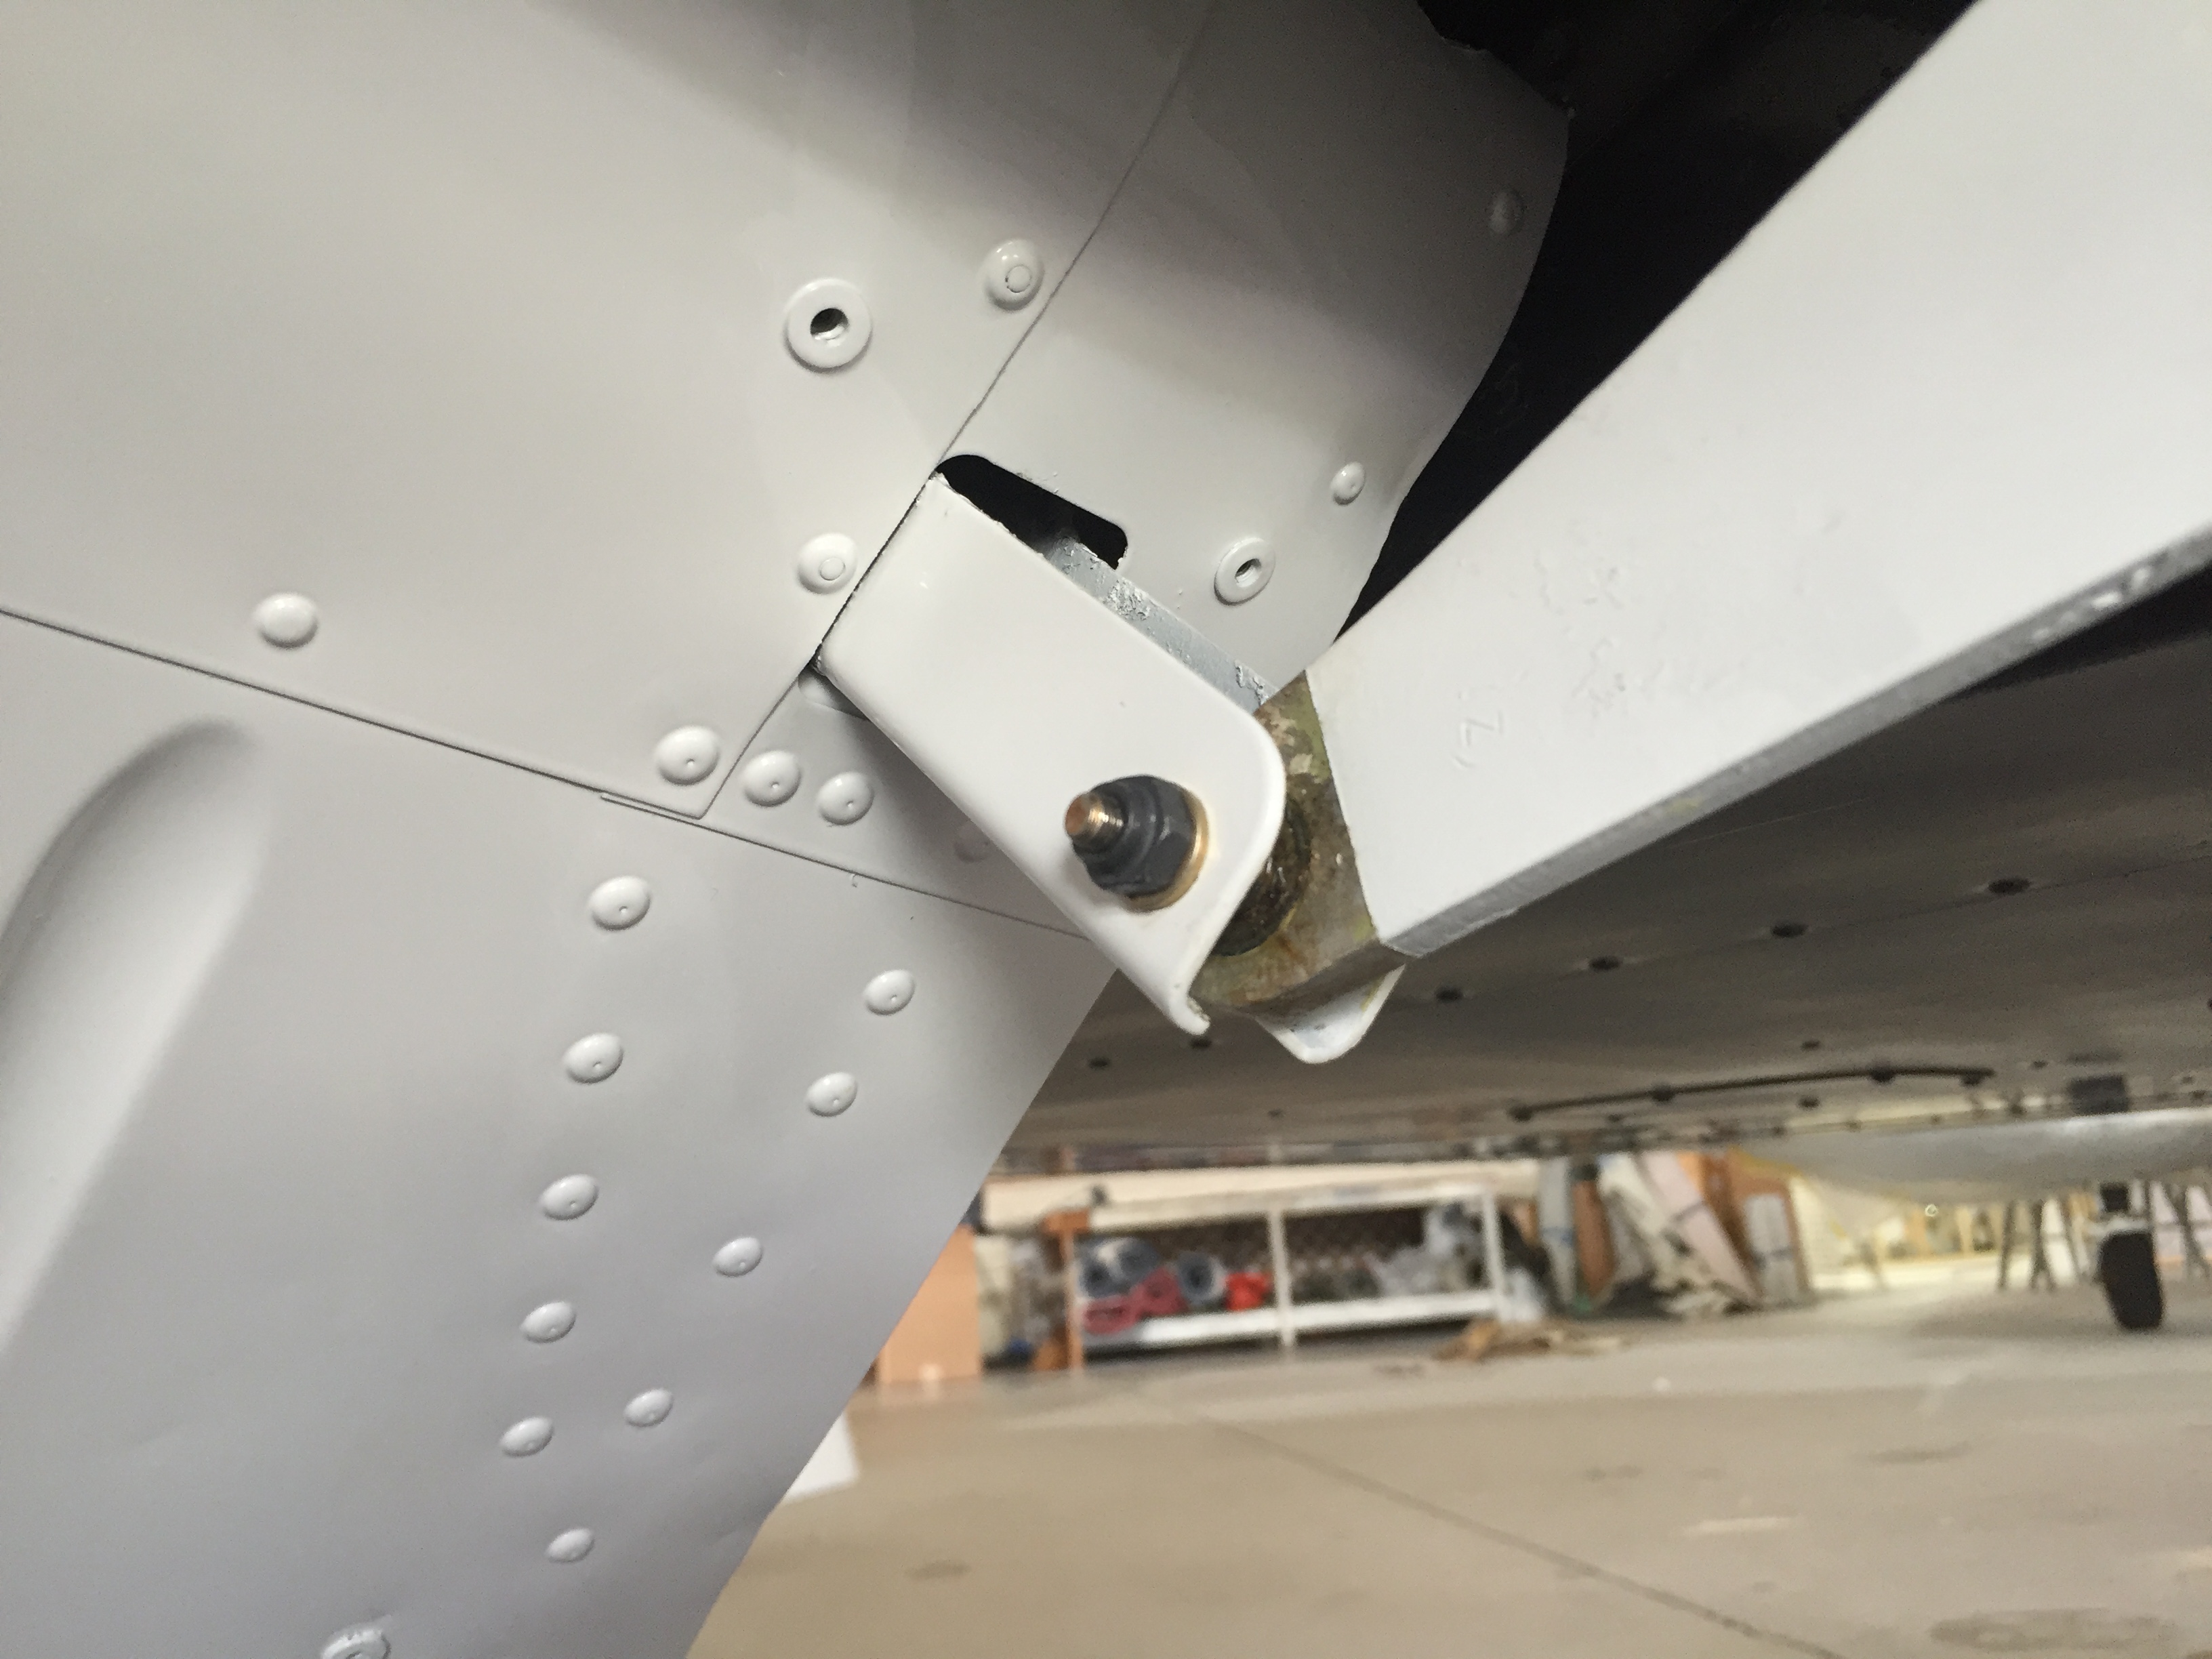
There were times during this project that I was glad we found something that needed correction, but at the same time hated to have yet another delay in the process. In this case, the flap hinge fairings had covered up some nasty rust on the flap hinges. The bolt, bushing, and nut were also rusted. Having to repaint the entire aircraft afforded us the opportunity to correct such items as these. Once the controls had the finished paint applied, they were then reinstalled on the aircraft using new hardware. Doesn't get much better than that.
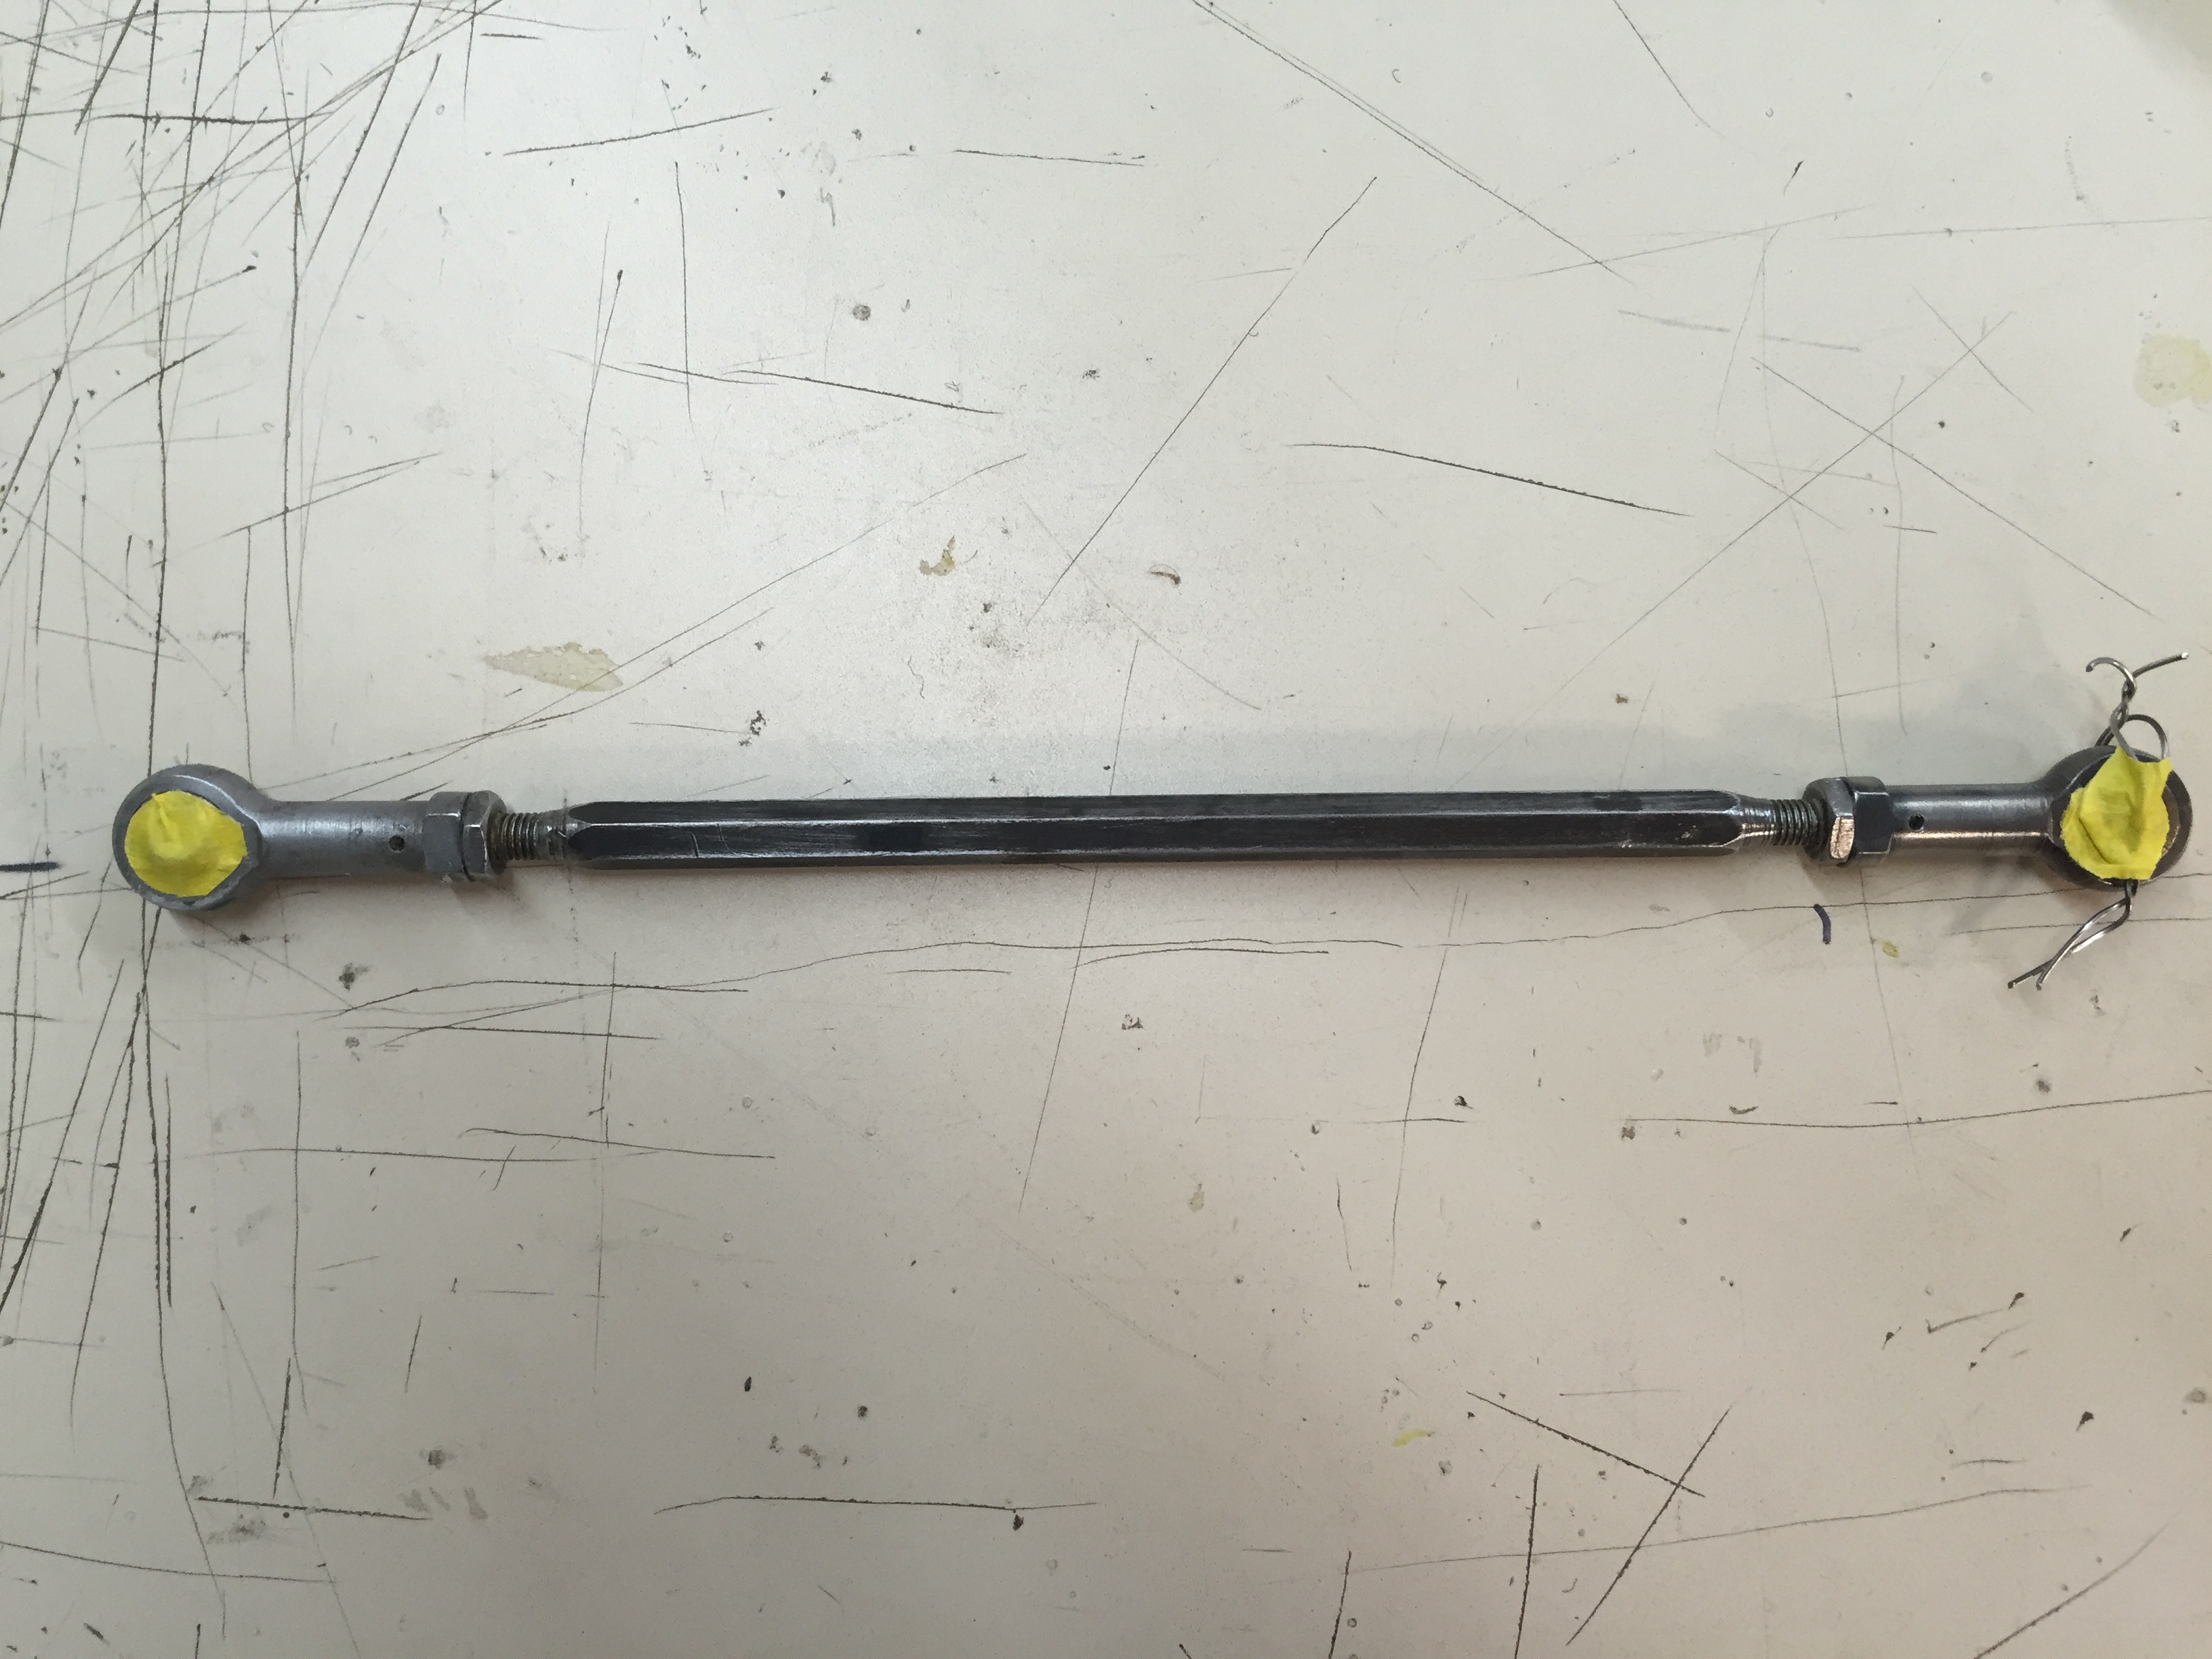
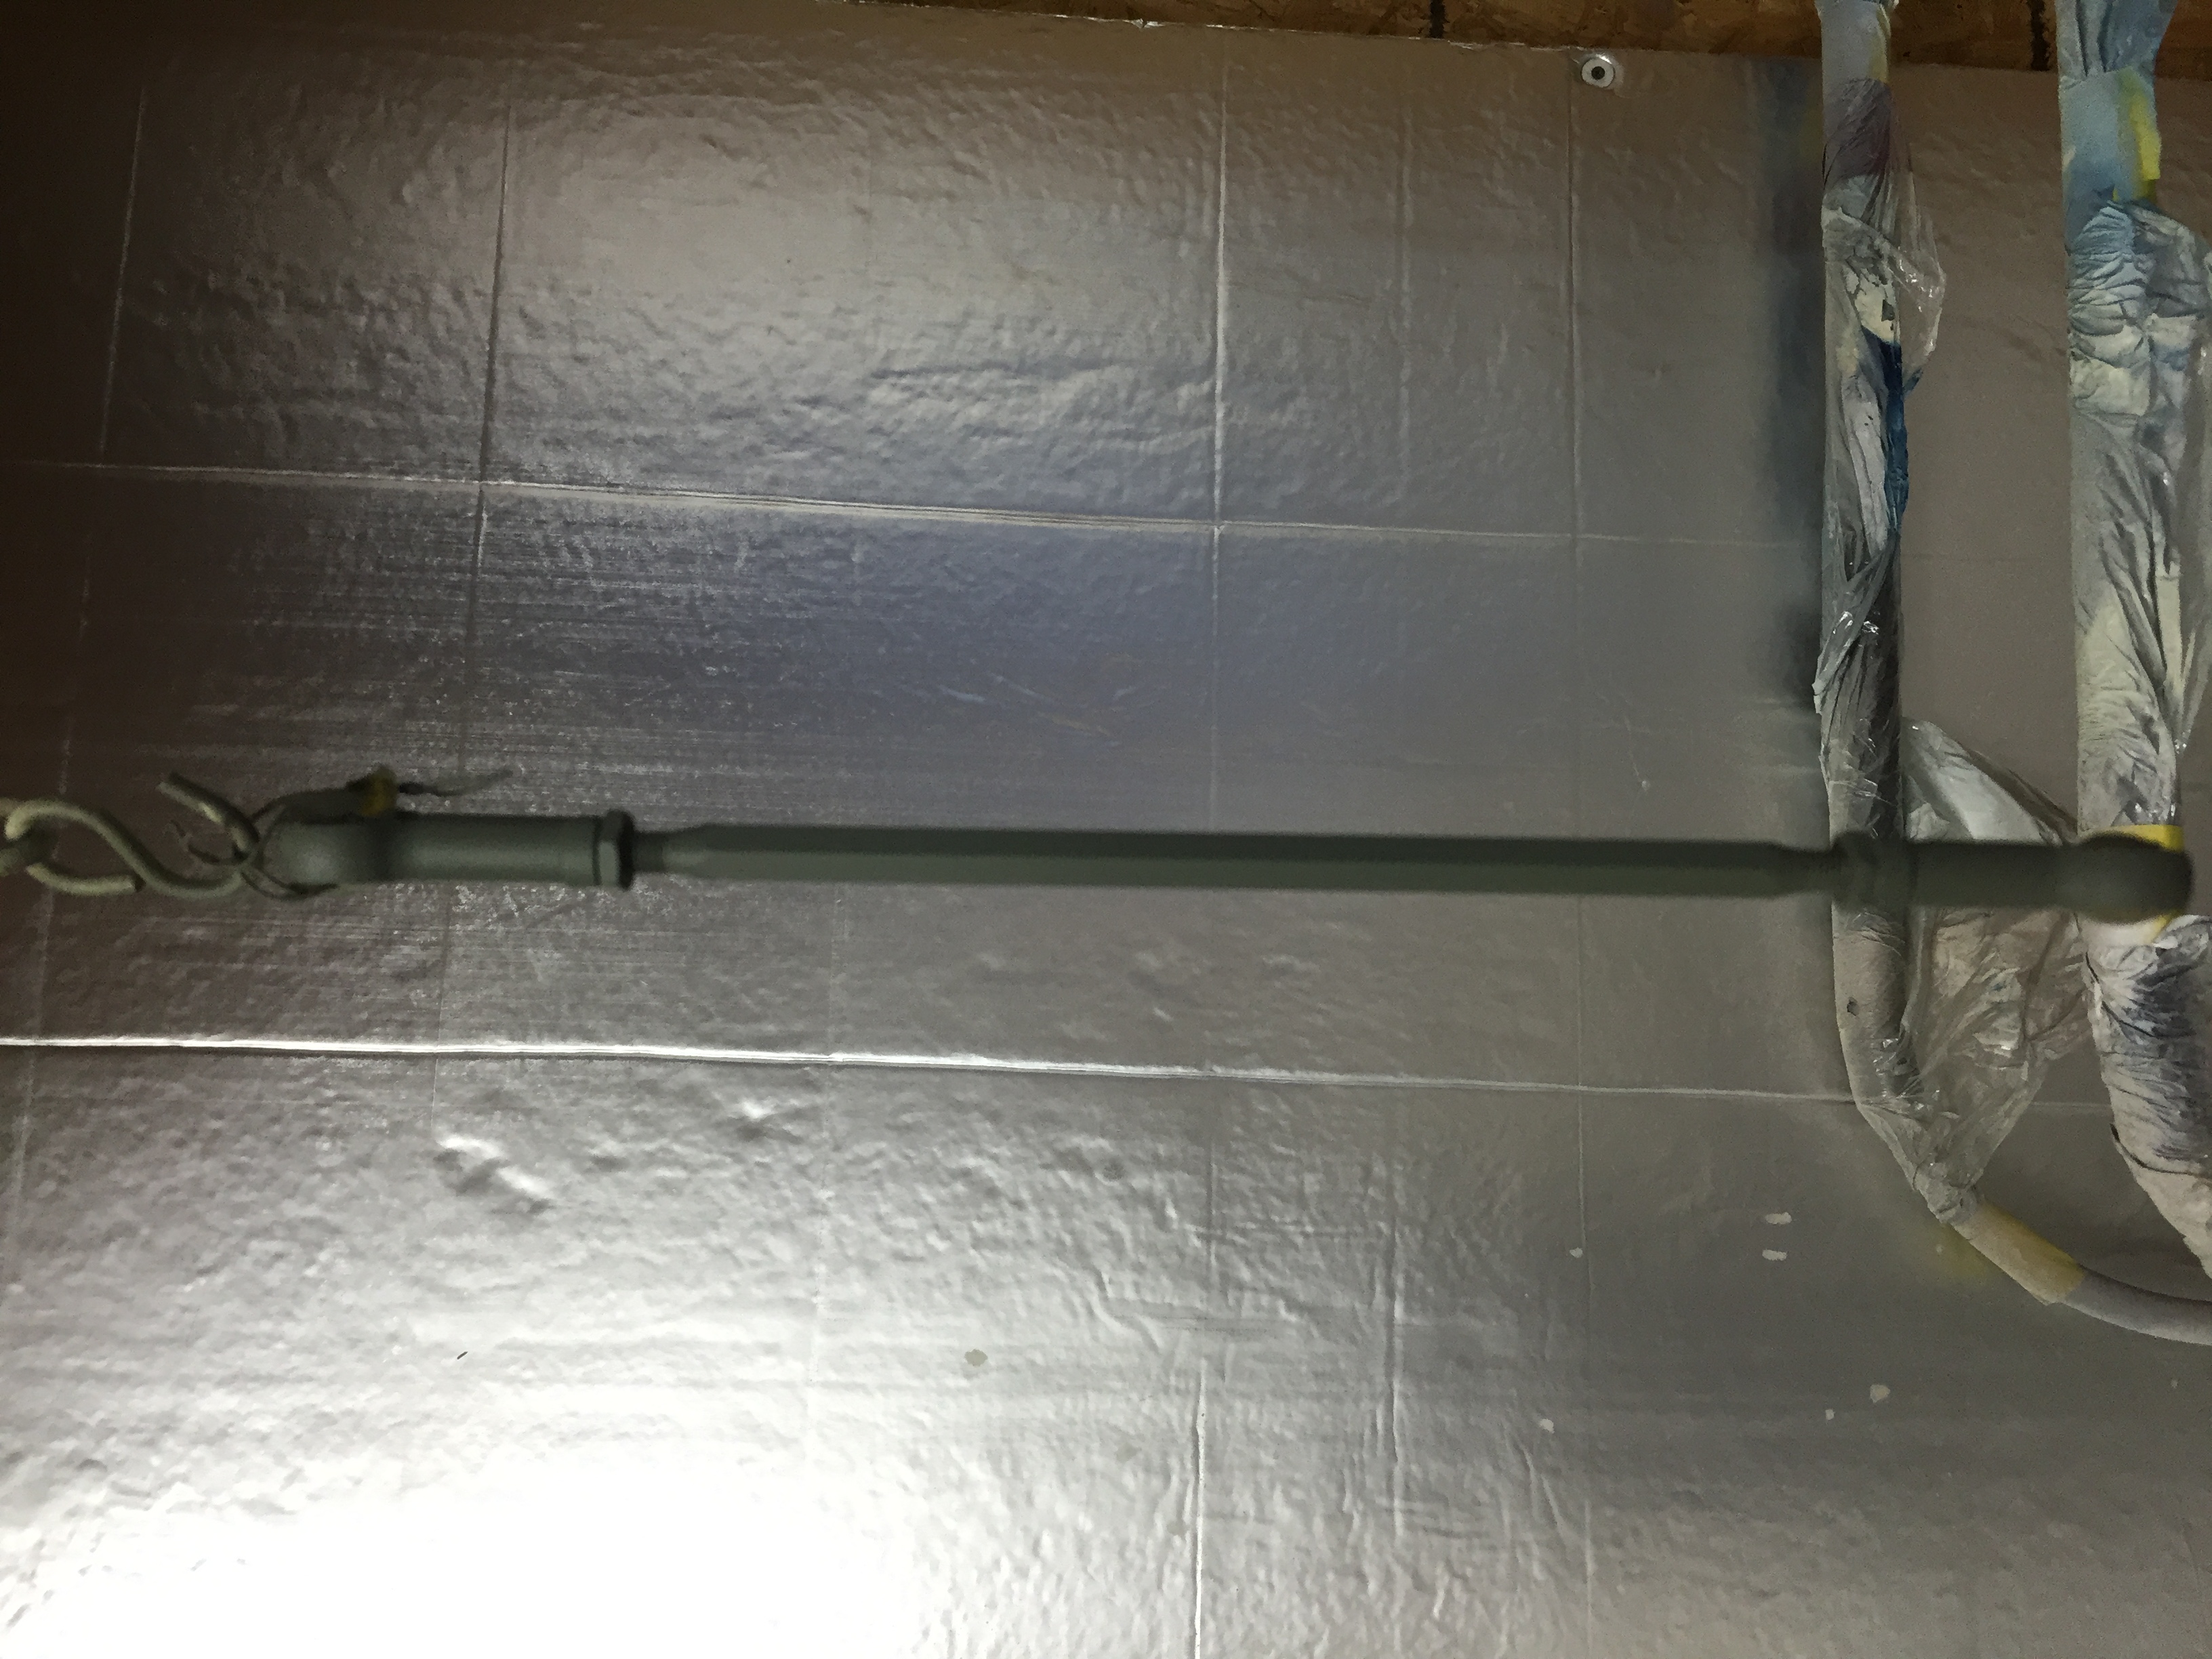
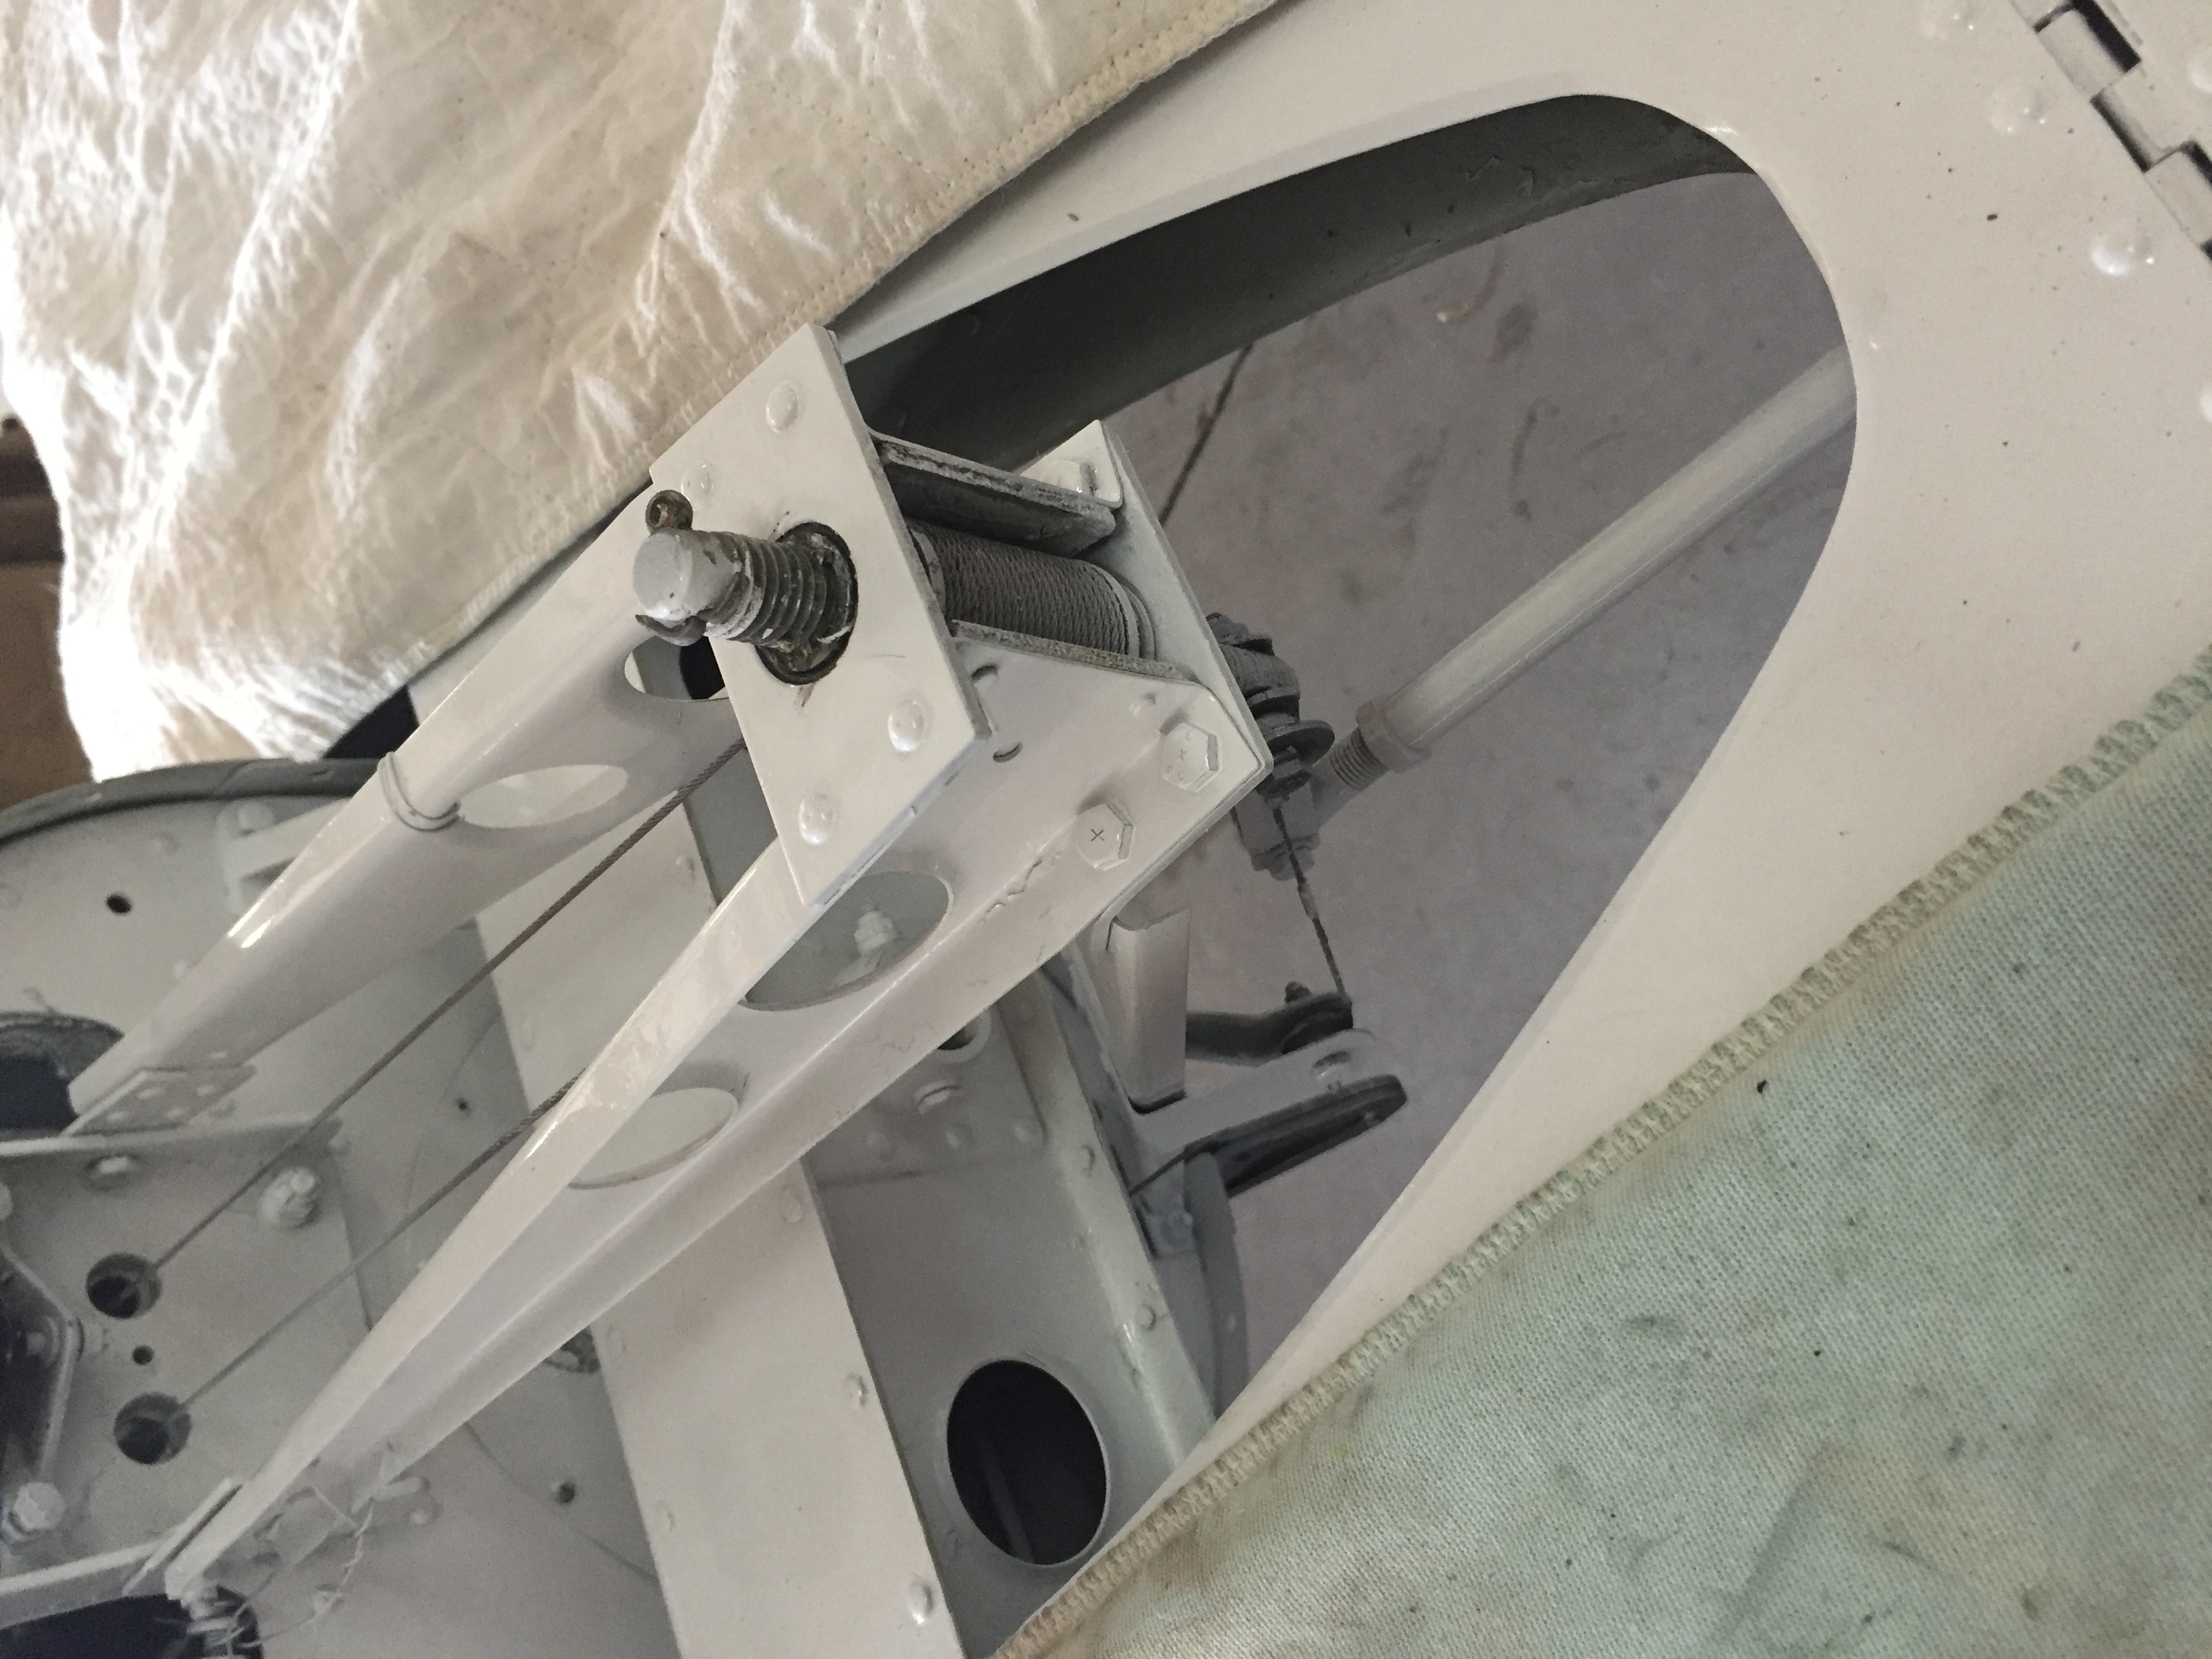
One of the service difficulty areas of the PA28 is the flap actuator rod. I always check this because its often exposed to the elements and will get rusty threads, weakening the connection to flap and causing failure and a "split flap" condition. I don't take any chances. I saw some rust and off it came. Cleaned them down, primed, and repainted. Not worried about this part any more.
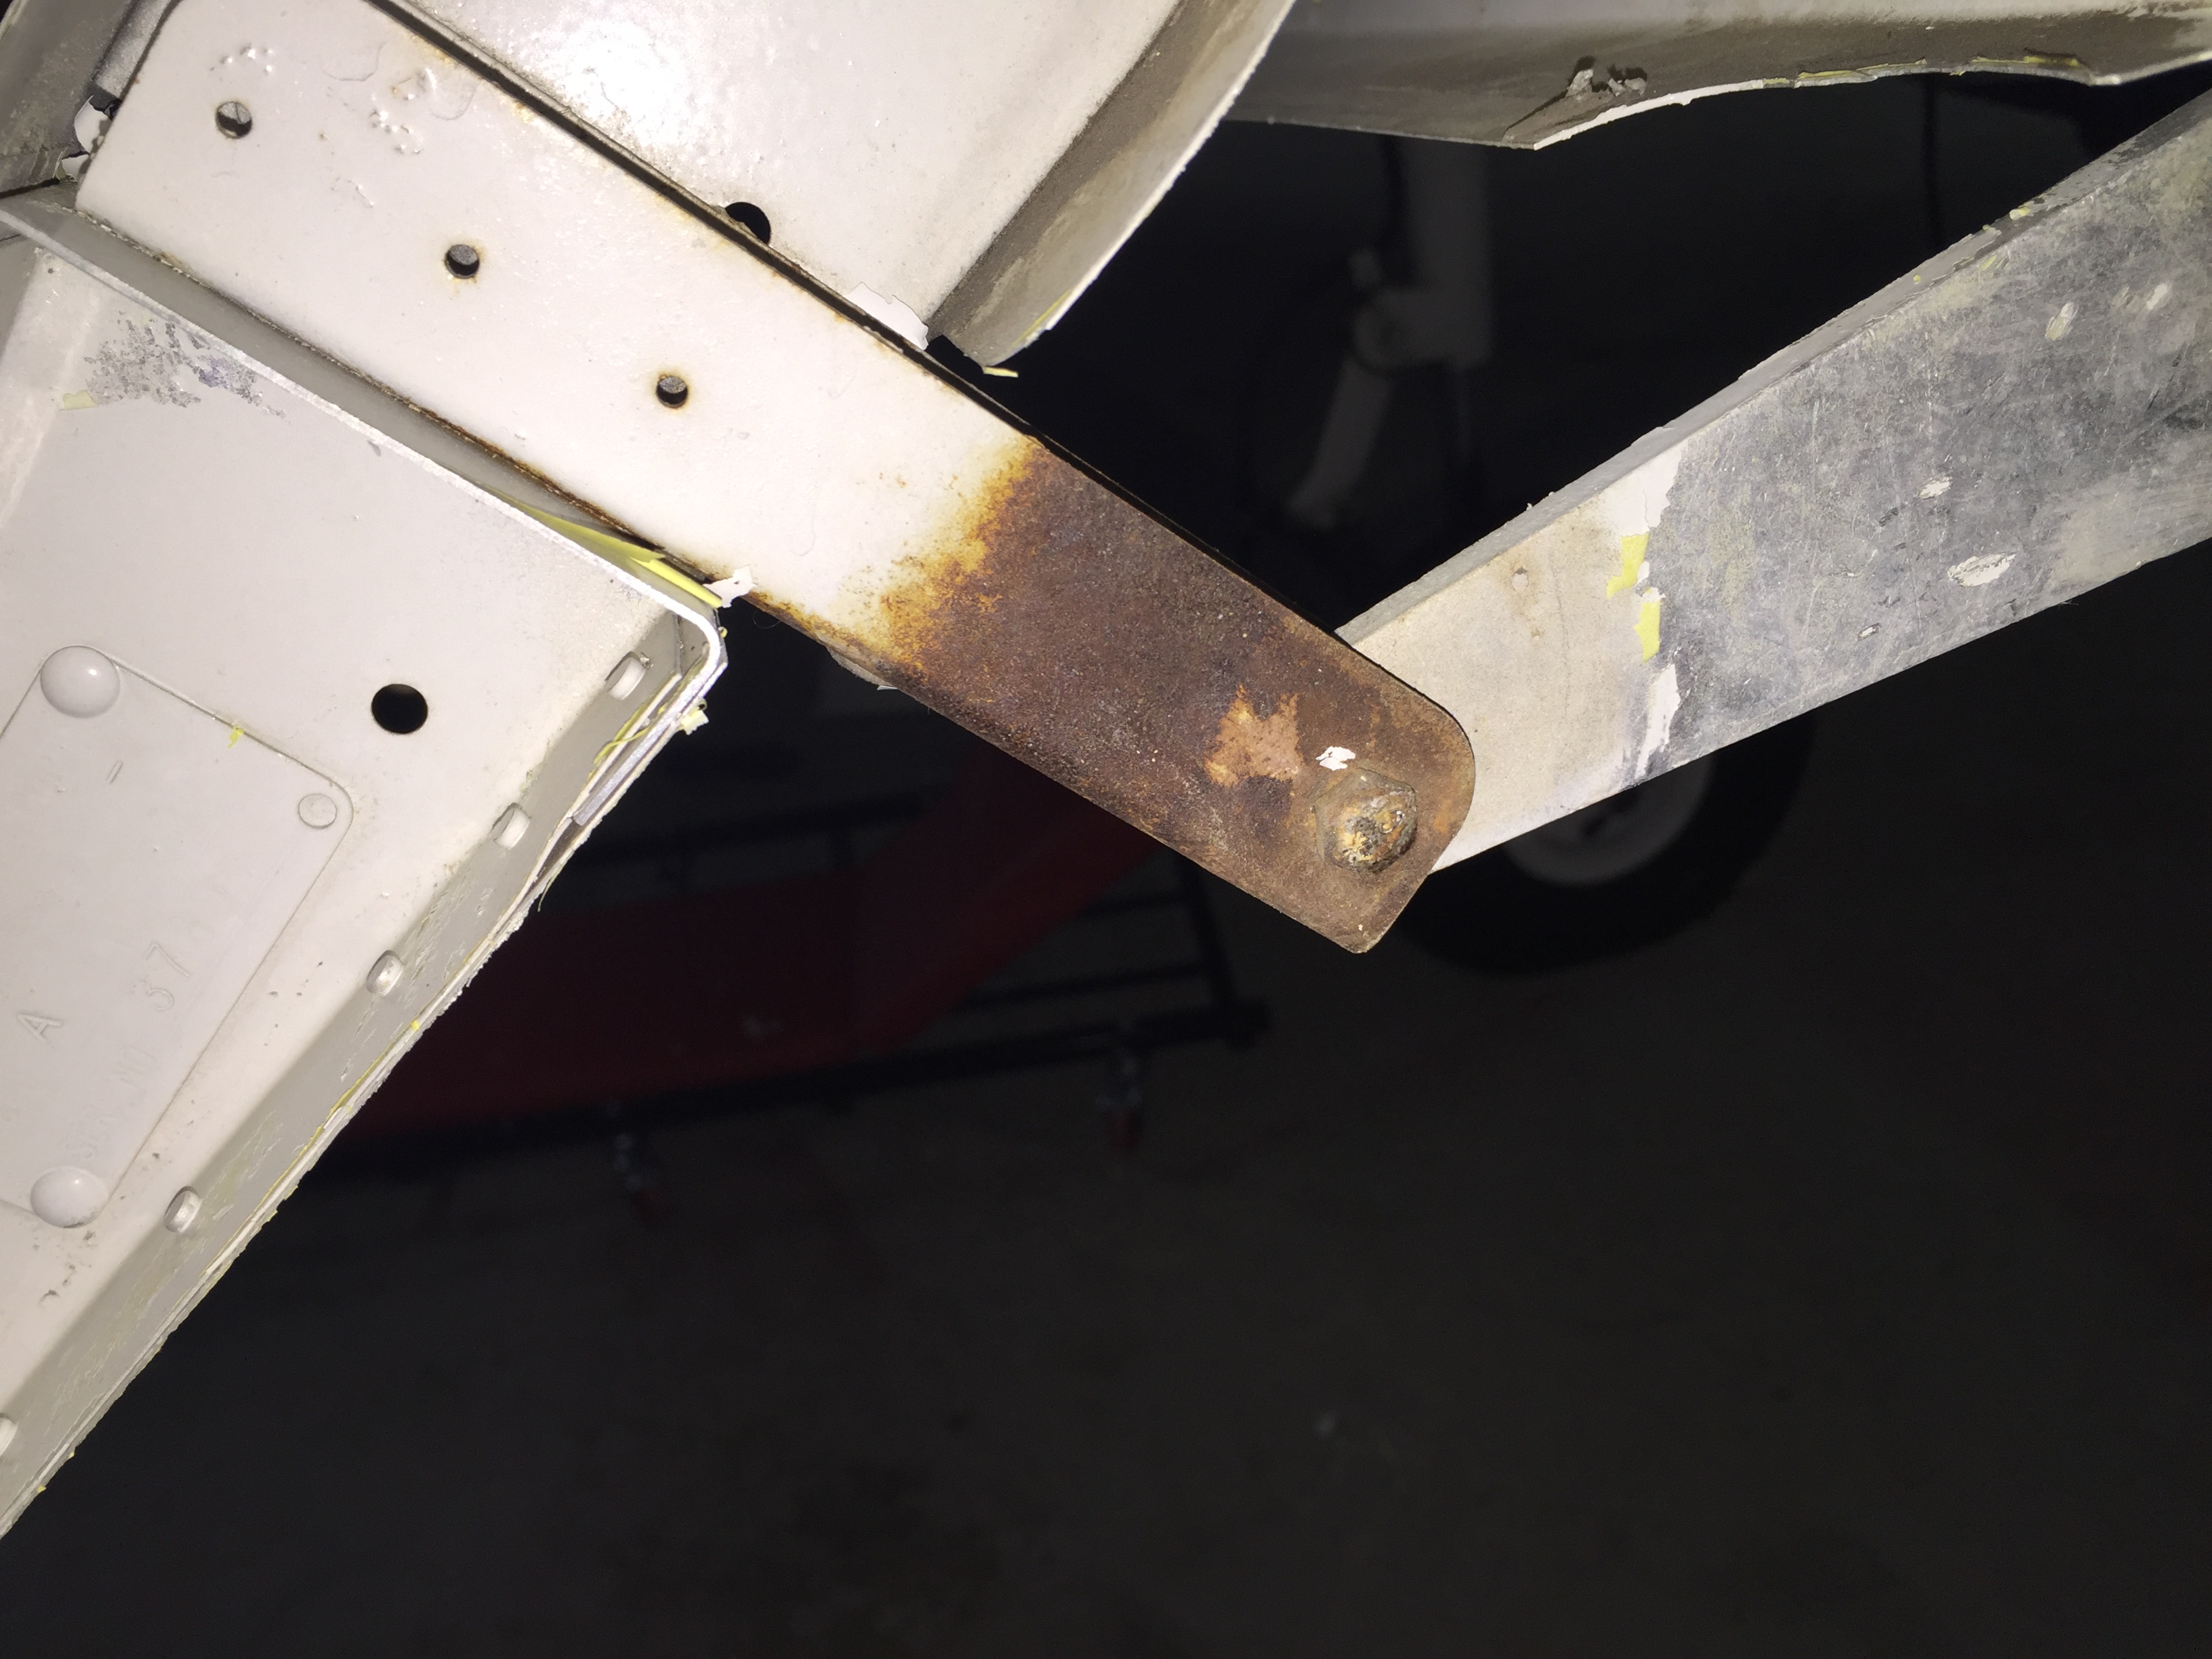
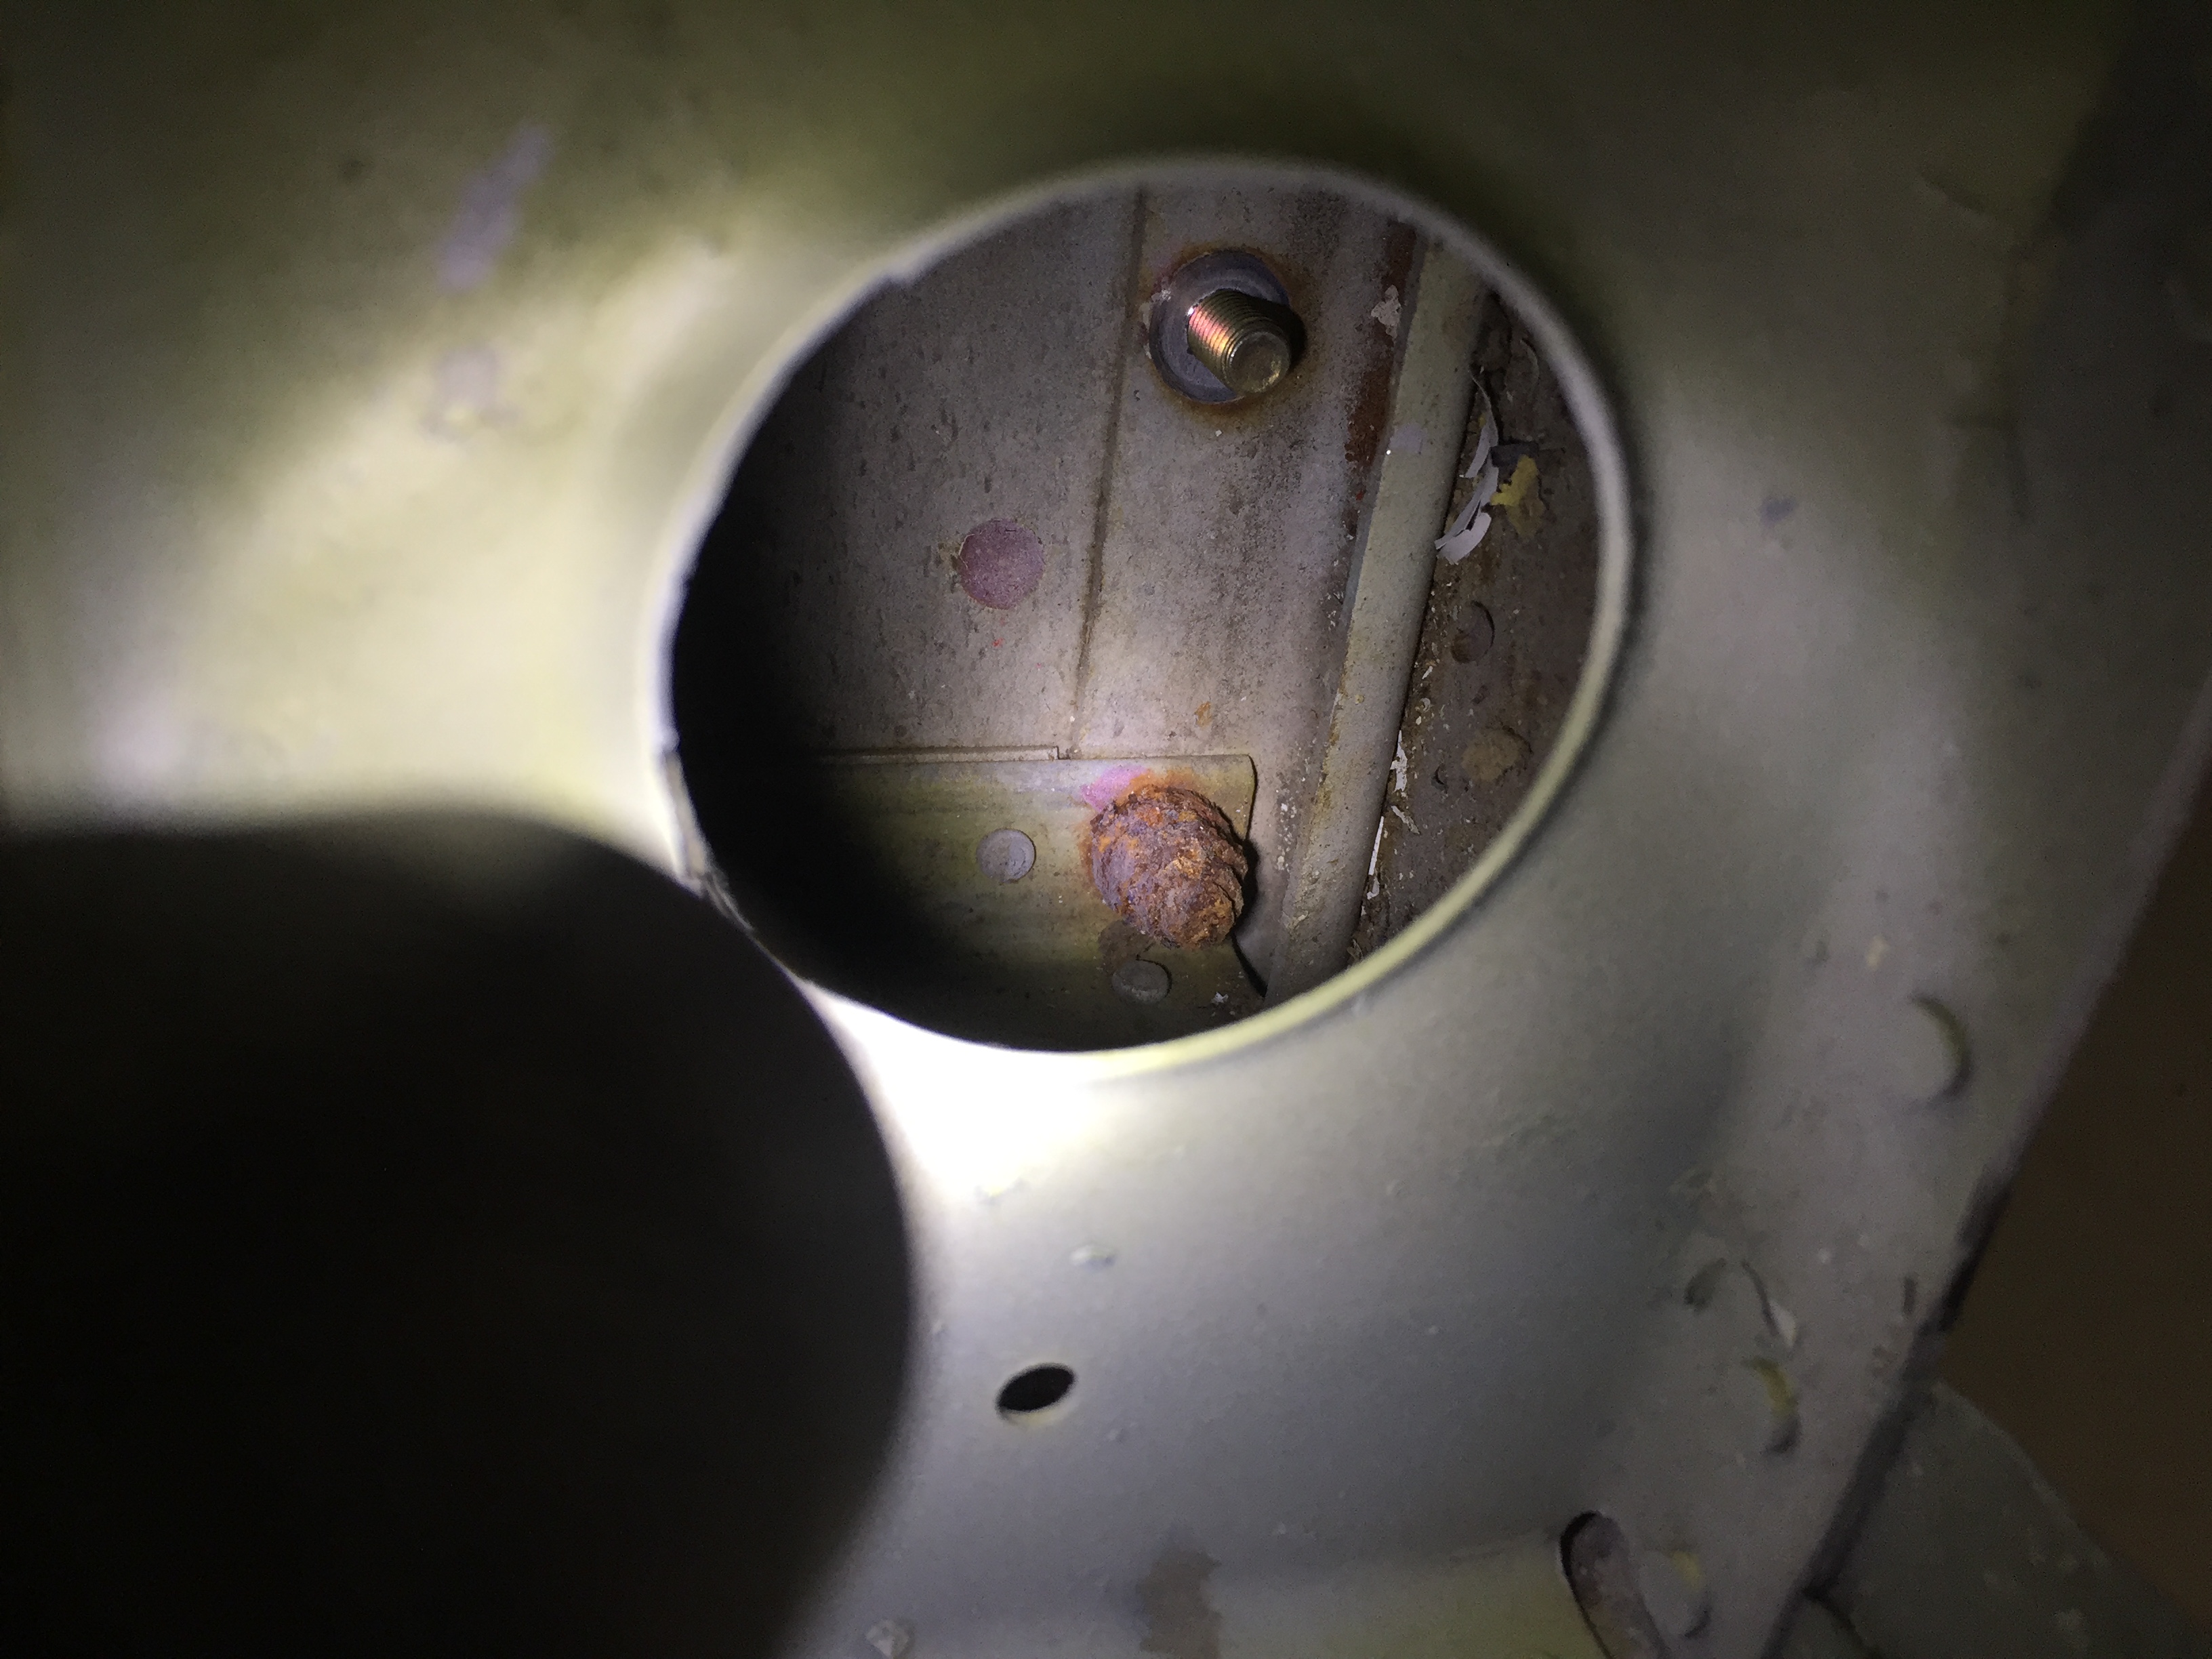
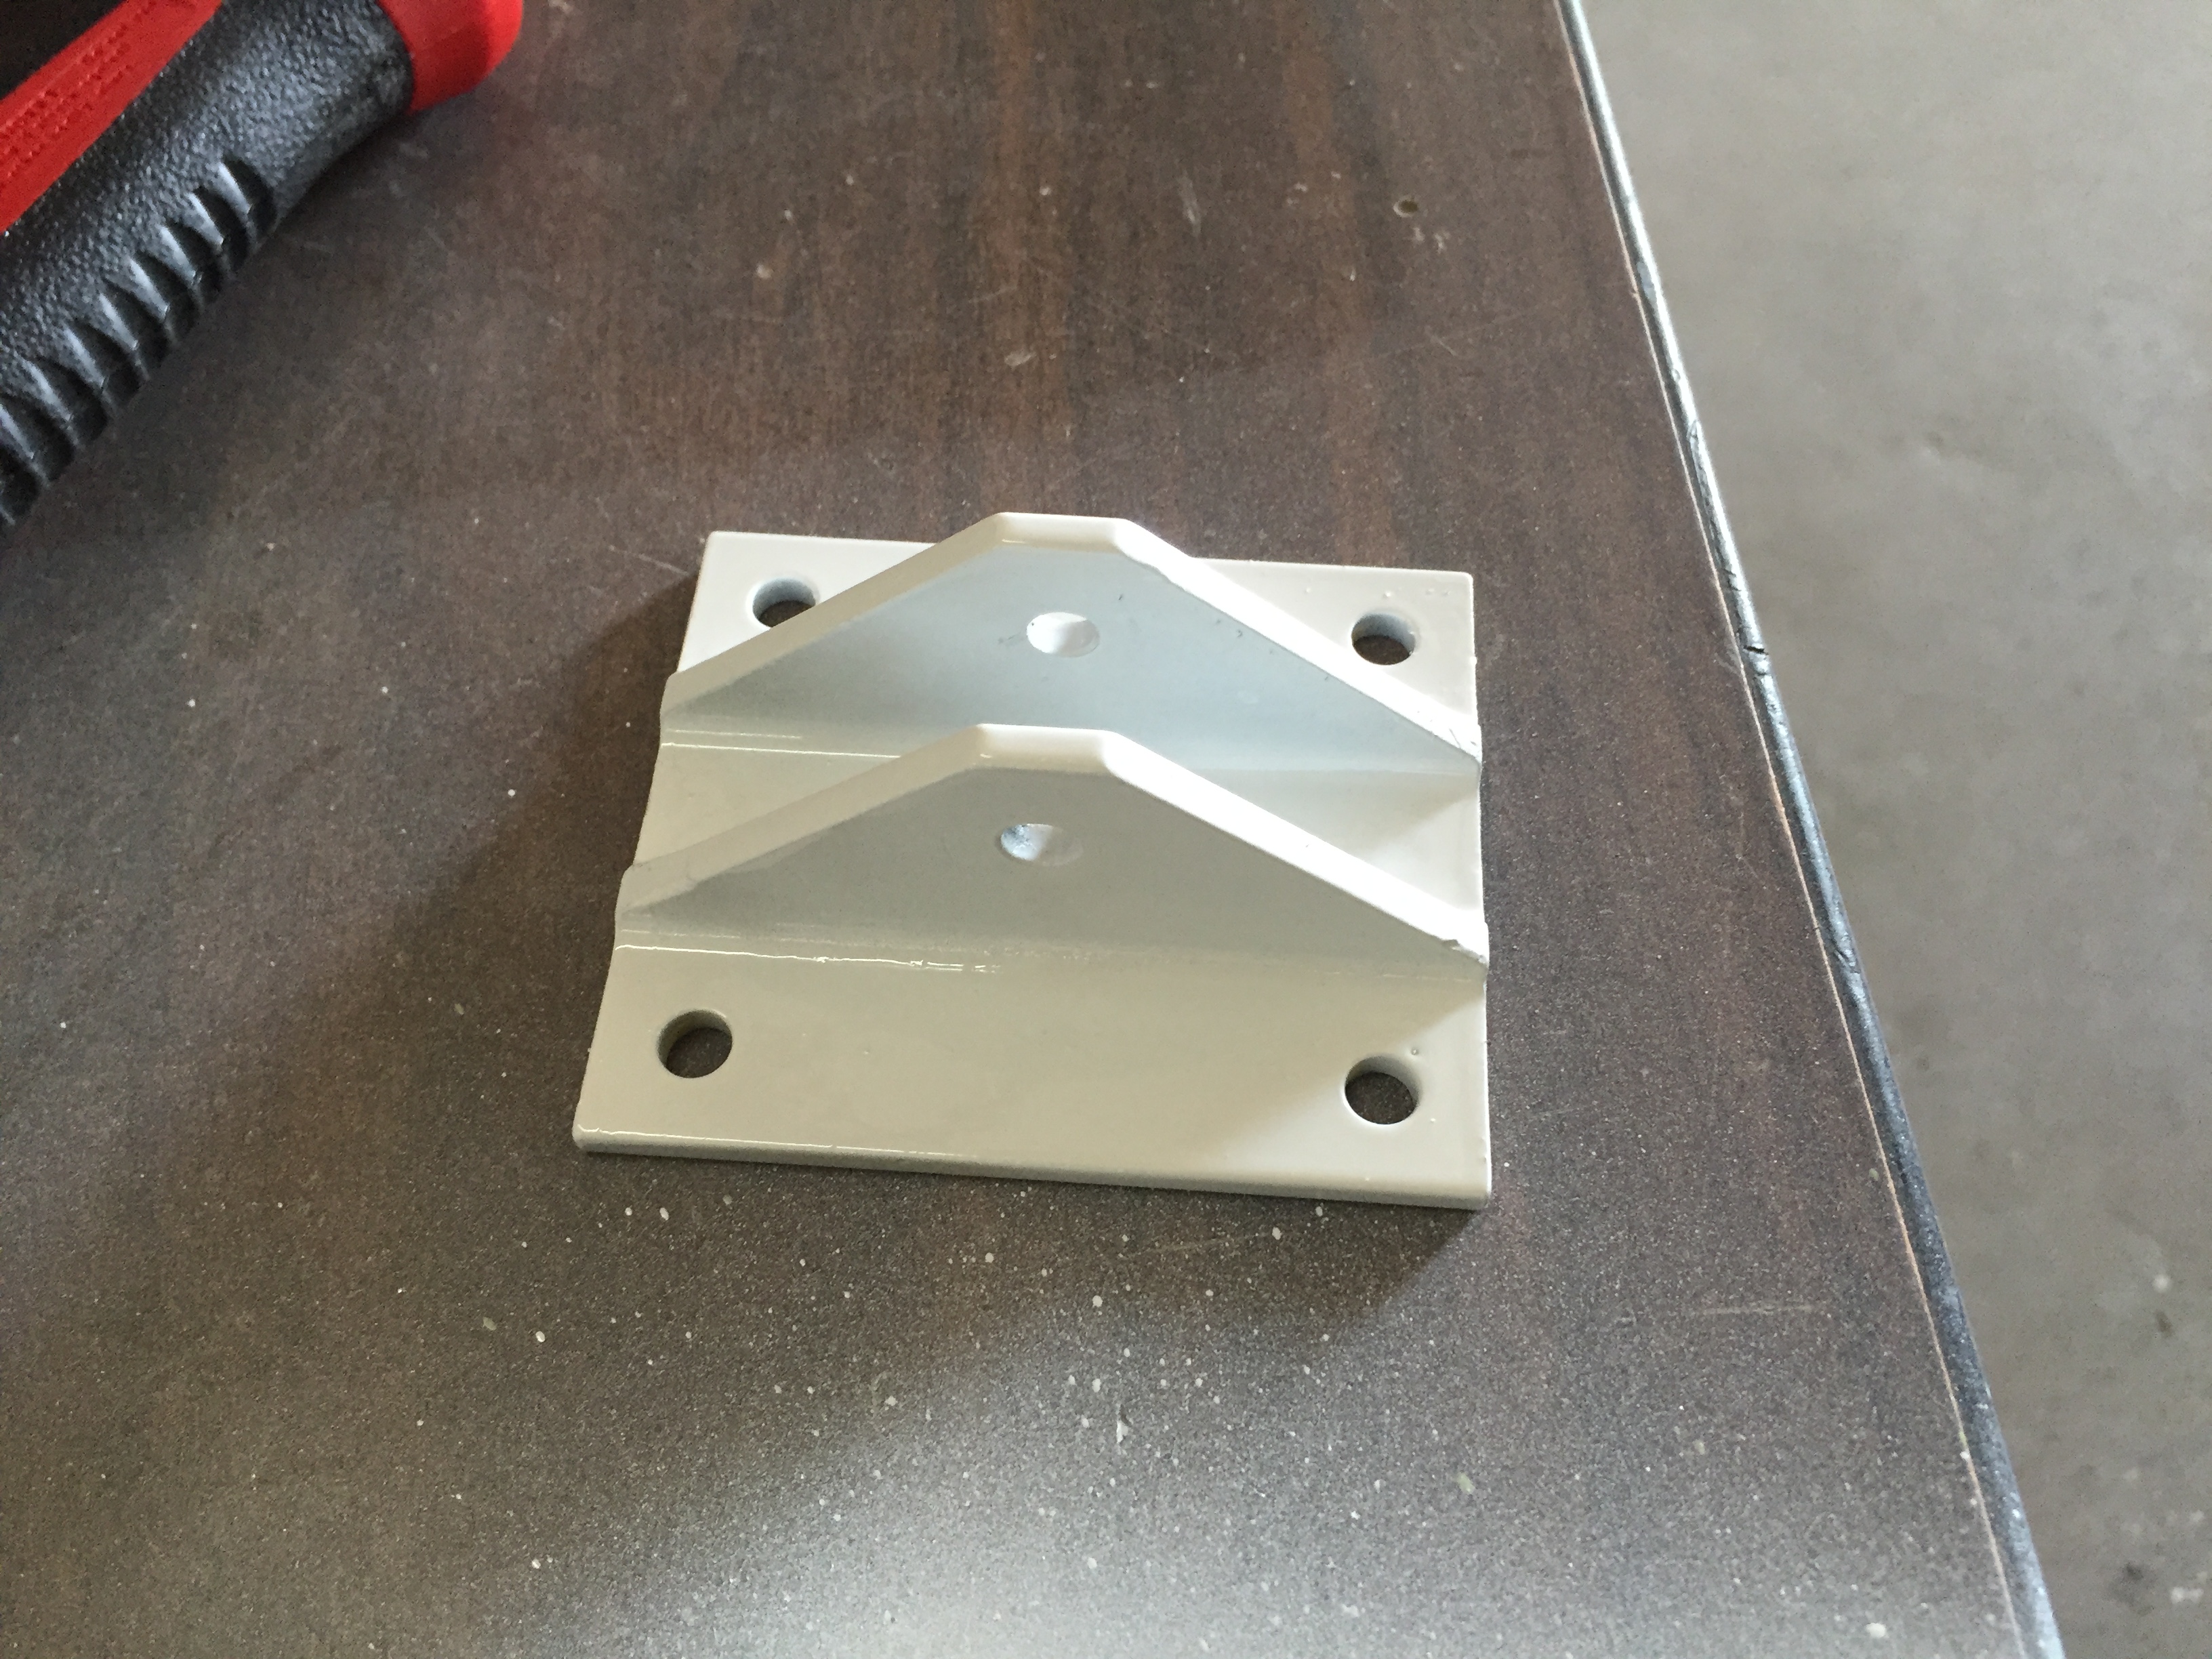
During inspection, its always a good idea to check the bolts and nuts in the stabilator bracket. For some reason, these were incredibly rusty. I took a photo of one before I removed it while a new one was in the hole above. So, while the sabilator is off, we need to go ahead and replace these. Now is a good time to paint the bracket and also the tail cone area. This will allow easier inspections during annual as well as preflight.
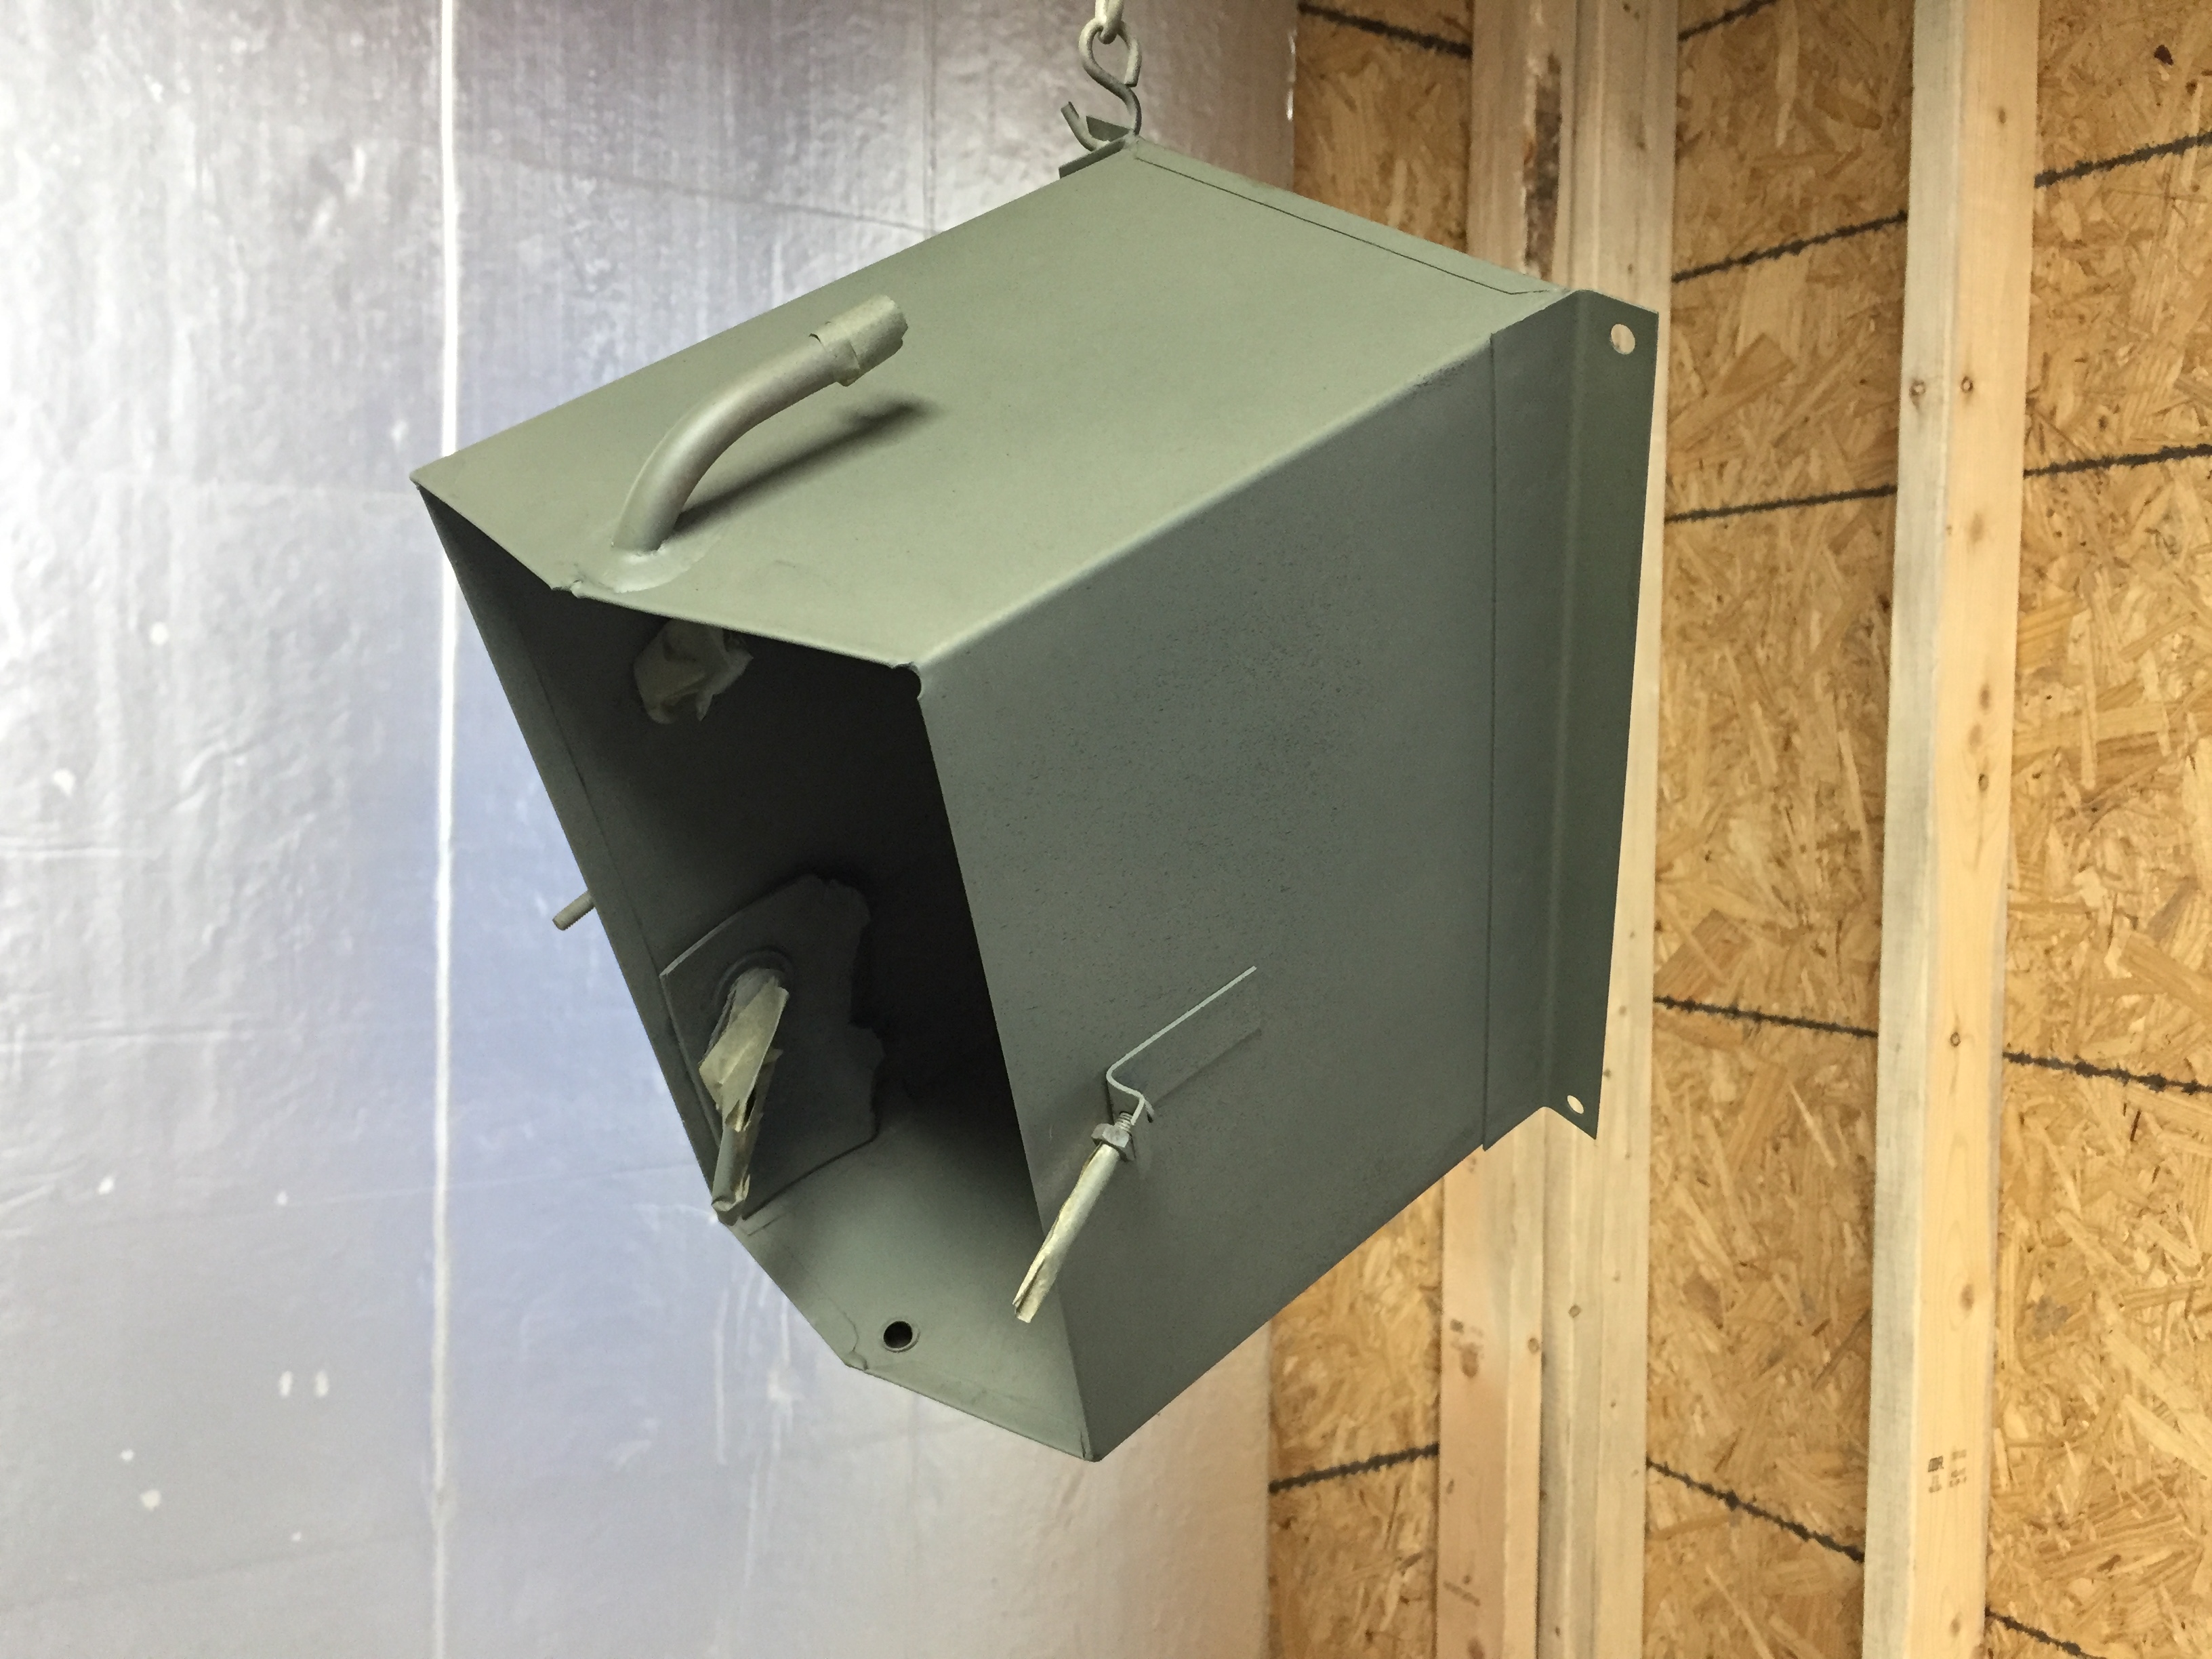
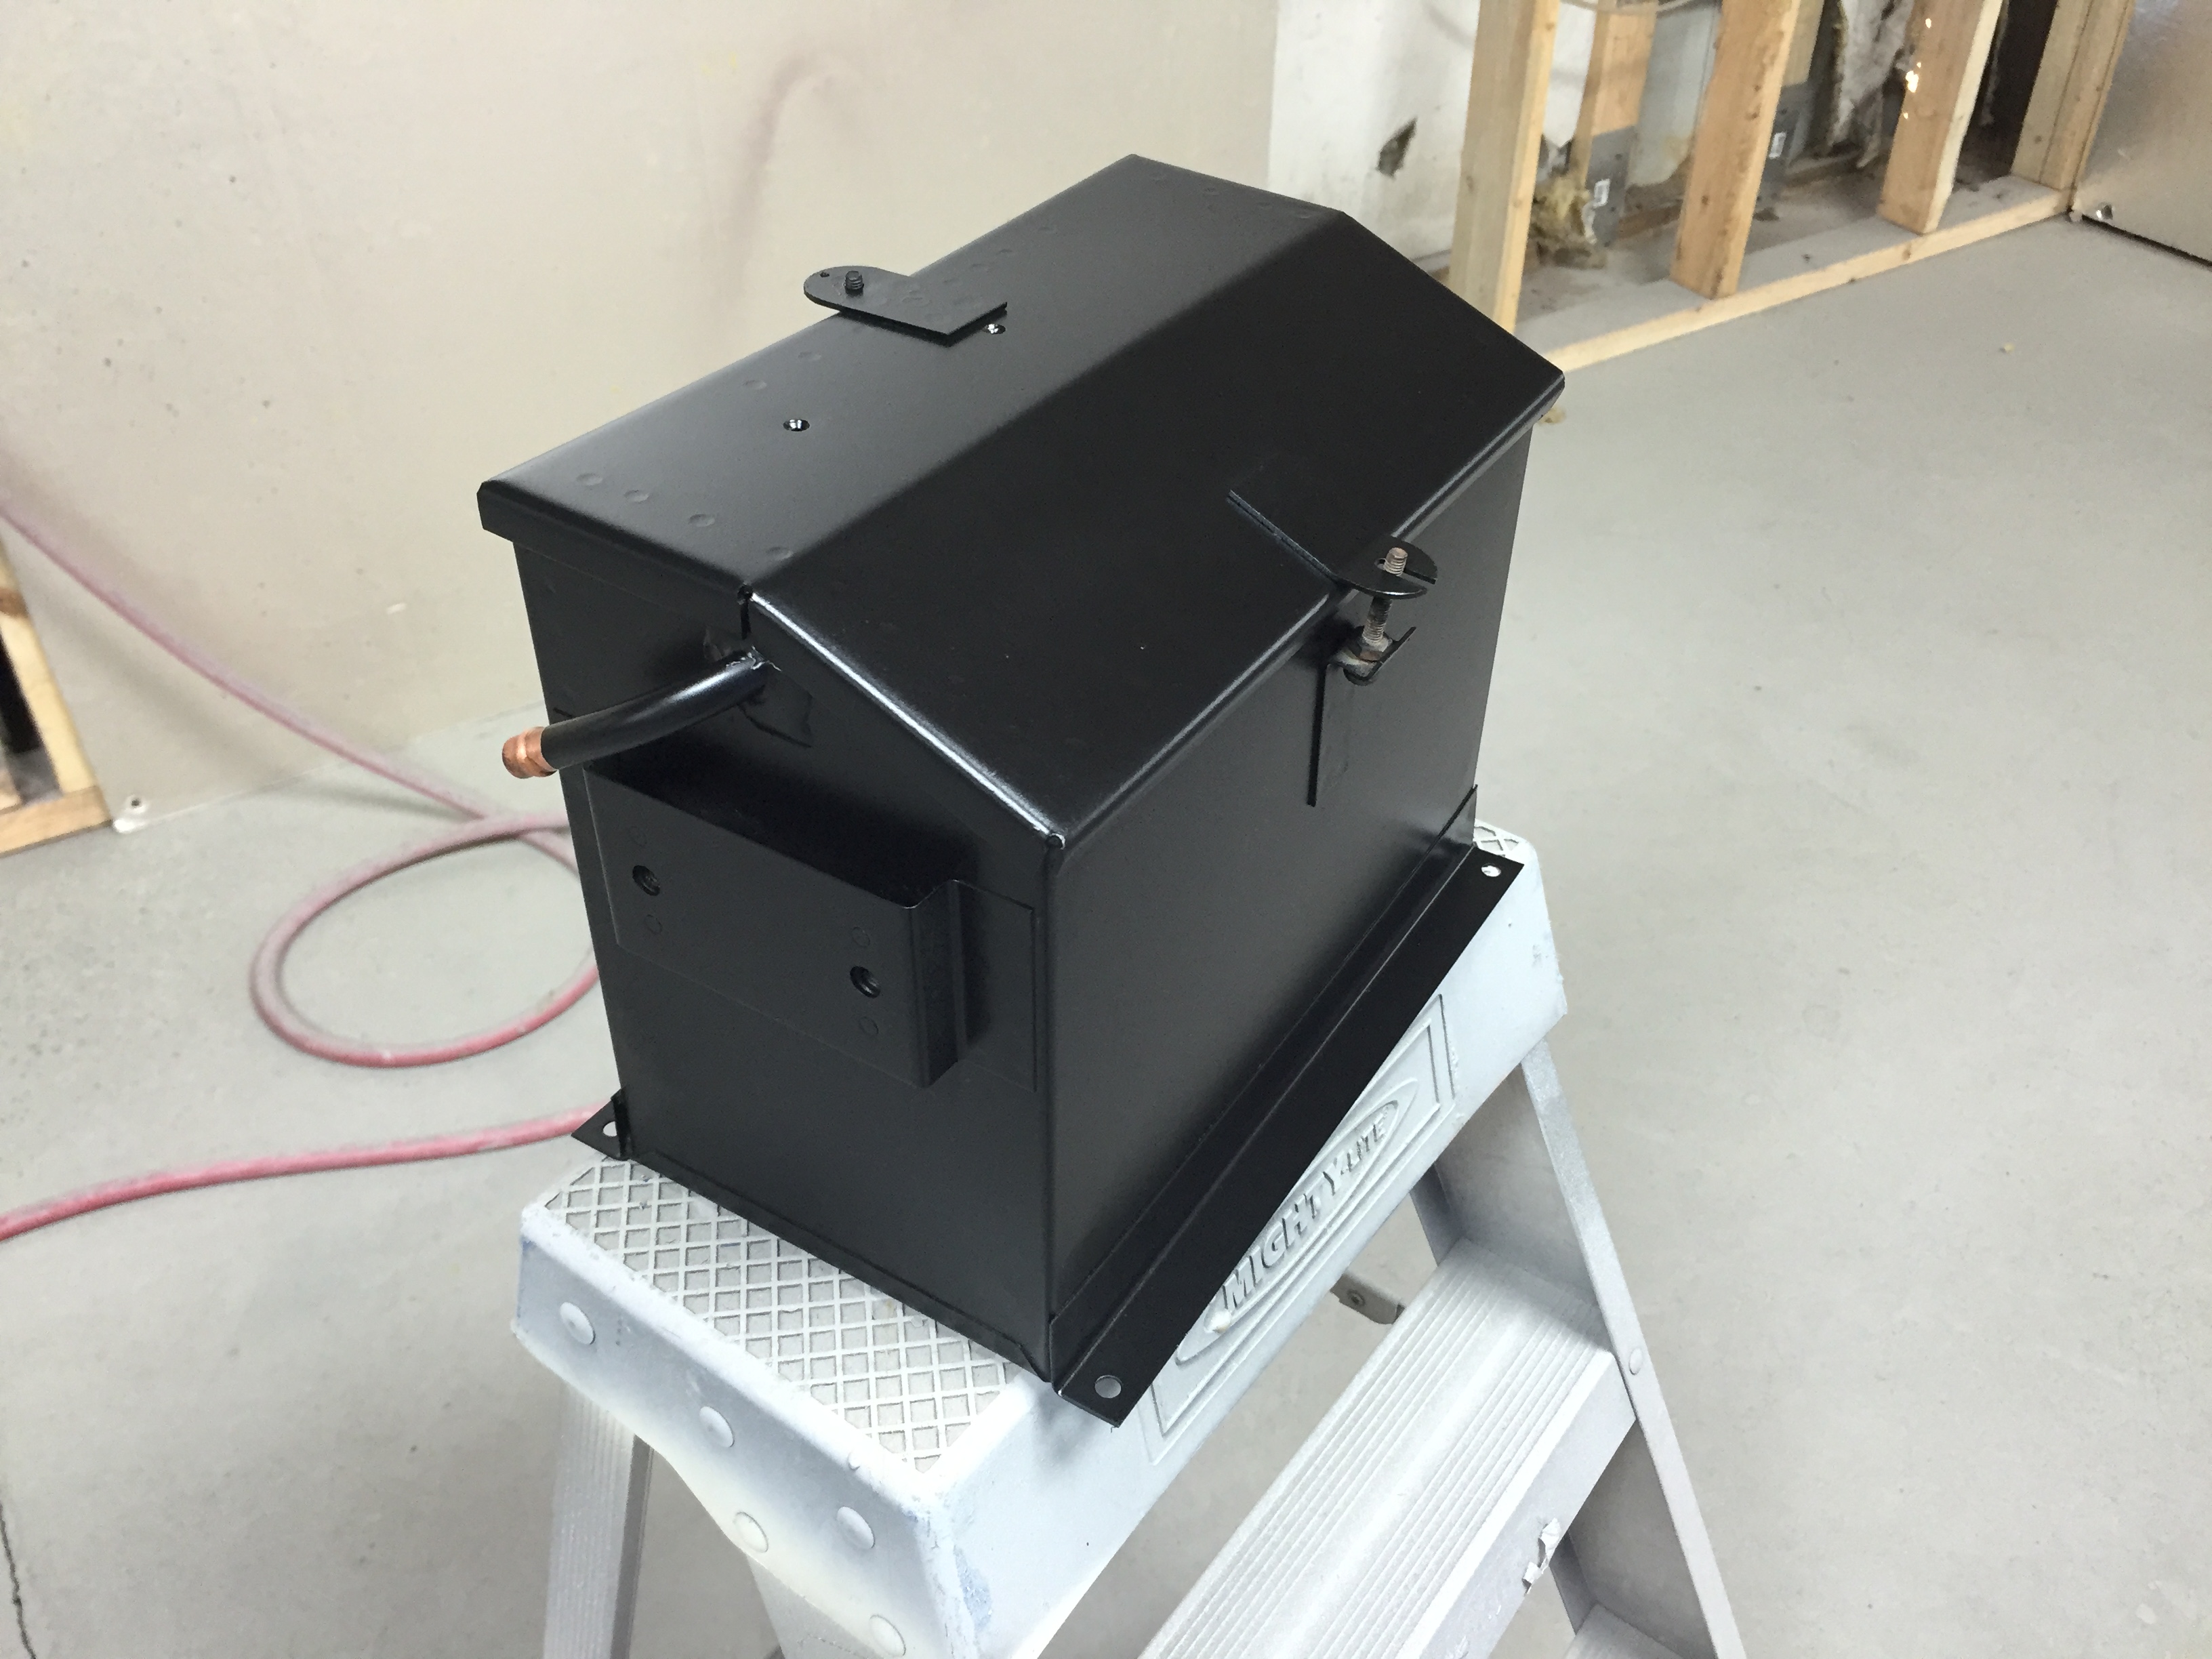
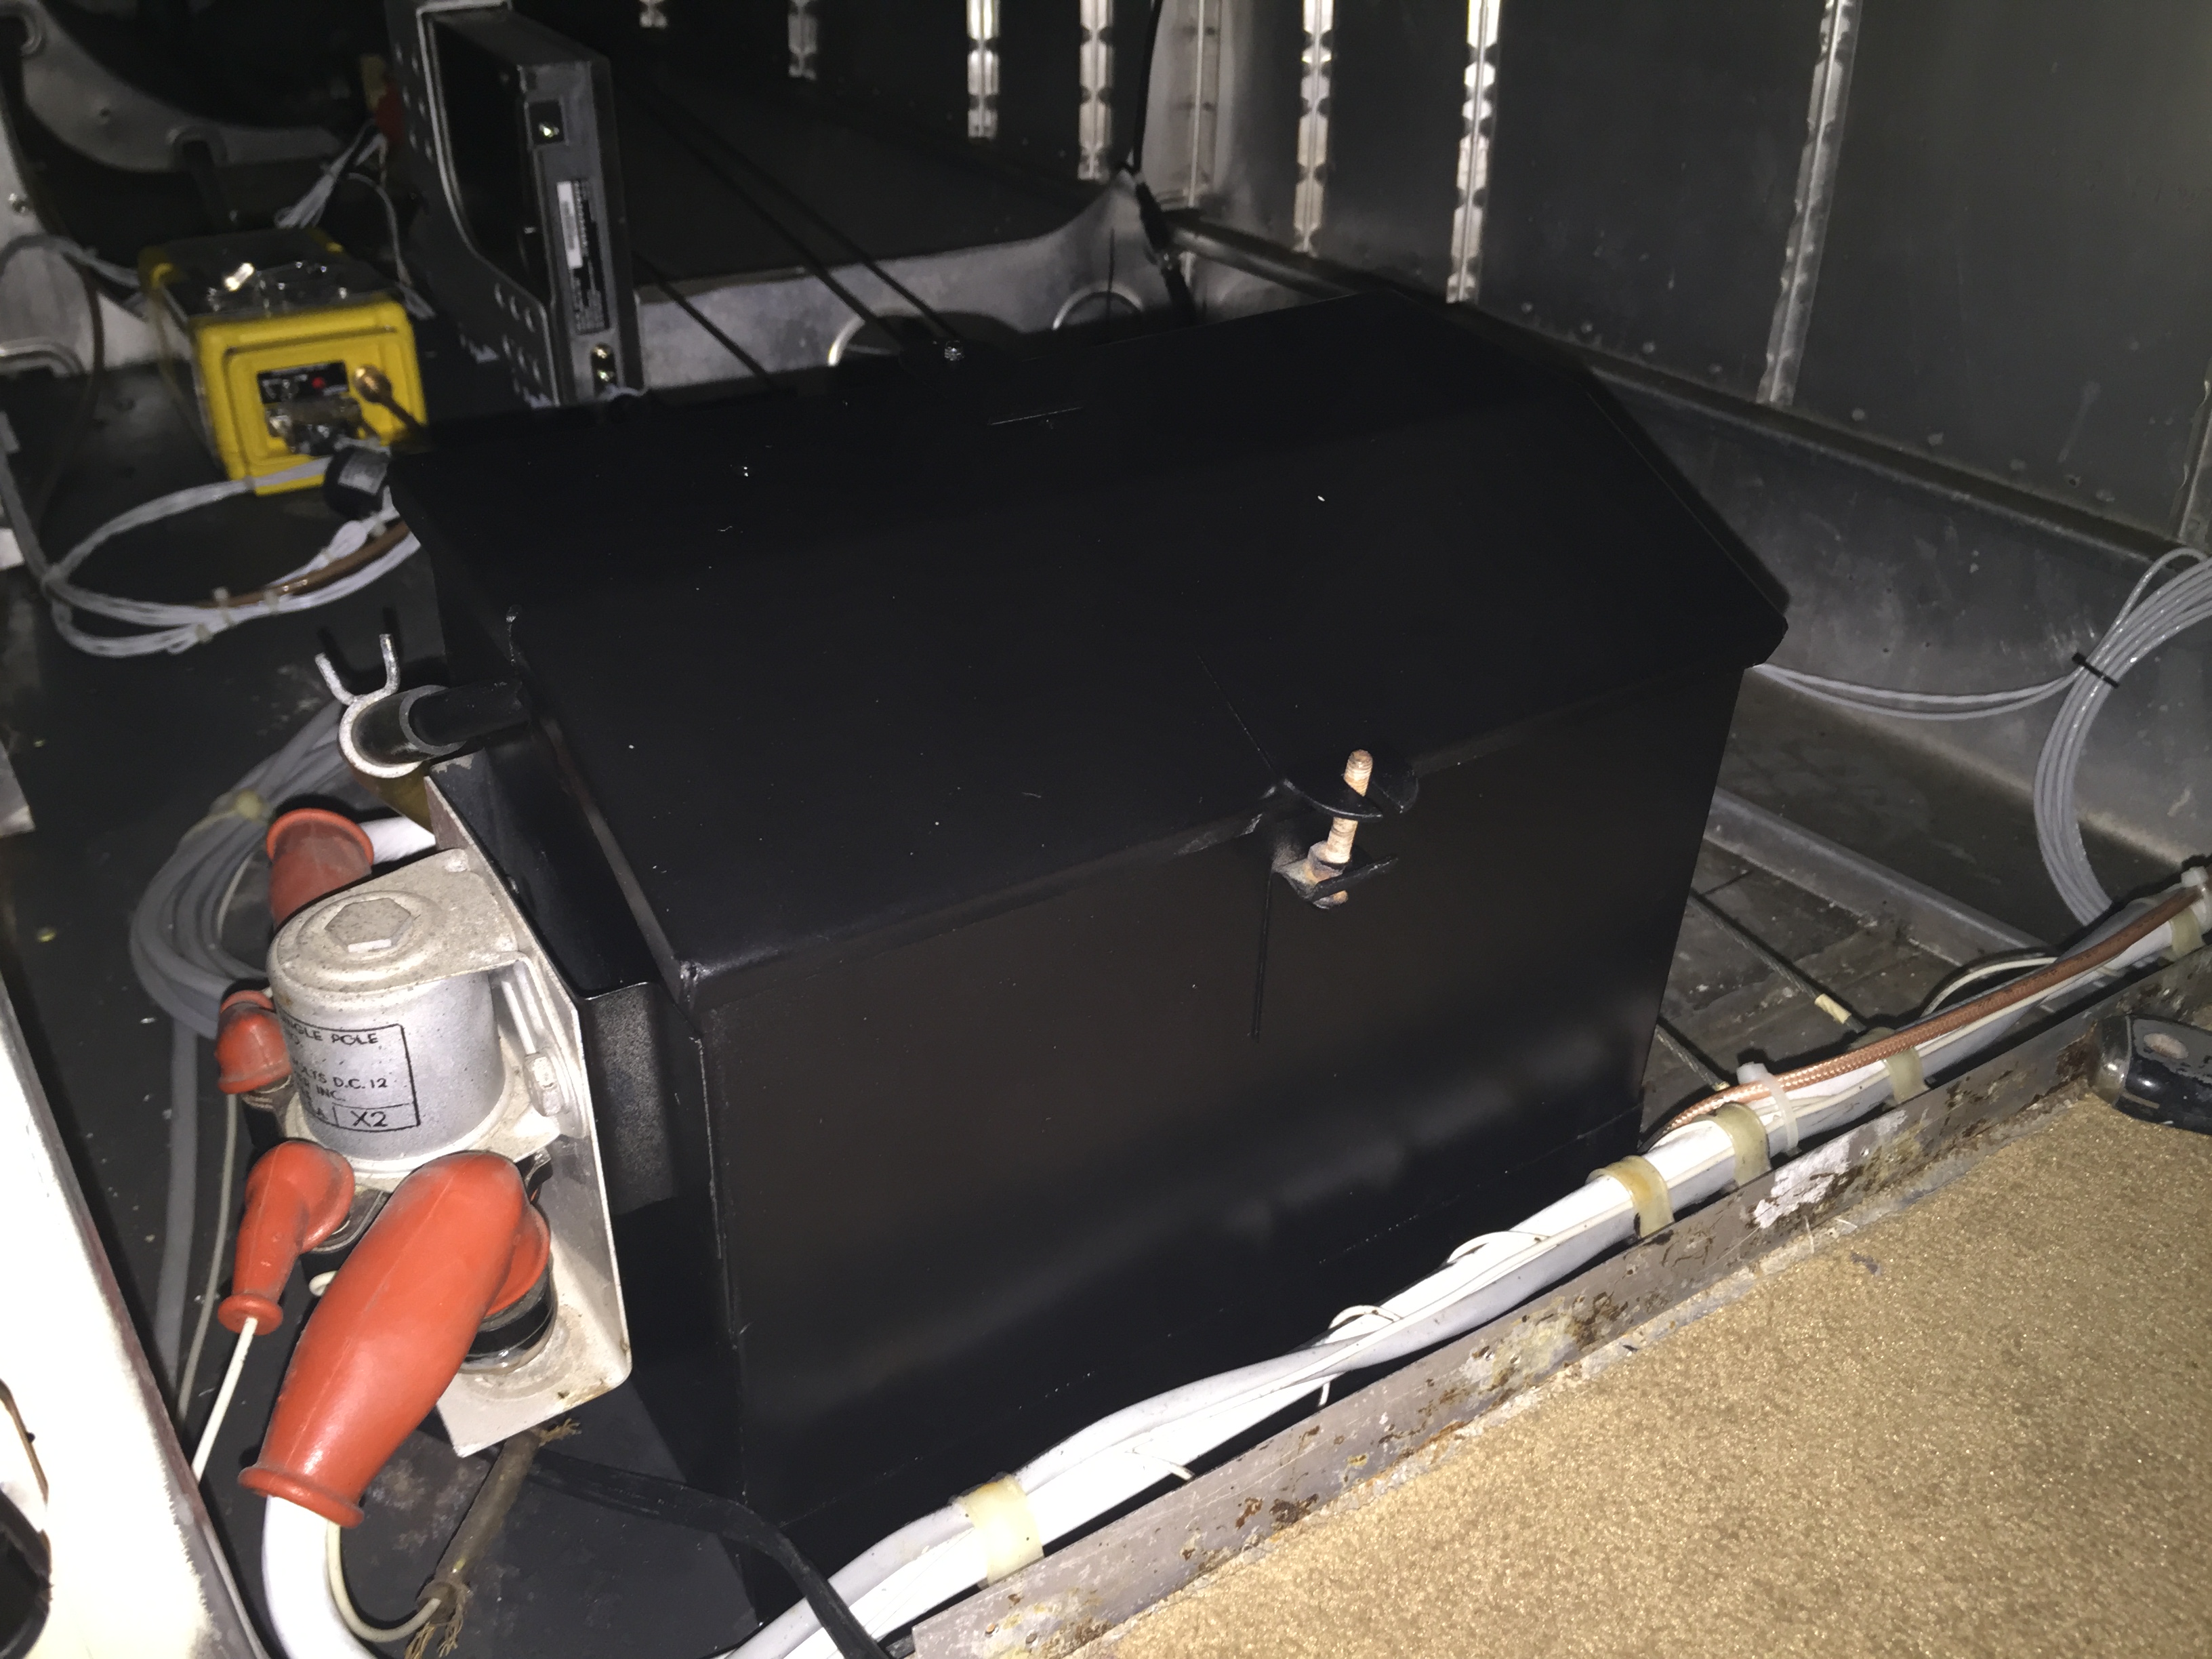
Yet another side project with the battery box. The drain tube was eaten away and the box was in sore need of paint. Here it is all stripped down, prepped, and painted. The avionics shelf under the box also required some refinishing. A new drain tube installed and it should be good to go for a while.
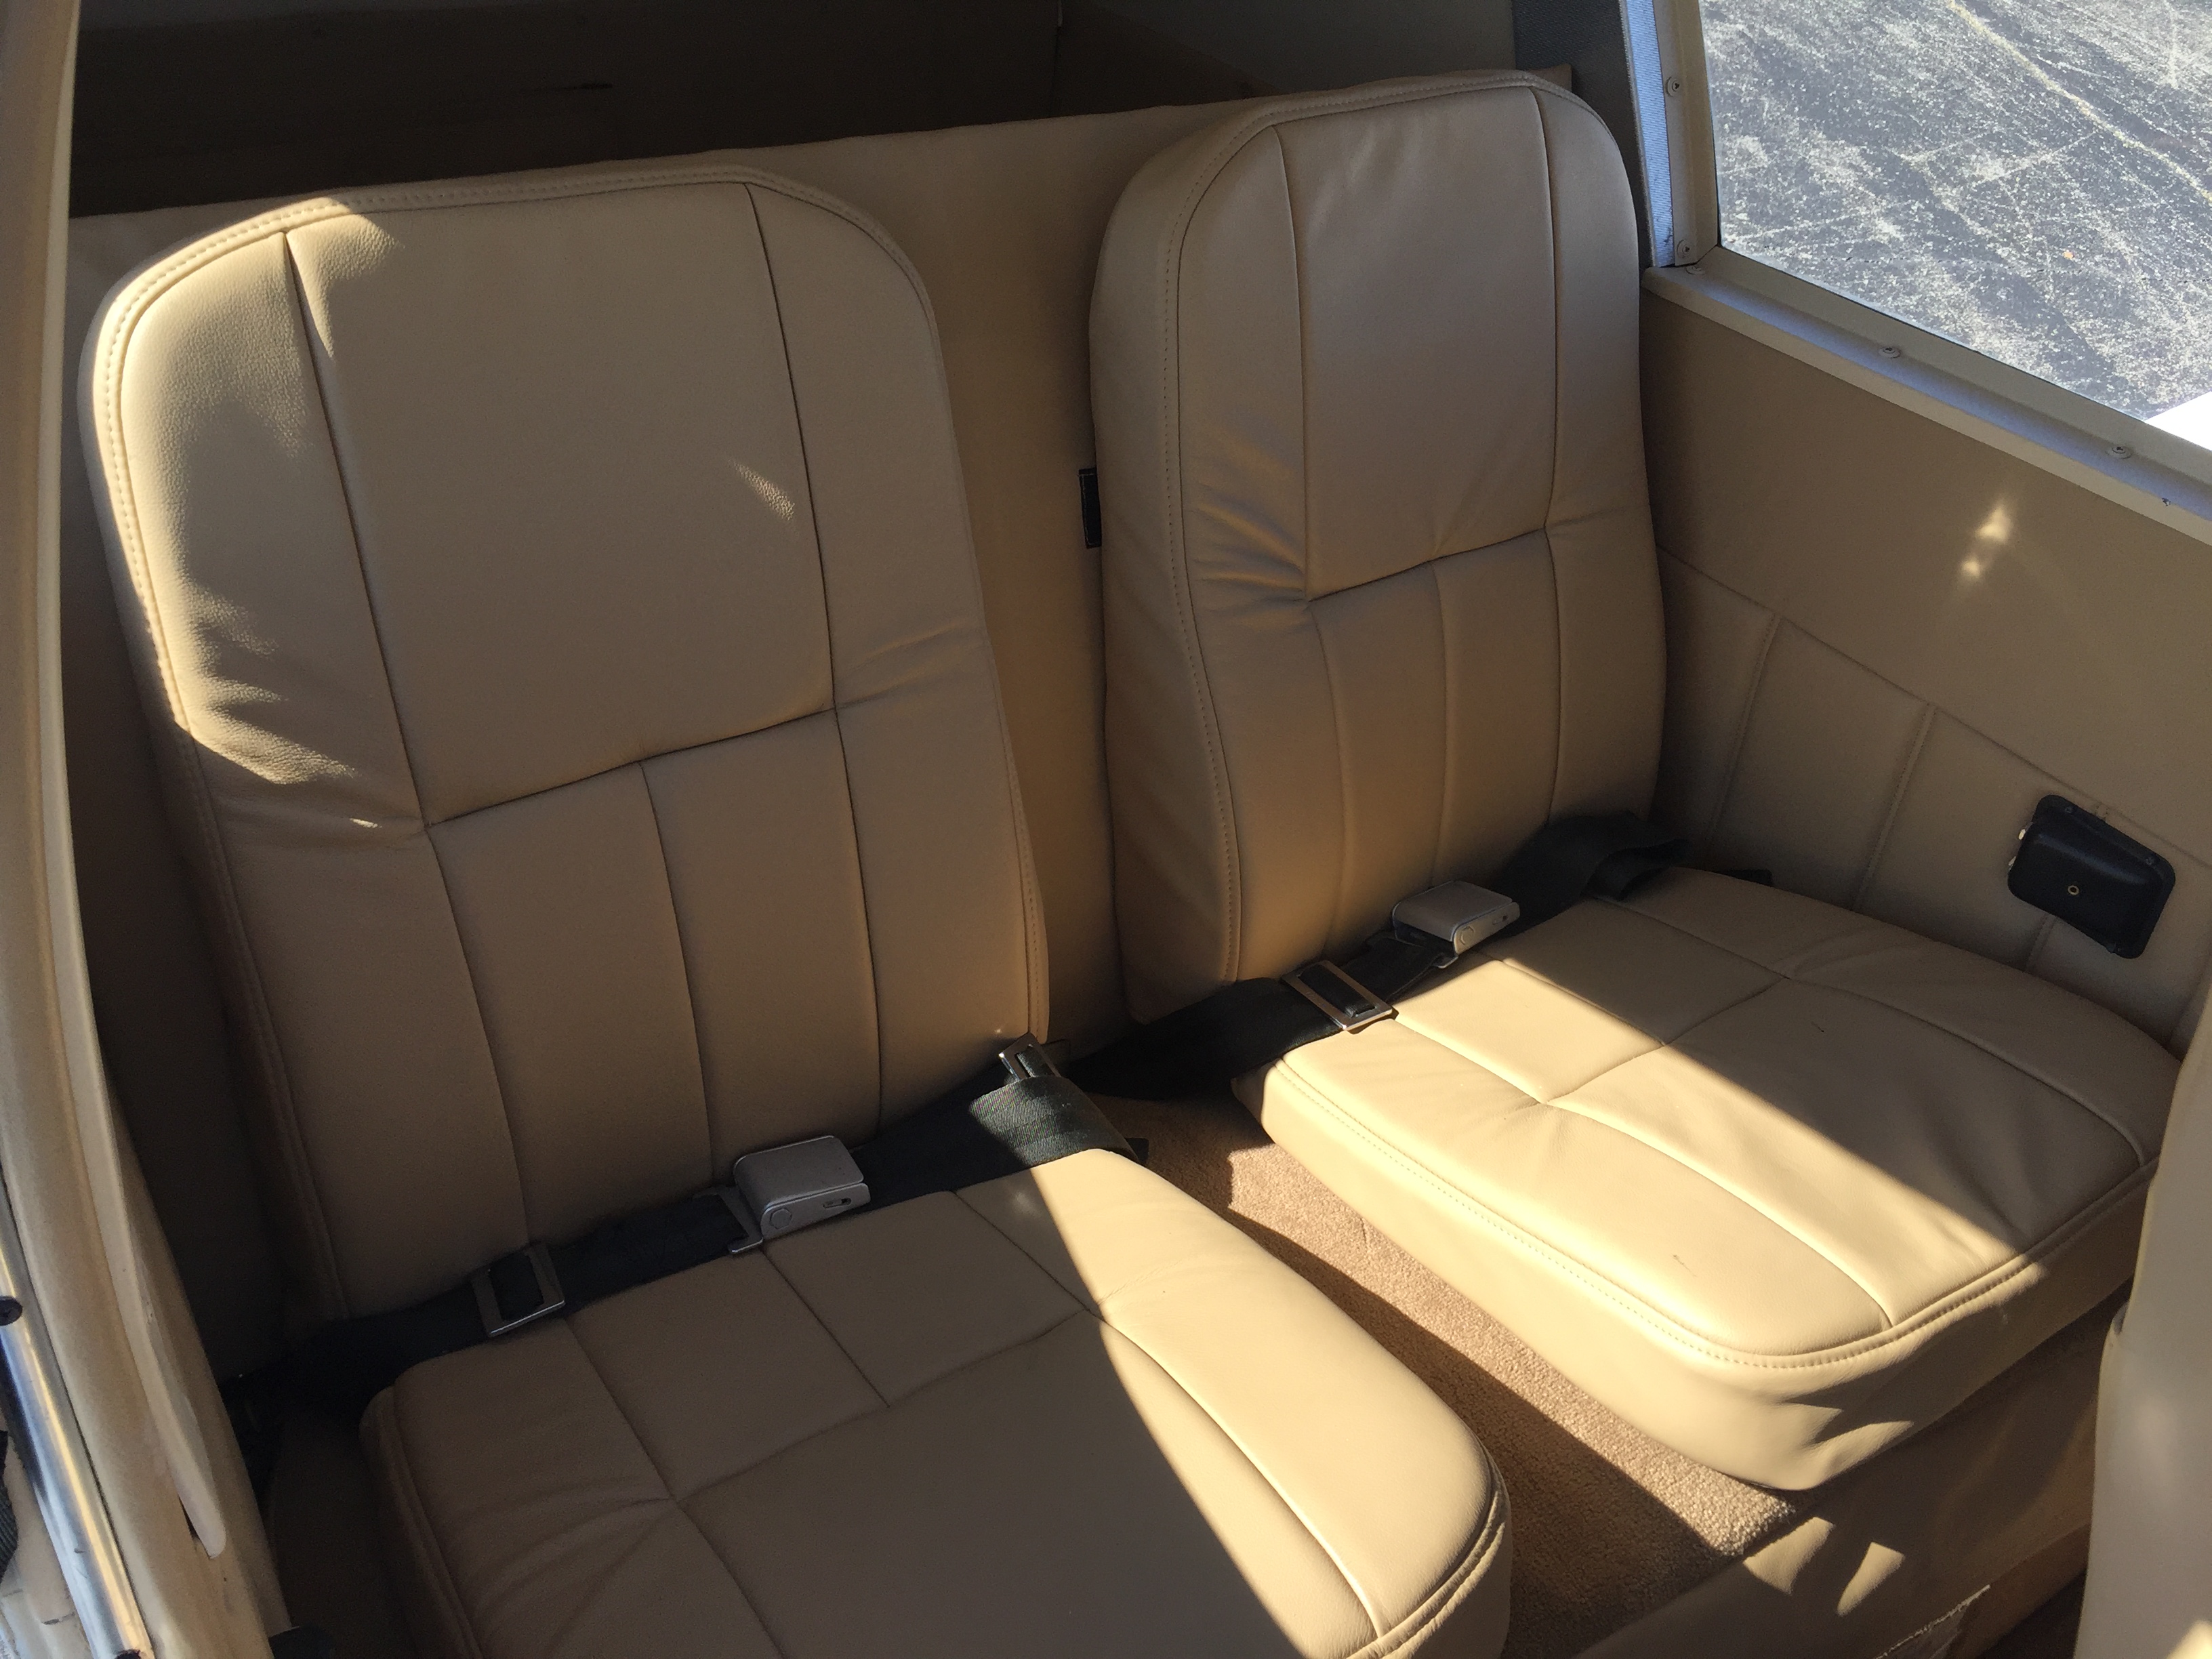
So now we're down to the finishing details. The tail stripes, detailing the N numbers and overlapping designs. A complex paint scheme to say the least. The new interior is now installed with European leather and features our solid core molded memory foam cushioning in the later Piper design. These are the stock Piper 180 seats modified to give the look and feel of the later model Archer seats. New sheet metal wall panel substrates upholstered in the same matching leather. Also installed the Piper fuel selector service kit for the safety of the handle. The rear seats have a unique design to allow removal of the seat back and a carpeted seat bottom support to allow the flexibility to carry bulky items or long objects.
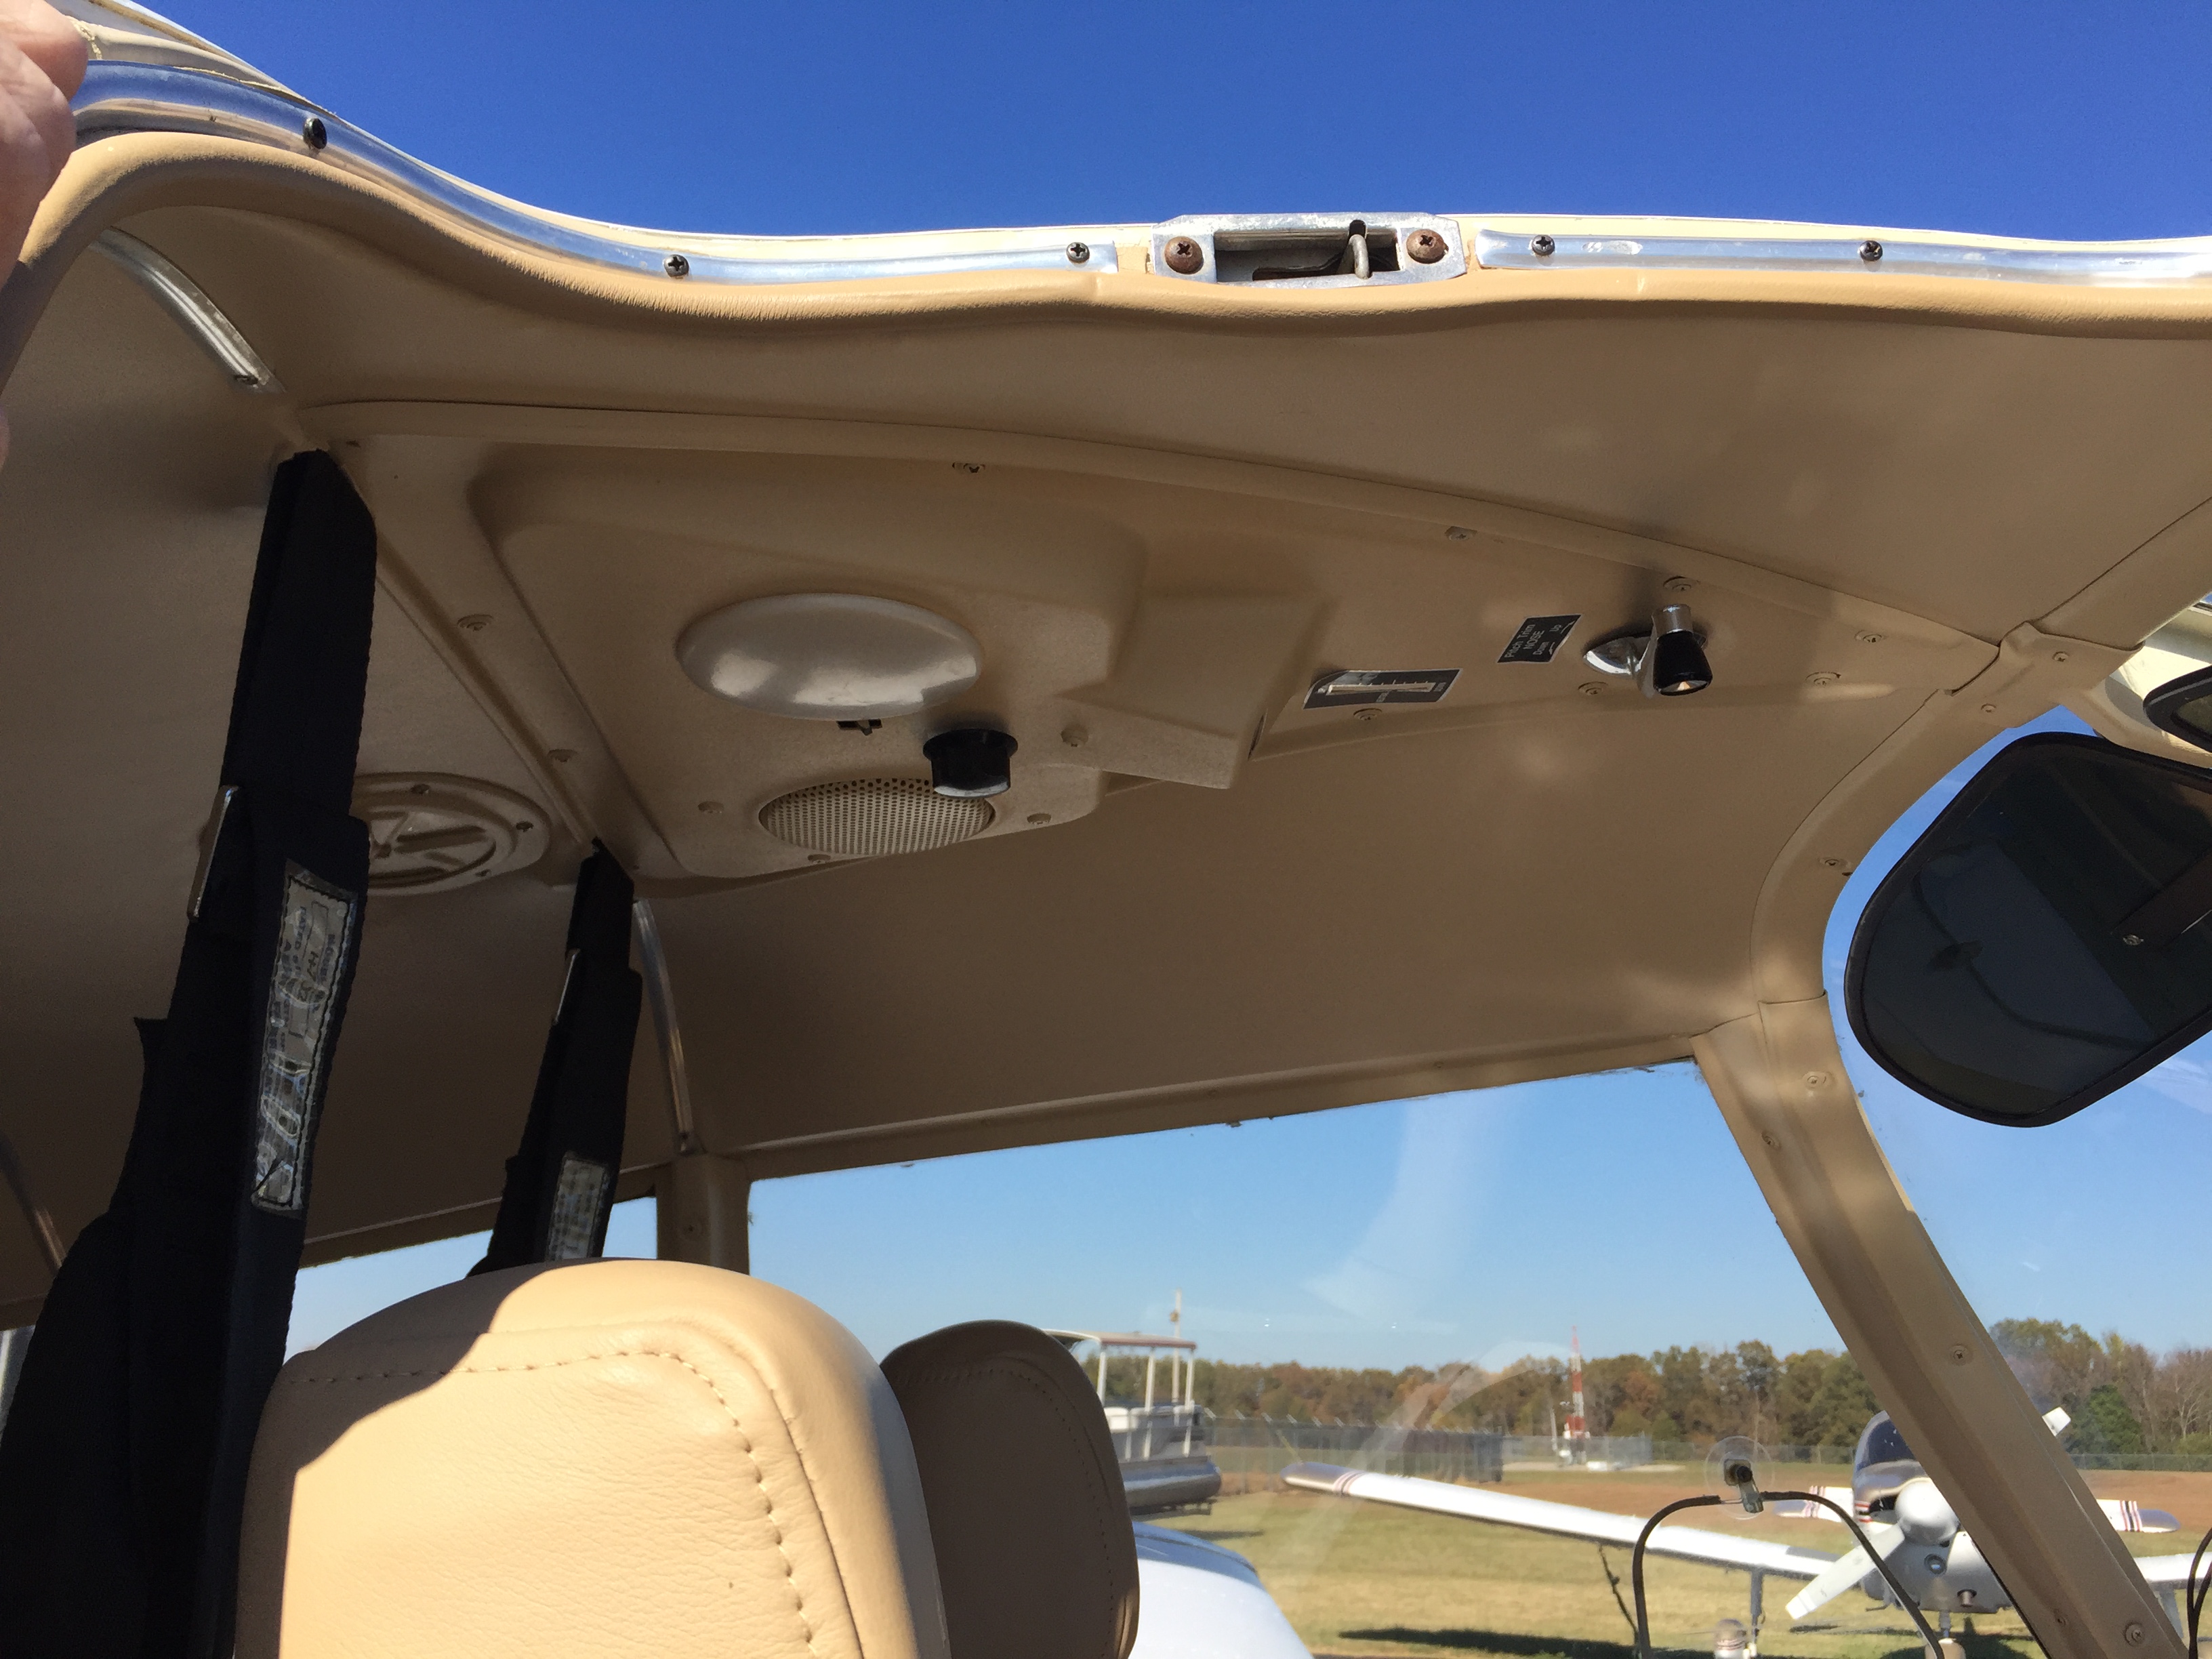
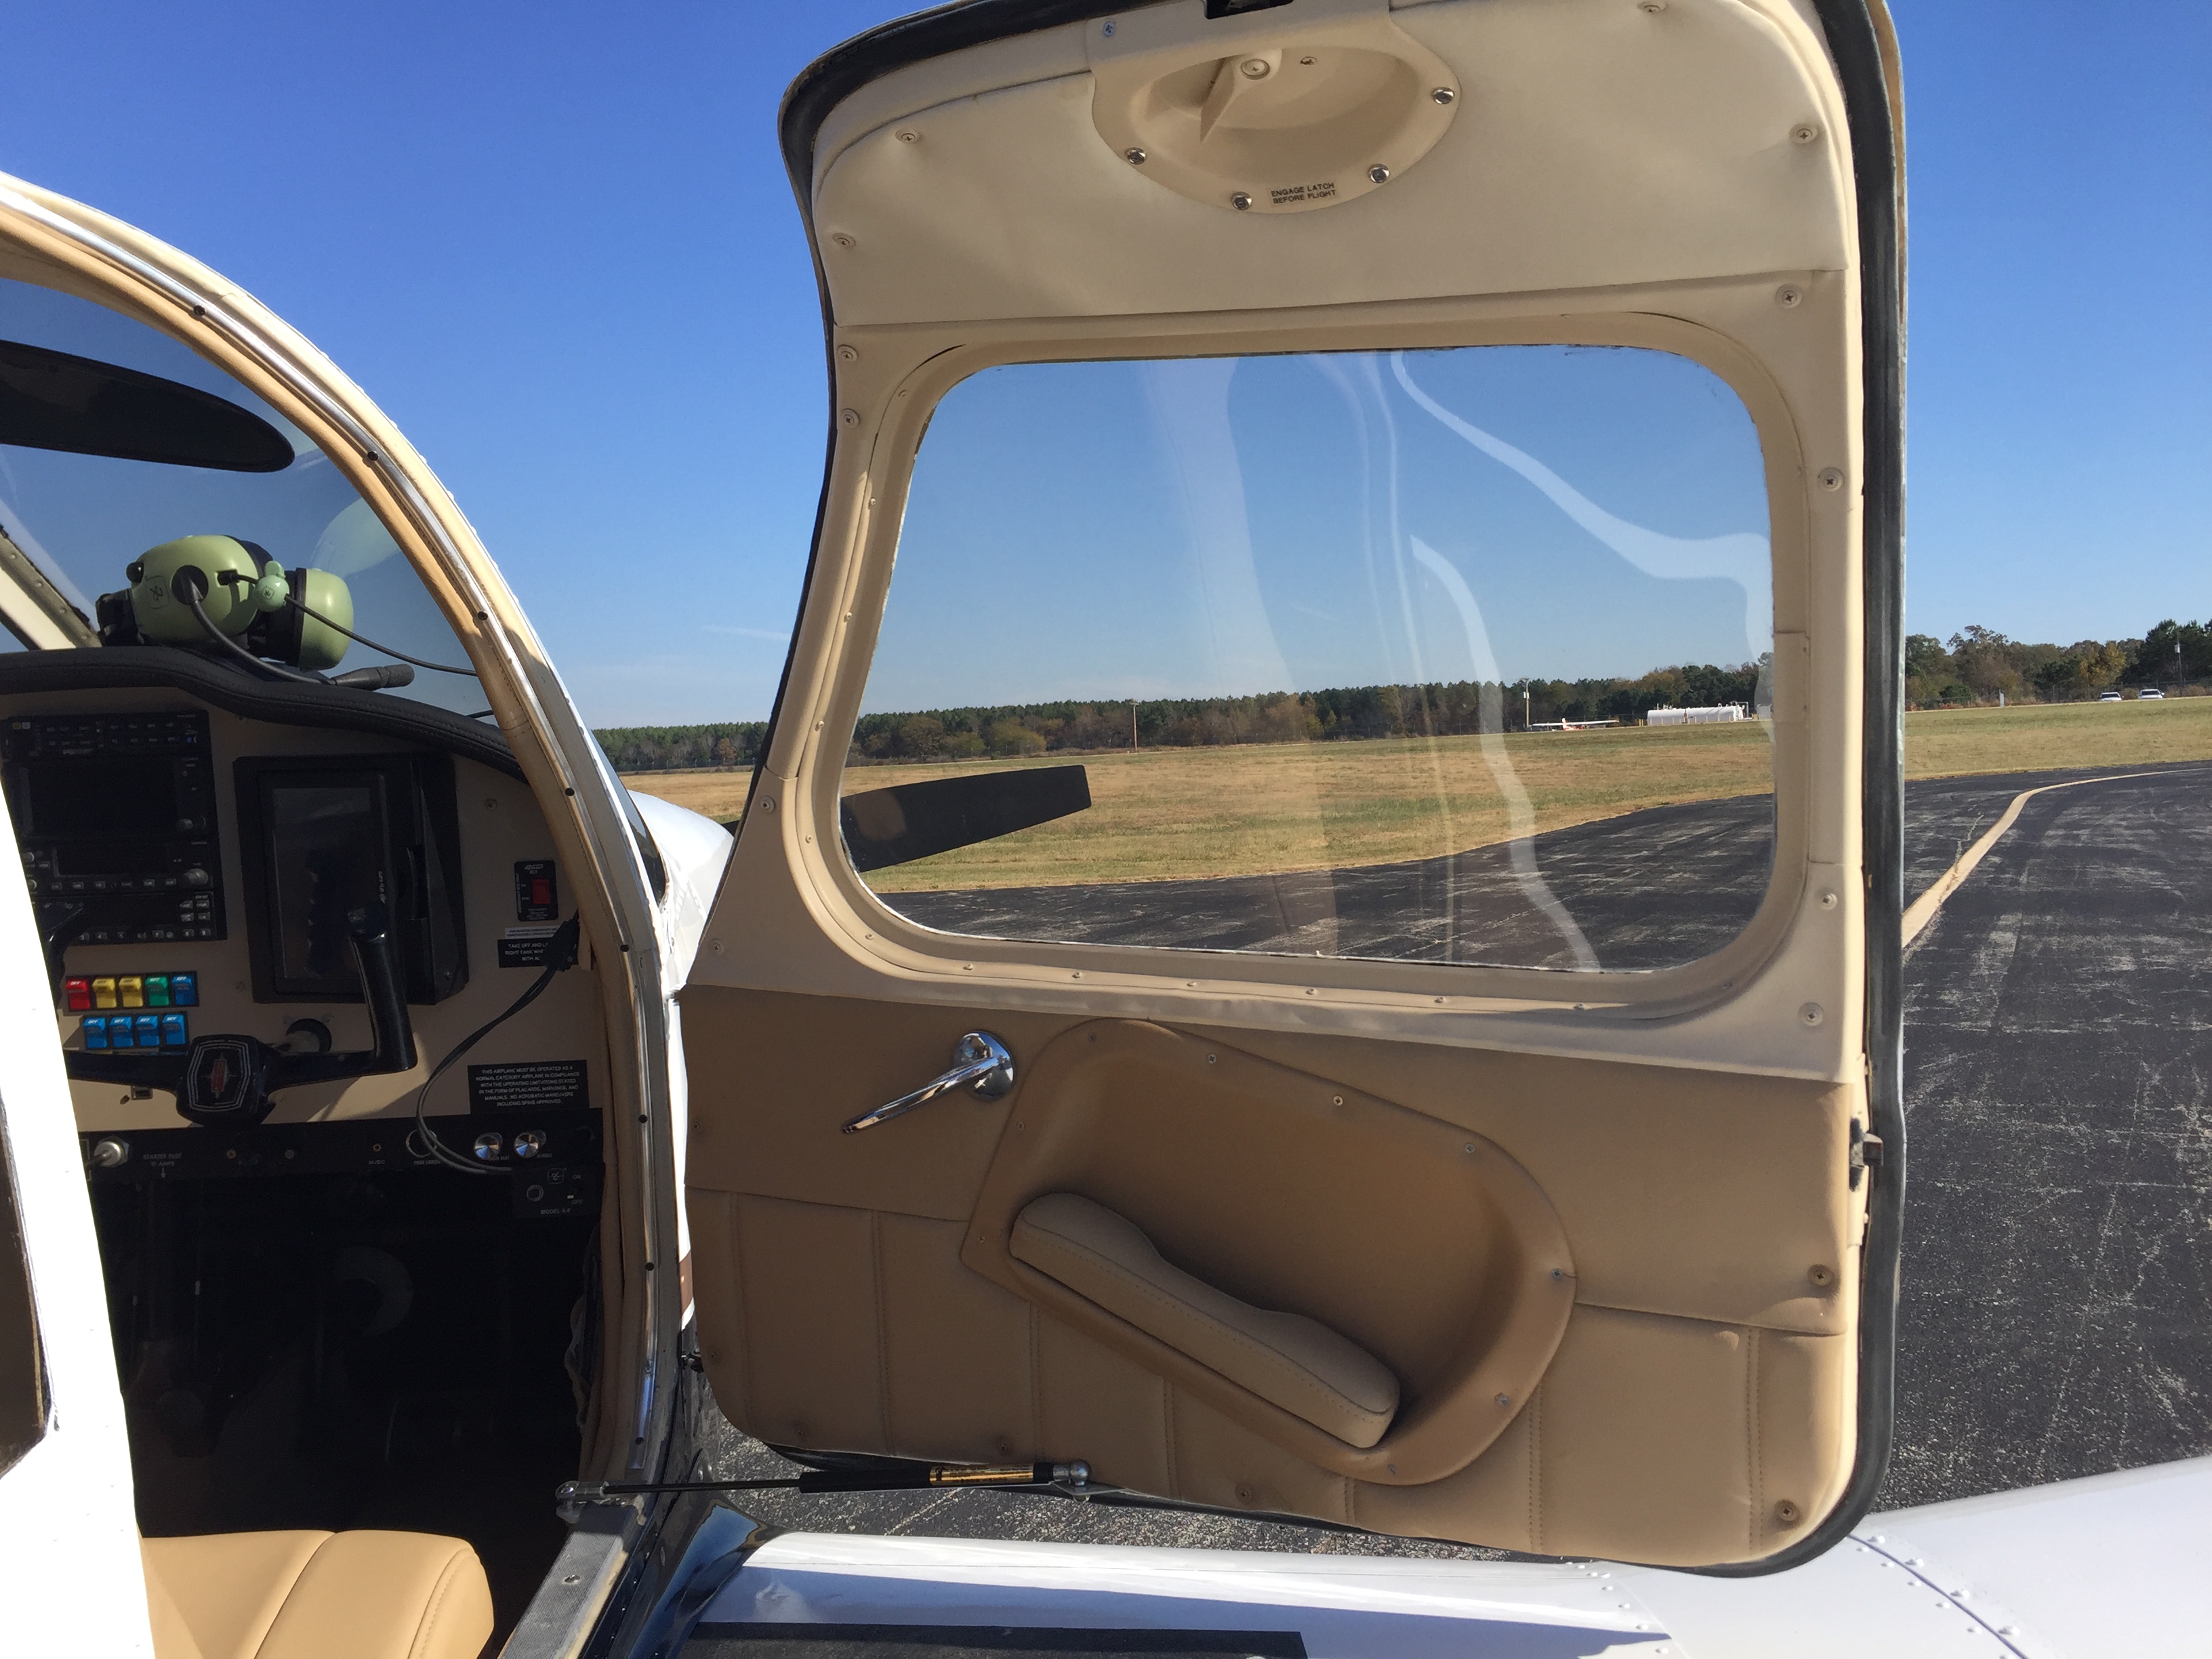
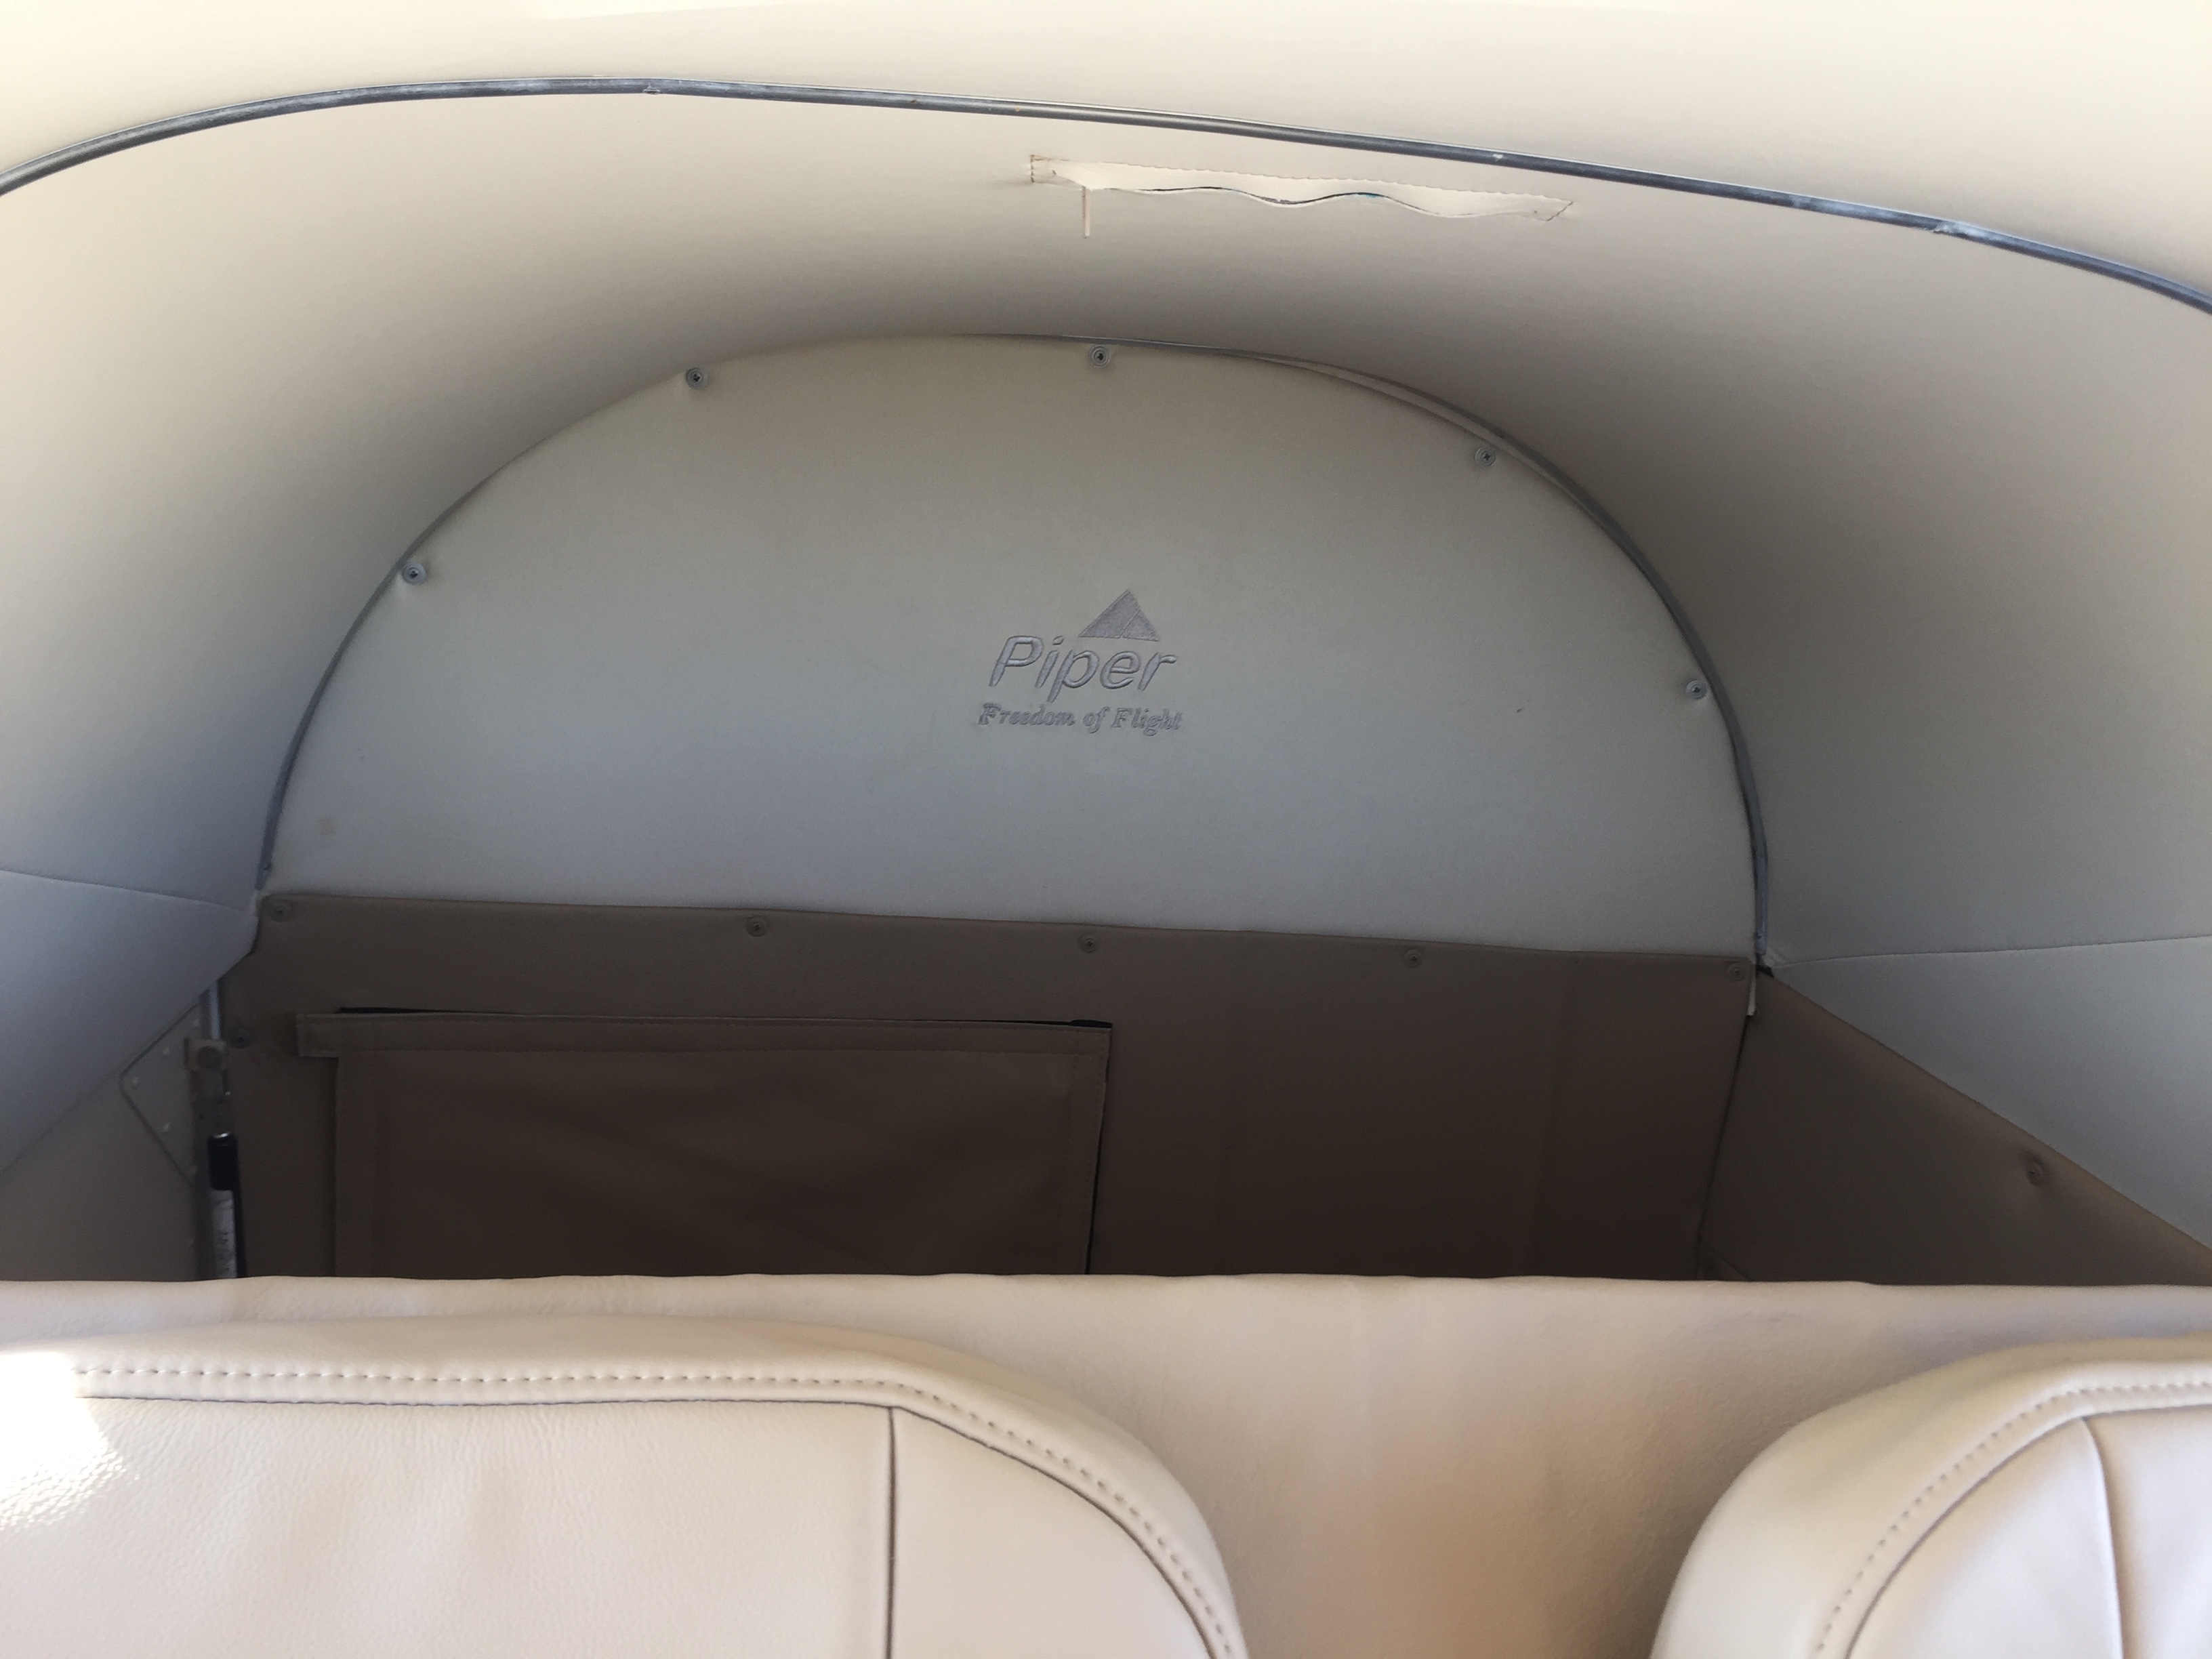
The complete interior refurb included a new headliner fabricated from multi directional stretch imitation leather, all new matching leather wind lace, and all the door jambs, seat frames, door facings, and window trim refinished. New arm rest leather upholstery and all new finishing screws. A really cool option was the hydraulic door actuator on the cabin entrance door and the baggage door. No more cheap slides or cheesy straps ! I also decided to do this cool two piece aft close out panel since we don't have the rear hat shelf in this model. The split design affords us the opportunity to do the "freedom of flight" emblem embroidered into the top half and a custom made battery access door for the lower half.
This aircraft now has the best of everything. From the shapely design of the seats, out to the sleek lines of the exterior. The addition of the fairings went well with the overall theme of the airplane to give it the more robust appearance. It actually looks like a larger aircraft than before. Check out the differences :