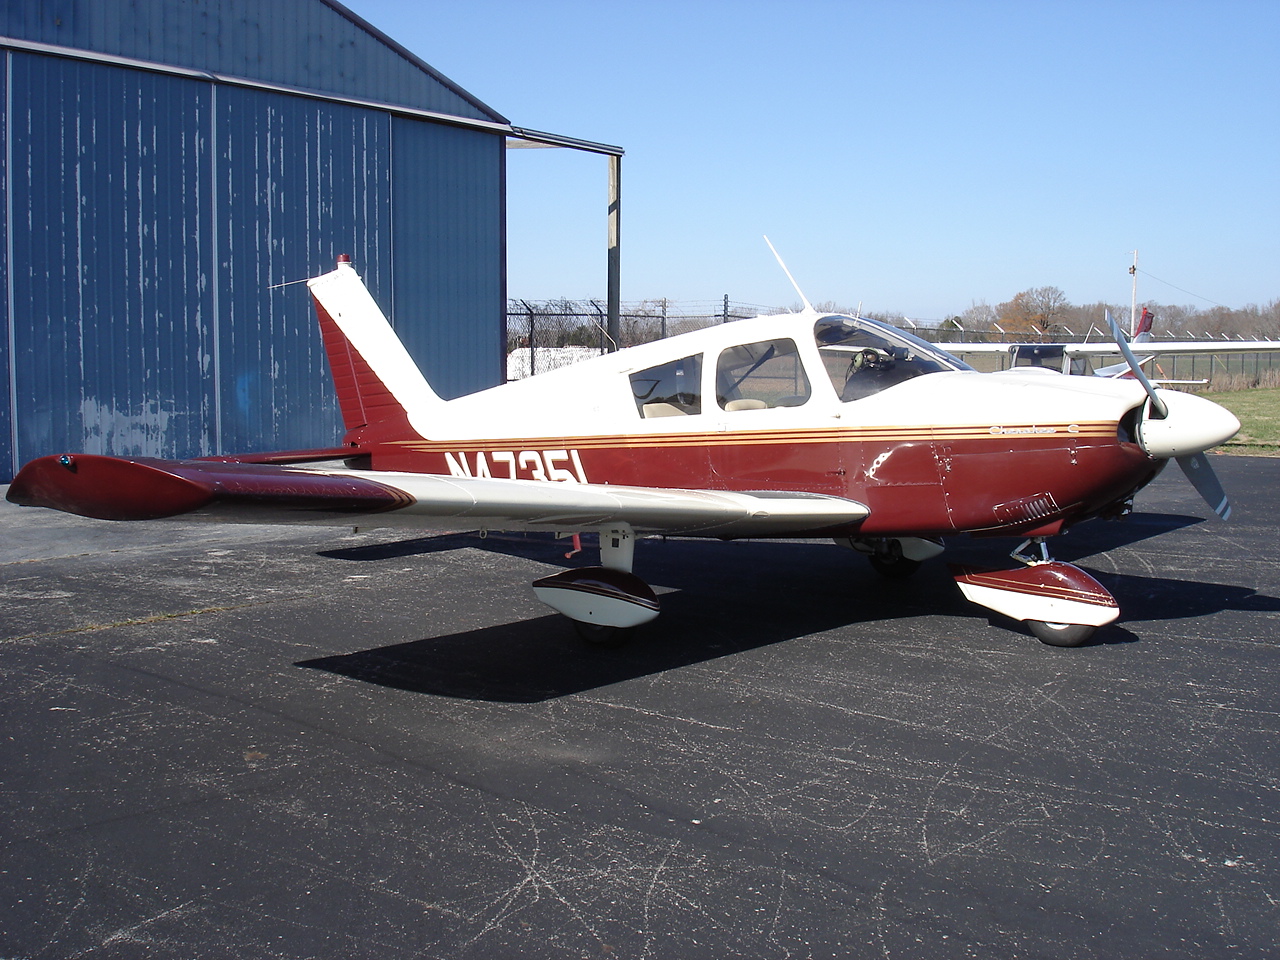
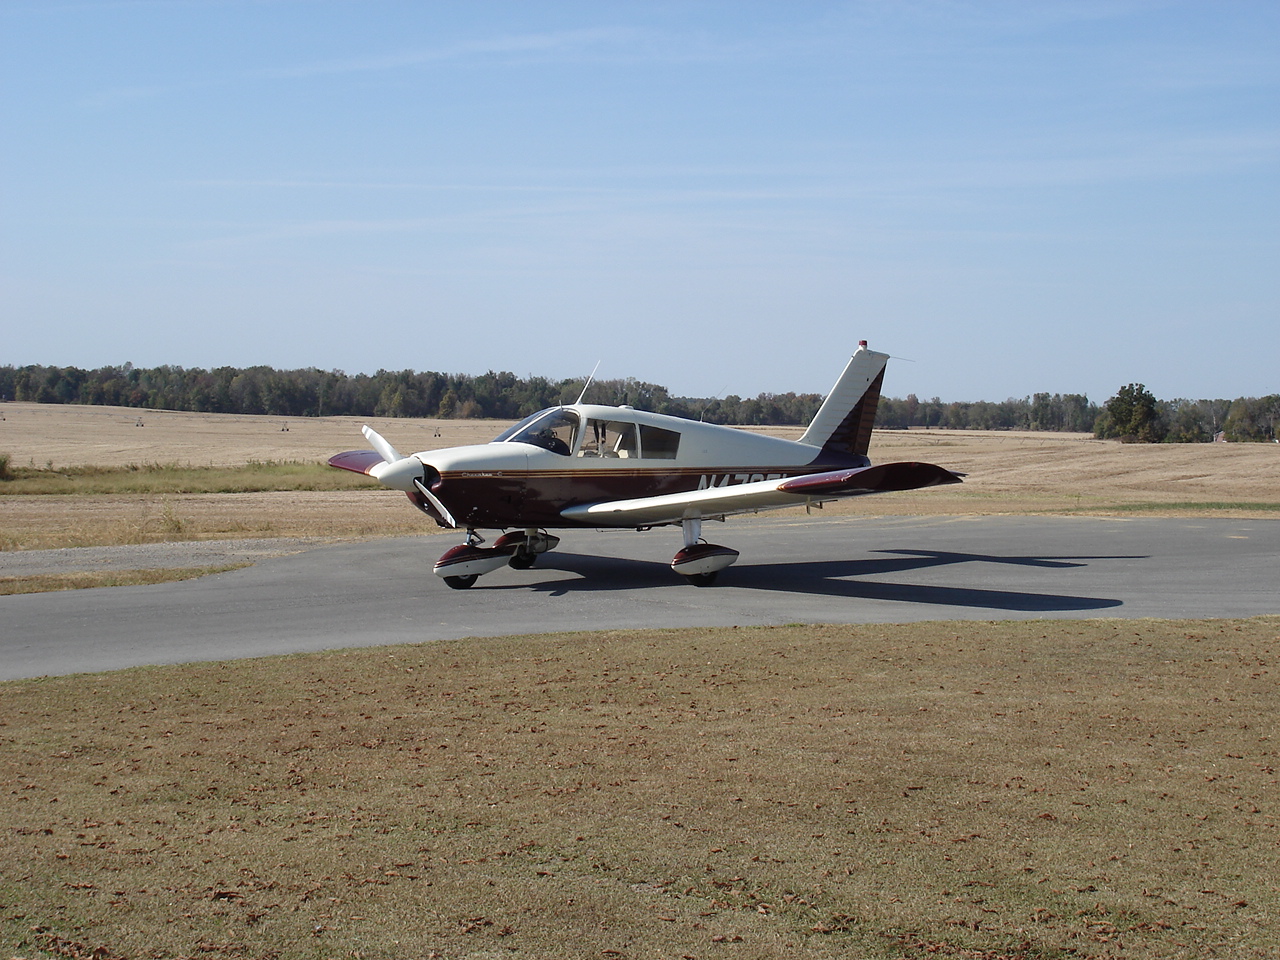
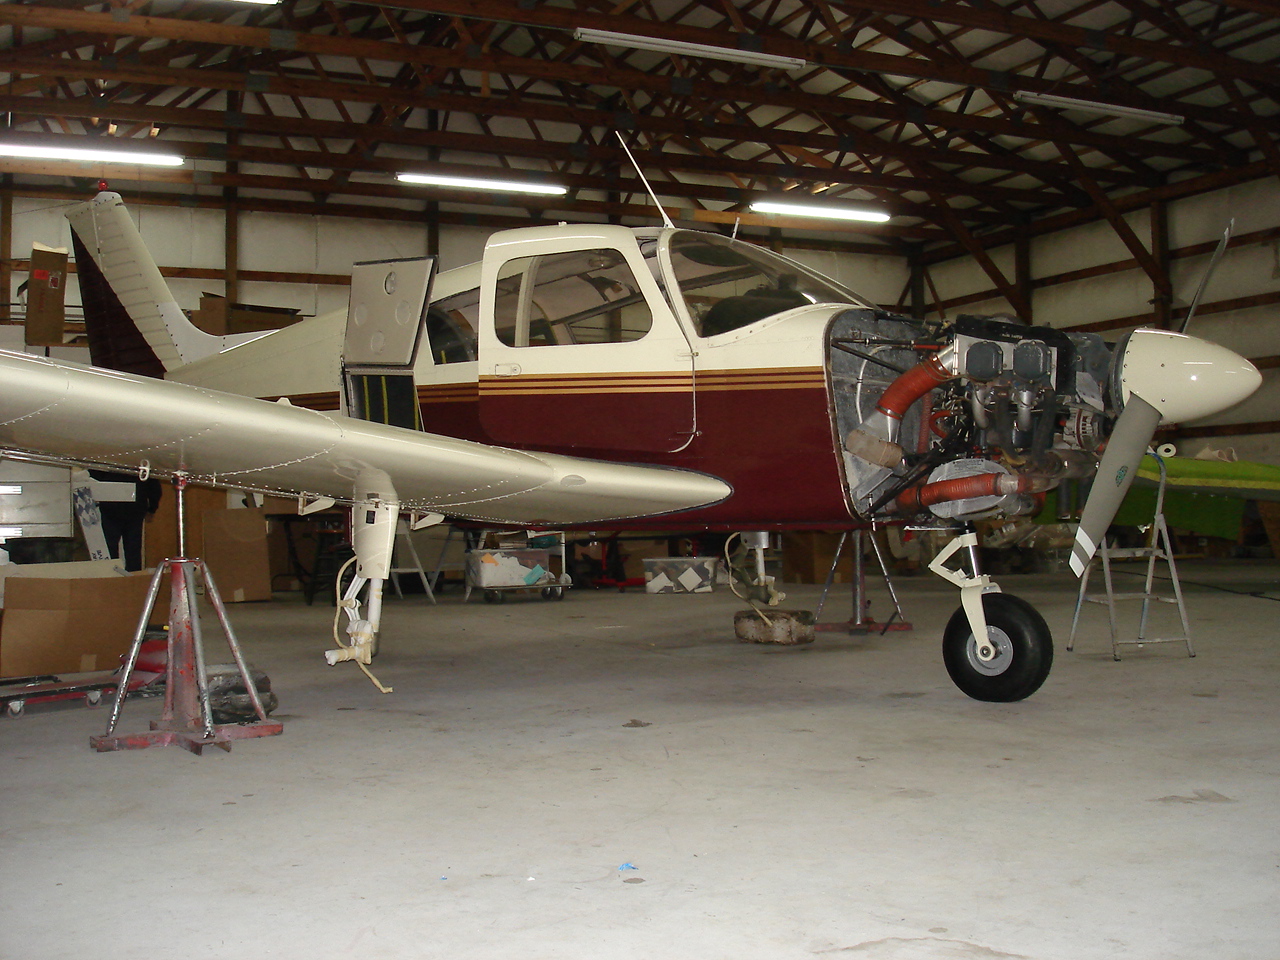
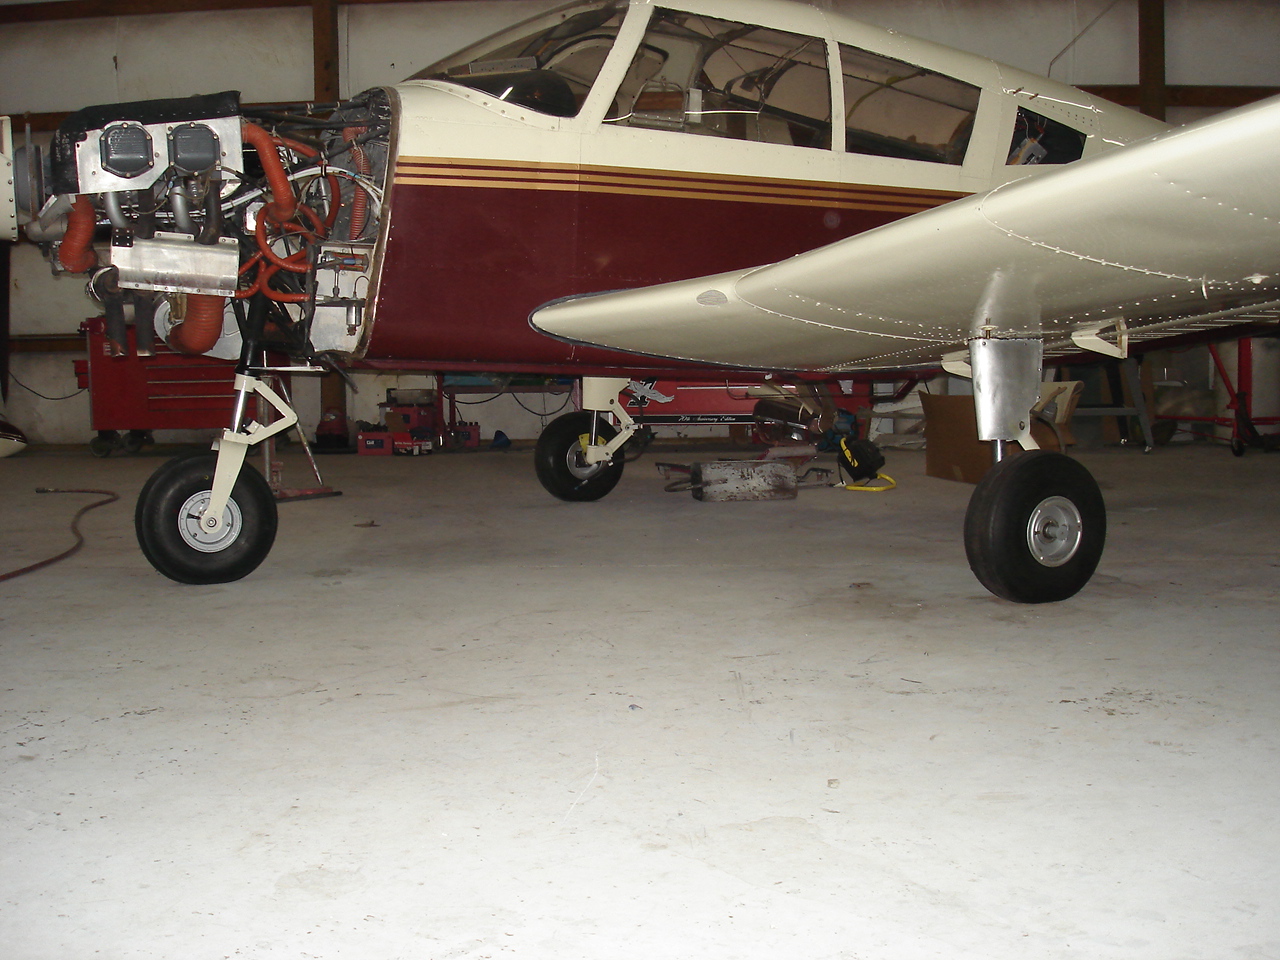
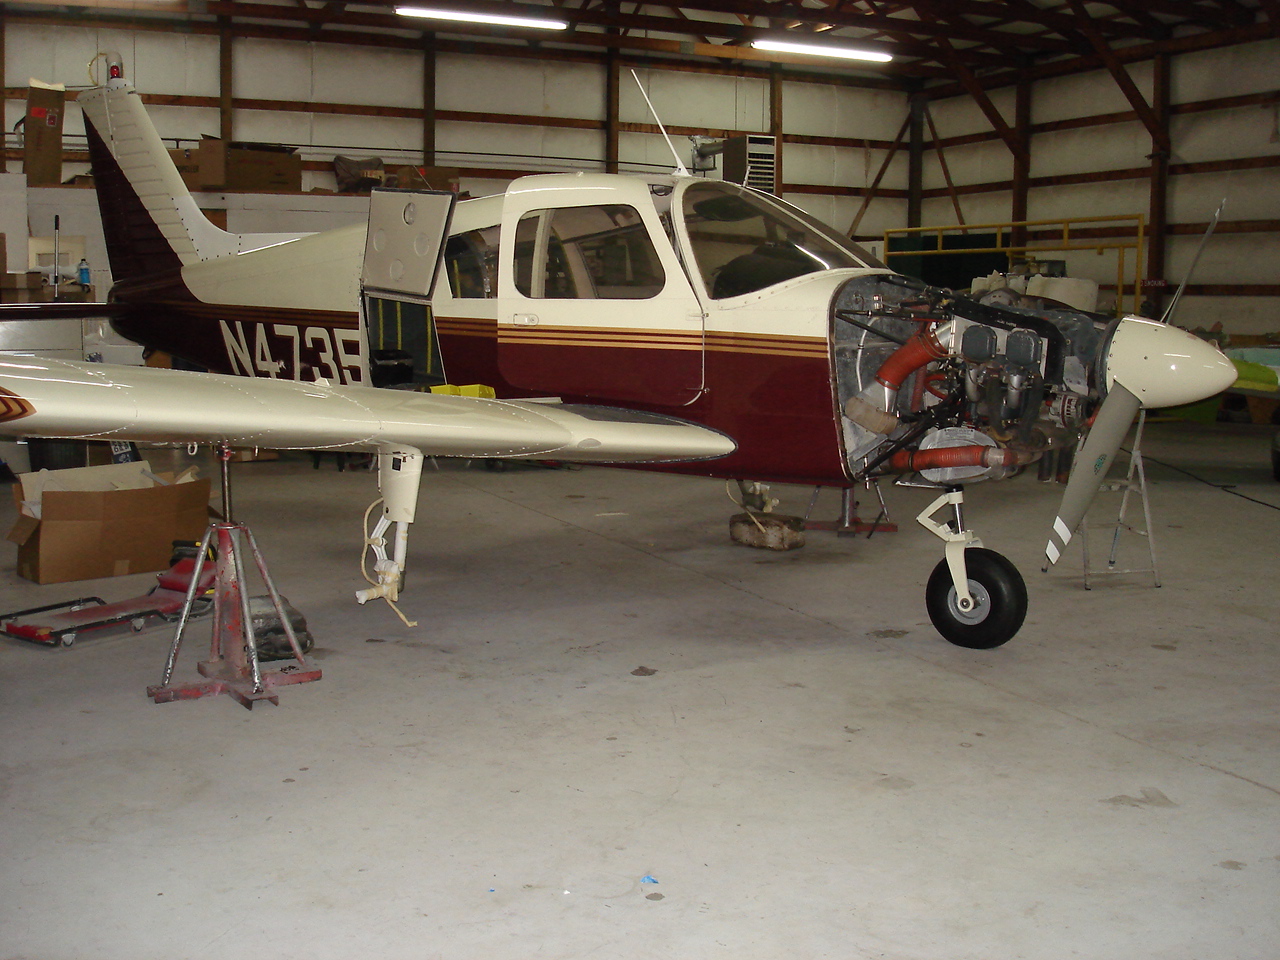
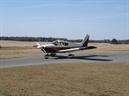
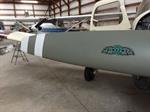
Here are the initial photographs of our Cherokee 180C, N4735L. This will NOT be a complete refurb project because this particular aircraft doesn't need maintenance to that extent. It will, however, benefit from having several upgrades performed on an already nice aircraft.
The initial specs on the aircraft are as follows:
Total Time Airframe: 2675
Time Since Major Overhaul 675
Very Nice Jet-Glo paint allover Creamy White with Vendetta Red and Las Vegas Gold accents.
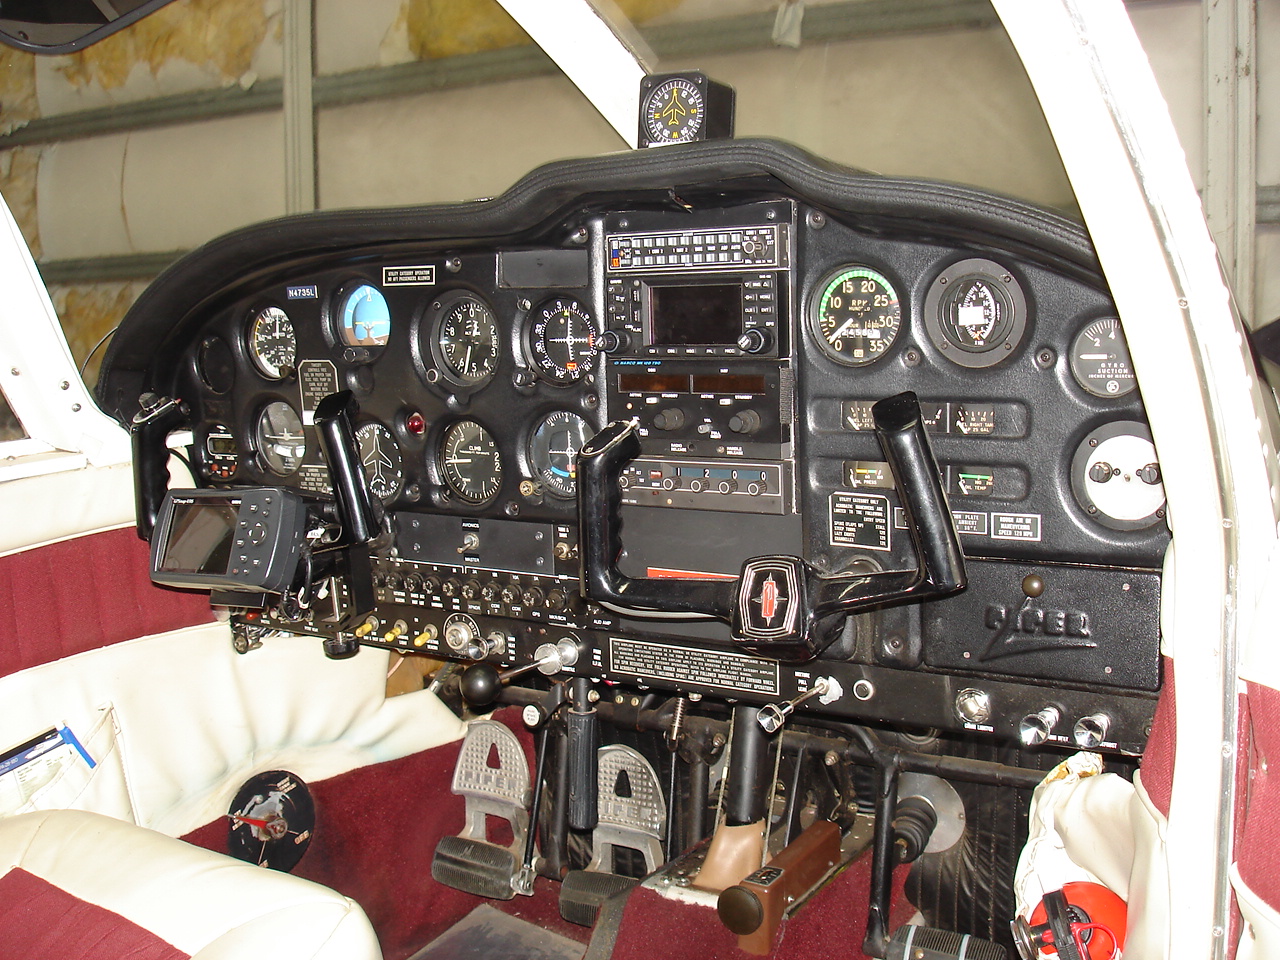
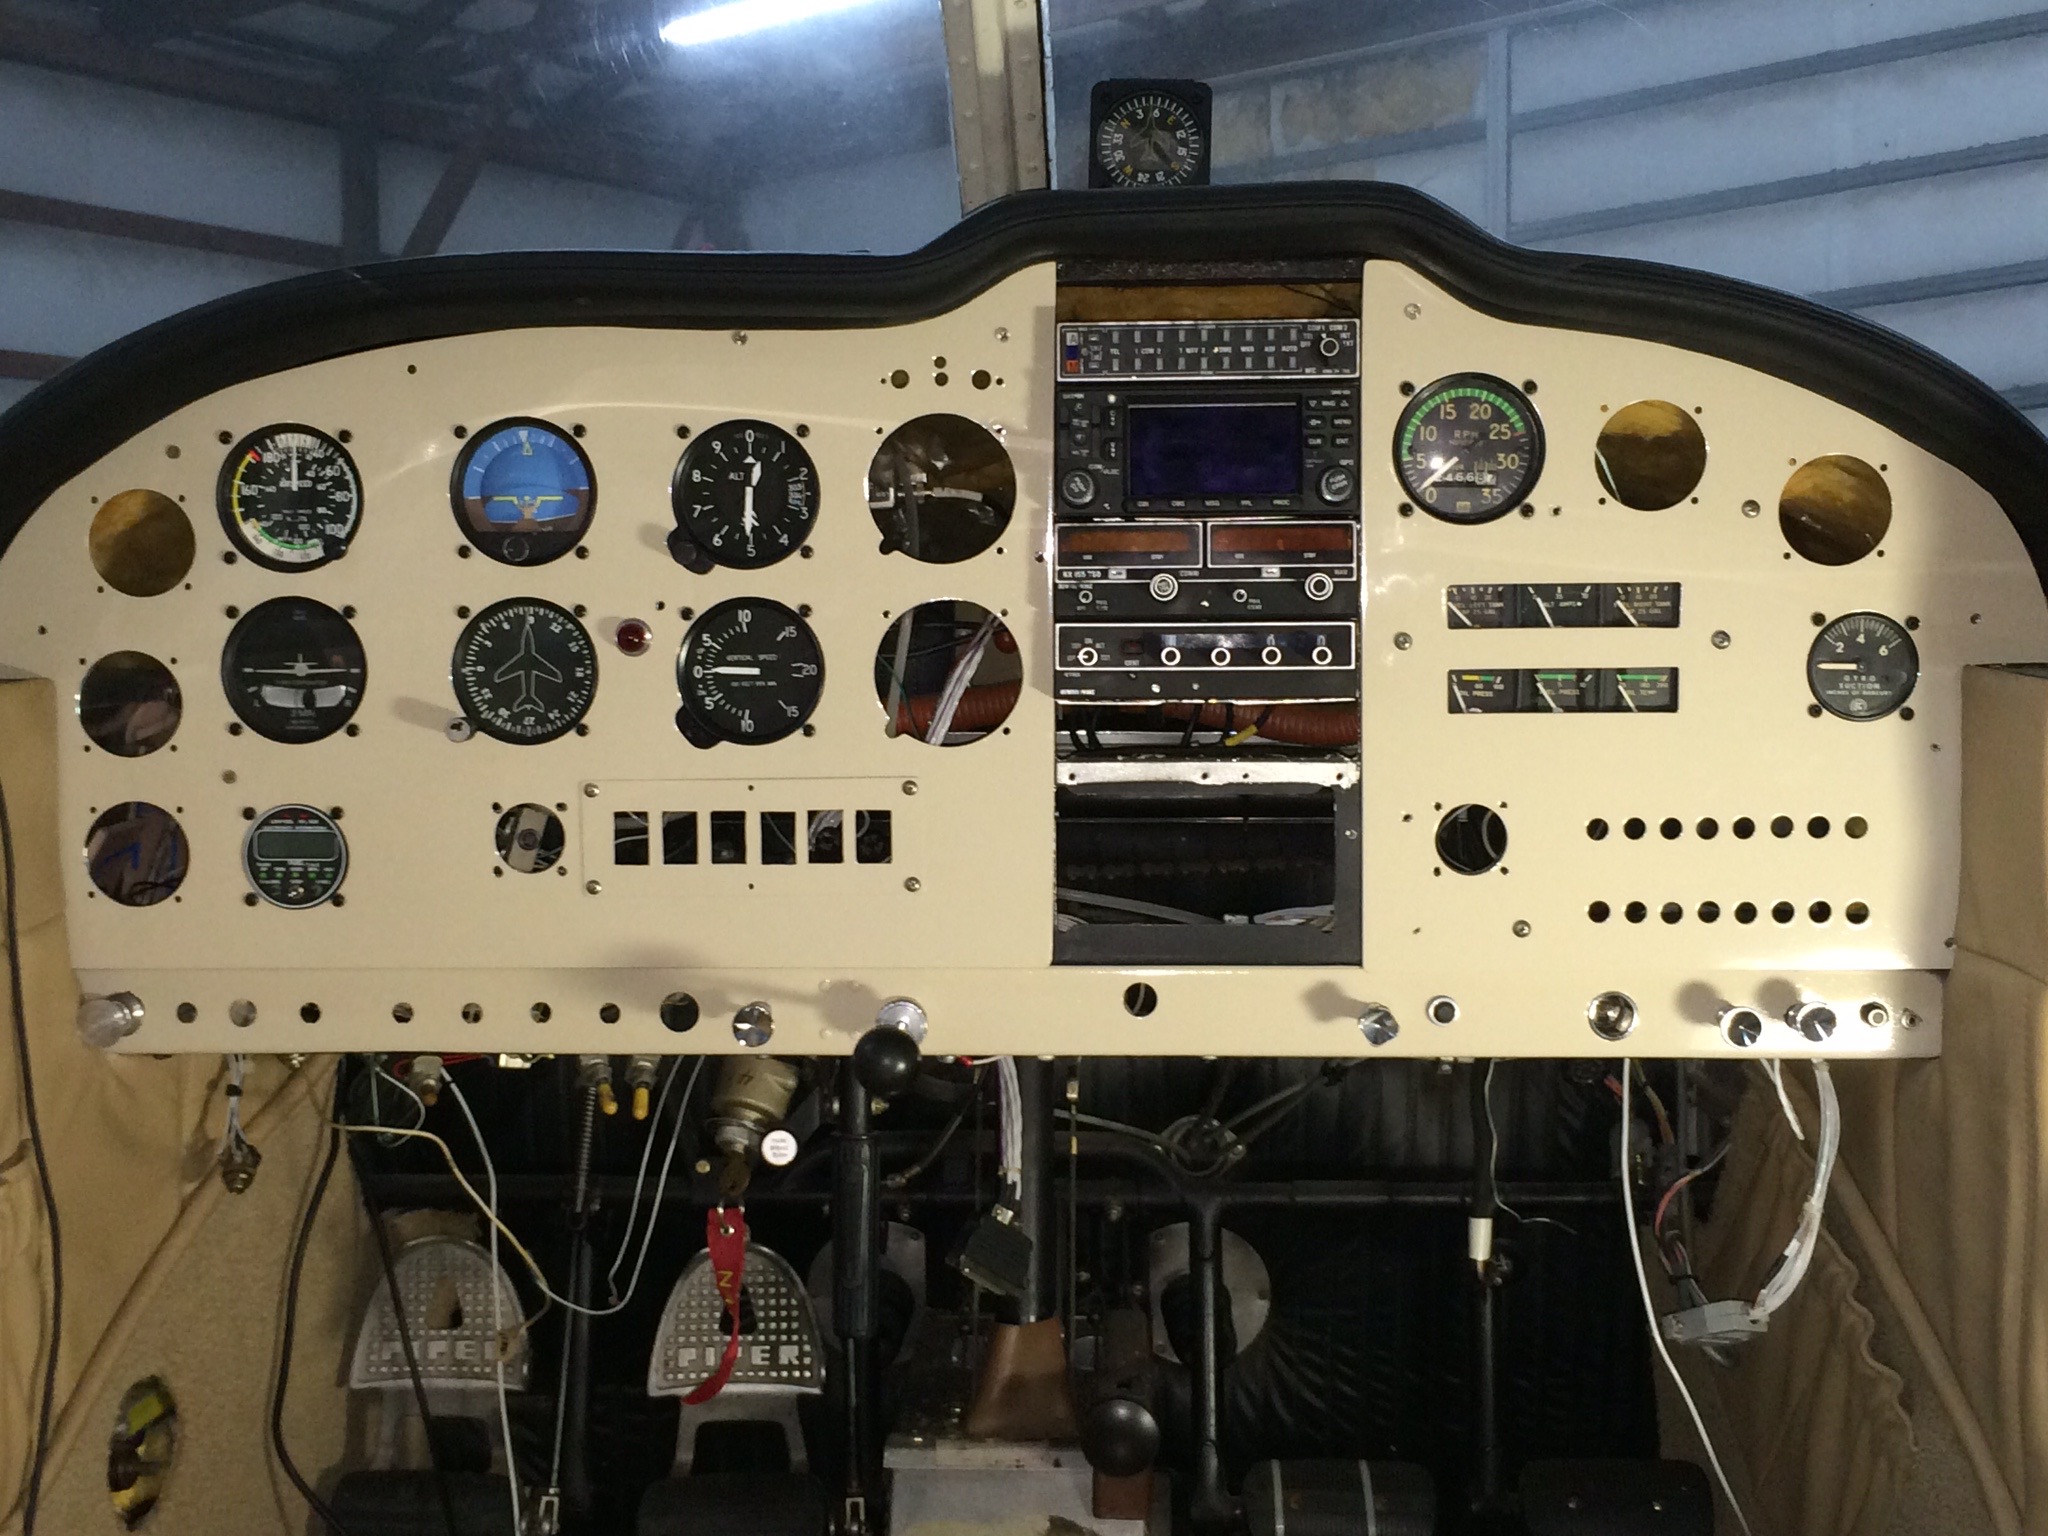
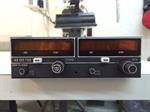
Upgraded avionics with dual GPS units
Take a good look at now, because it won't be looking this way for long !
N4735L
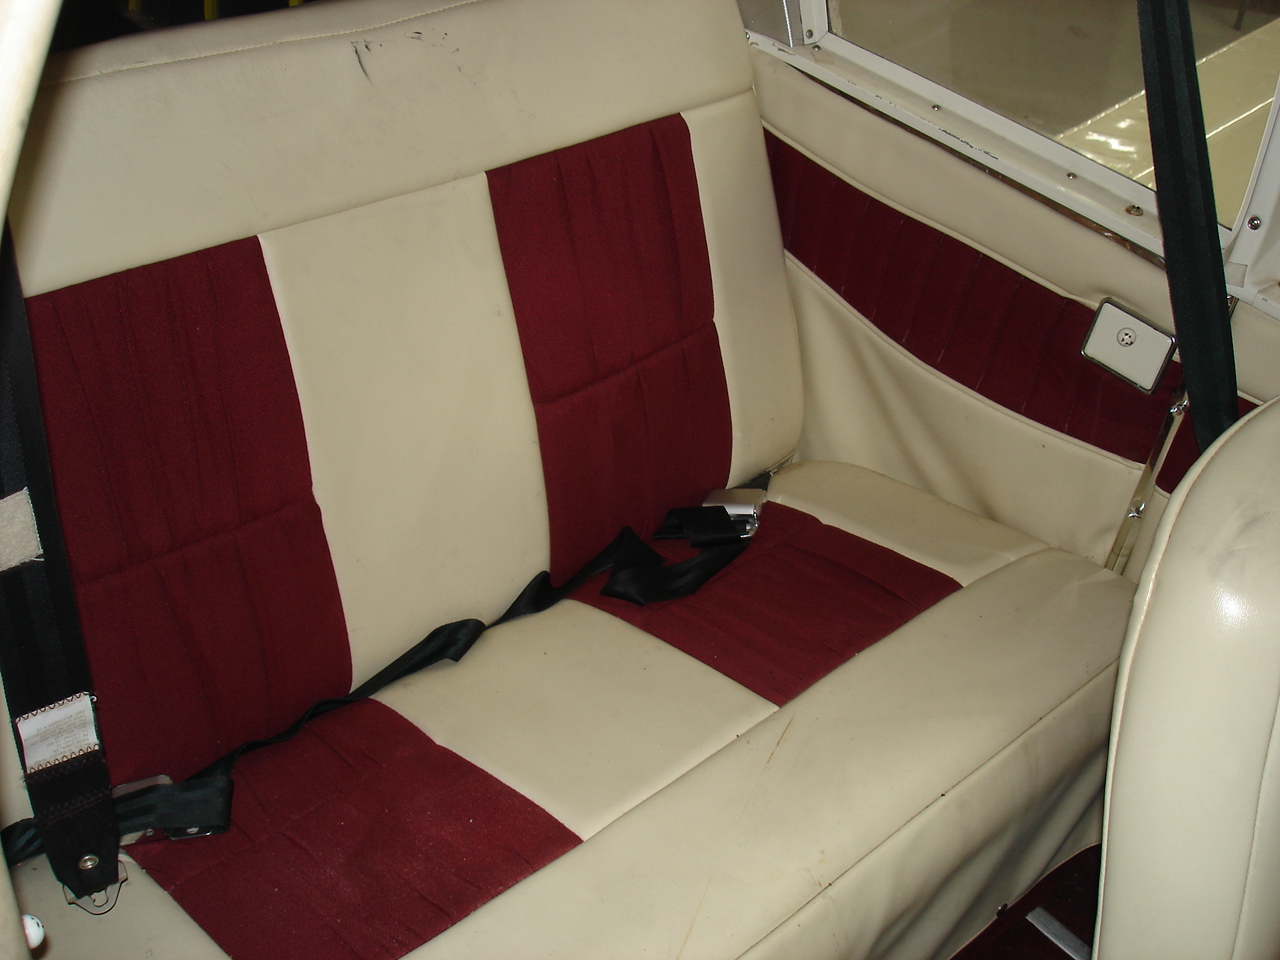
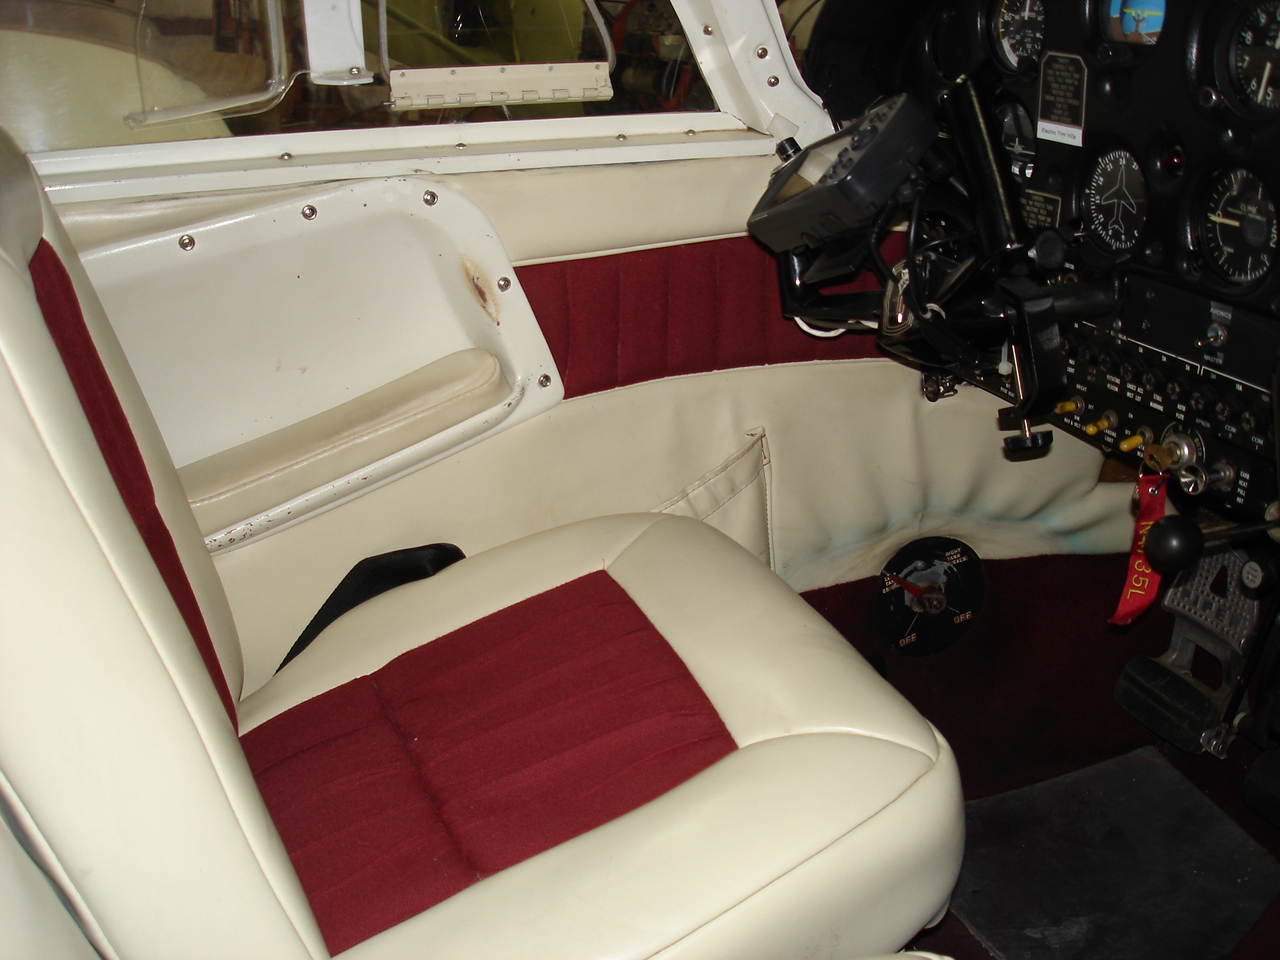
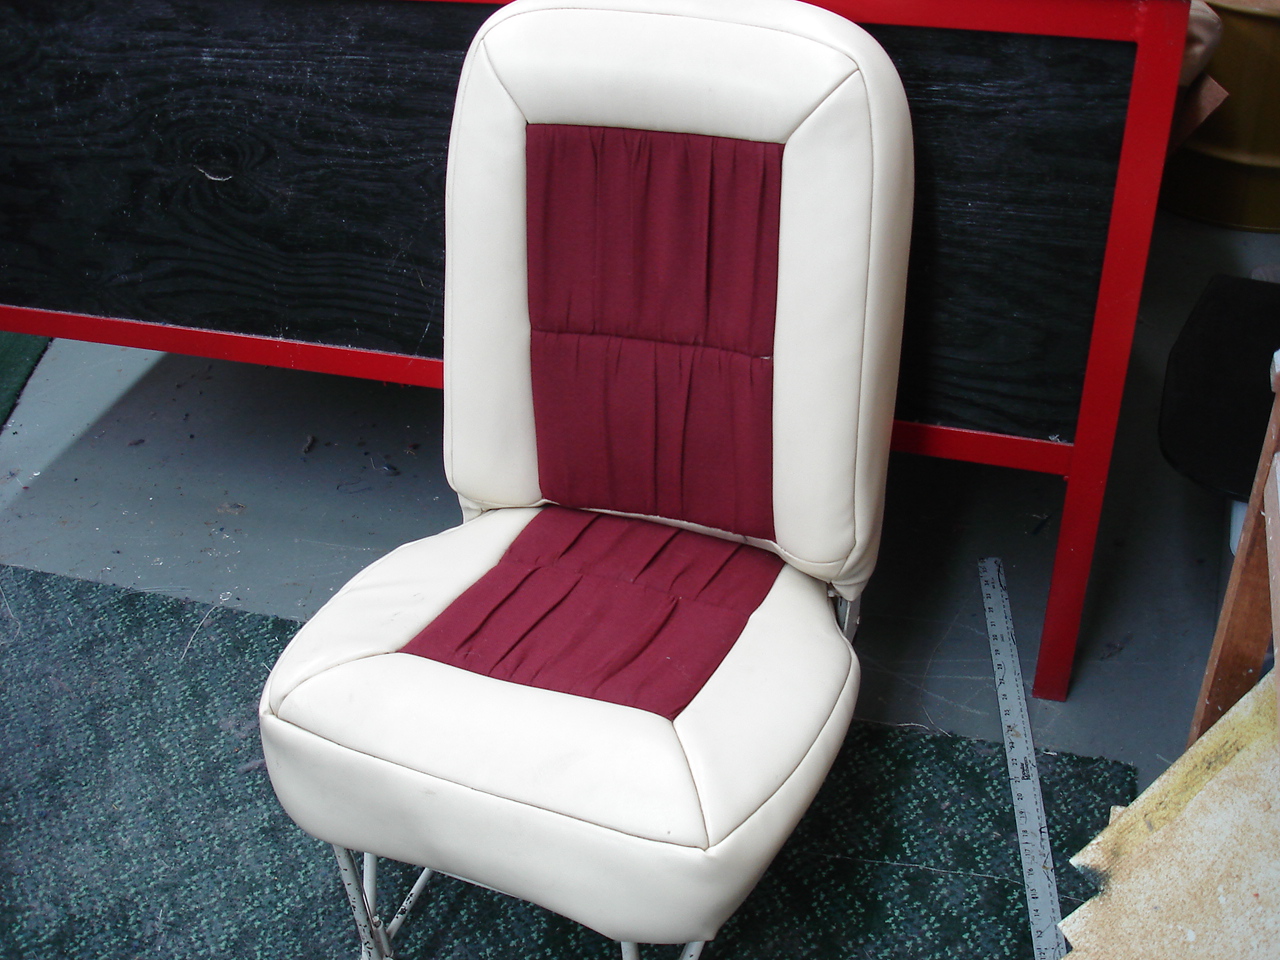
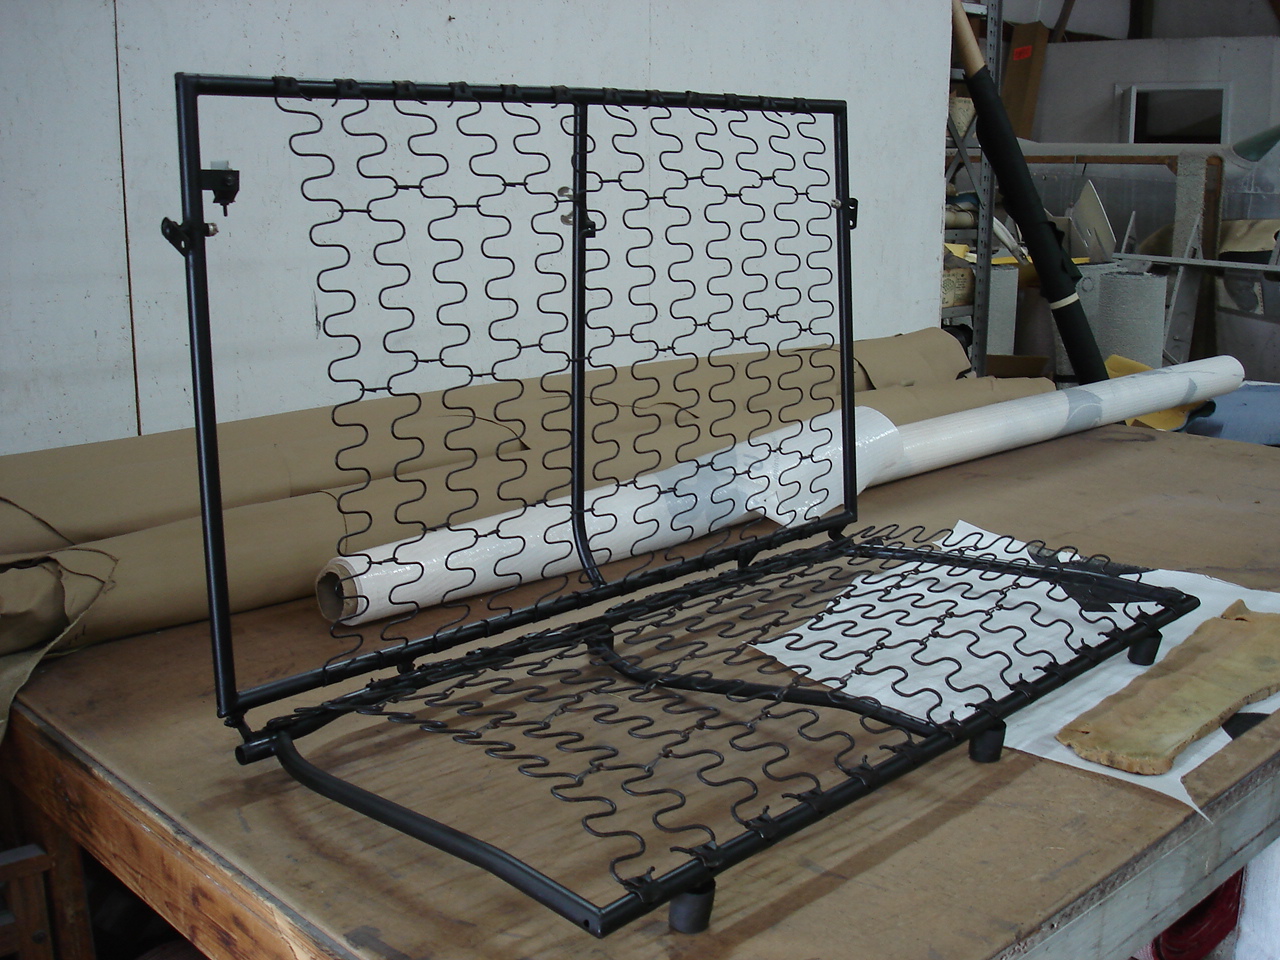
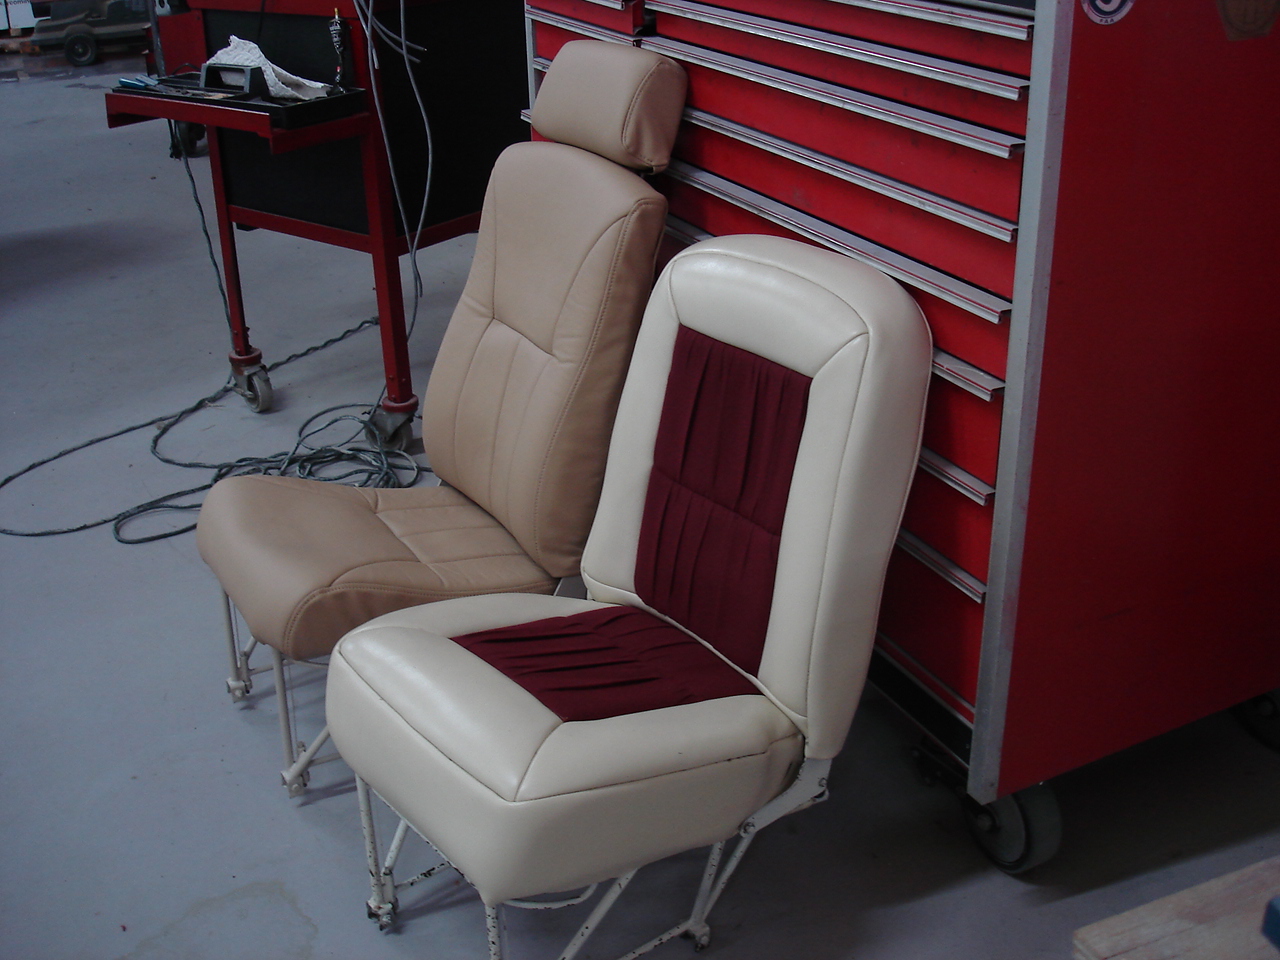
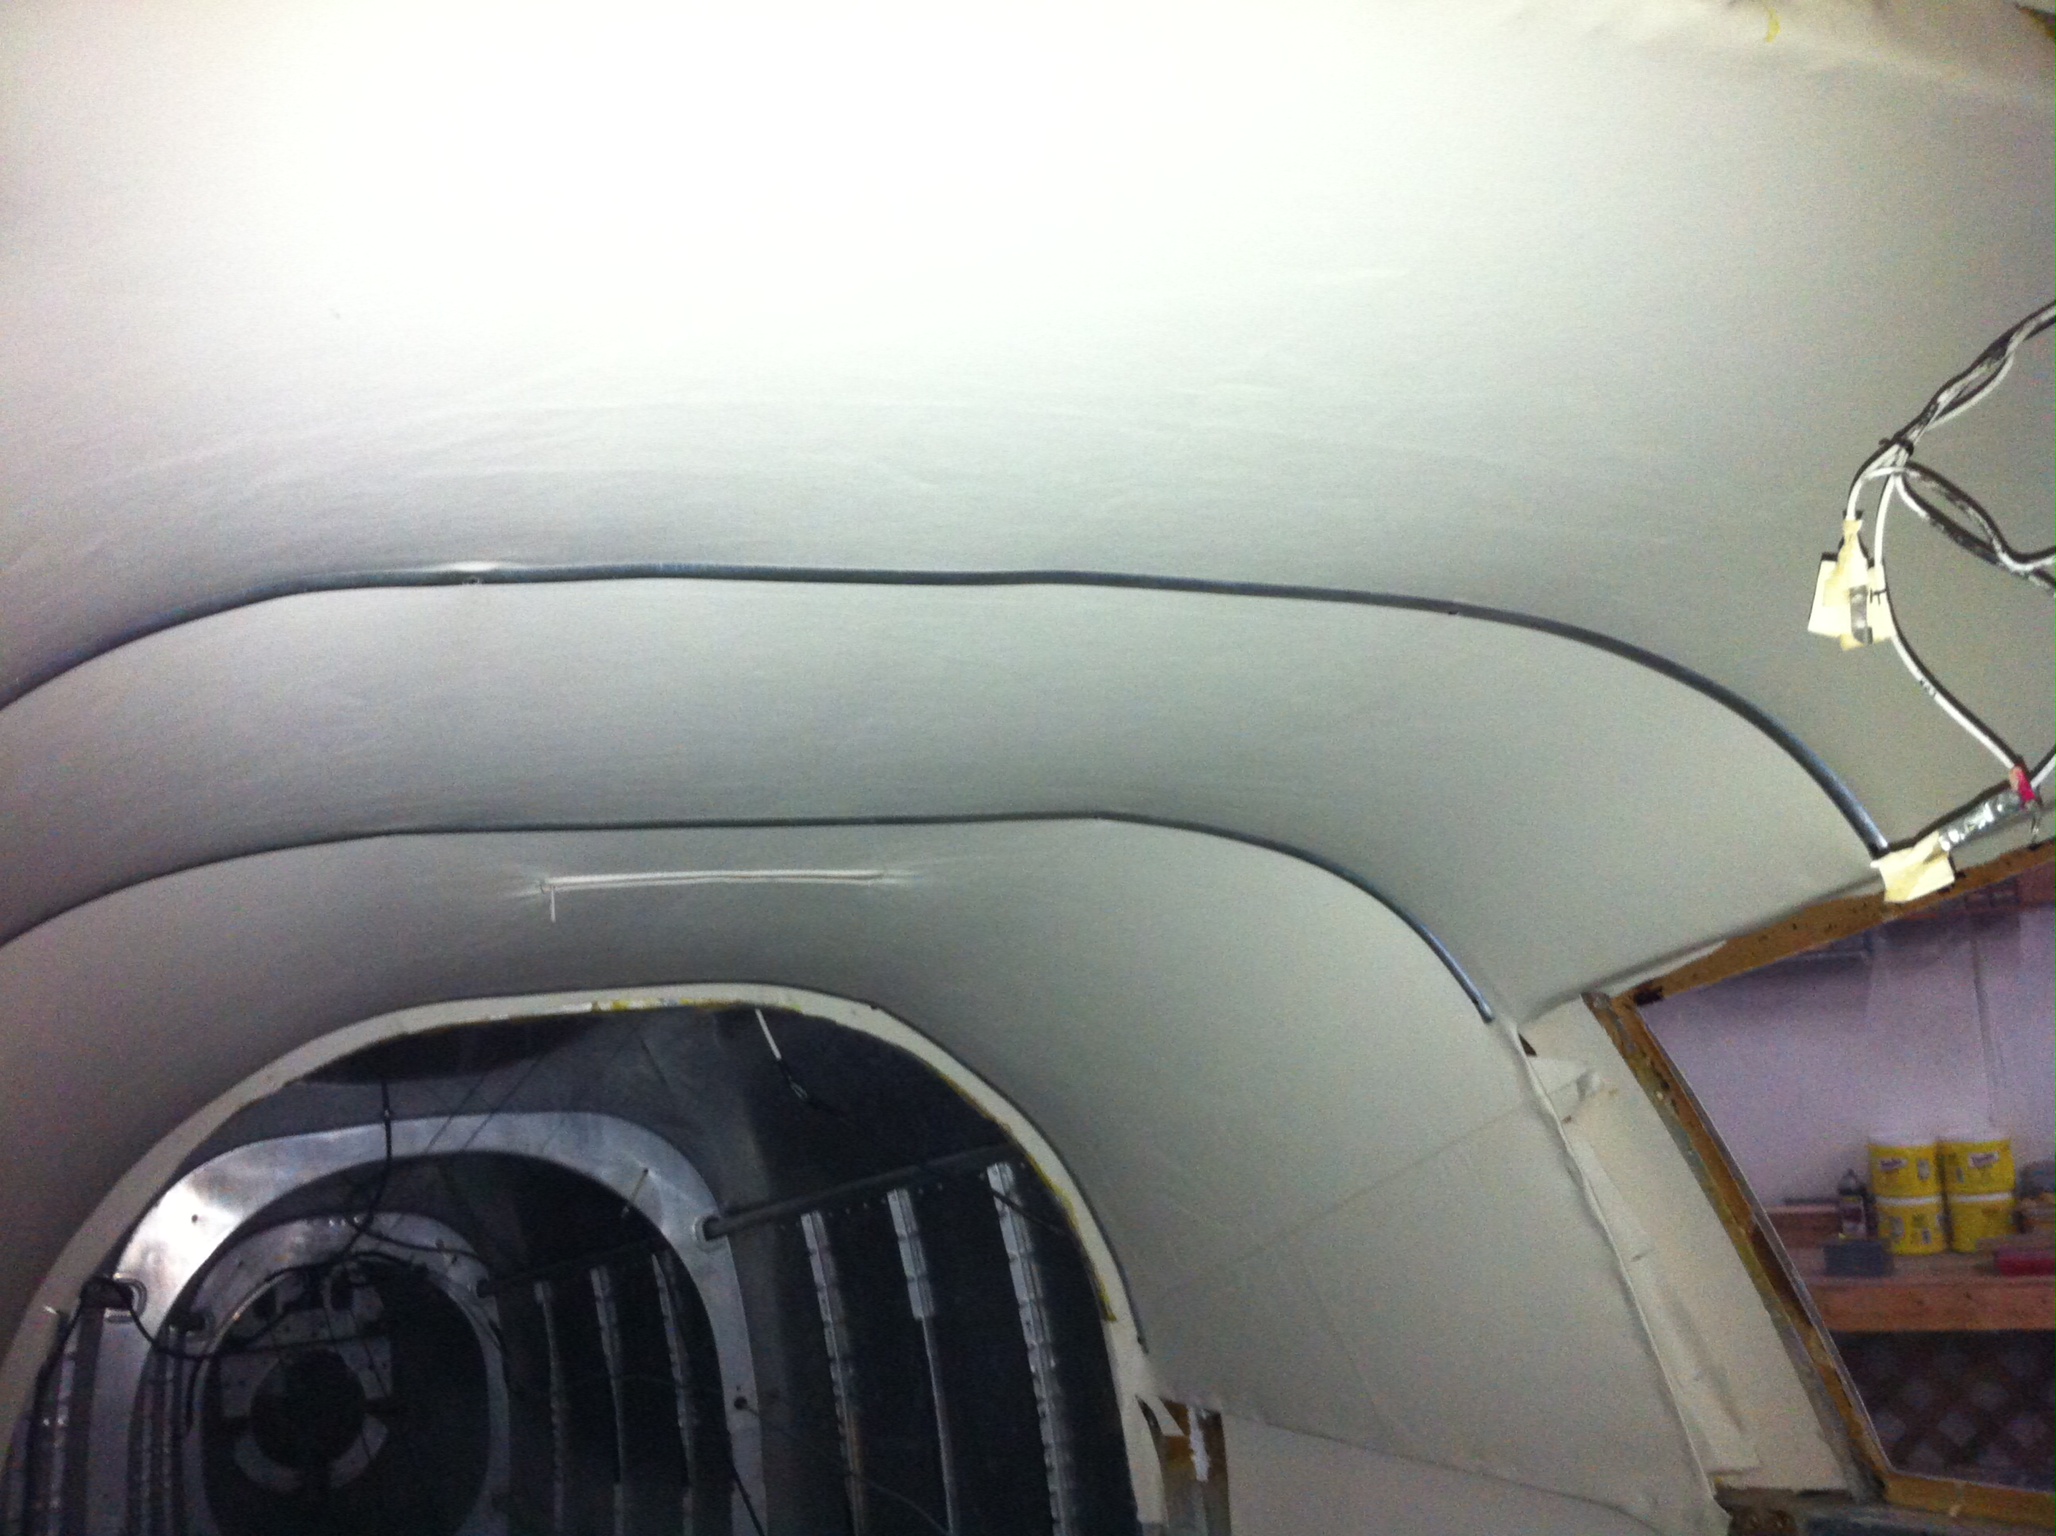
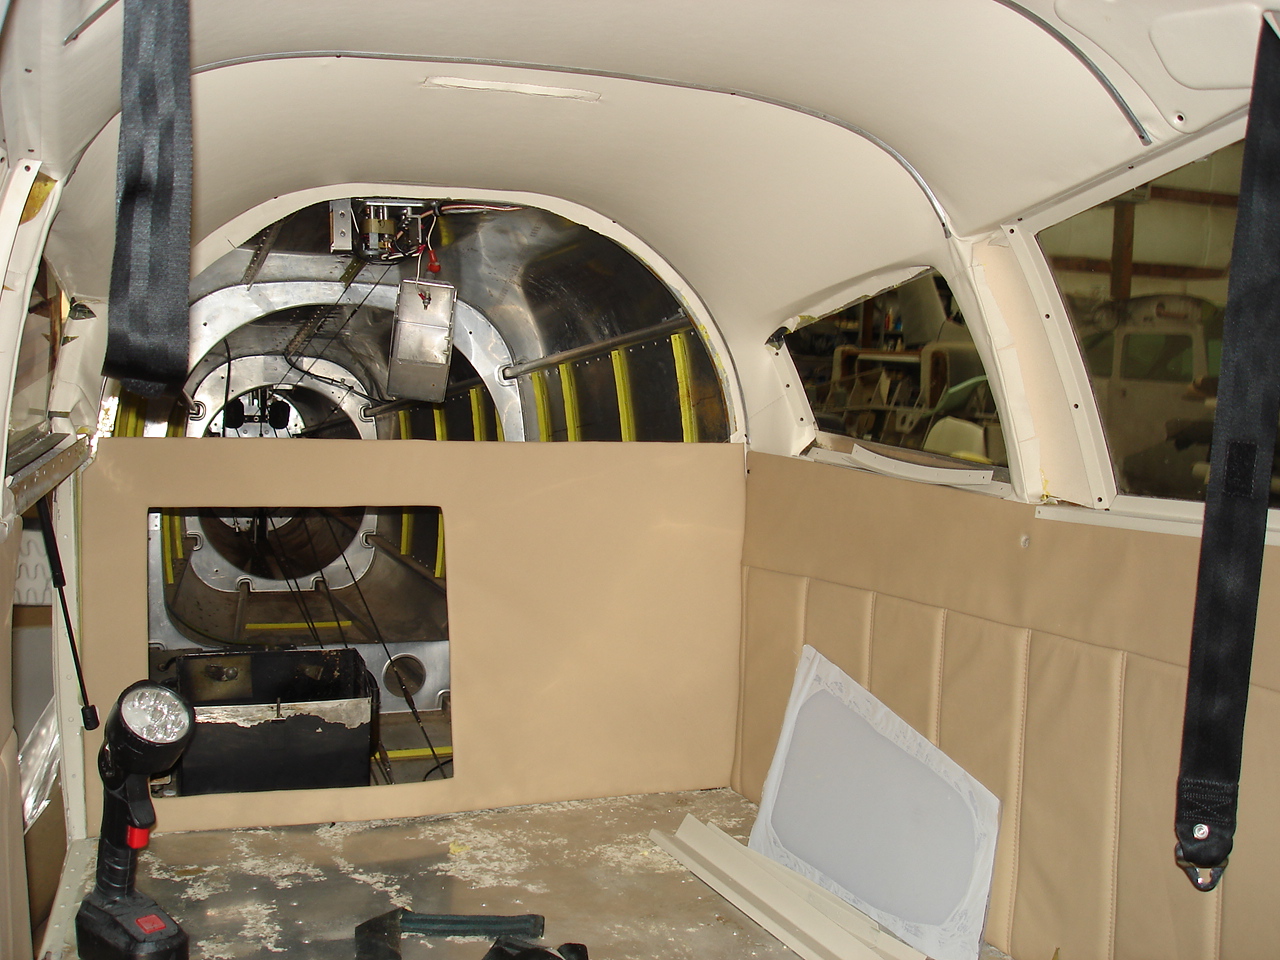
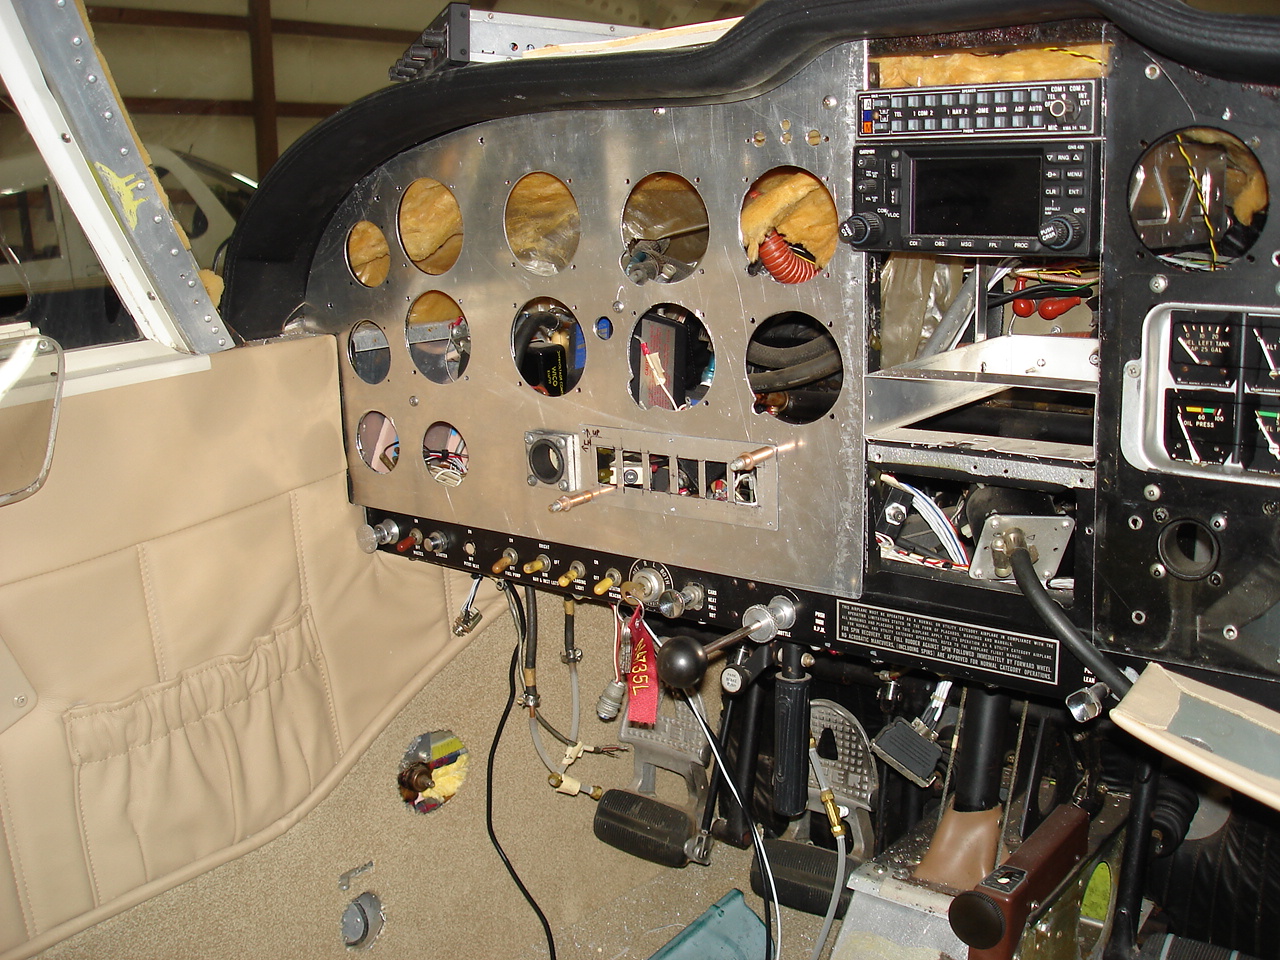
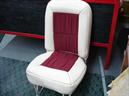
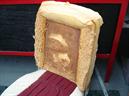
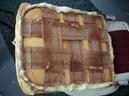
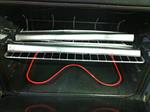
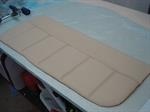
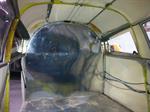
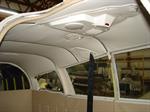
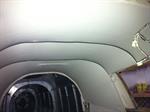
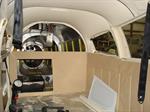
Well, I've been flying this airplane for about ten hours now to kind of get the feel for what I want to do, what the plane needs, and how I can best go about getting it completed. I've gotten a lot compliments on how nice it looks and how people around here seem to really respond well to the colors. I like 'em too, they just need to be made a little cleaner. The interior seems to be the worst part of the airplane. Some folks like it as it is, but if you look at the photos closely, you'll see it just looks as if it needs something. The seats are in bad need of support because you sink down in them too far and the carpet is one of those cheap kits that has the black foam on the back which has already turned to dust. So the interior will the be stating point, and we'll see where we go from there.
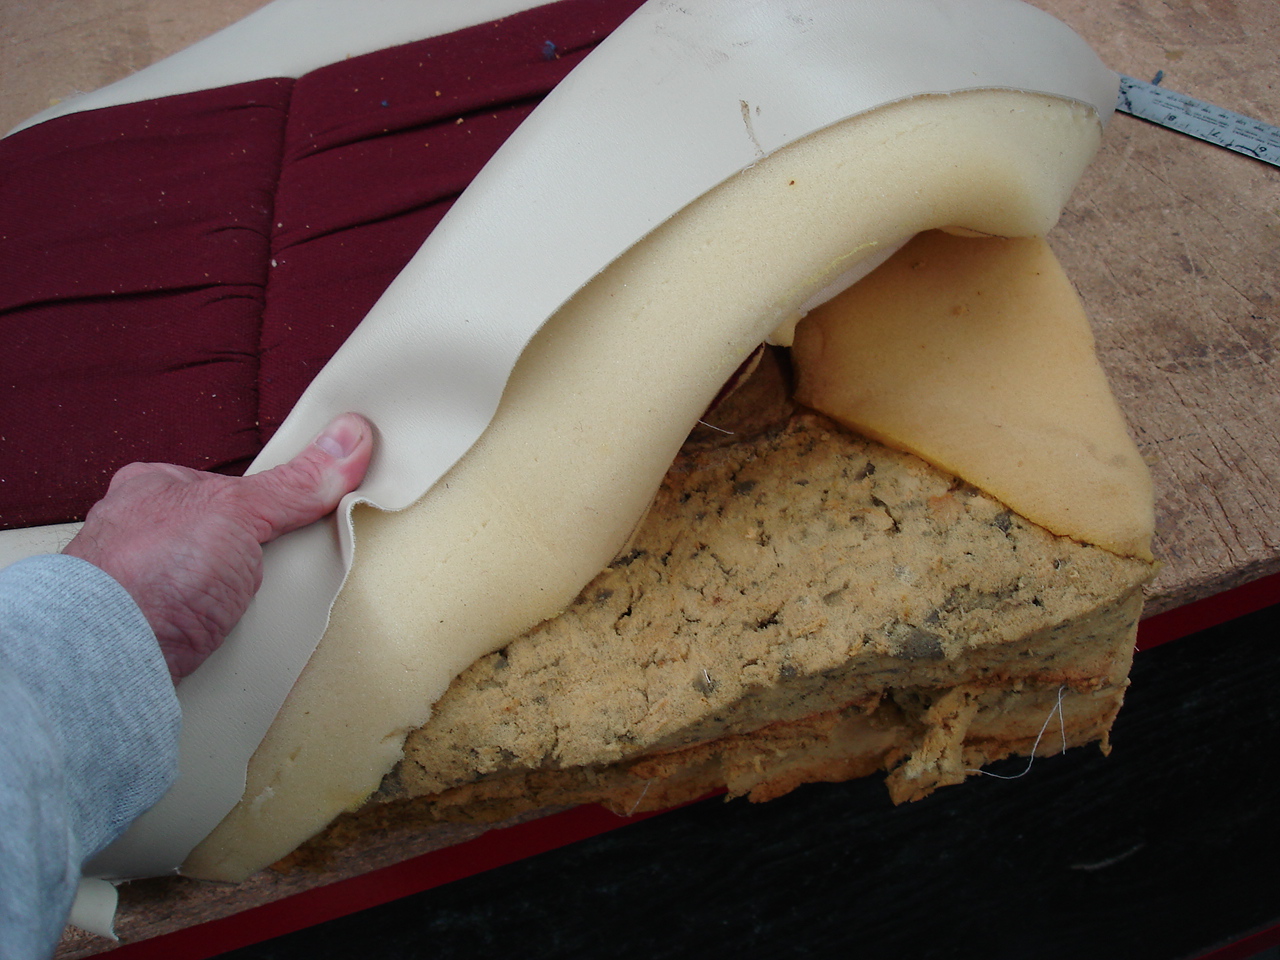
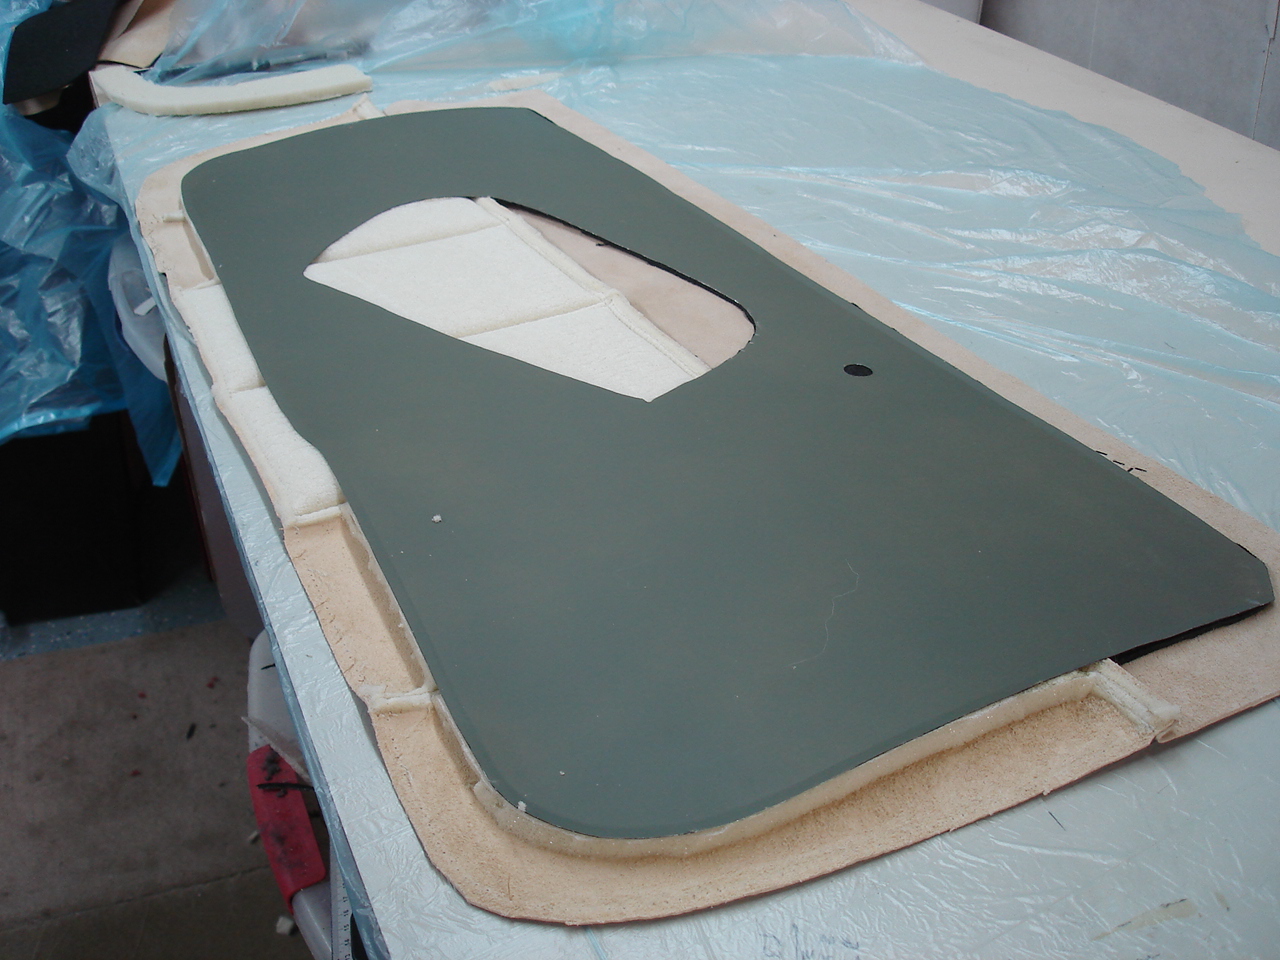
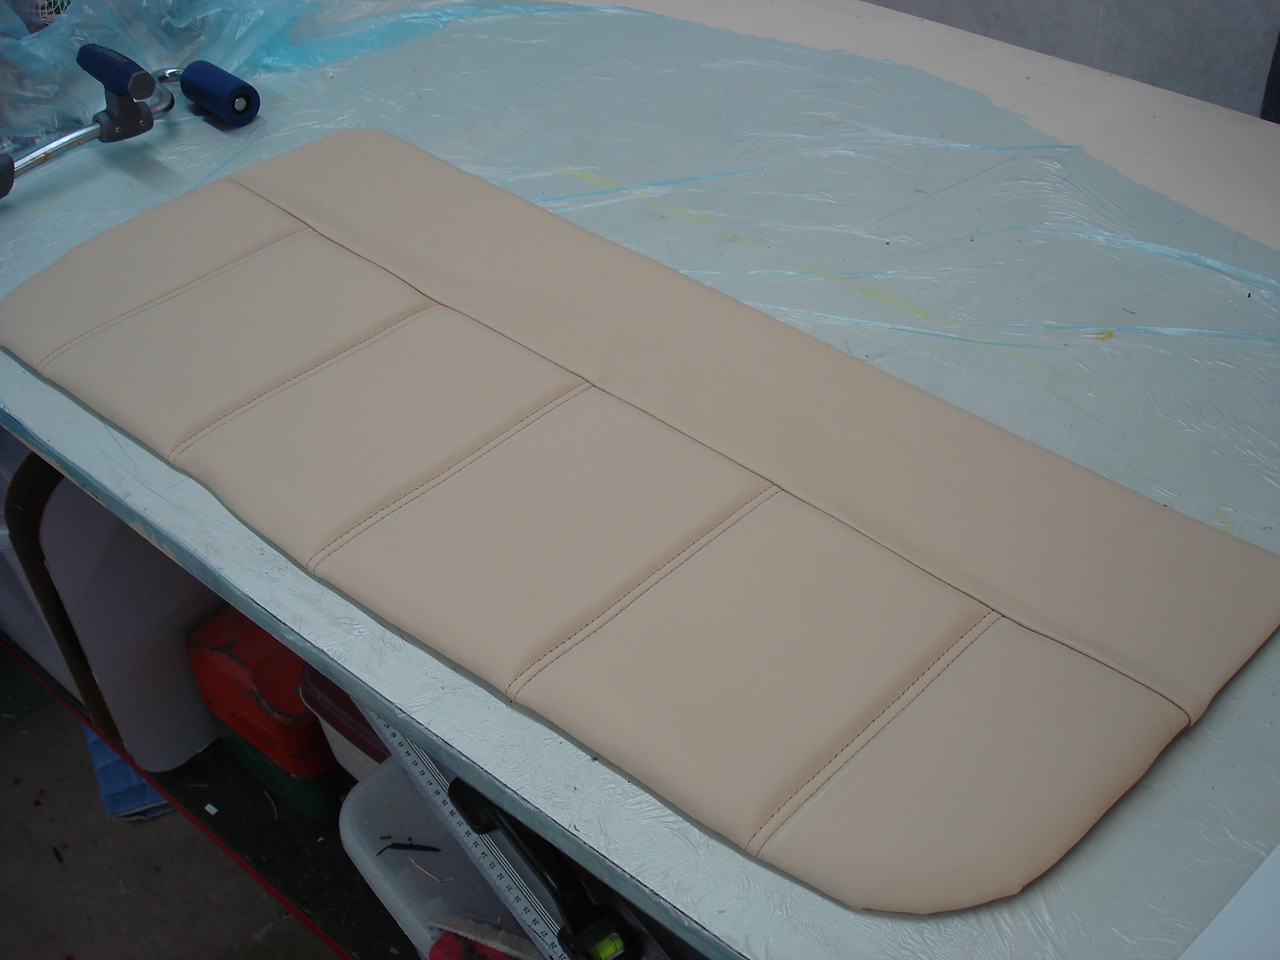
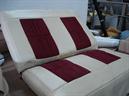
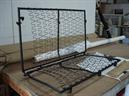
The interior upgrade will feature seats with the new contured memory foam cushioning that we make in our proprietary mold. This will allow the shorter seats of the C model to look like the higher back seats of the Archer. Also, the seat refurbishment will allow for the addition of headrests. The color theme will be neutral tan and in a later model design to enhance the upgrades. We've already decided the leather will be Italian so it will give us that smooth, buttery feel that only the finest leather can have.

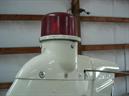
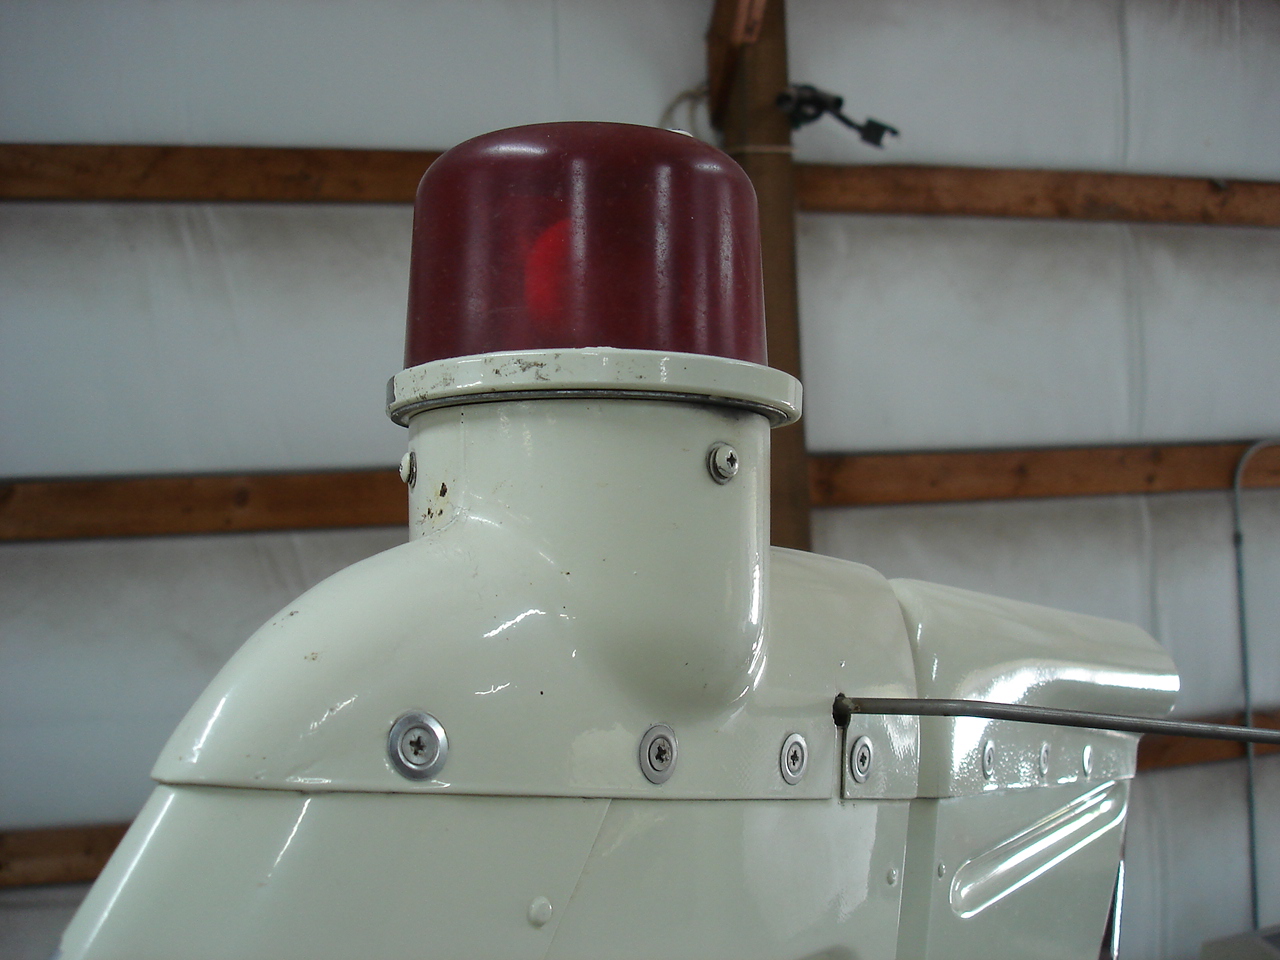
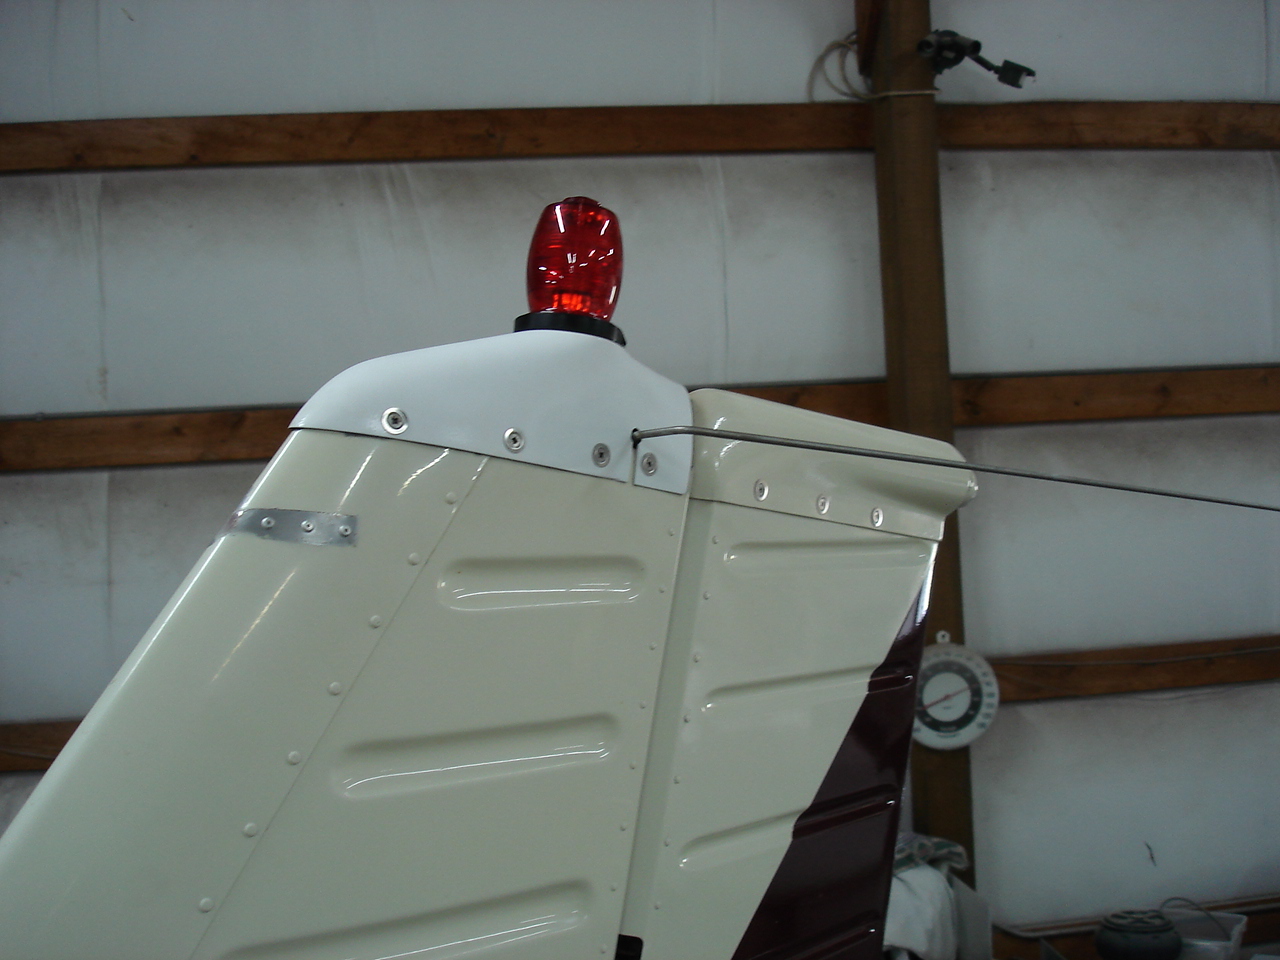
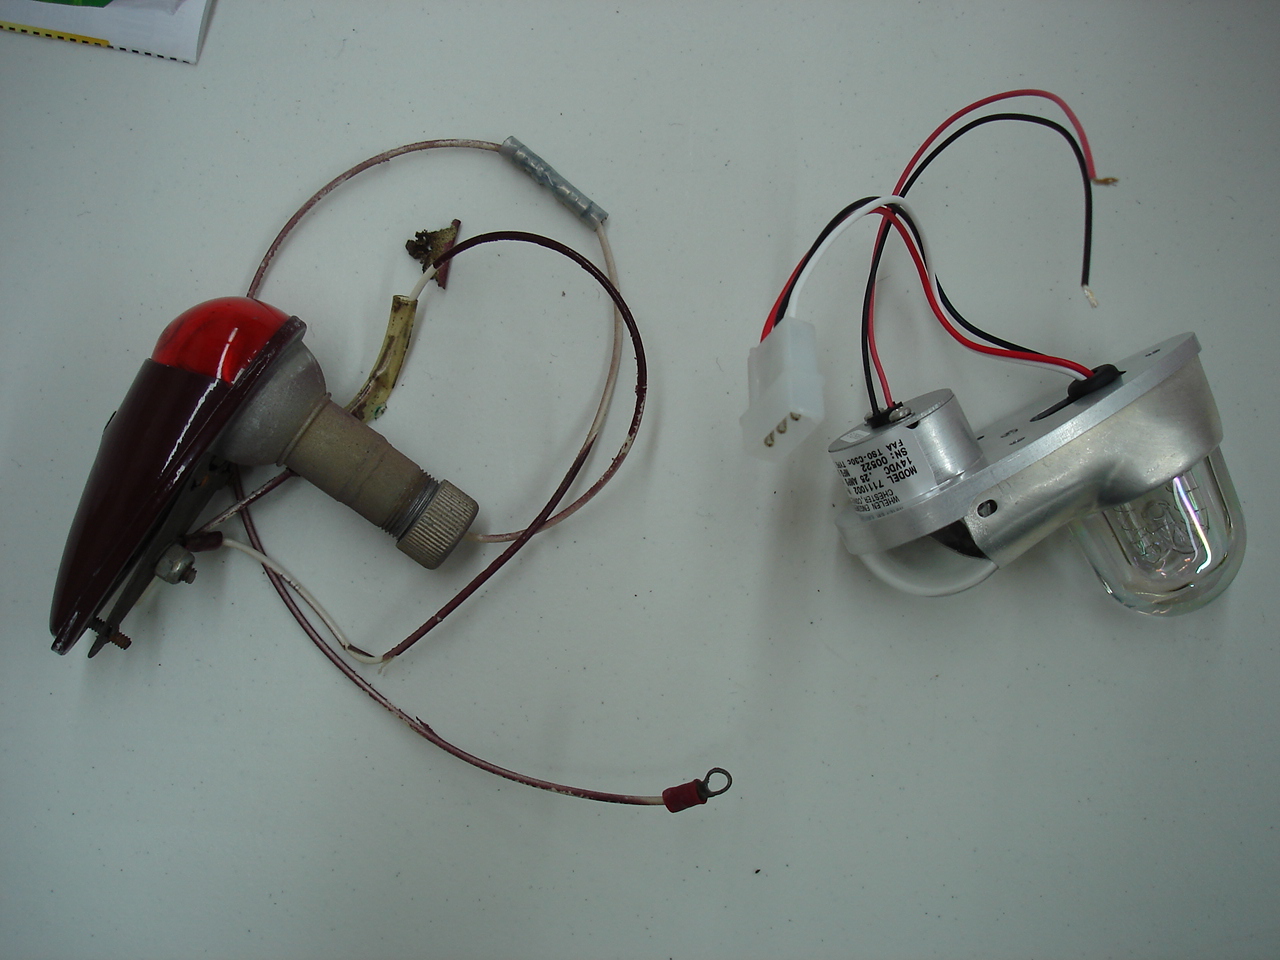
Rotating Beacon Upgrade:
The original bubble gum machine worked about half the time and when it did work, it was pretty dim. O.k. so there are a ton of options when it comes to upgrading the old beacon.
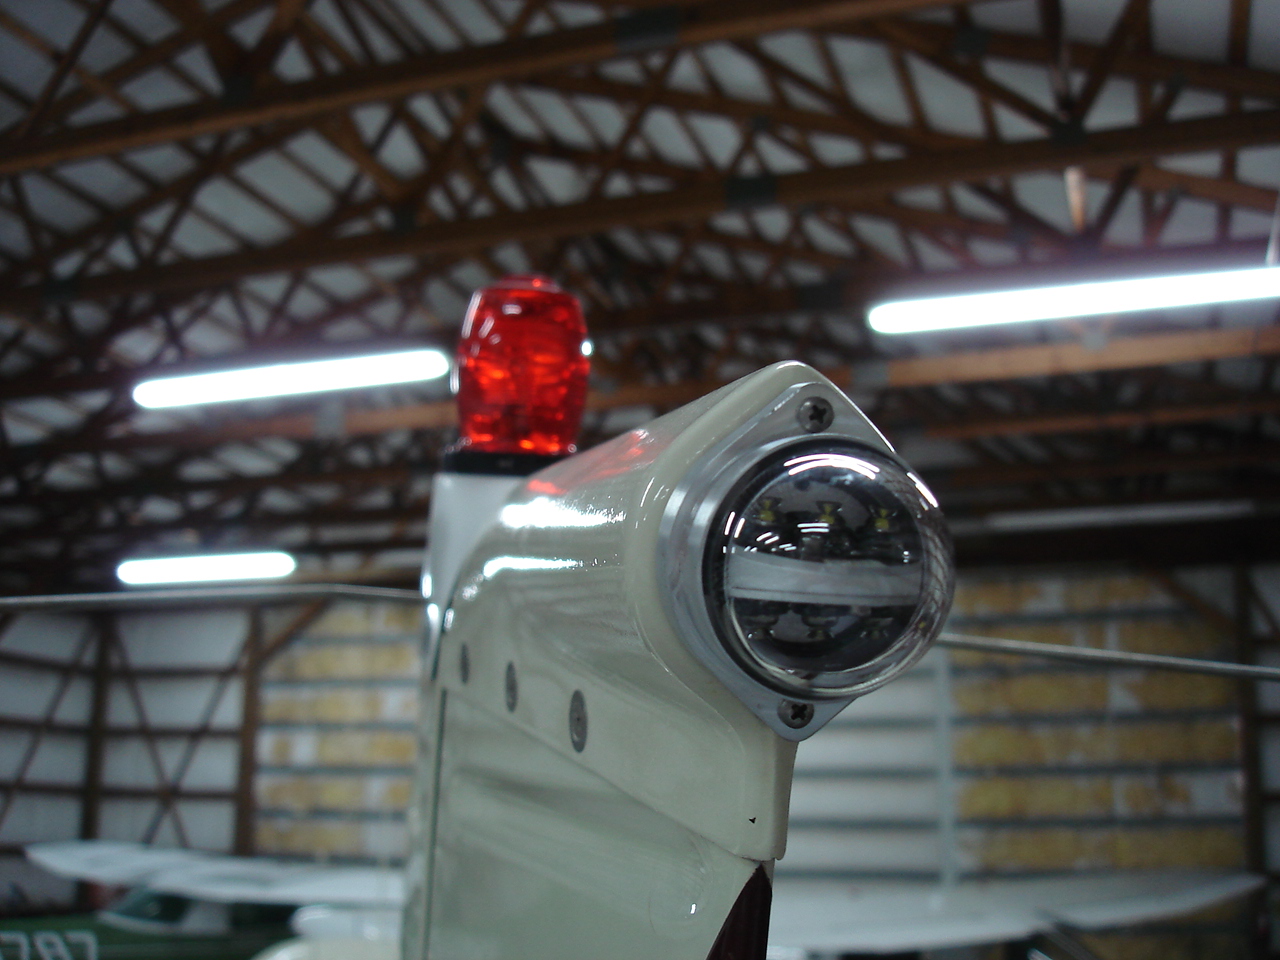
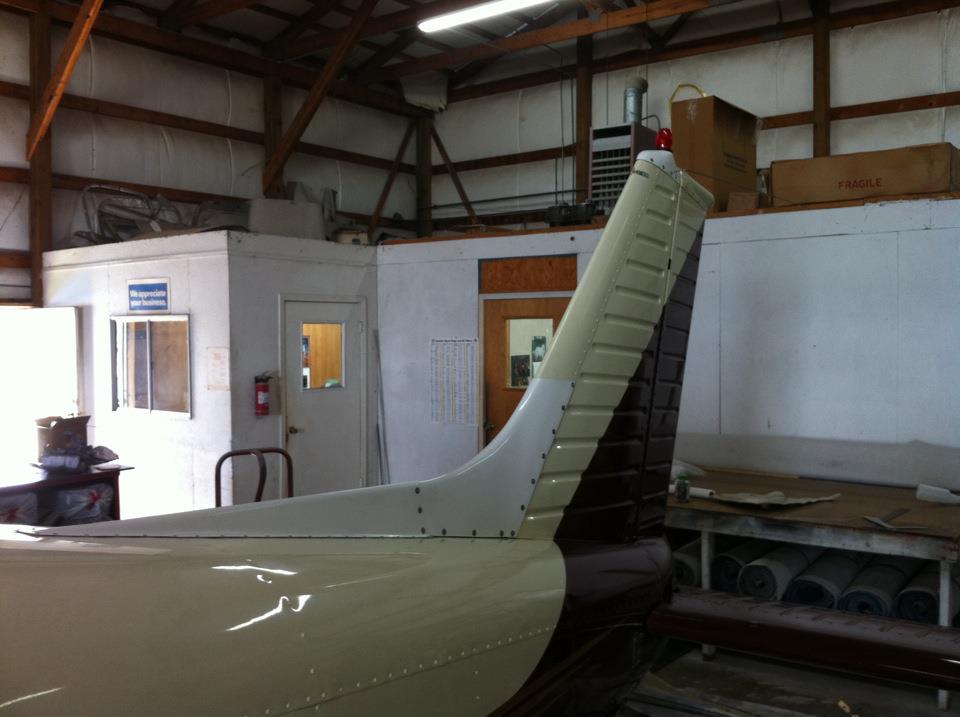
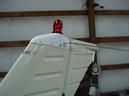
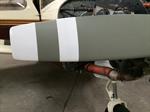
I didn't want to do the Whelen "drop in" unit because it still kept that big bulge on top of the fin. So the first choice was to go with an Aeroflash unit, and then couple this with a slim line fin tip for extra speed and a cleaner look. However, after some discussion, I settled on a Whelen comet flash. I've had very good luck with these in the past and its an option that everybody likes. Just need to paint to match now, but I'll tackle that later on because I've got some more stuff in mind that I want to do.
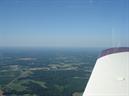
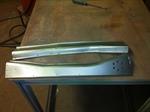
These pictures show the slim line fin tip pretty good, but you don't appreciate the swept look until you stand back and look at the overall lines of the plane. I went ahead and removed the ADF sense antenna bracket because we no longer need that.
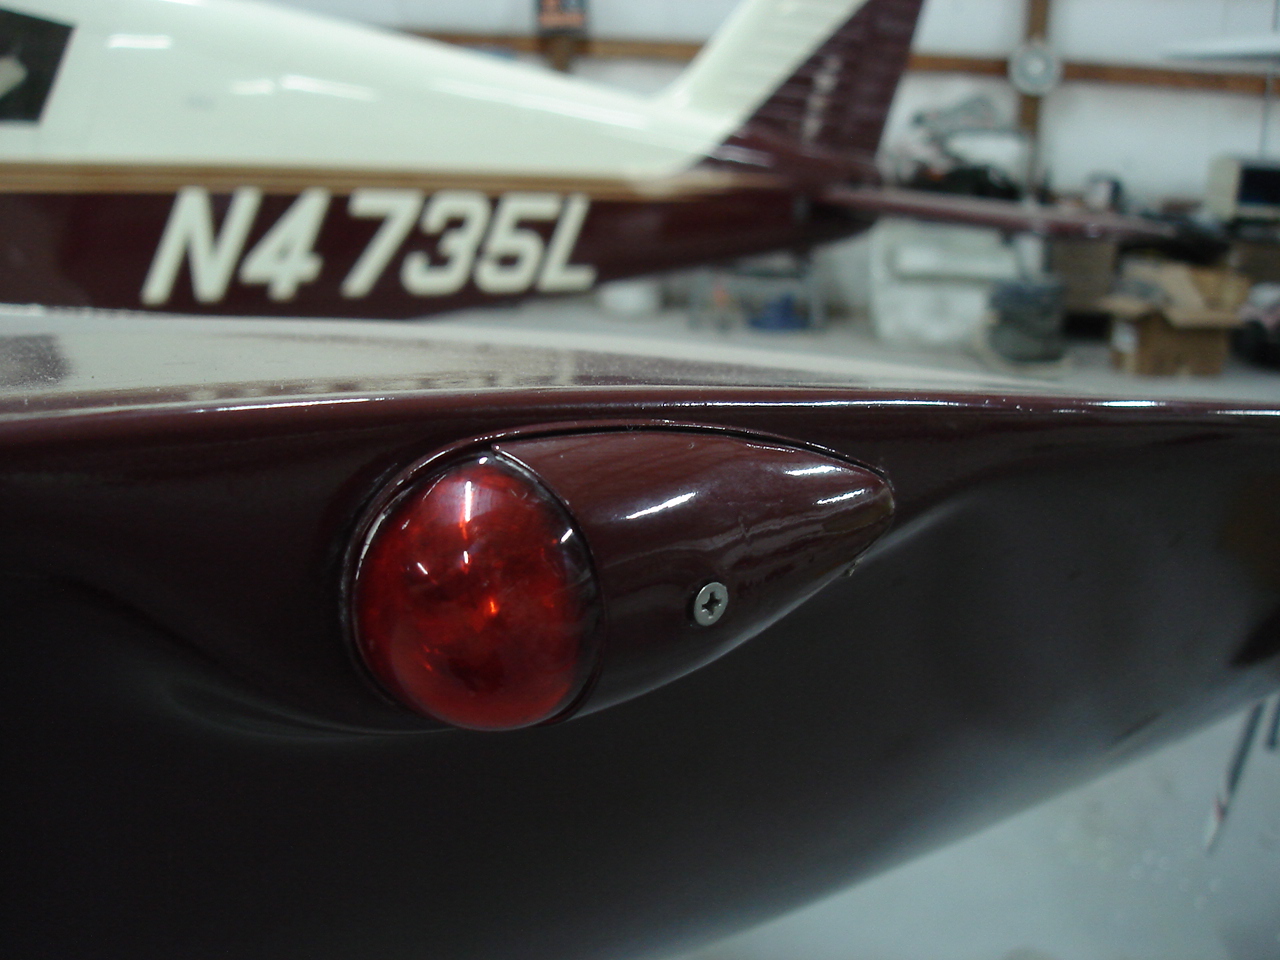
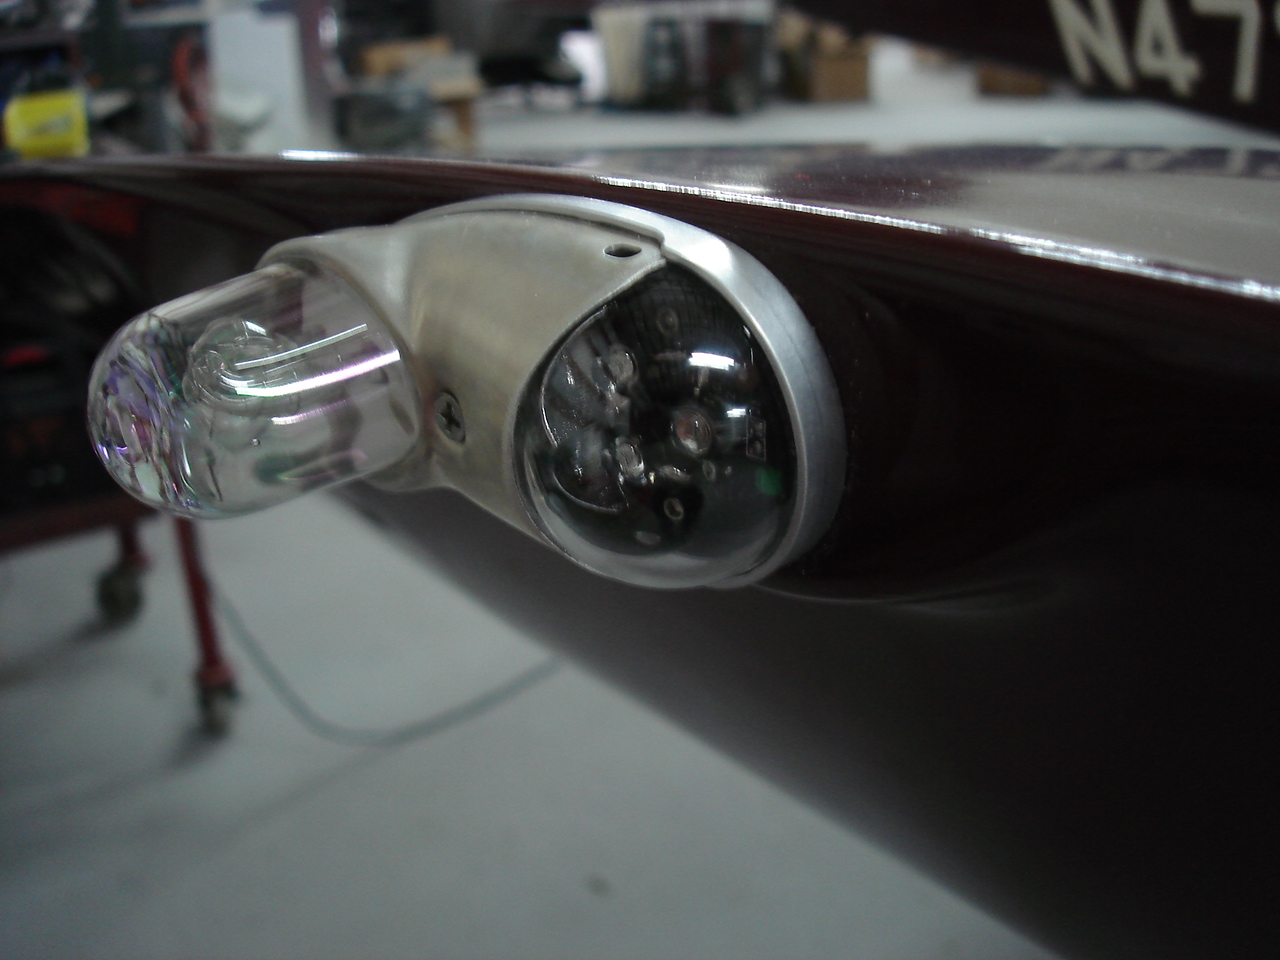
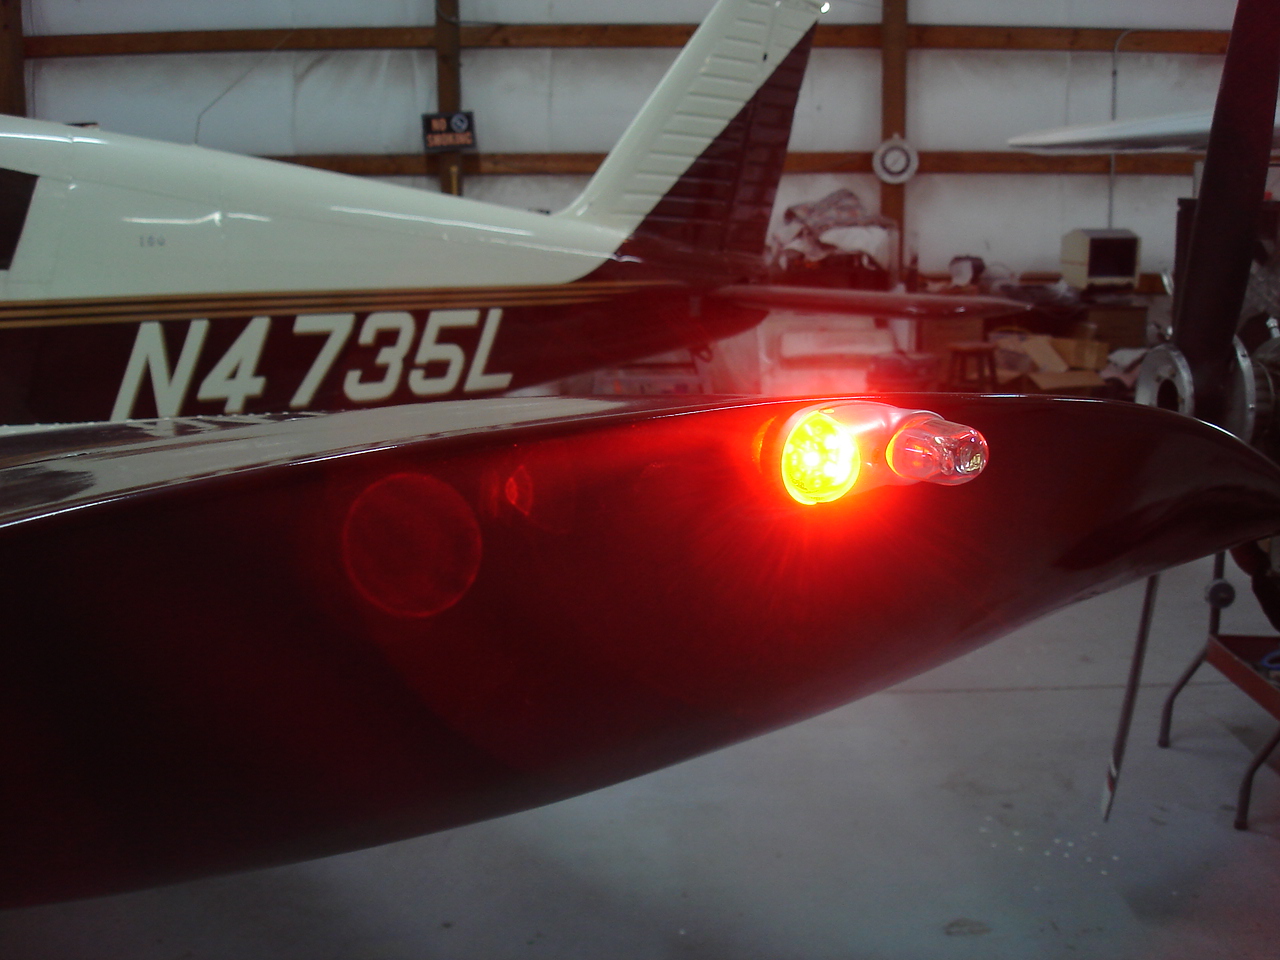
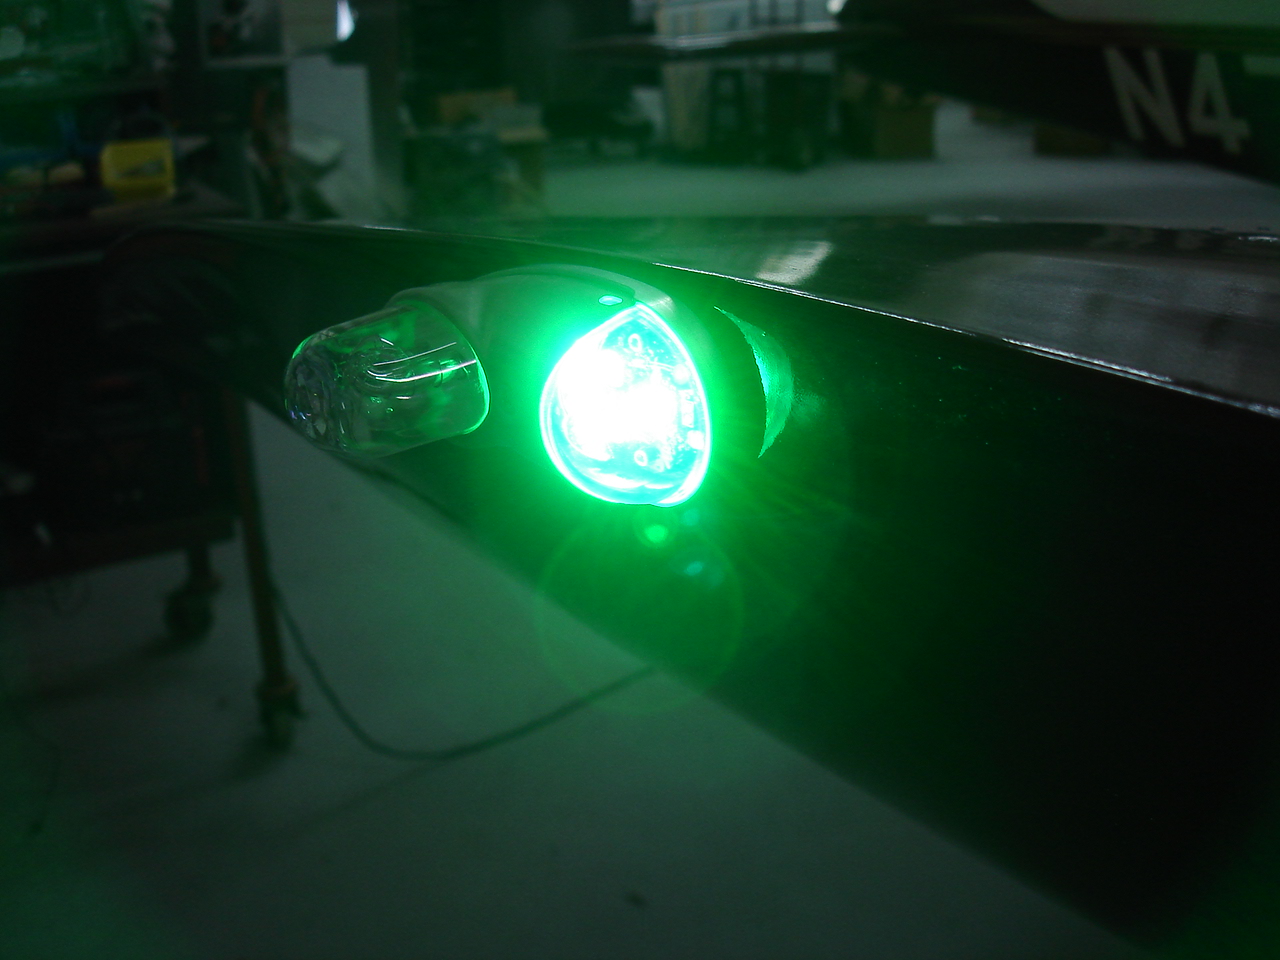
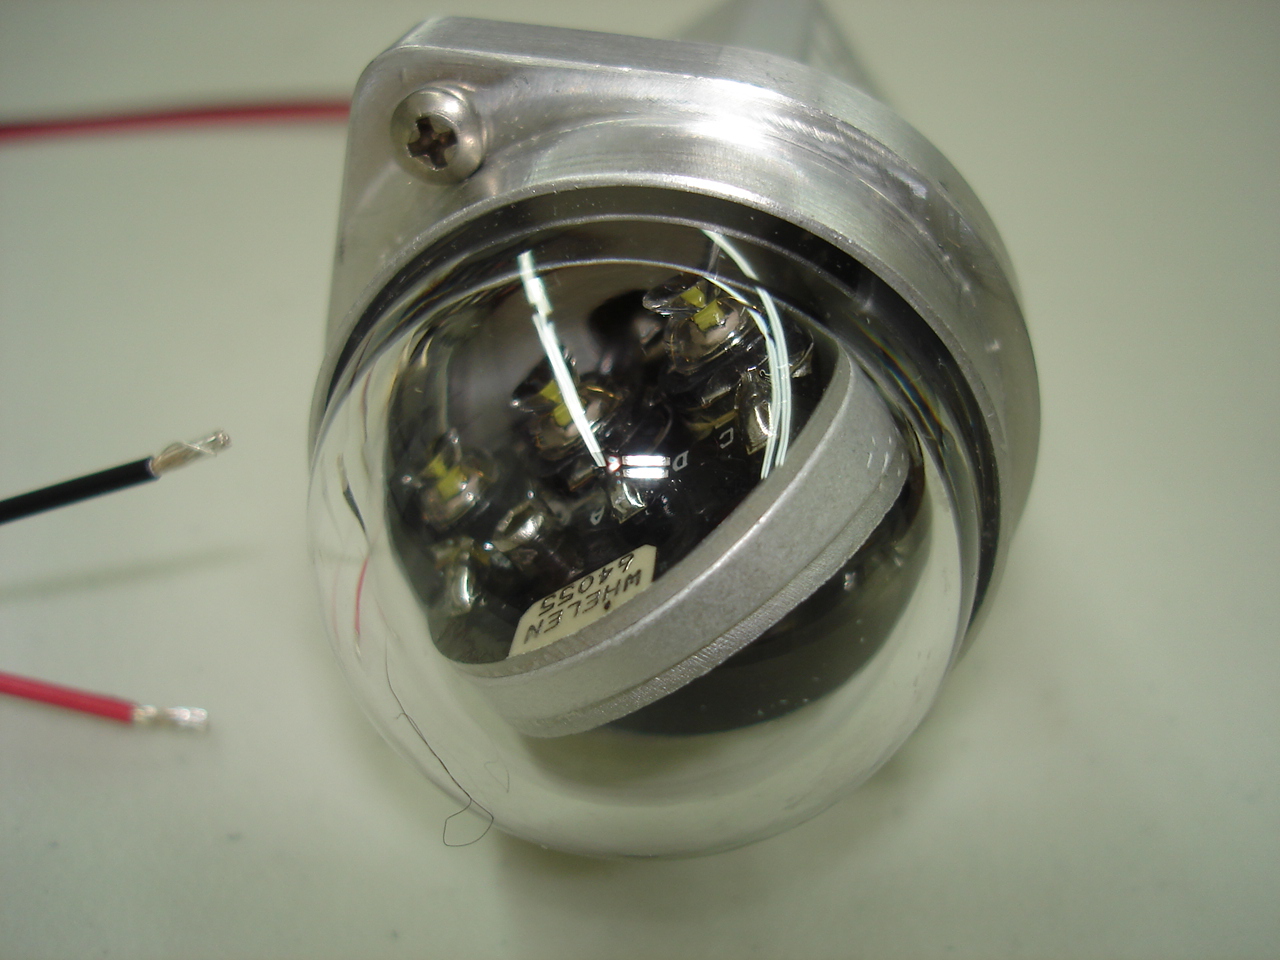
Of course, (and you know where this is going) for the comet flash to be effective, we have to flash the tips too and in sequence with the tail. So, I opt for a set of tip strobes to go with it. So I'm done, right ? We'll not so fast. With the comet flash tip strobes you get new nav light sockets, bulbs, and lenses and there is an option here. For some extra dollars I can go with L.E.D. nav lights. O.k., so that means less current draw on the system and a much more brighter light too.
One thing that takes a little getting used to is looking at the tips and not seeing the red and green lenses. They are clear until they come on, and then wow ! Plus, the L.E.D. lights are about as trouble free as you can get. I can't tell you how many hours mechanics spend cleaning and repairing customer's original nav light sockets.
So I really like these nav lights, and in fact, I like them so well I'm going to just go ahead and do the tail nav light in LED to make it a full set.
Please excuse my mess !! As I go into the final days of this project, I'm constantly updating these pages with new photographs and will be adding the full narrative soon so that all these pictures will make sense !
Thank you so much for visiting and please check back often because I'm updating most every day now.
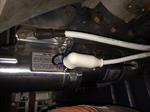
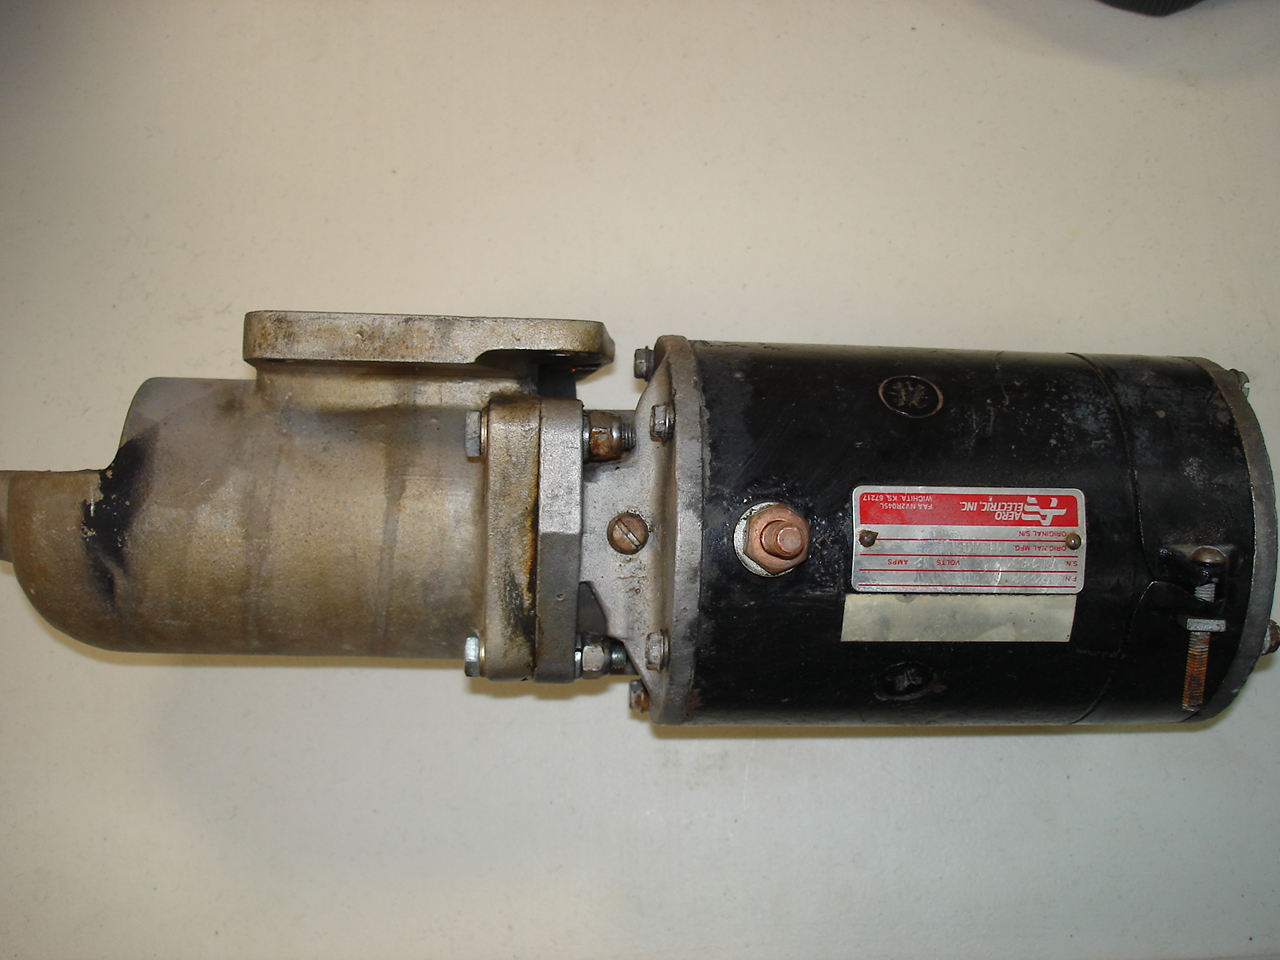
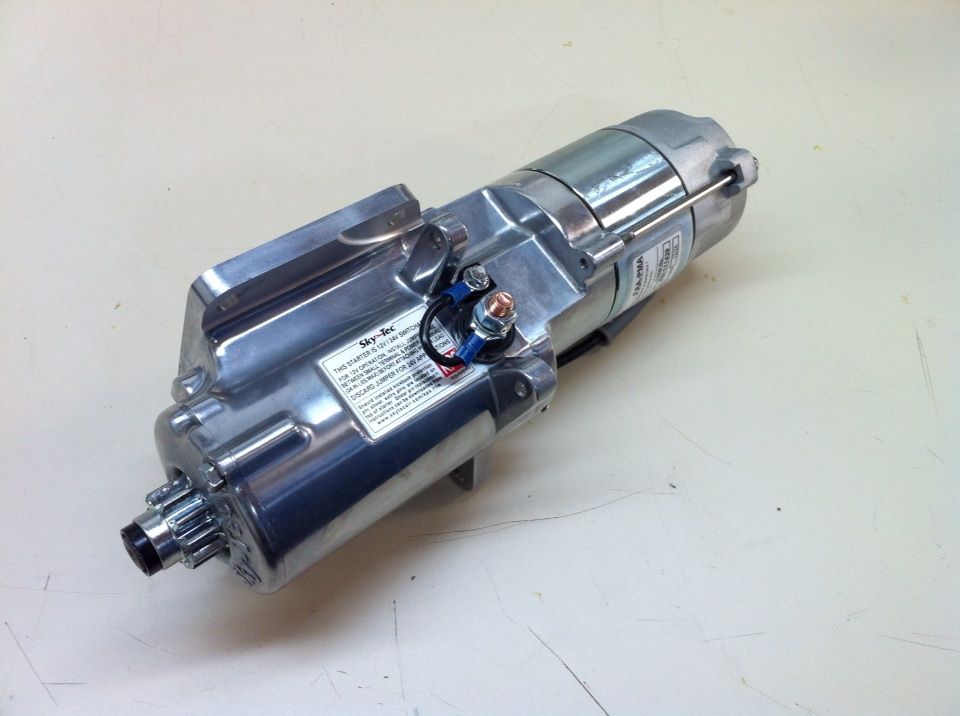
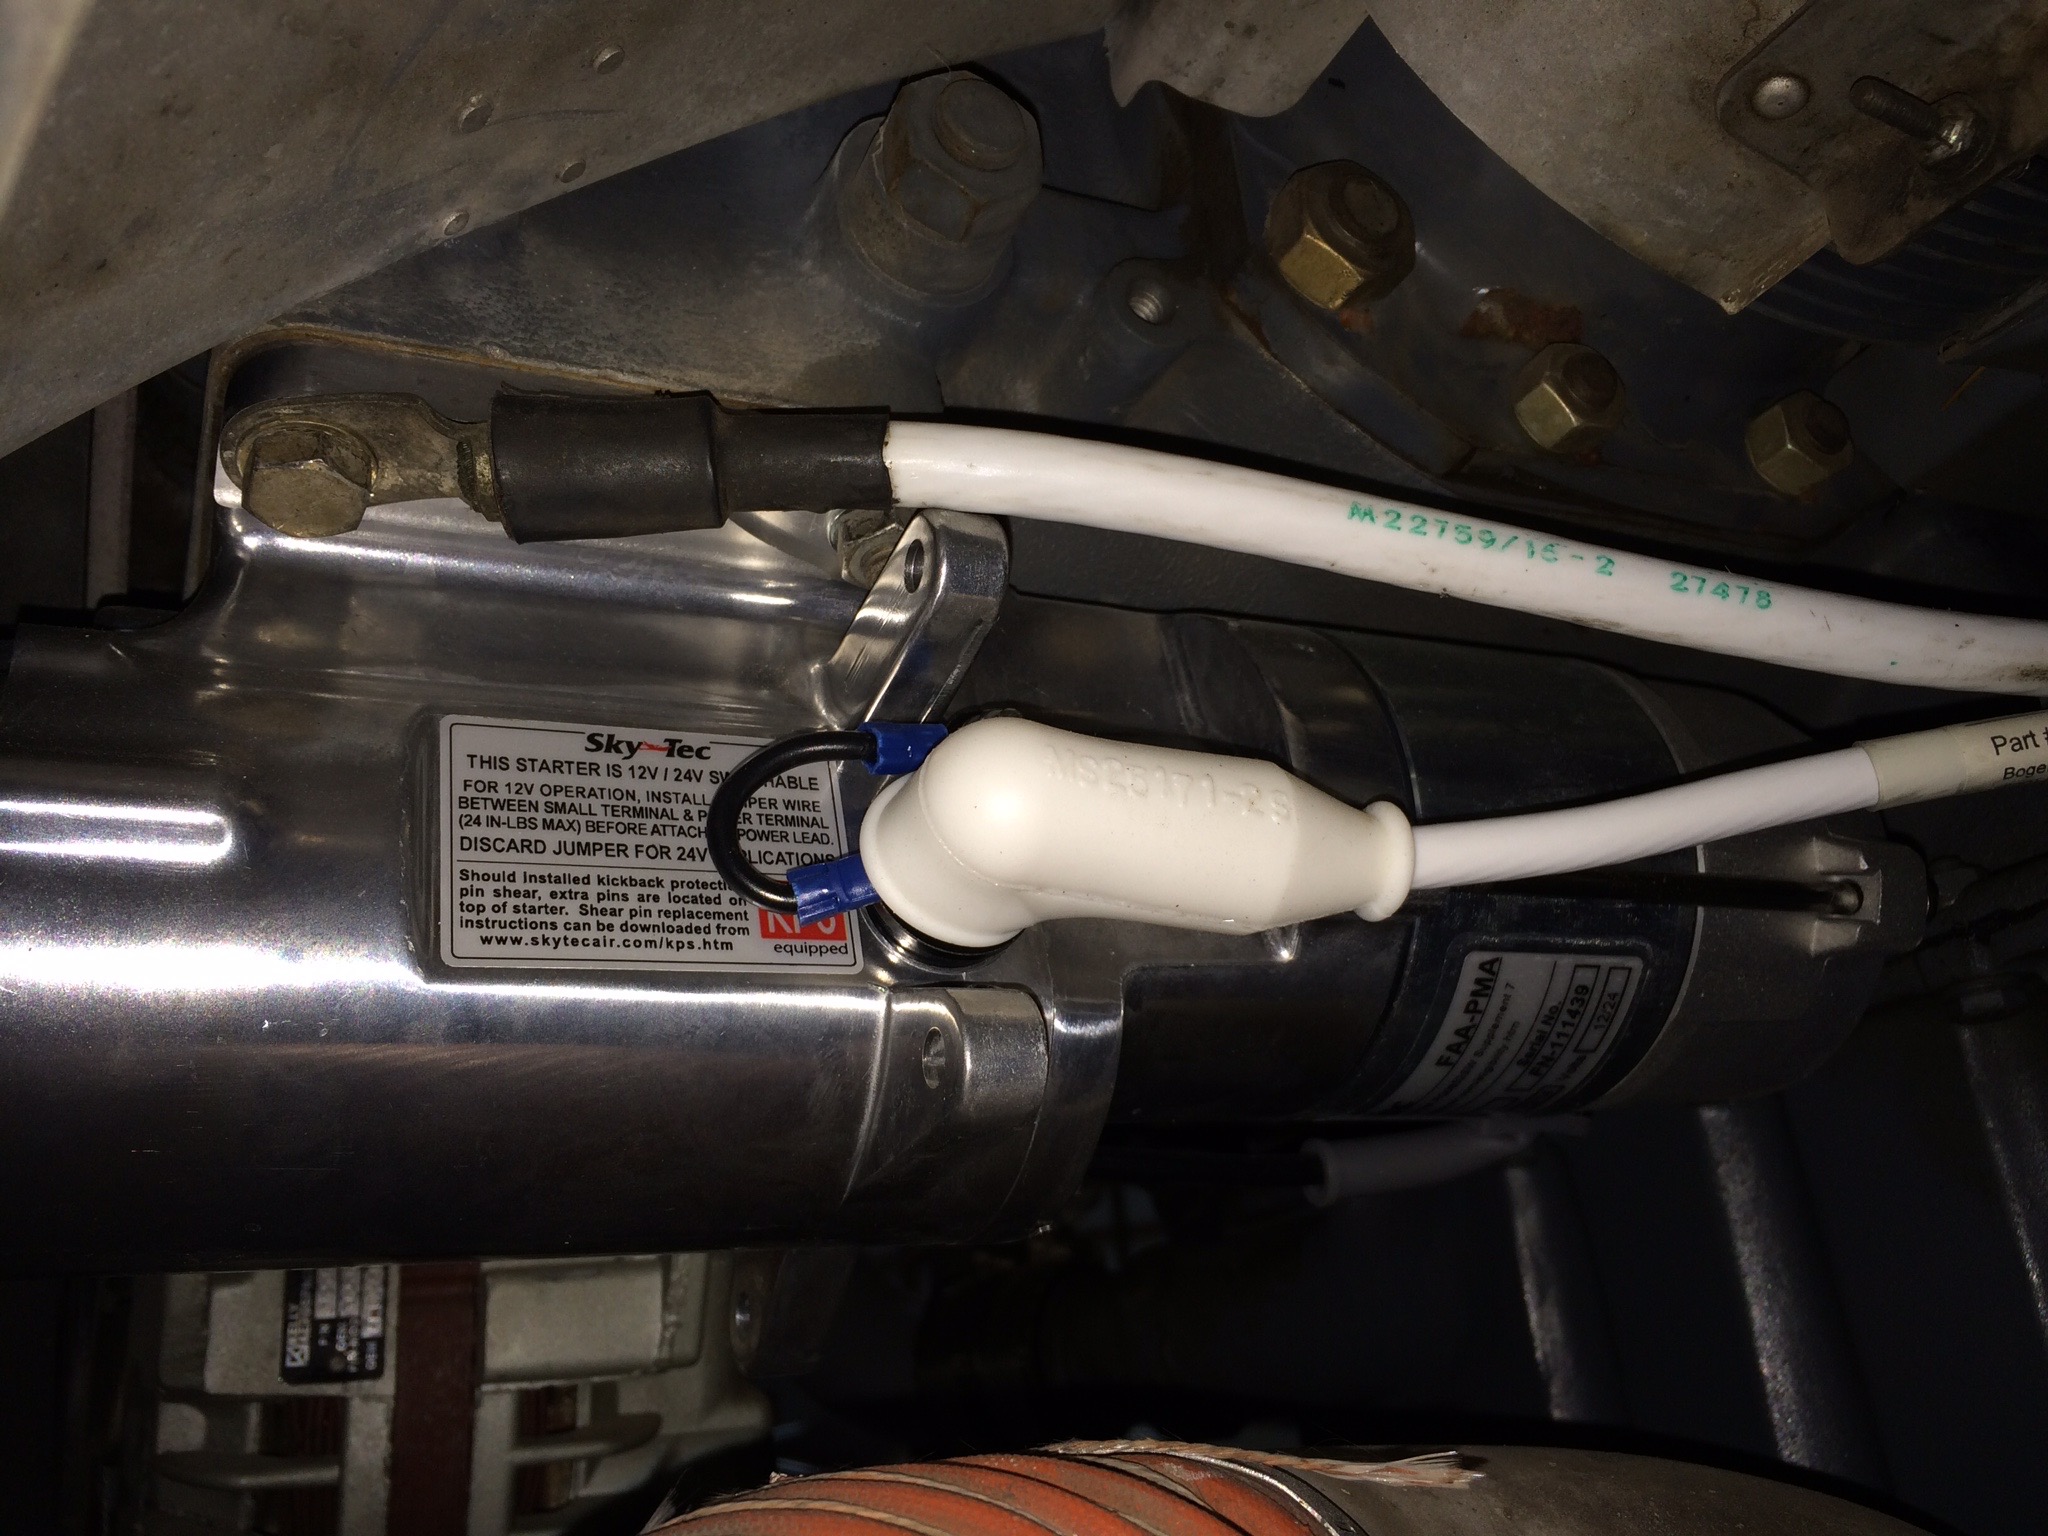
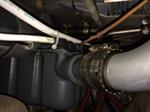
The original Prestolite starter had about 600 hours on it and was doing just fine. I've been installing a lot of the newer updated high torque units lately and seized an opportunity to get one for my airplane. There are two types of these available, one being the "fly weight" starter and the other being the "direct drive starter". The direct drive is a little more expensive but the whole unit is more reliable since it doesn't have a starter bendix at all, so I went with that. These things really do make a big difference in not only starting but battery life as well. They don't draw near as much current from the battery as the older units. I also have the nickle plated copper (Tefzel) wiring on the battery and starter cables. This is also commonly called "low loss" battery cables which makes for a better starting process and less wear on the battery, starter, and overall system. These units weigh less than the original equipment so that'll help out our weight & balance by a slight increase in the aircraft's useful load. Installed some of those terminal boots too to complete the upgrade installation.
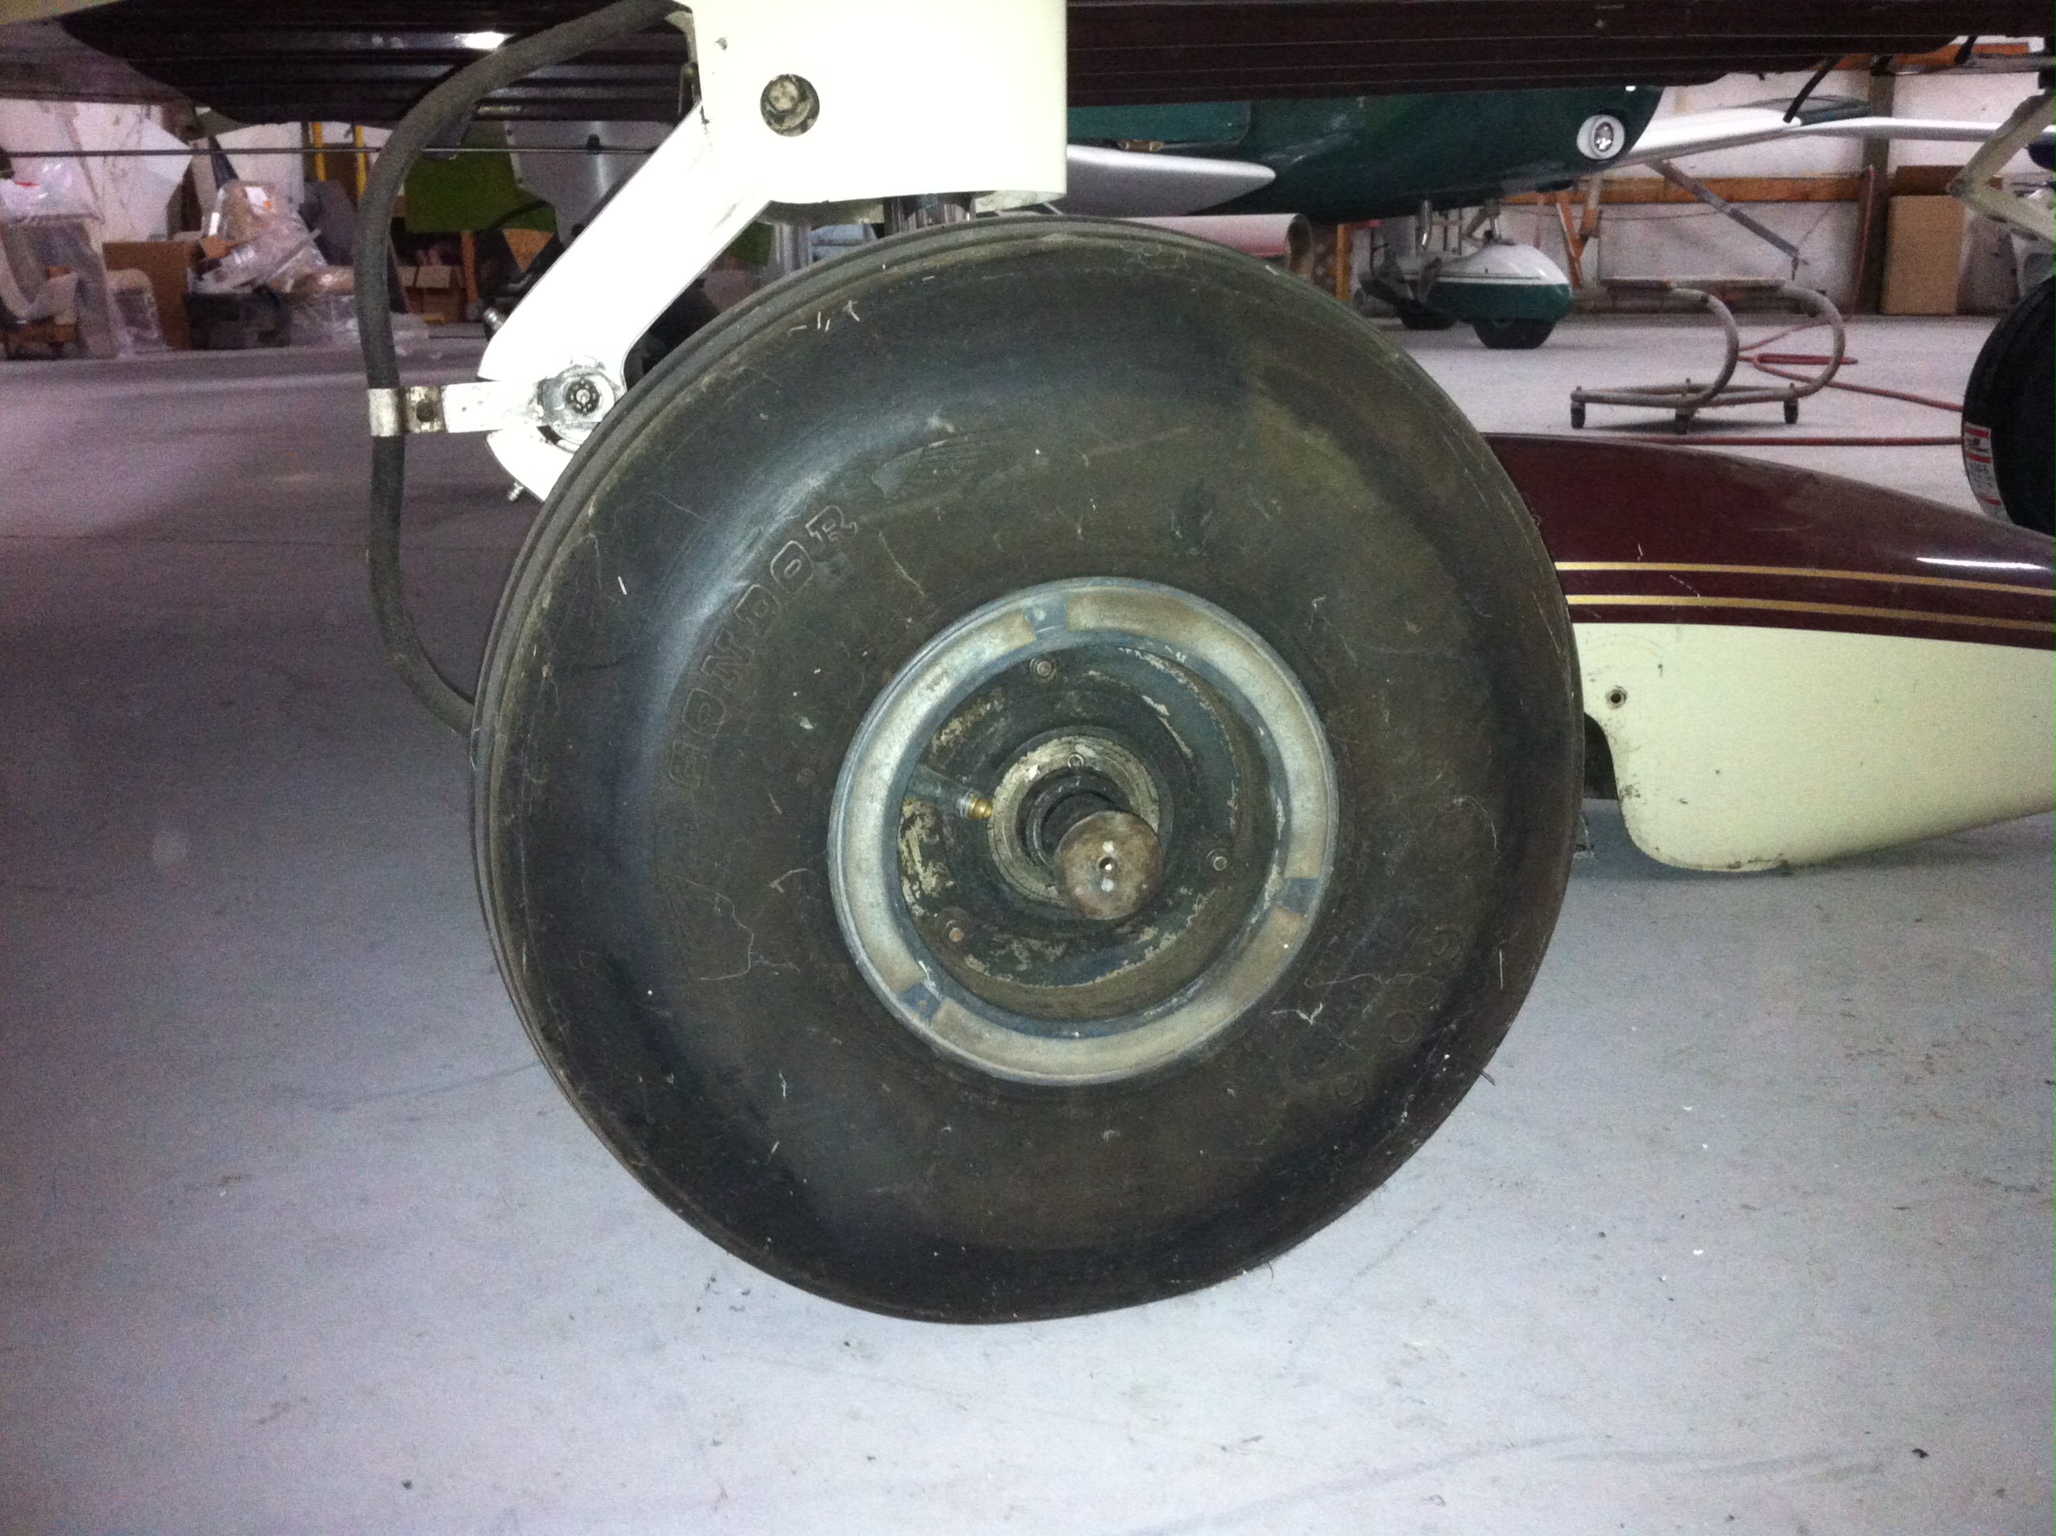
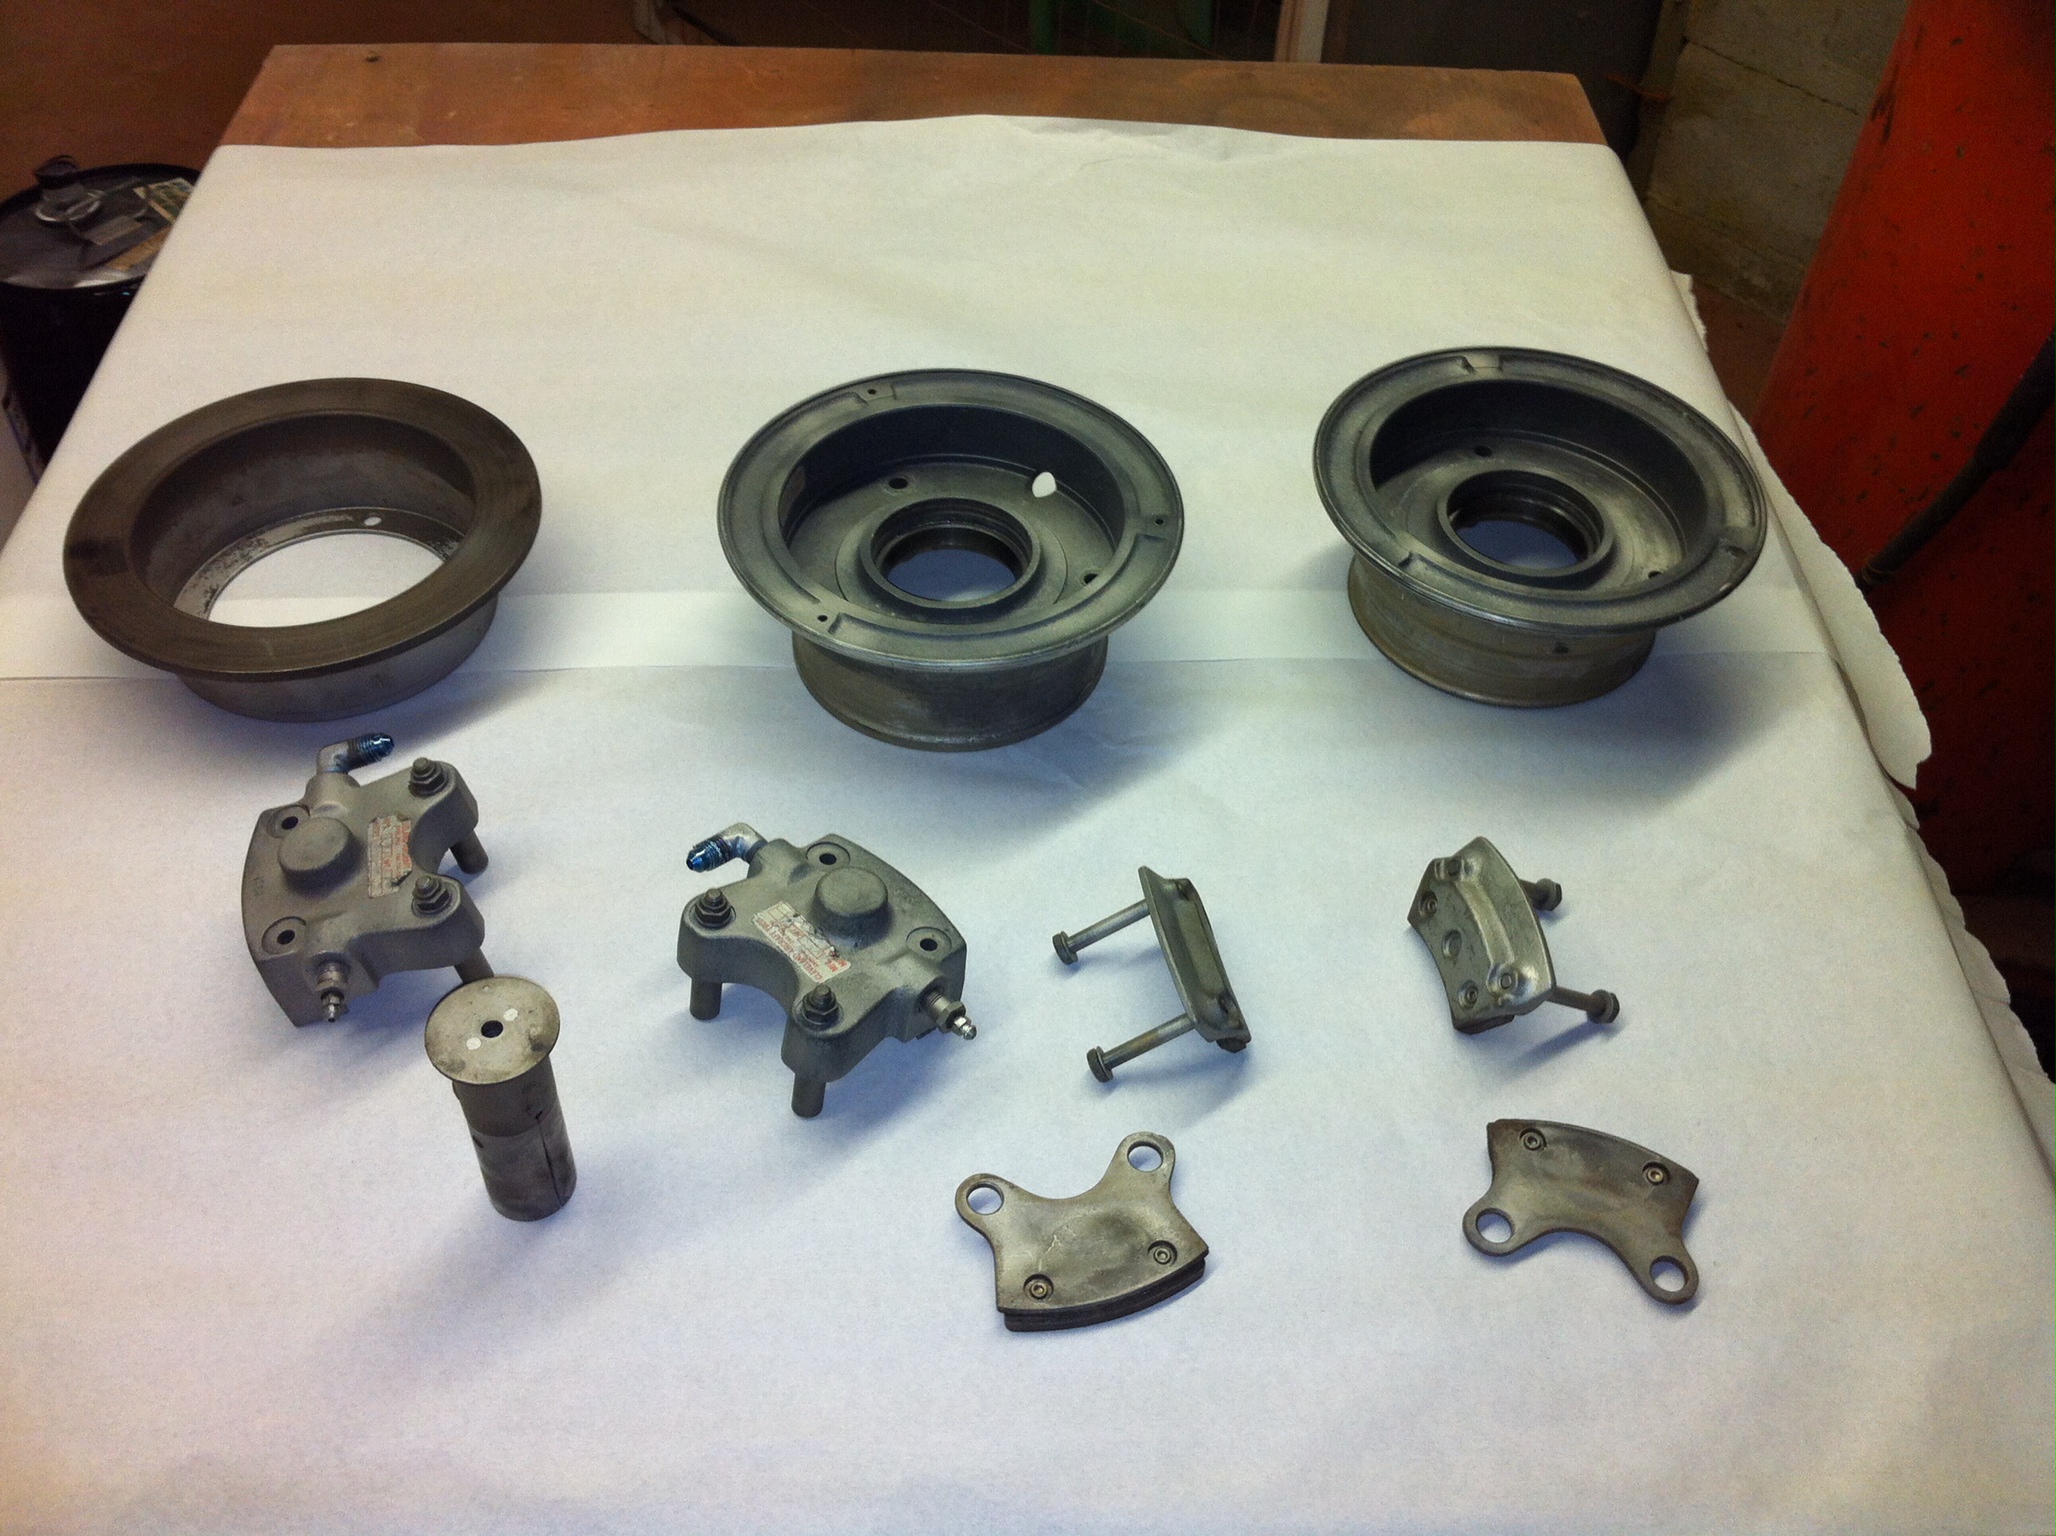
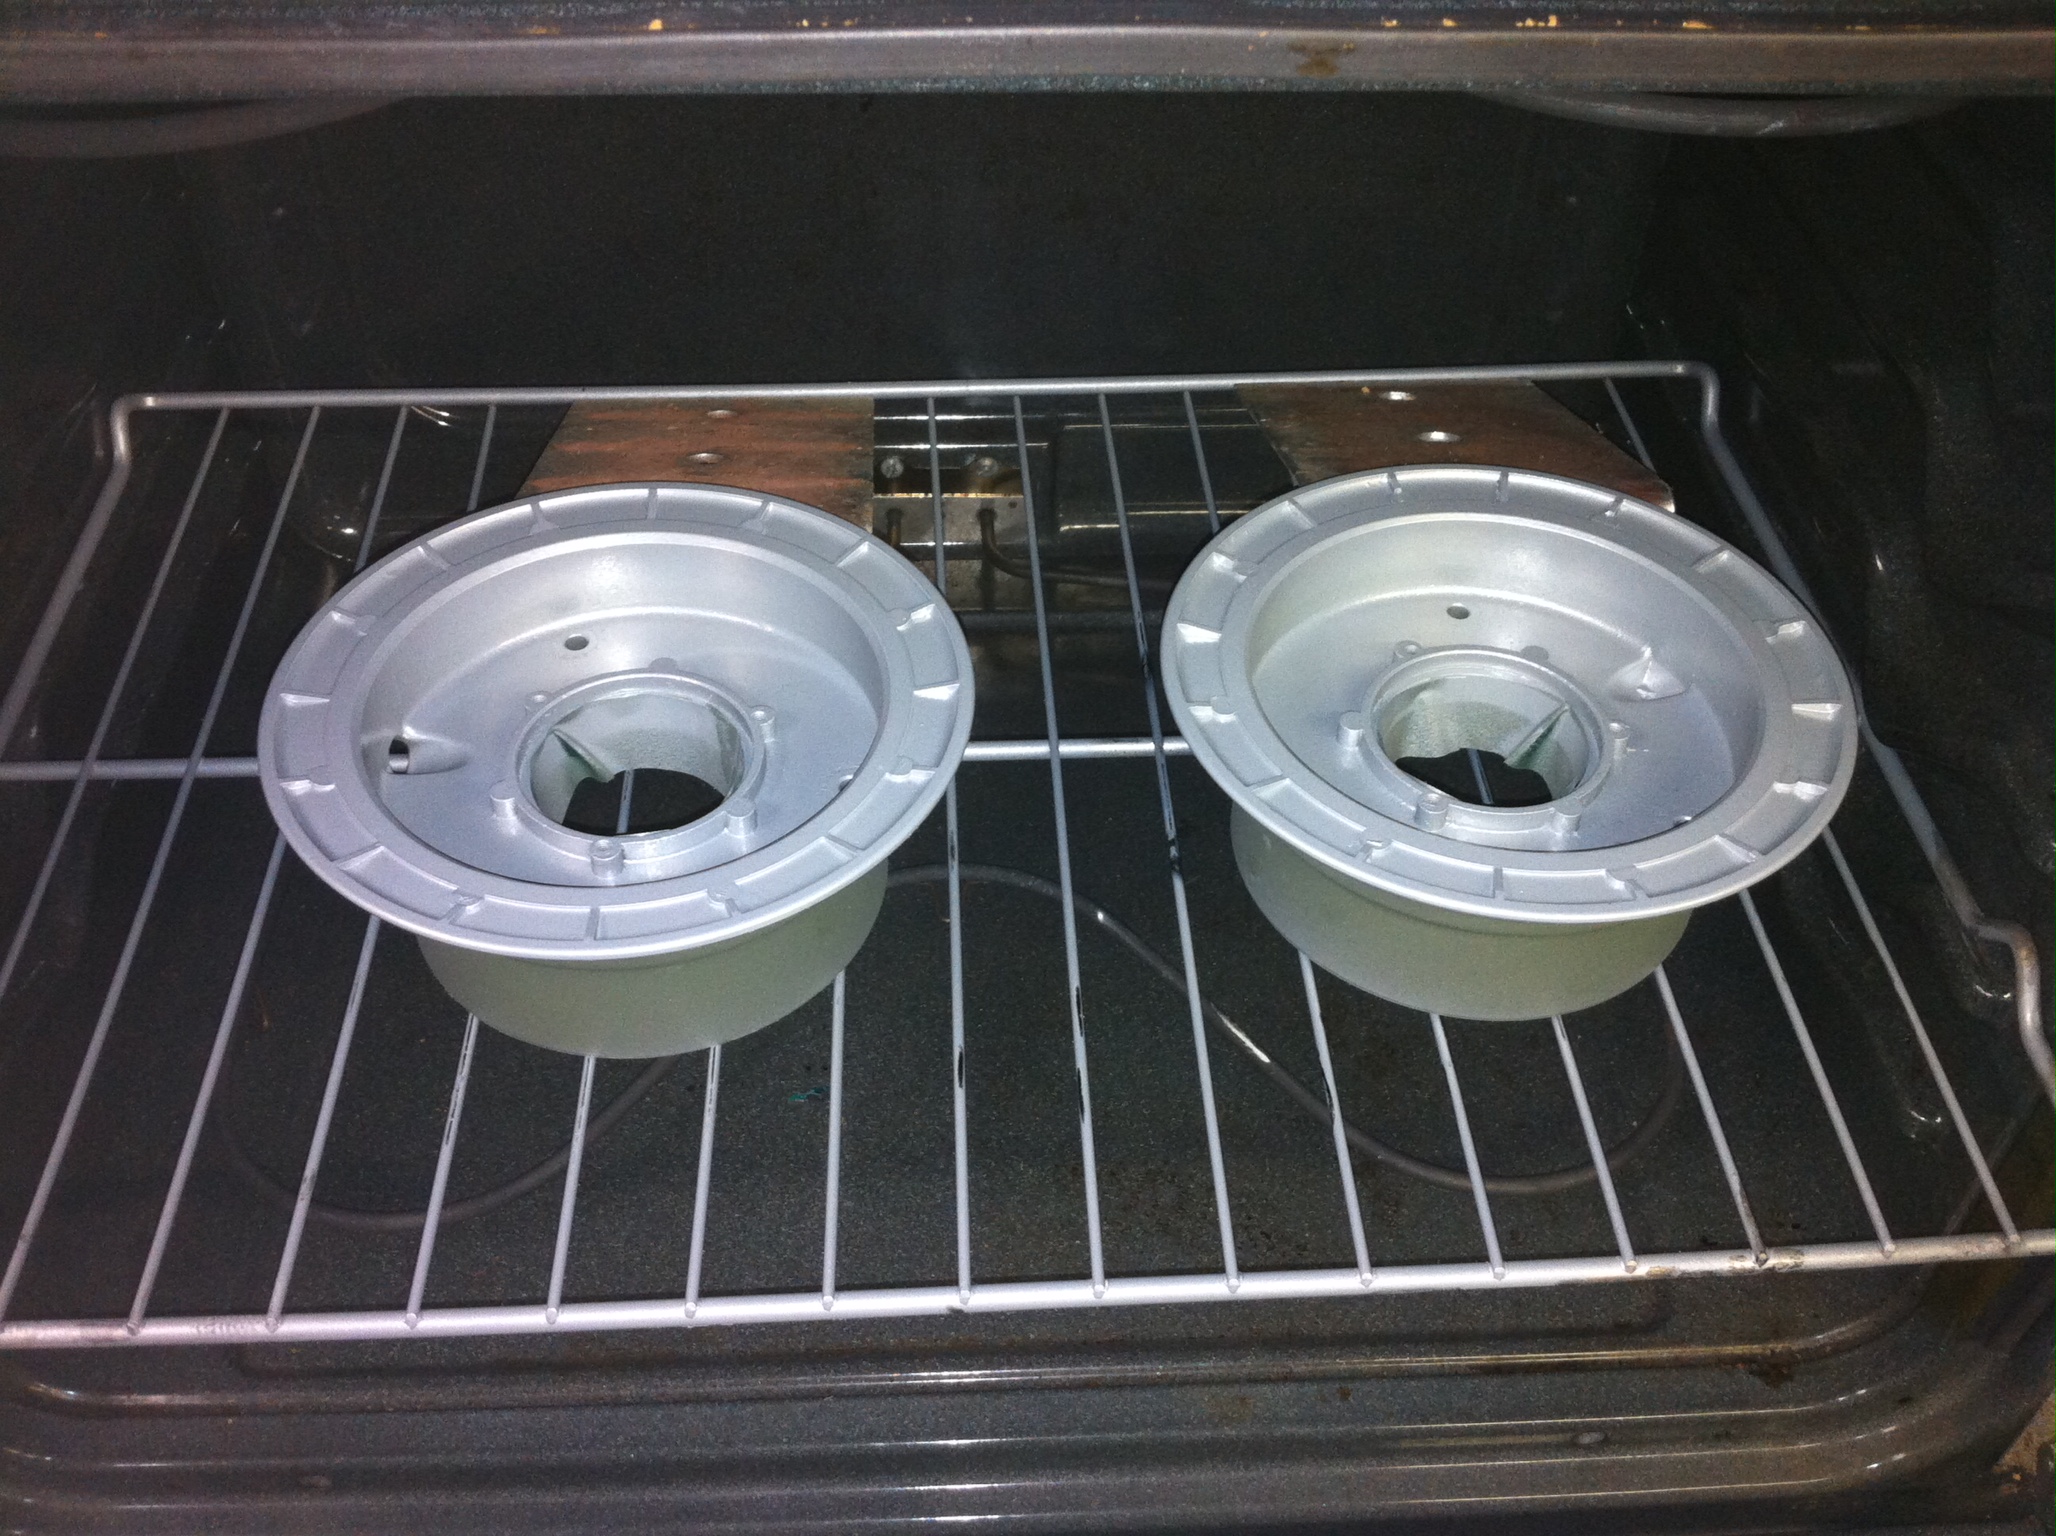
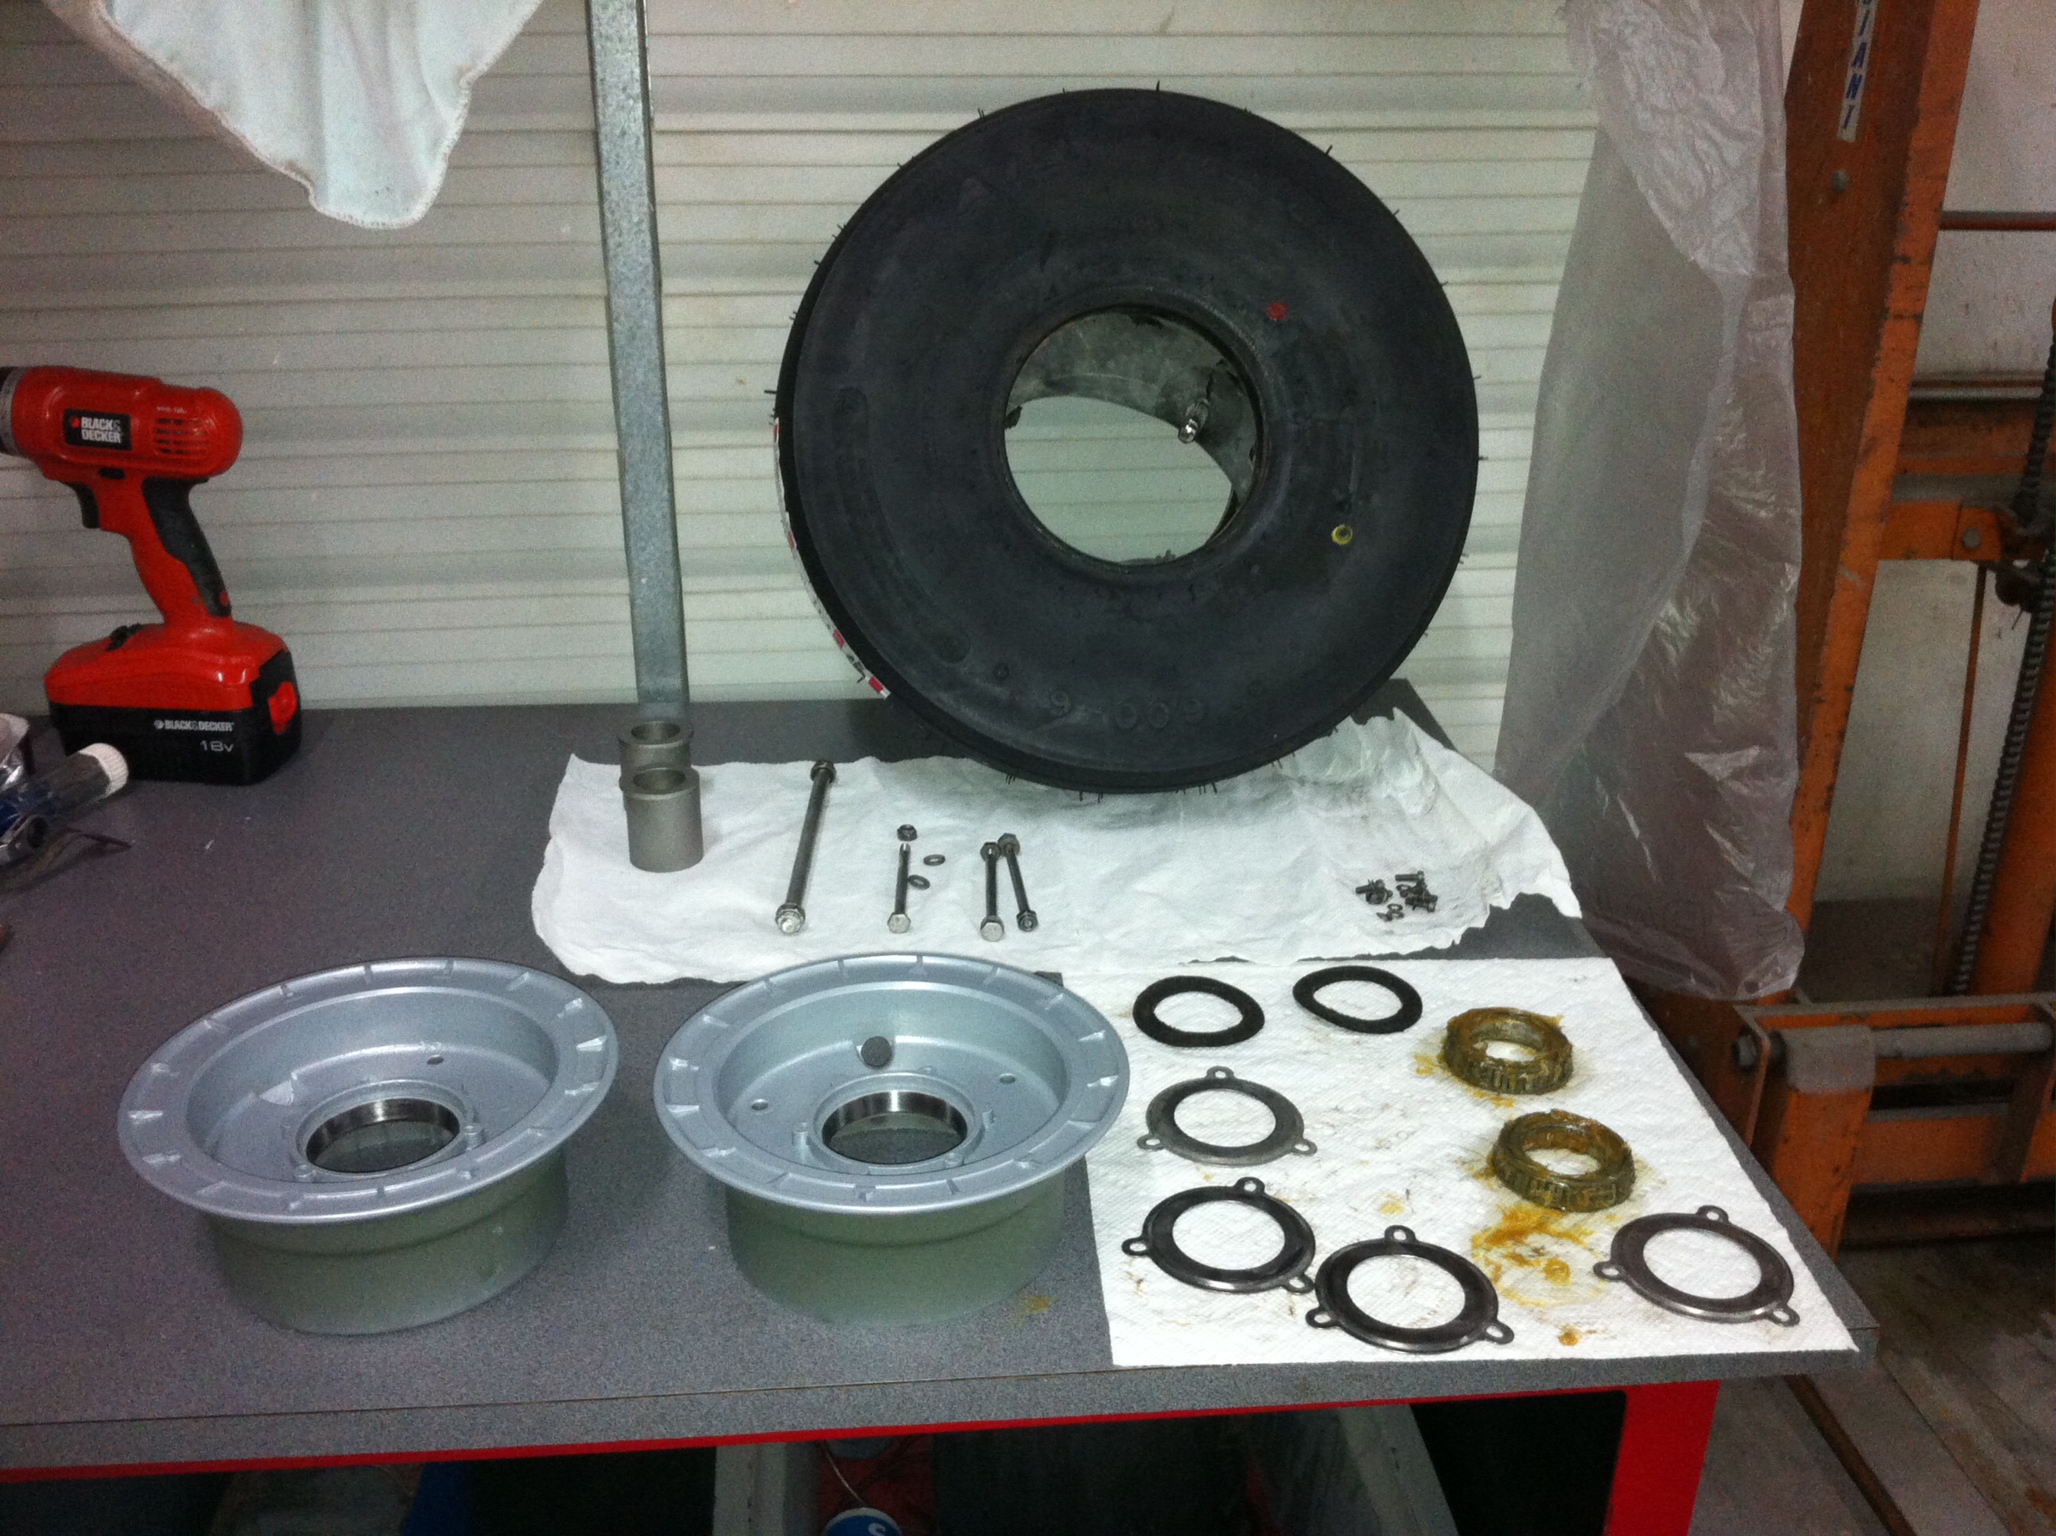
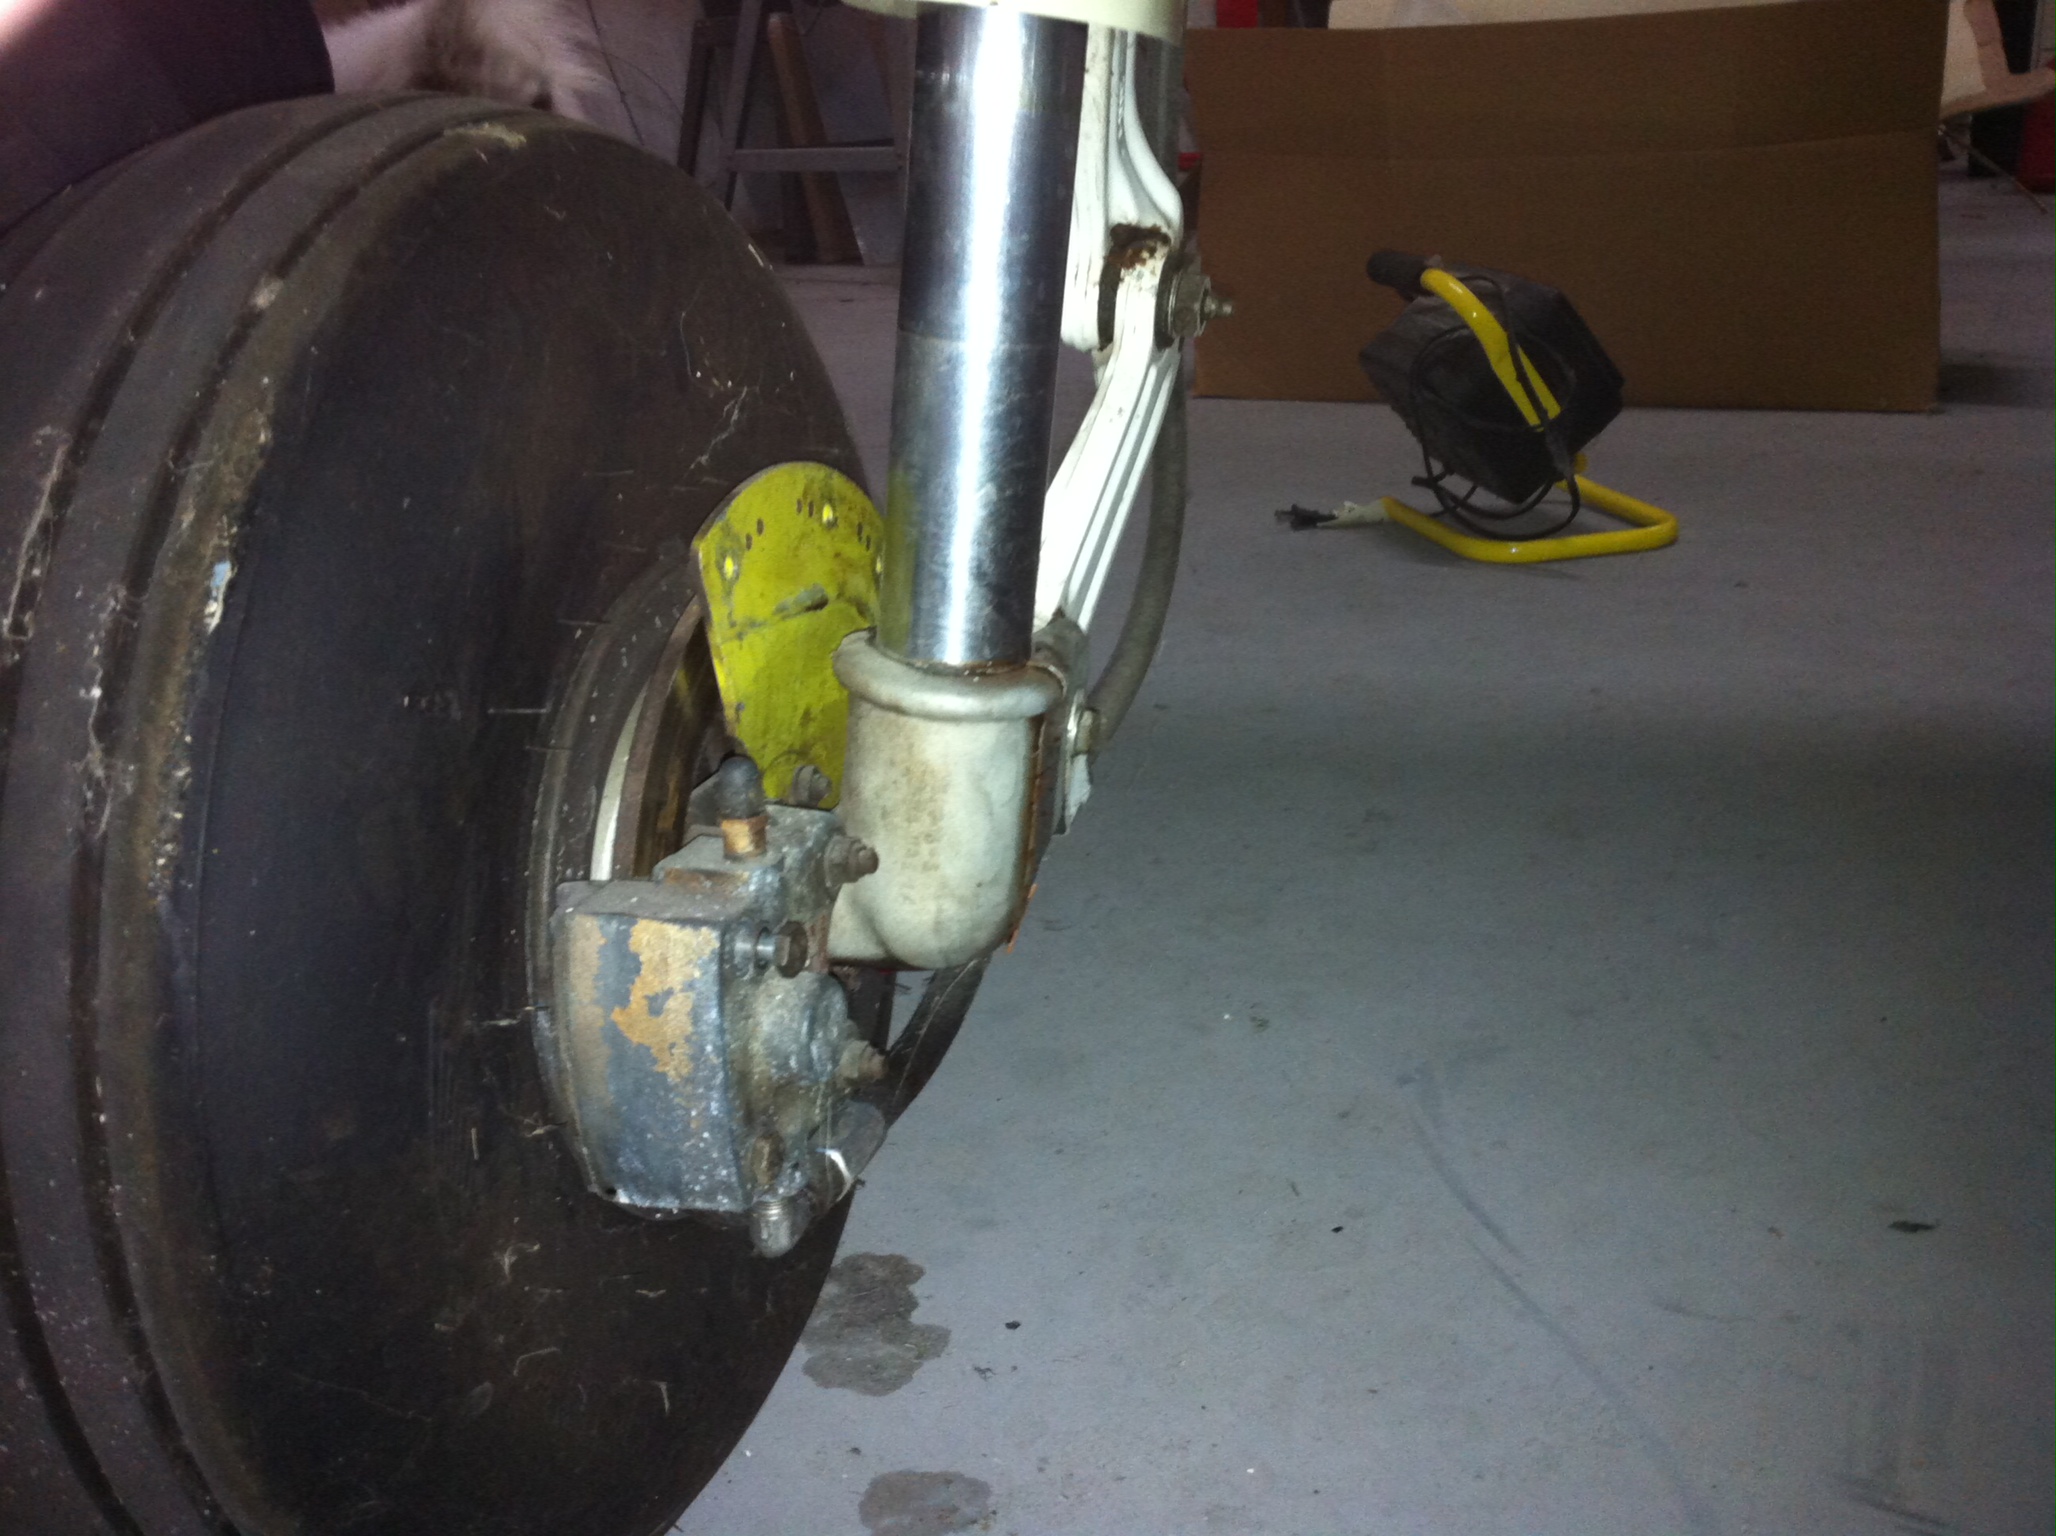
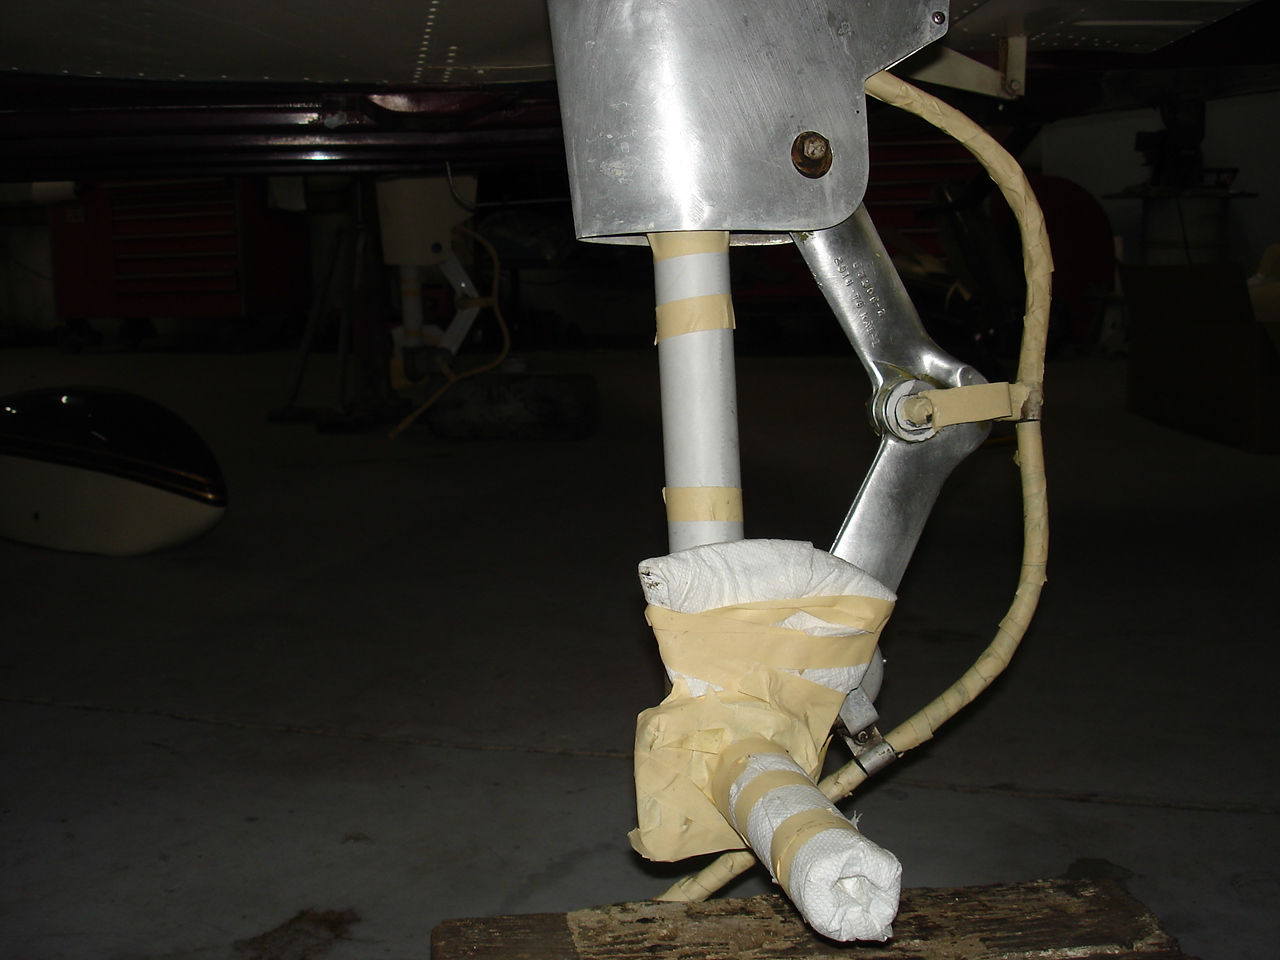
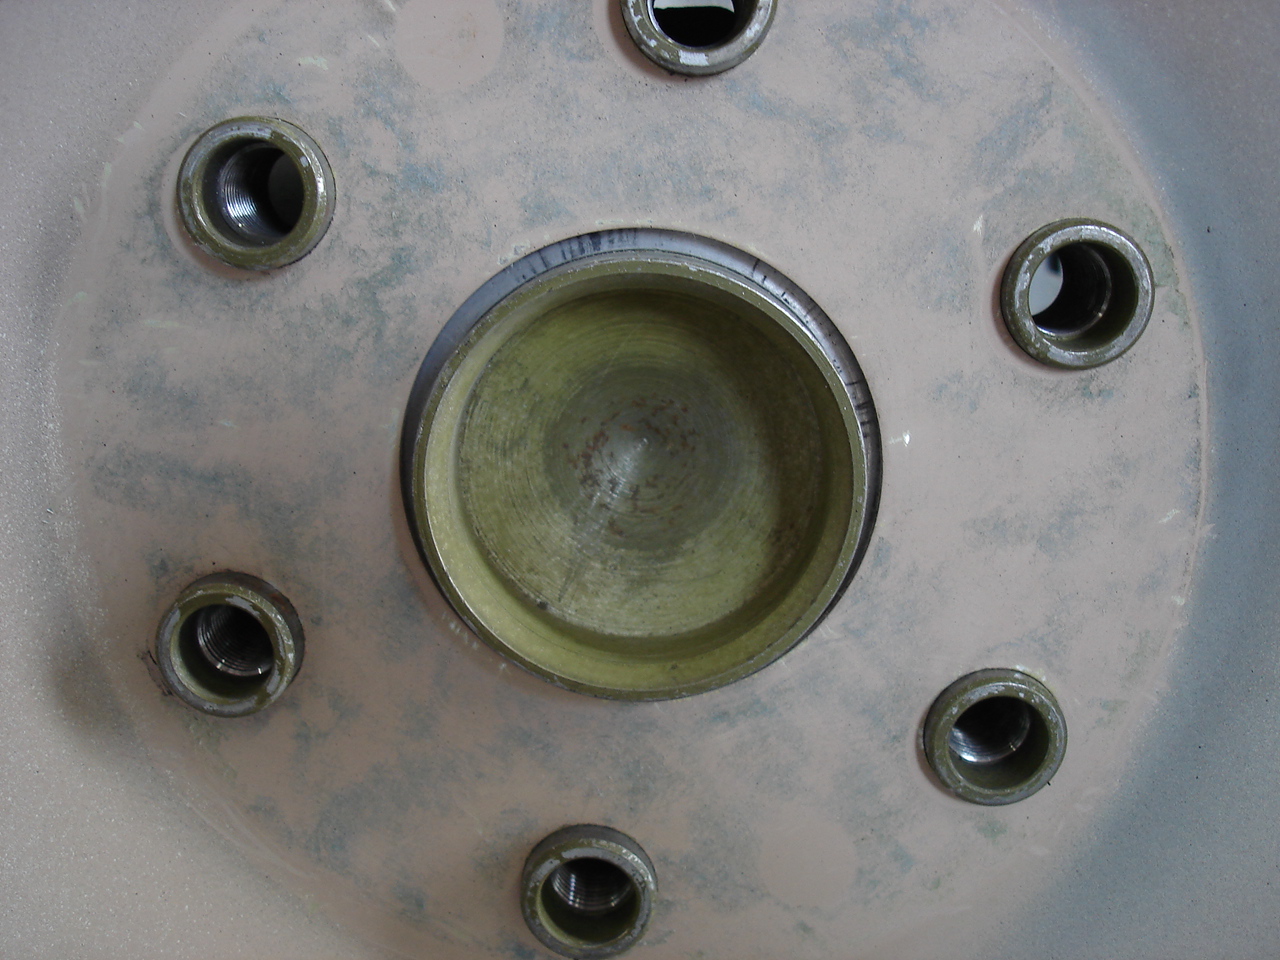
The main and nose wheels were actually pretty clean and average for a properly maintained GA aircraft. But, I can do a little better with some effort. Disassembled the wheels for a thorough cleaning and inspection followed by a primer coat. I also do my own powder coat process. This is a low gloss titanium silver finish. Durable and nice looking, it makes the wheels look new while protecting them from corrosion and will make cleaning easier during future inspections. Also cleaned and repacked the wheel bearings while I was in there.
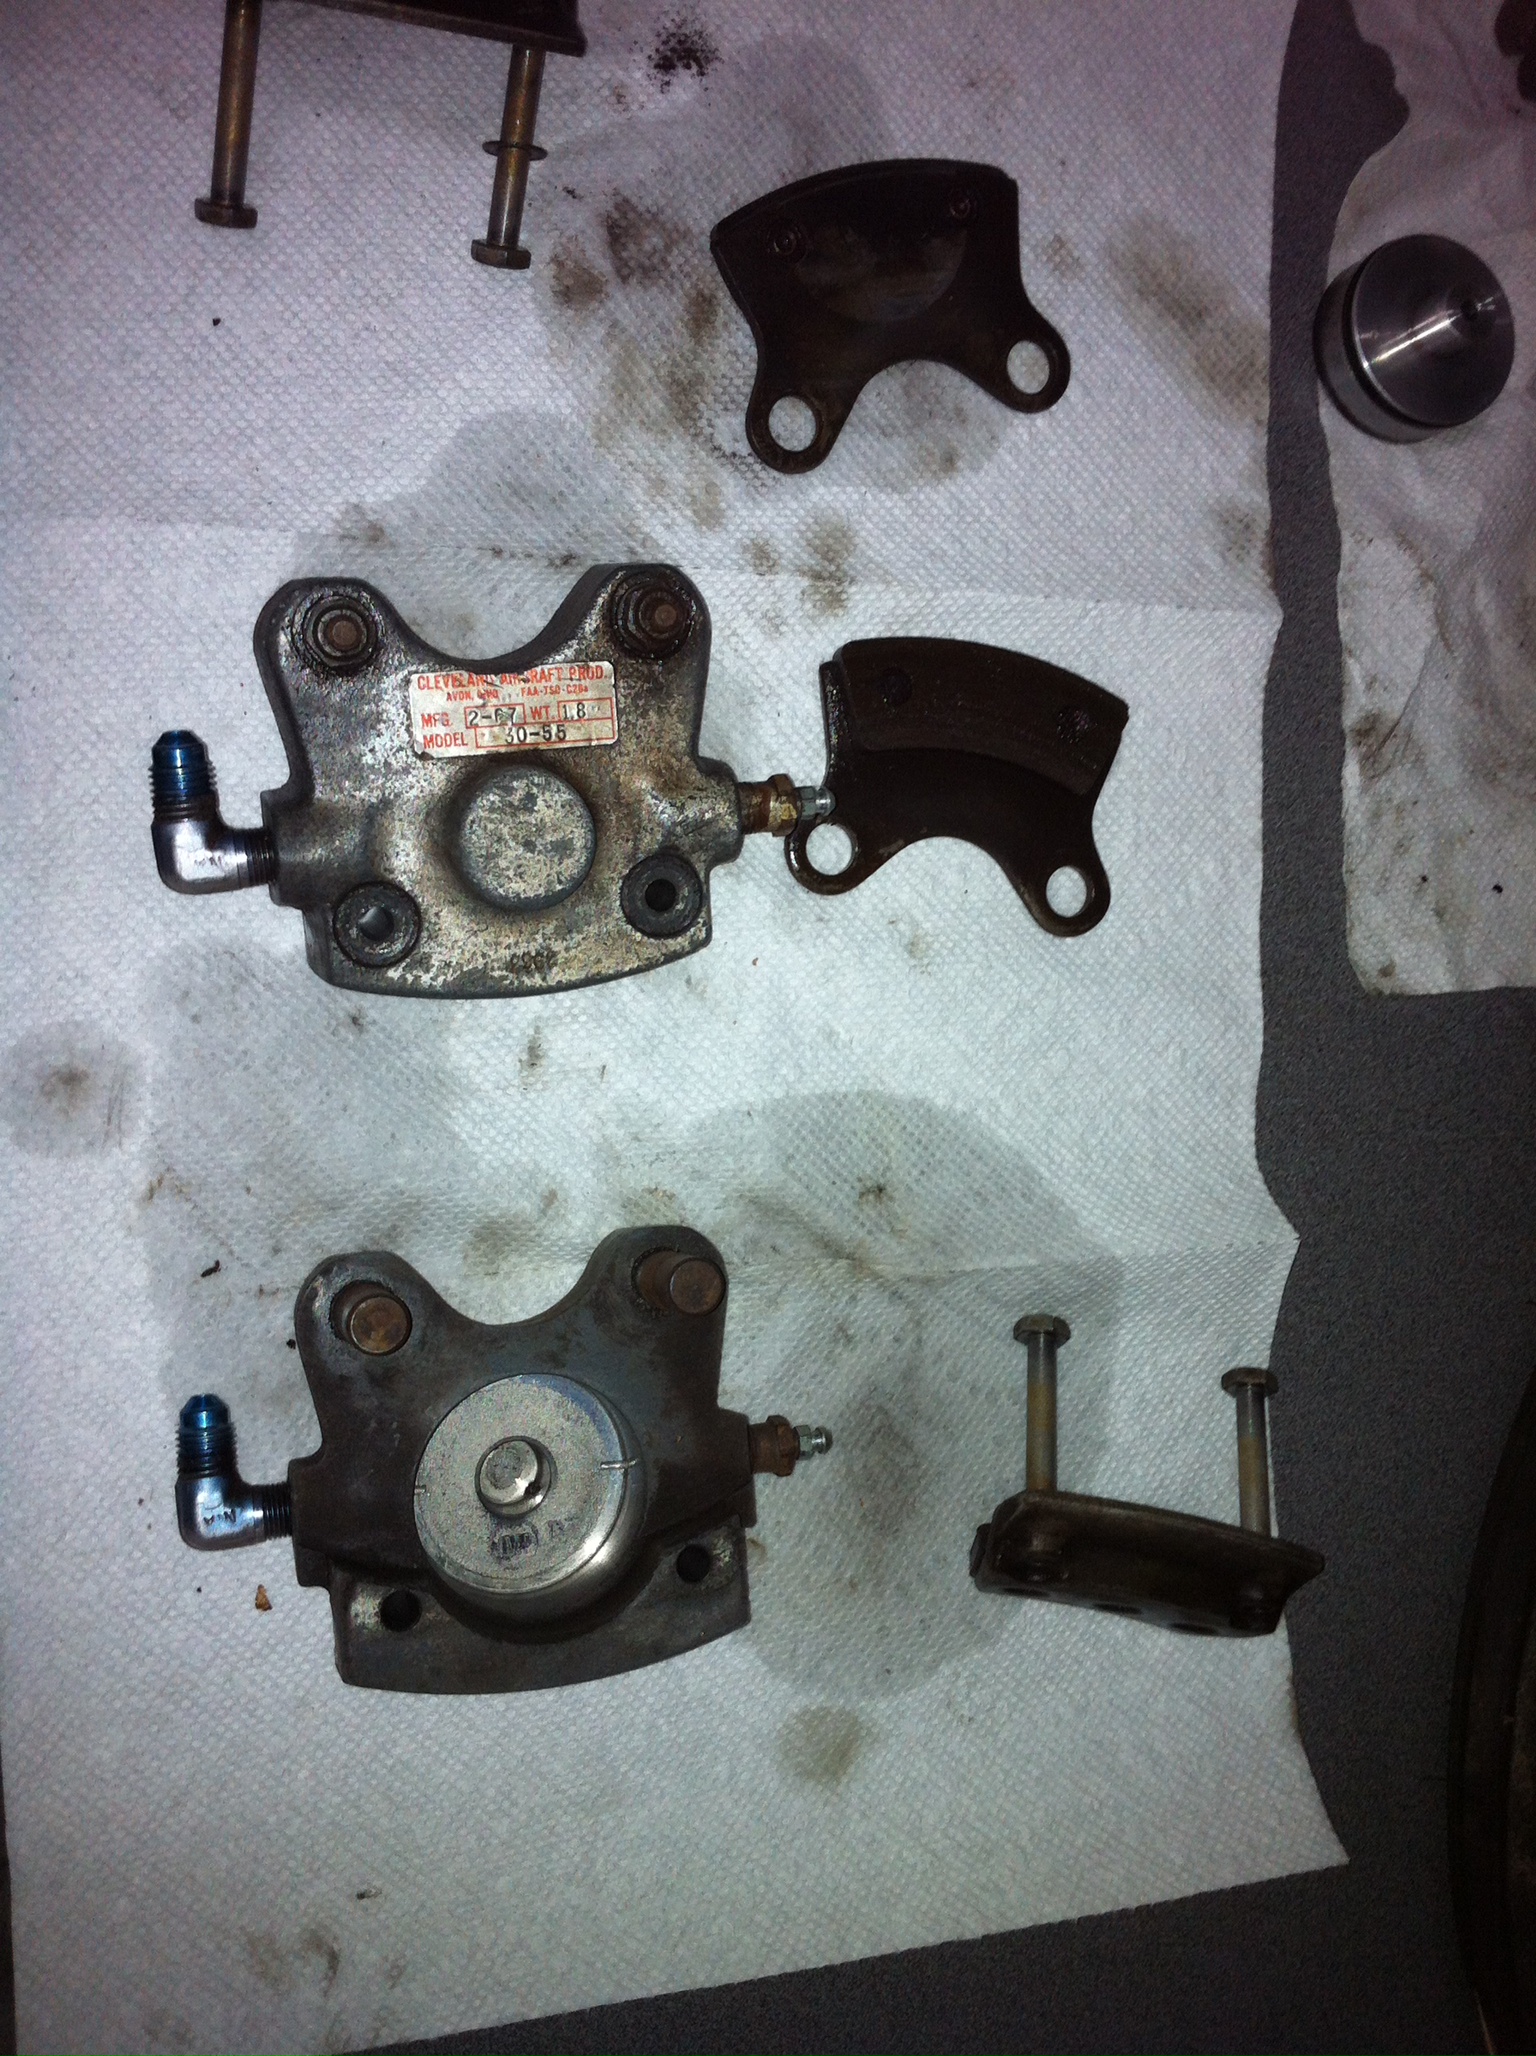
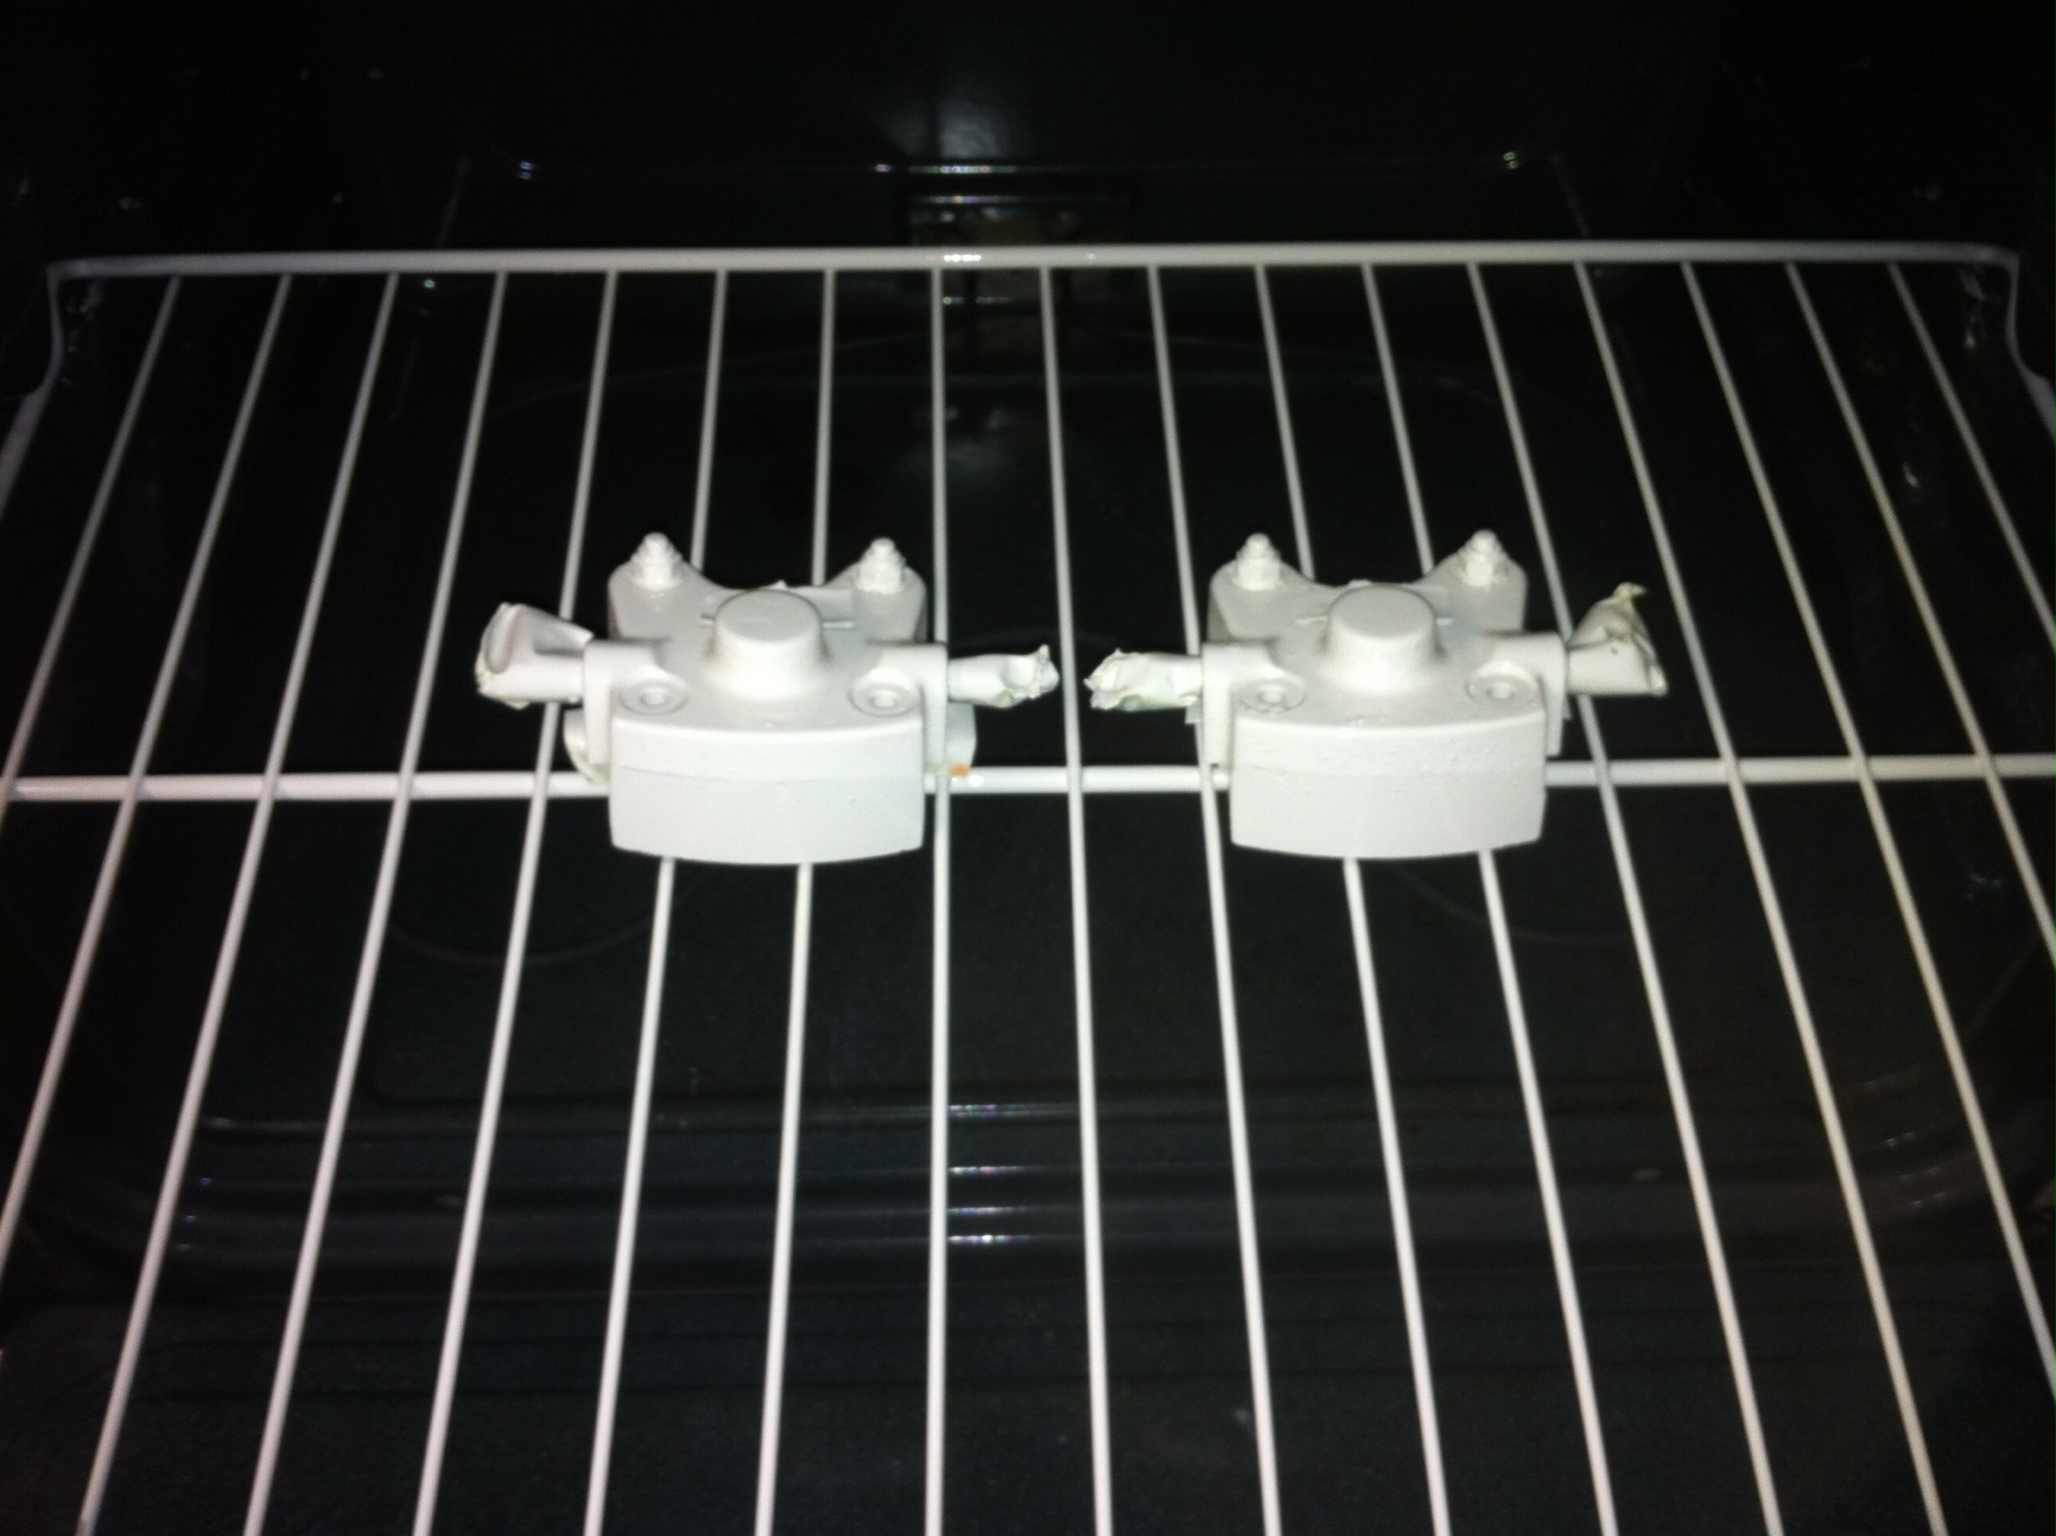
The brake cylinders looked average and were functioning fine. Since I've got it this far along, I might as well go ahead and clean those up and follow with an off-white finish this time. Also, installed new O ring seals here to make the brake pressure nice and tight. The brake linings are still in excellent condition, so we'll leave them alone for now.
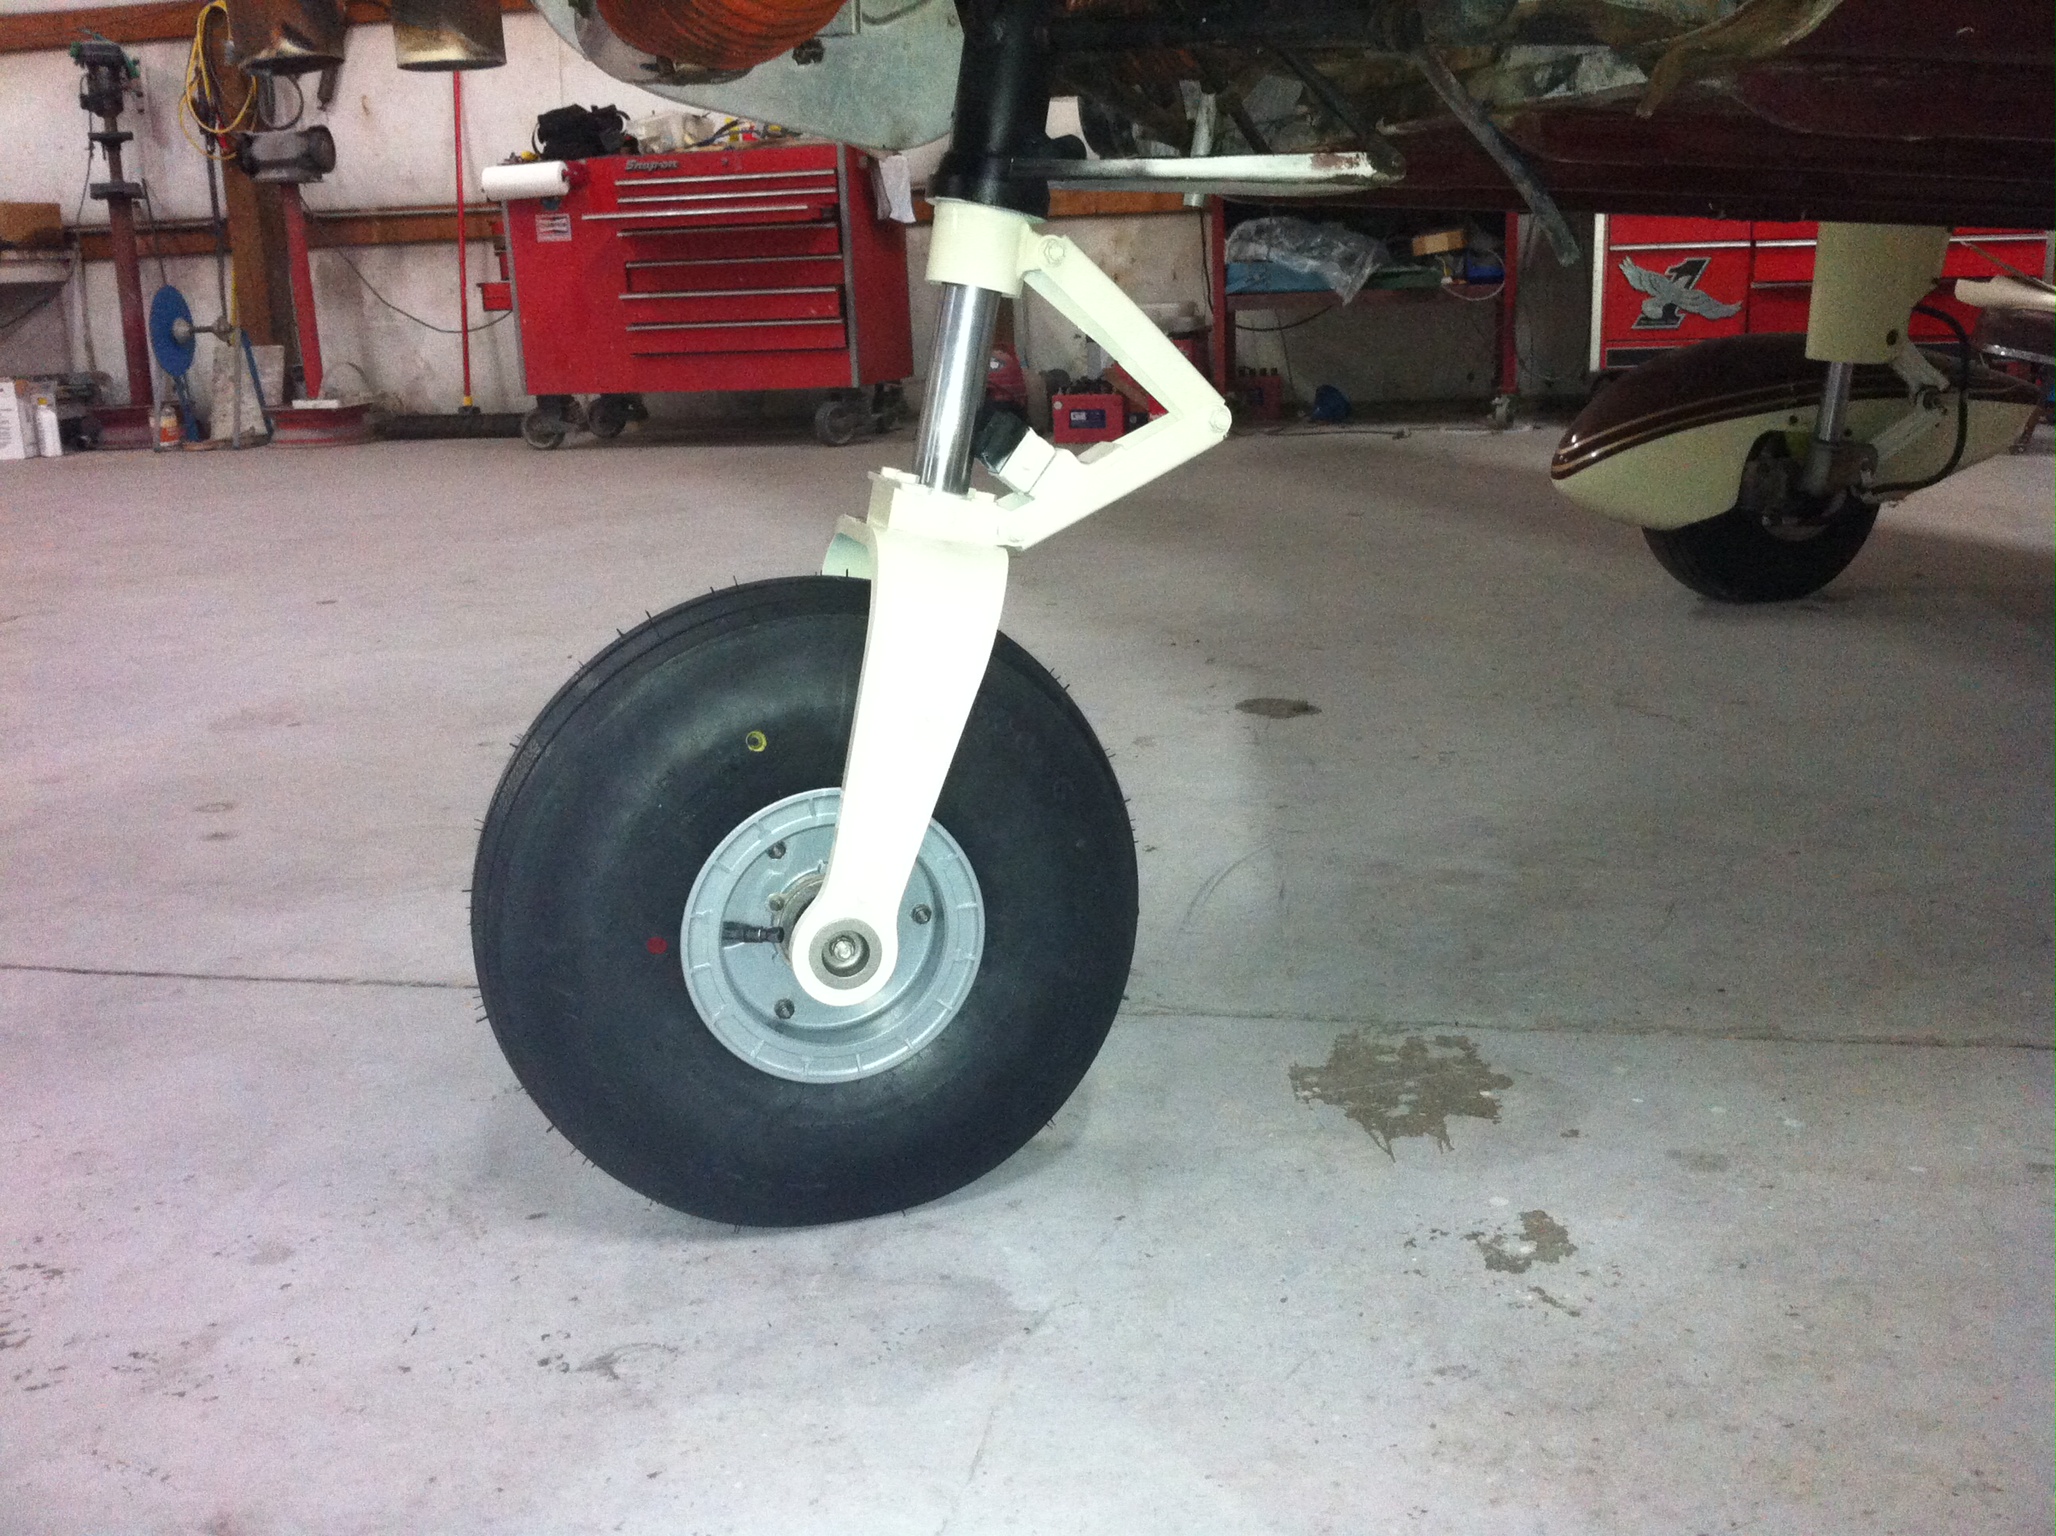
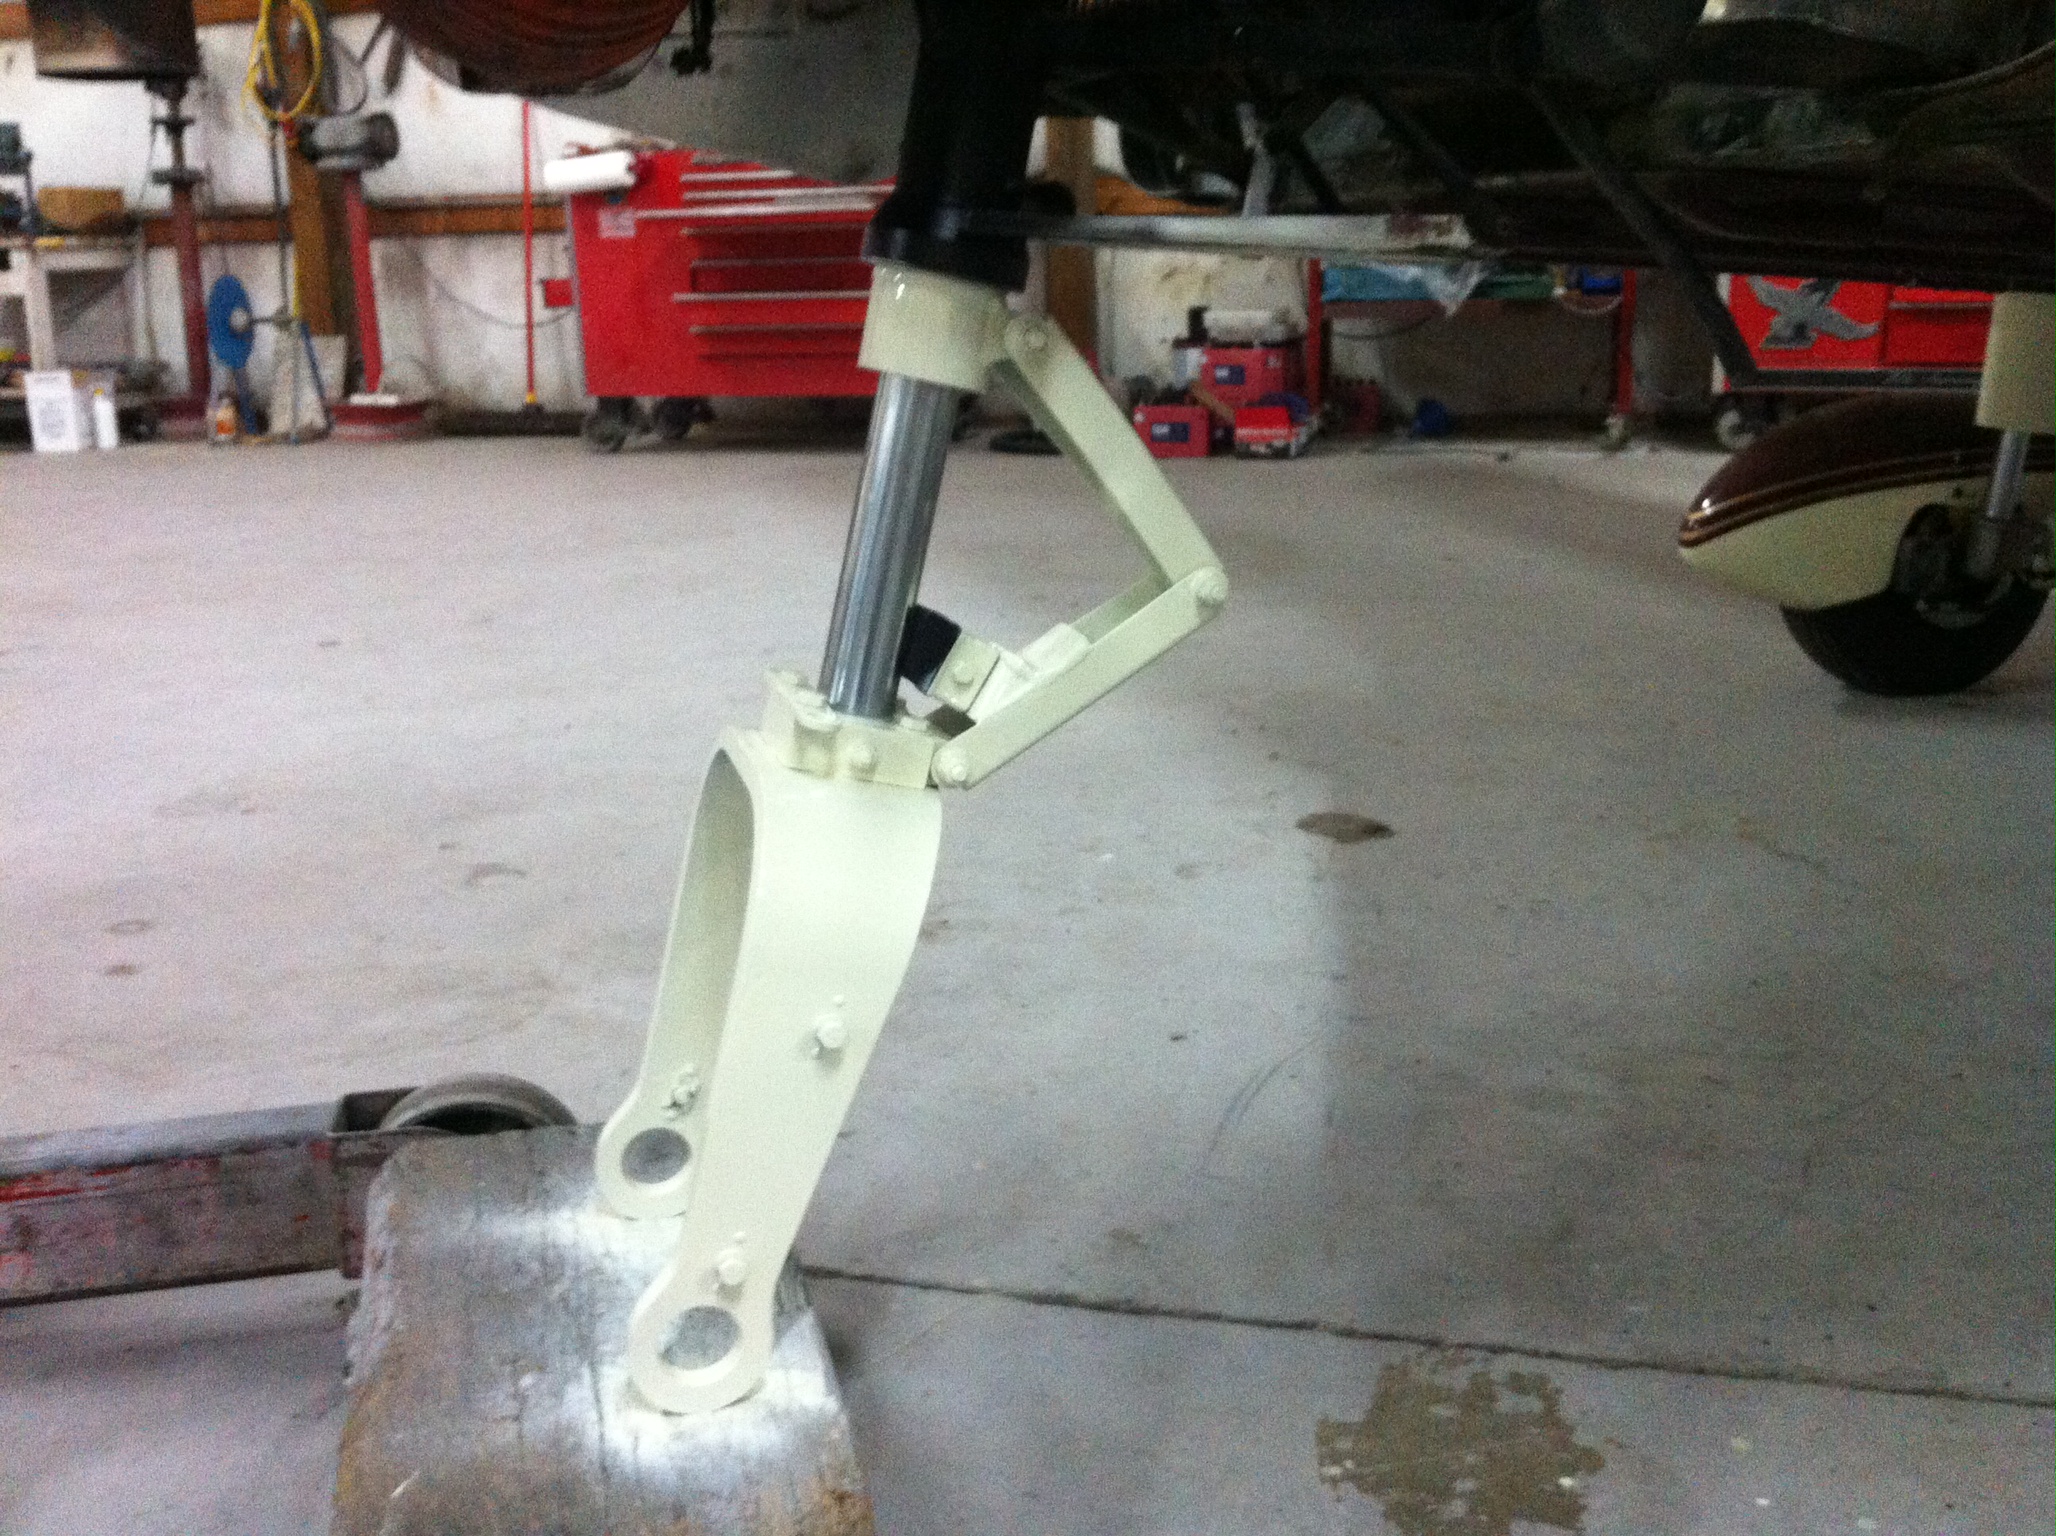
So now that its up on jacks, I'll go ahead and finish the landing gear and wheel portion of the inspection/updates. Cleaned, primed, and painted the landing gear legs and torque links. After I got the wheels all assembled and installed, you can really tell the difference now ! Also installed a new nose tire and Michelen Air Stop tire tube to finish it out.
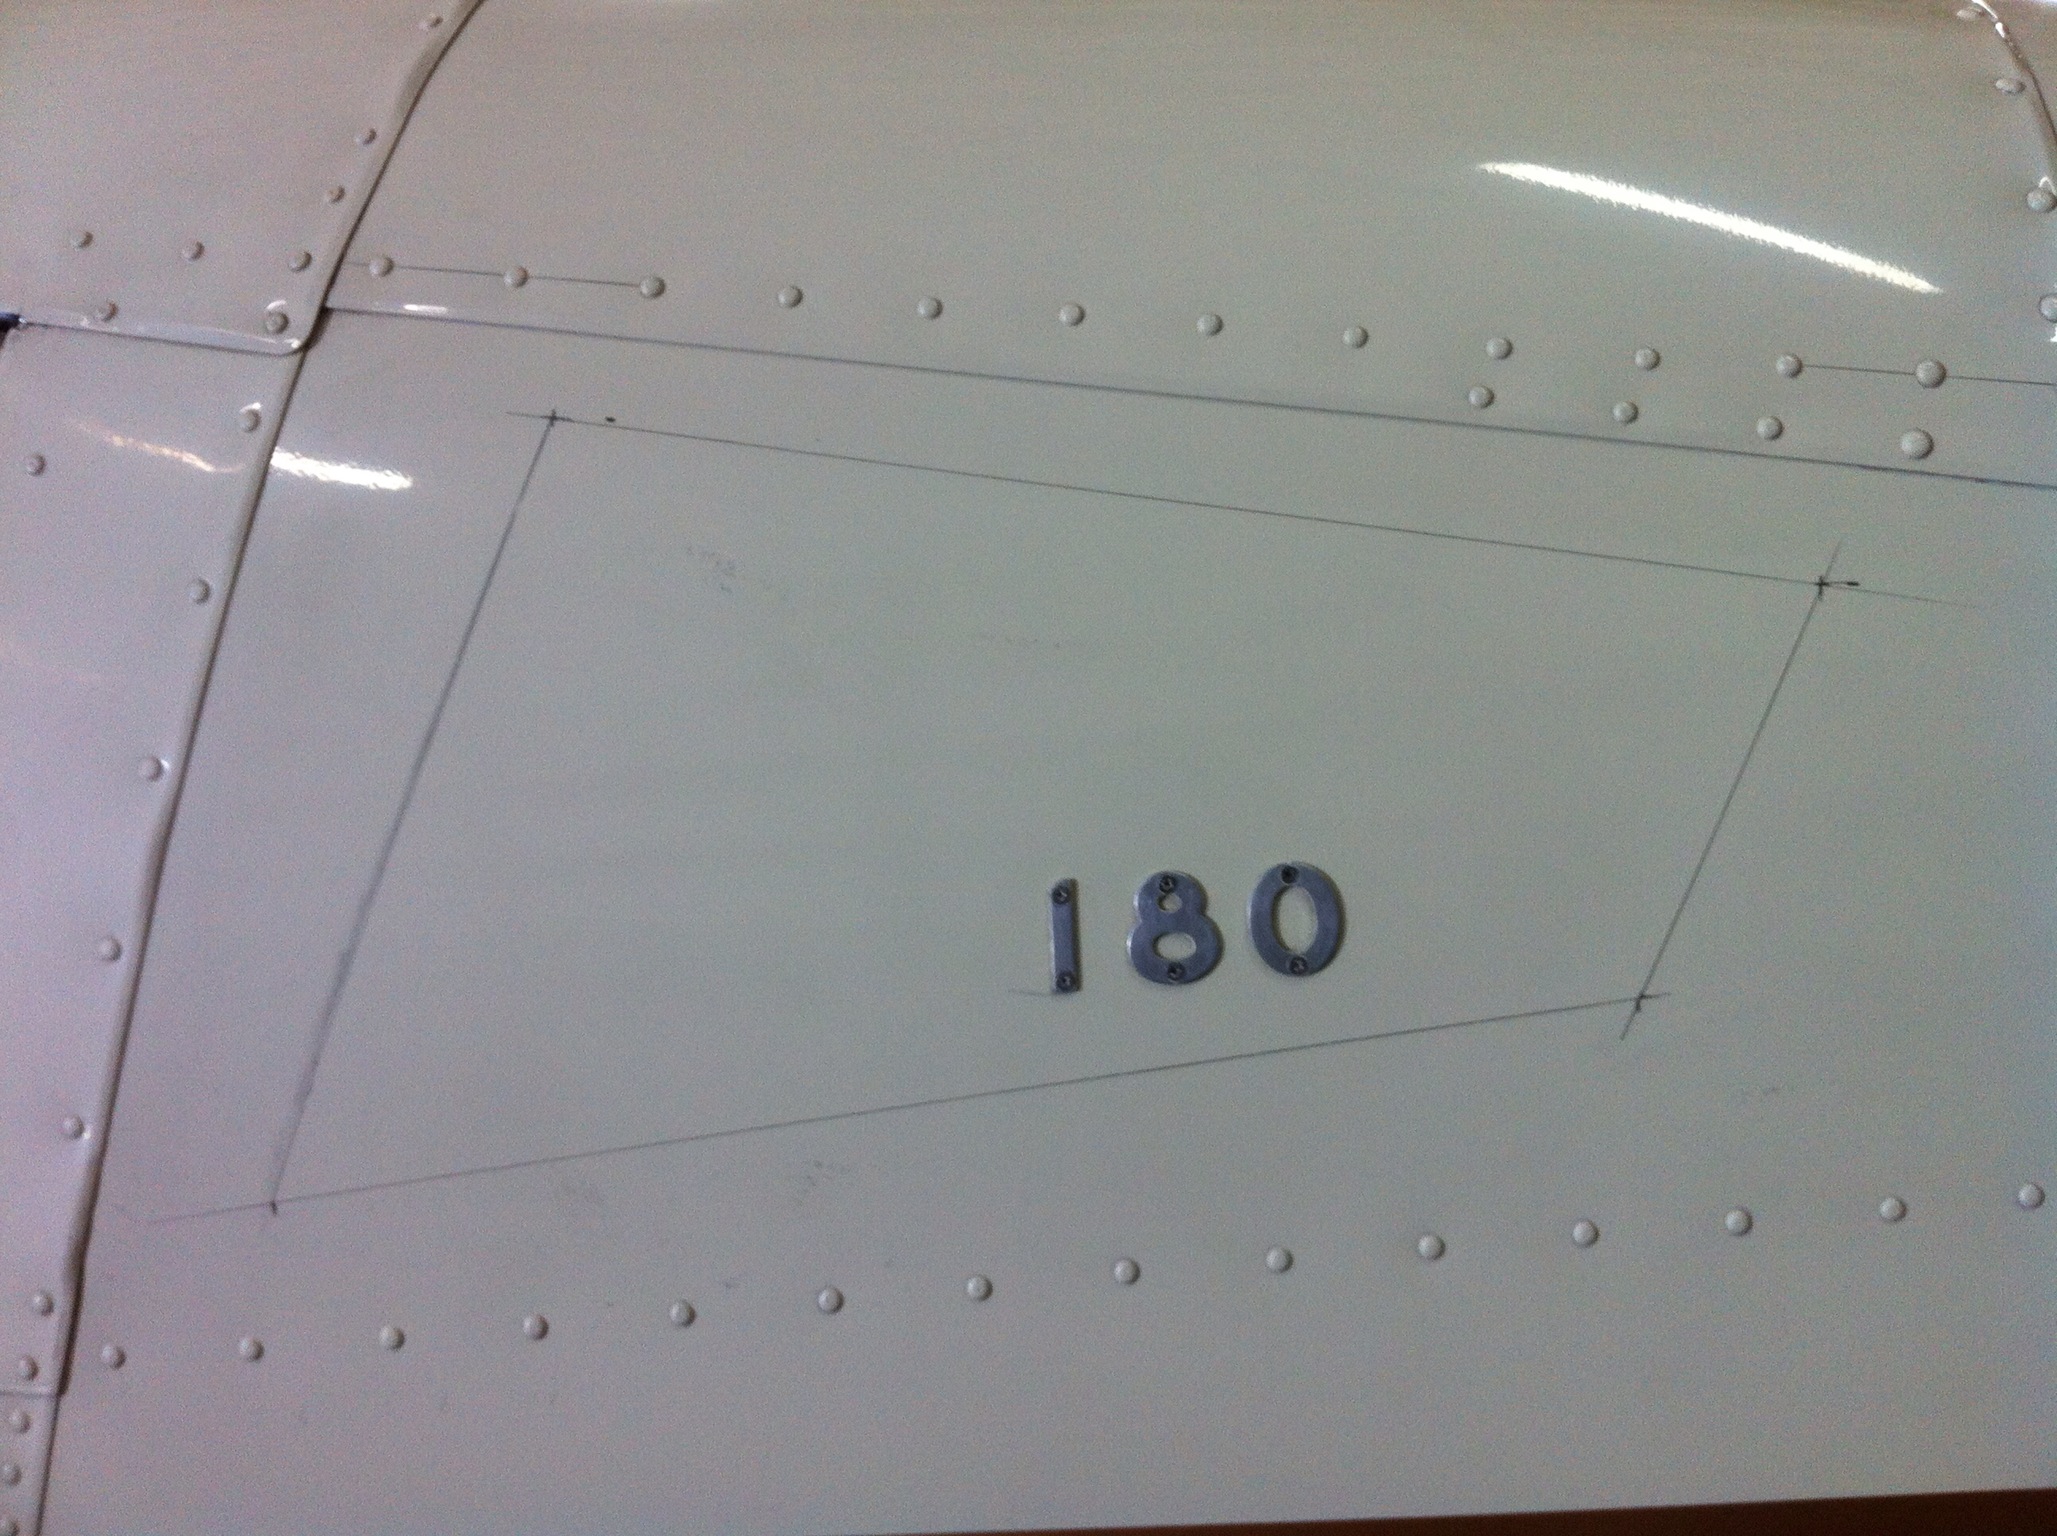
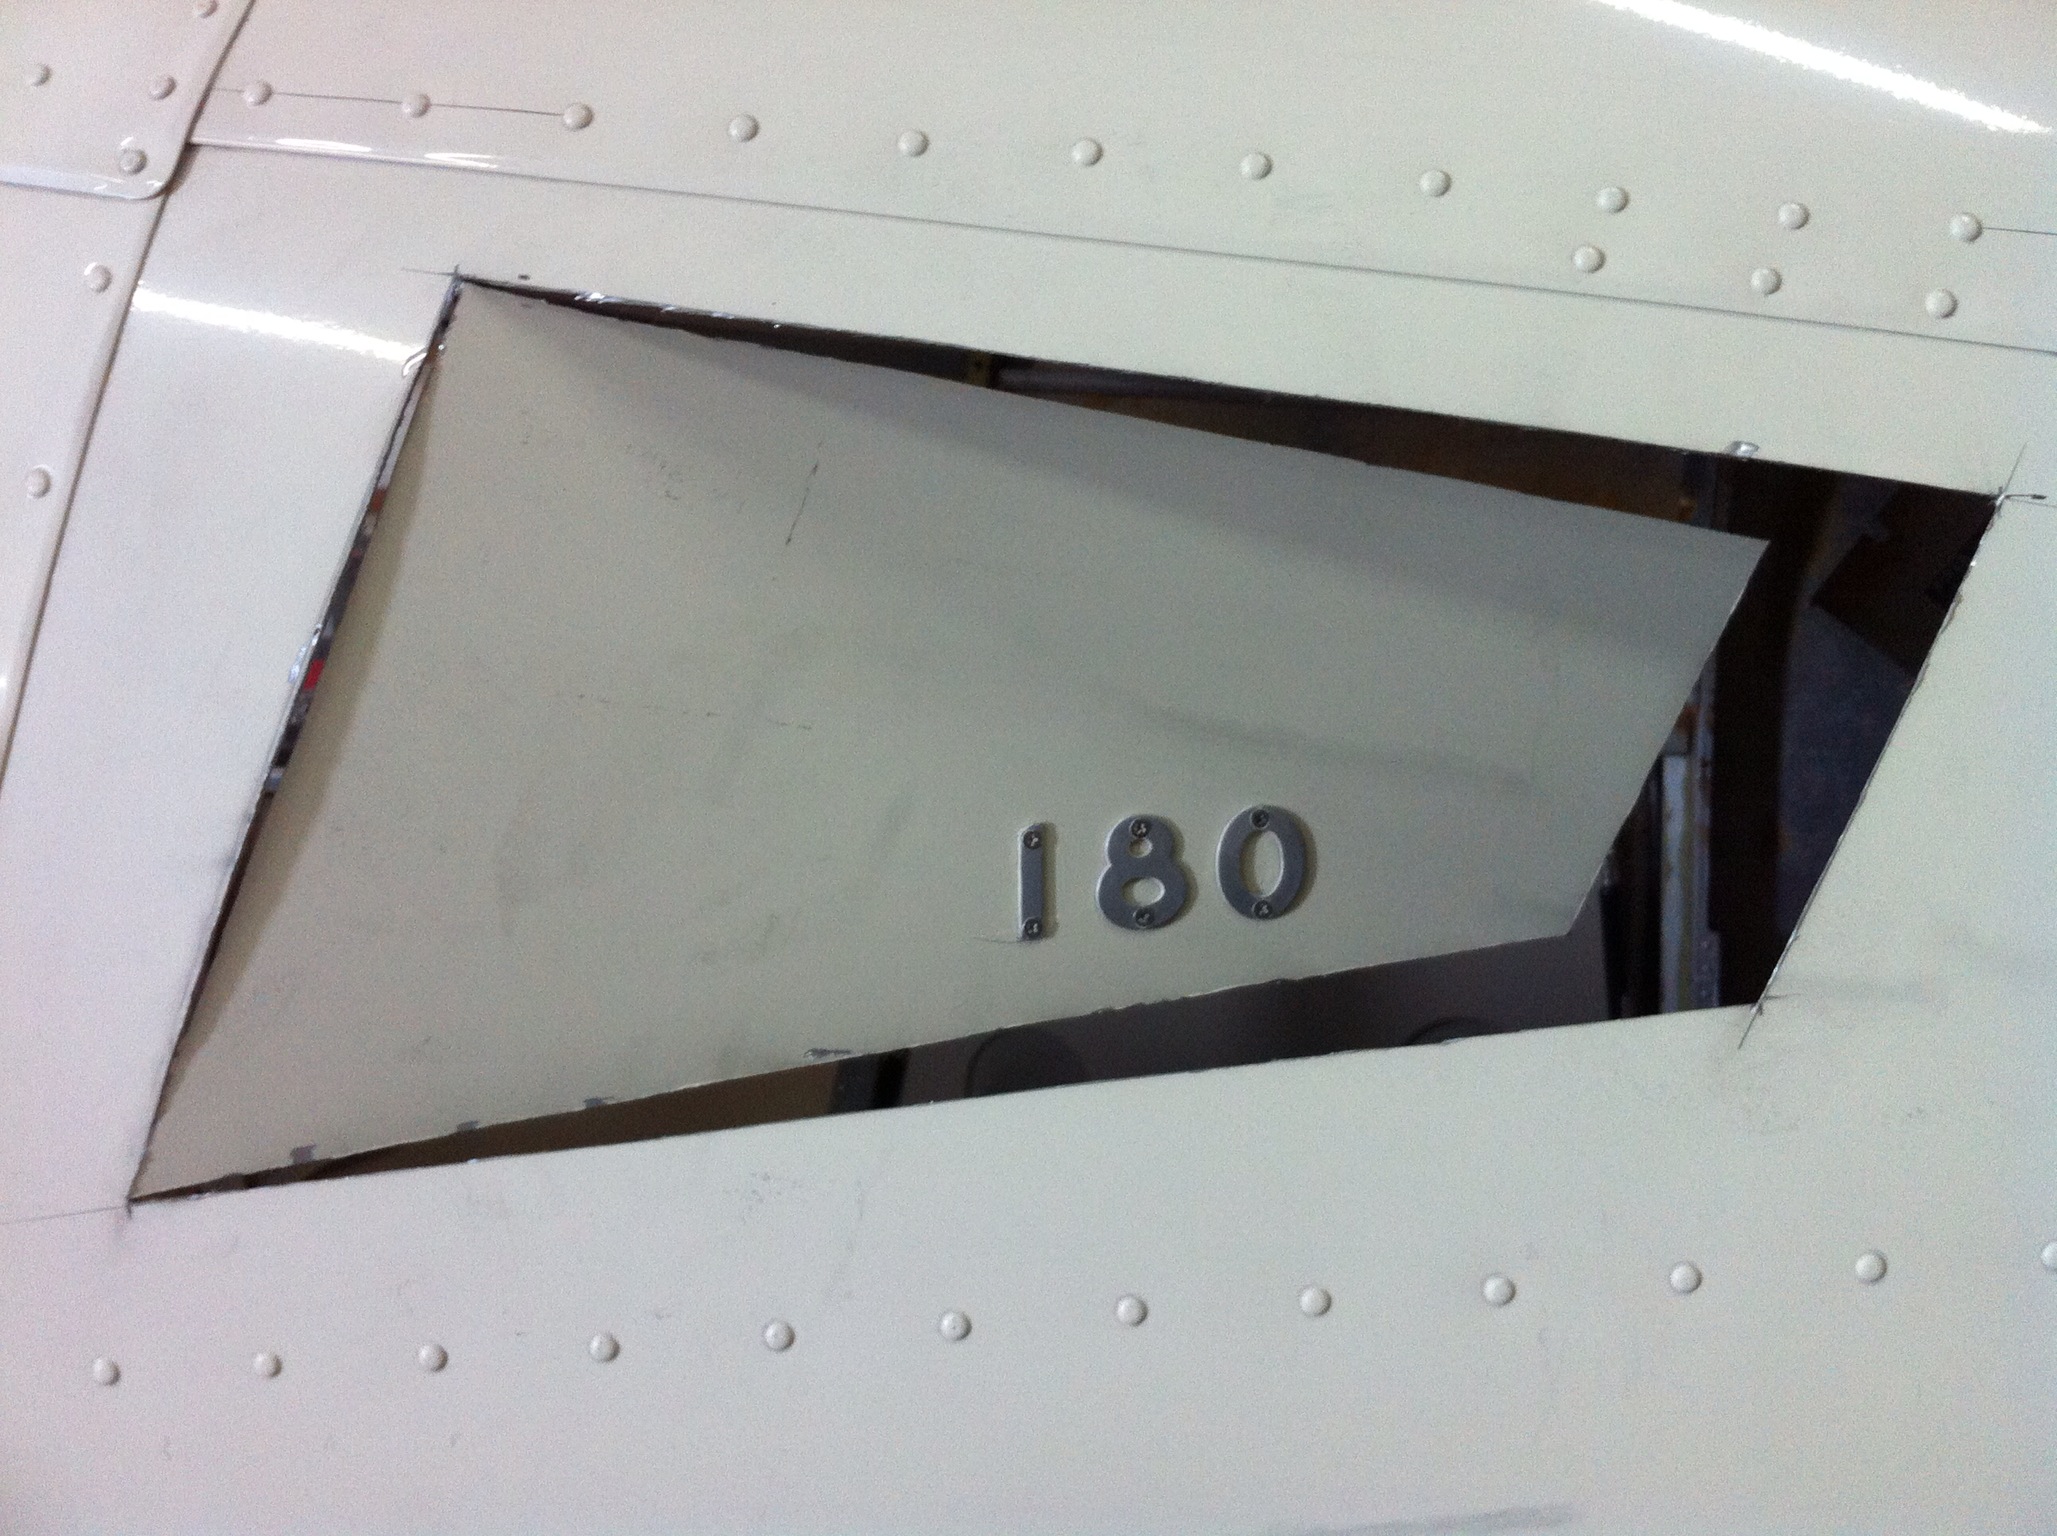
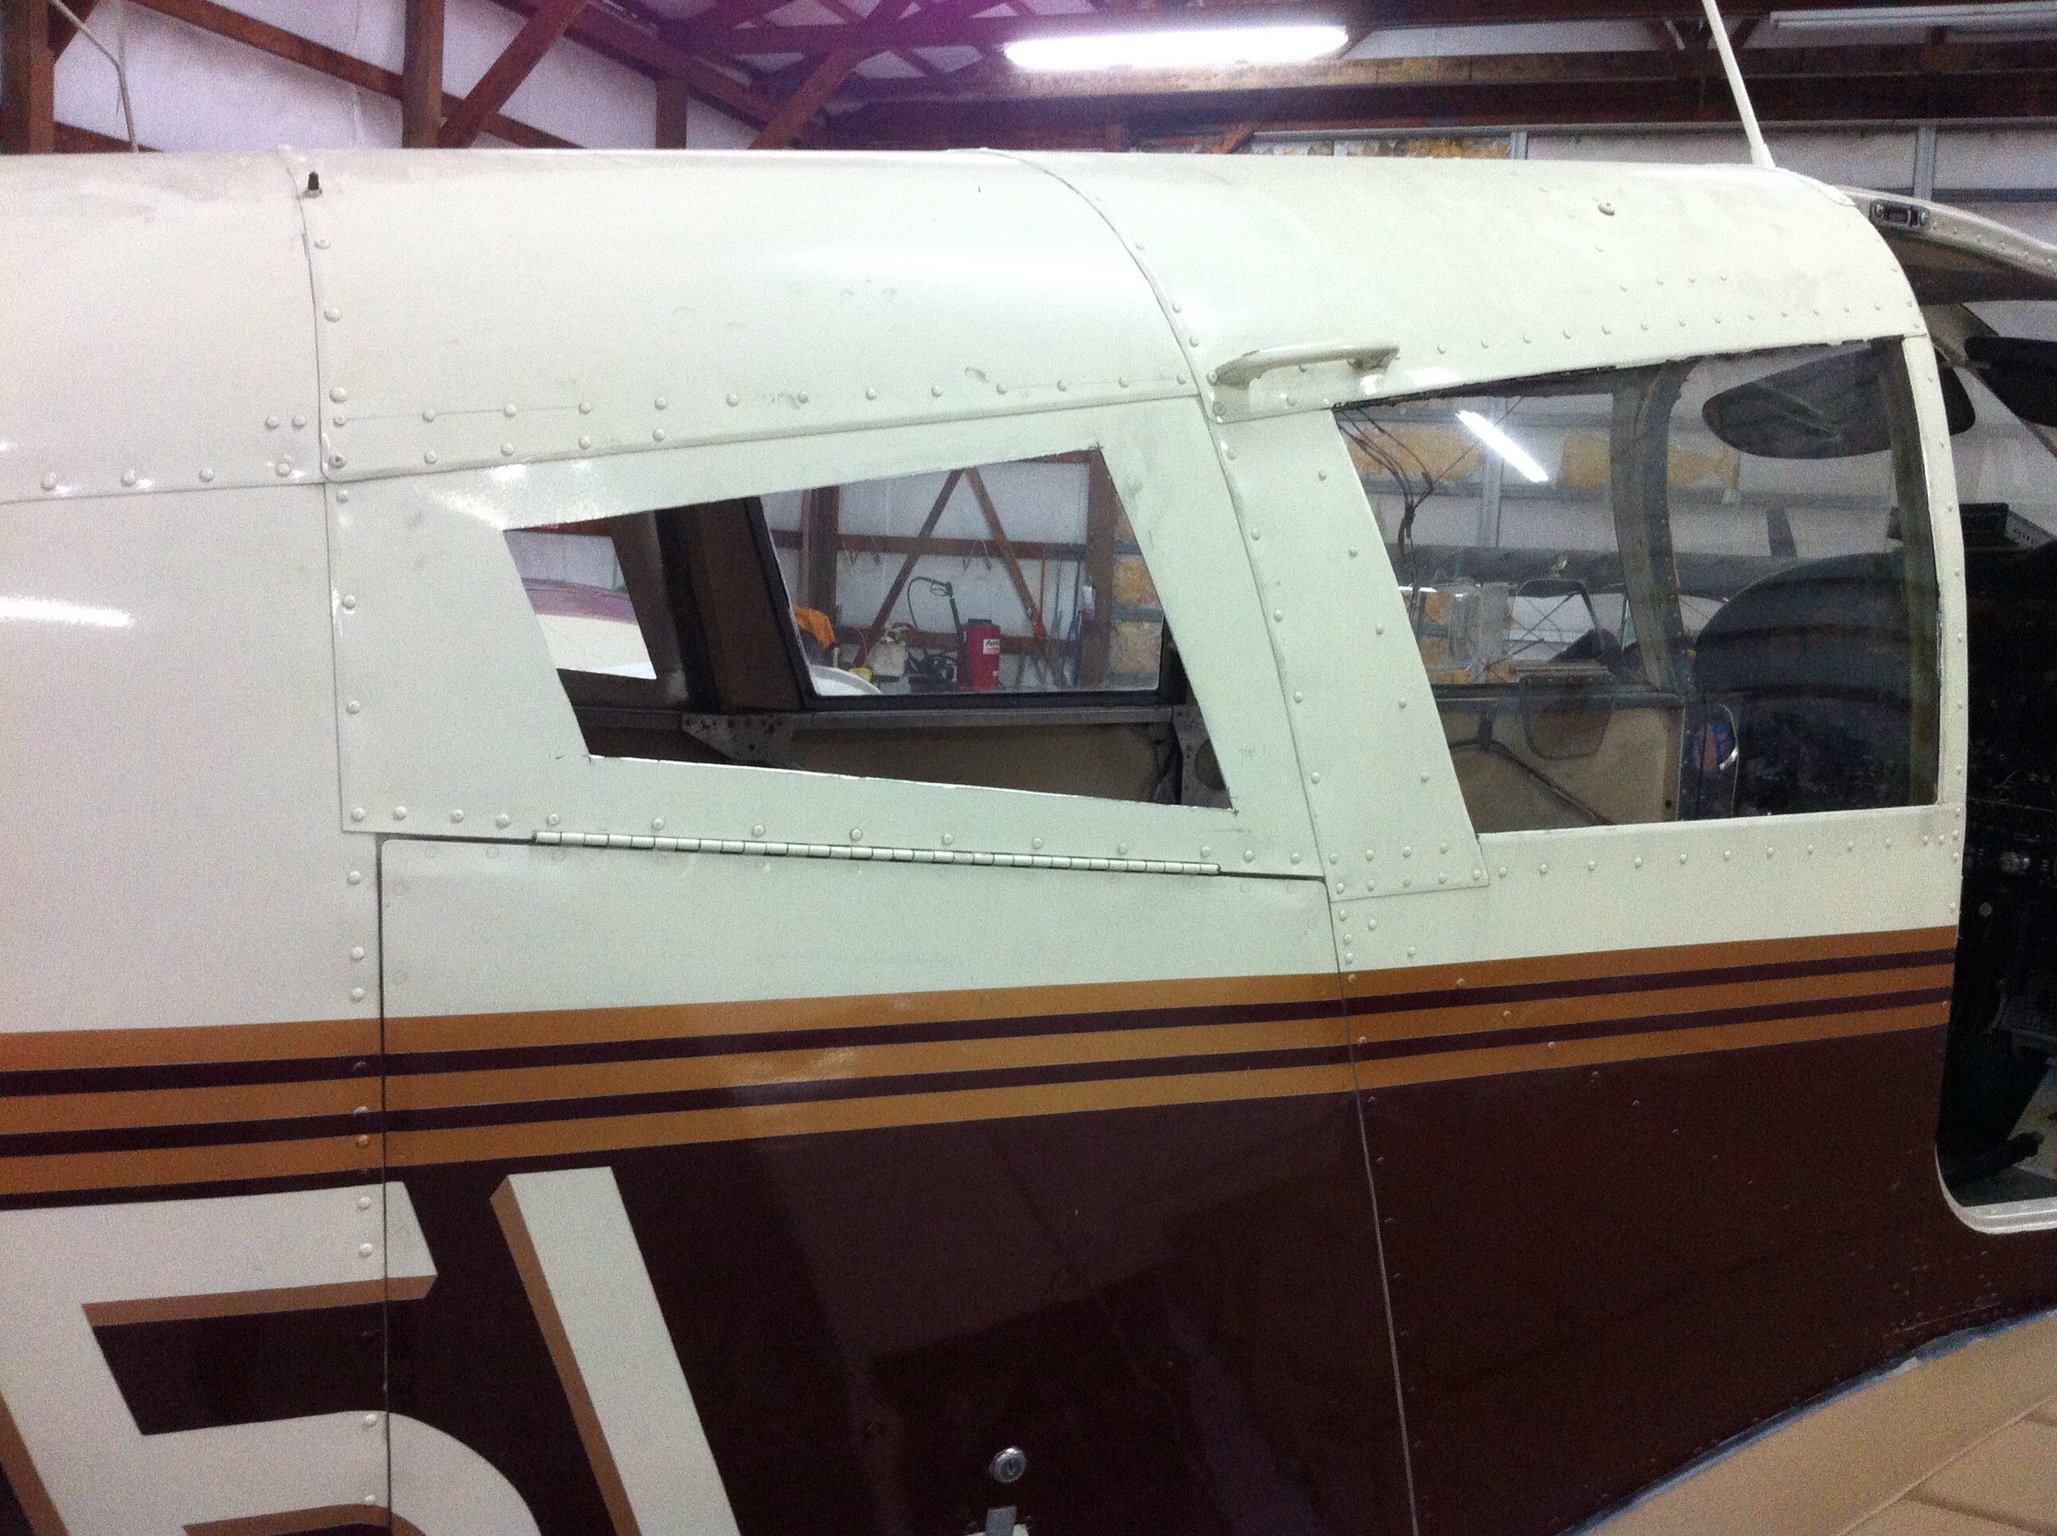
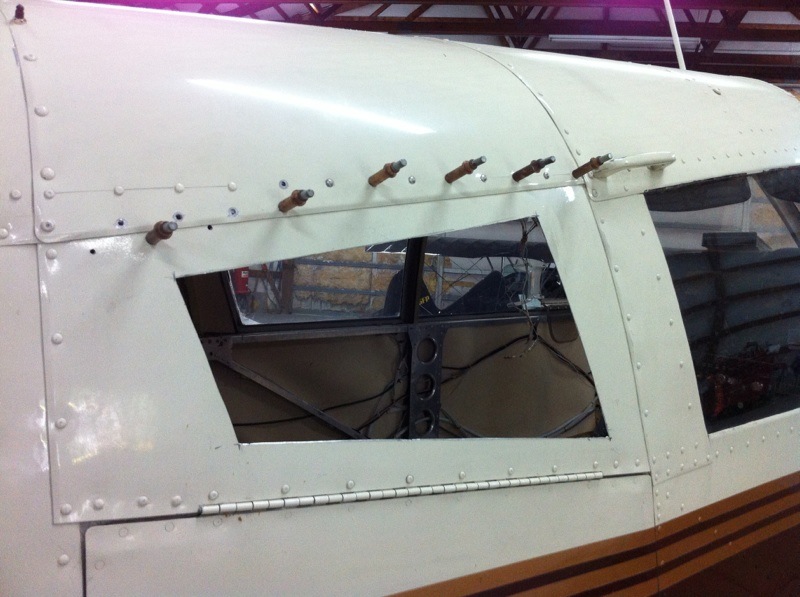
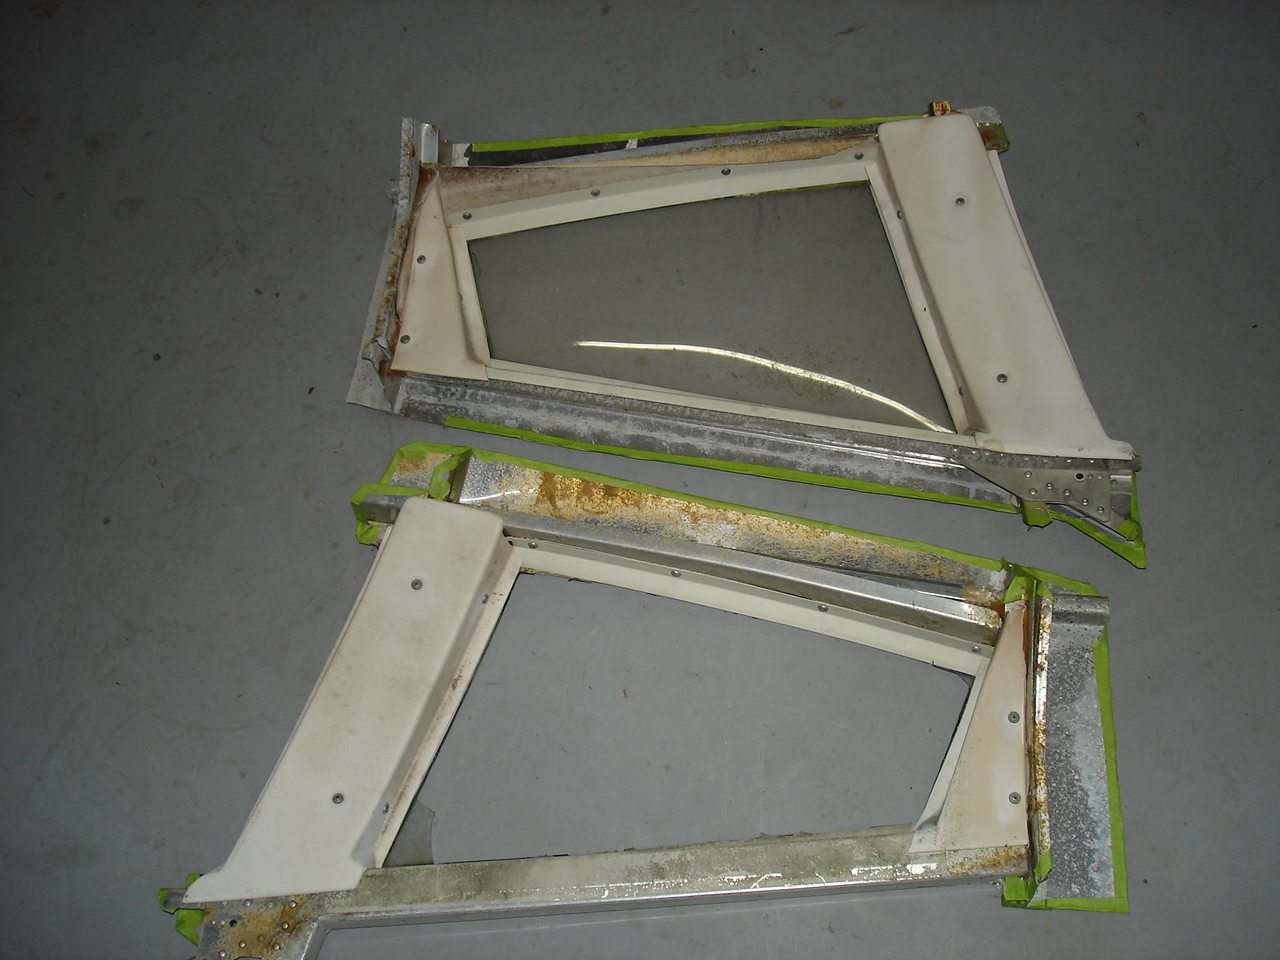
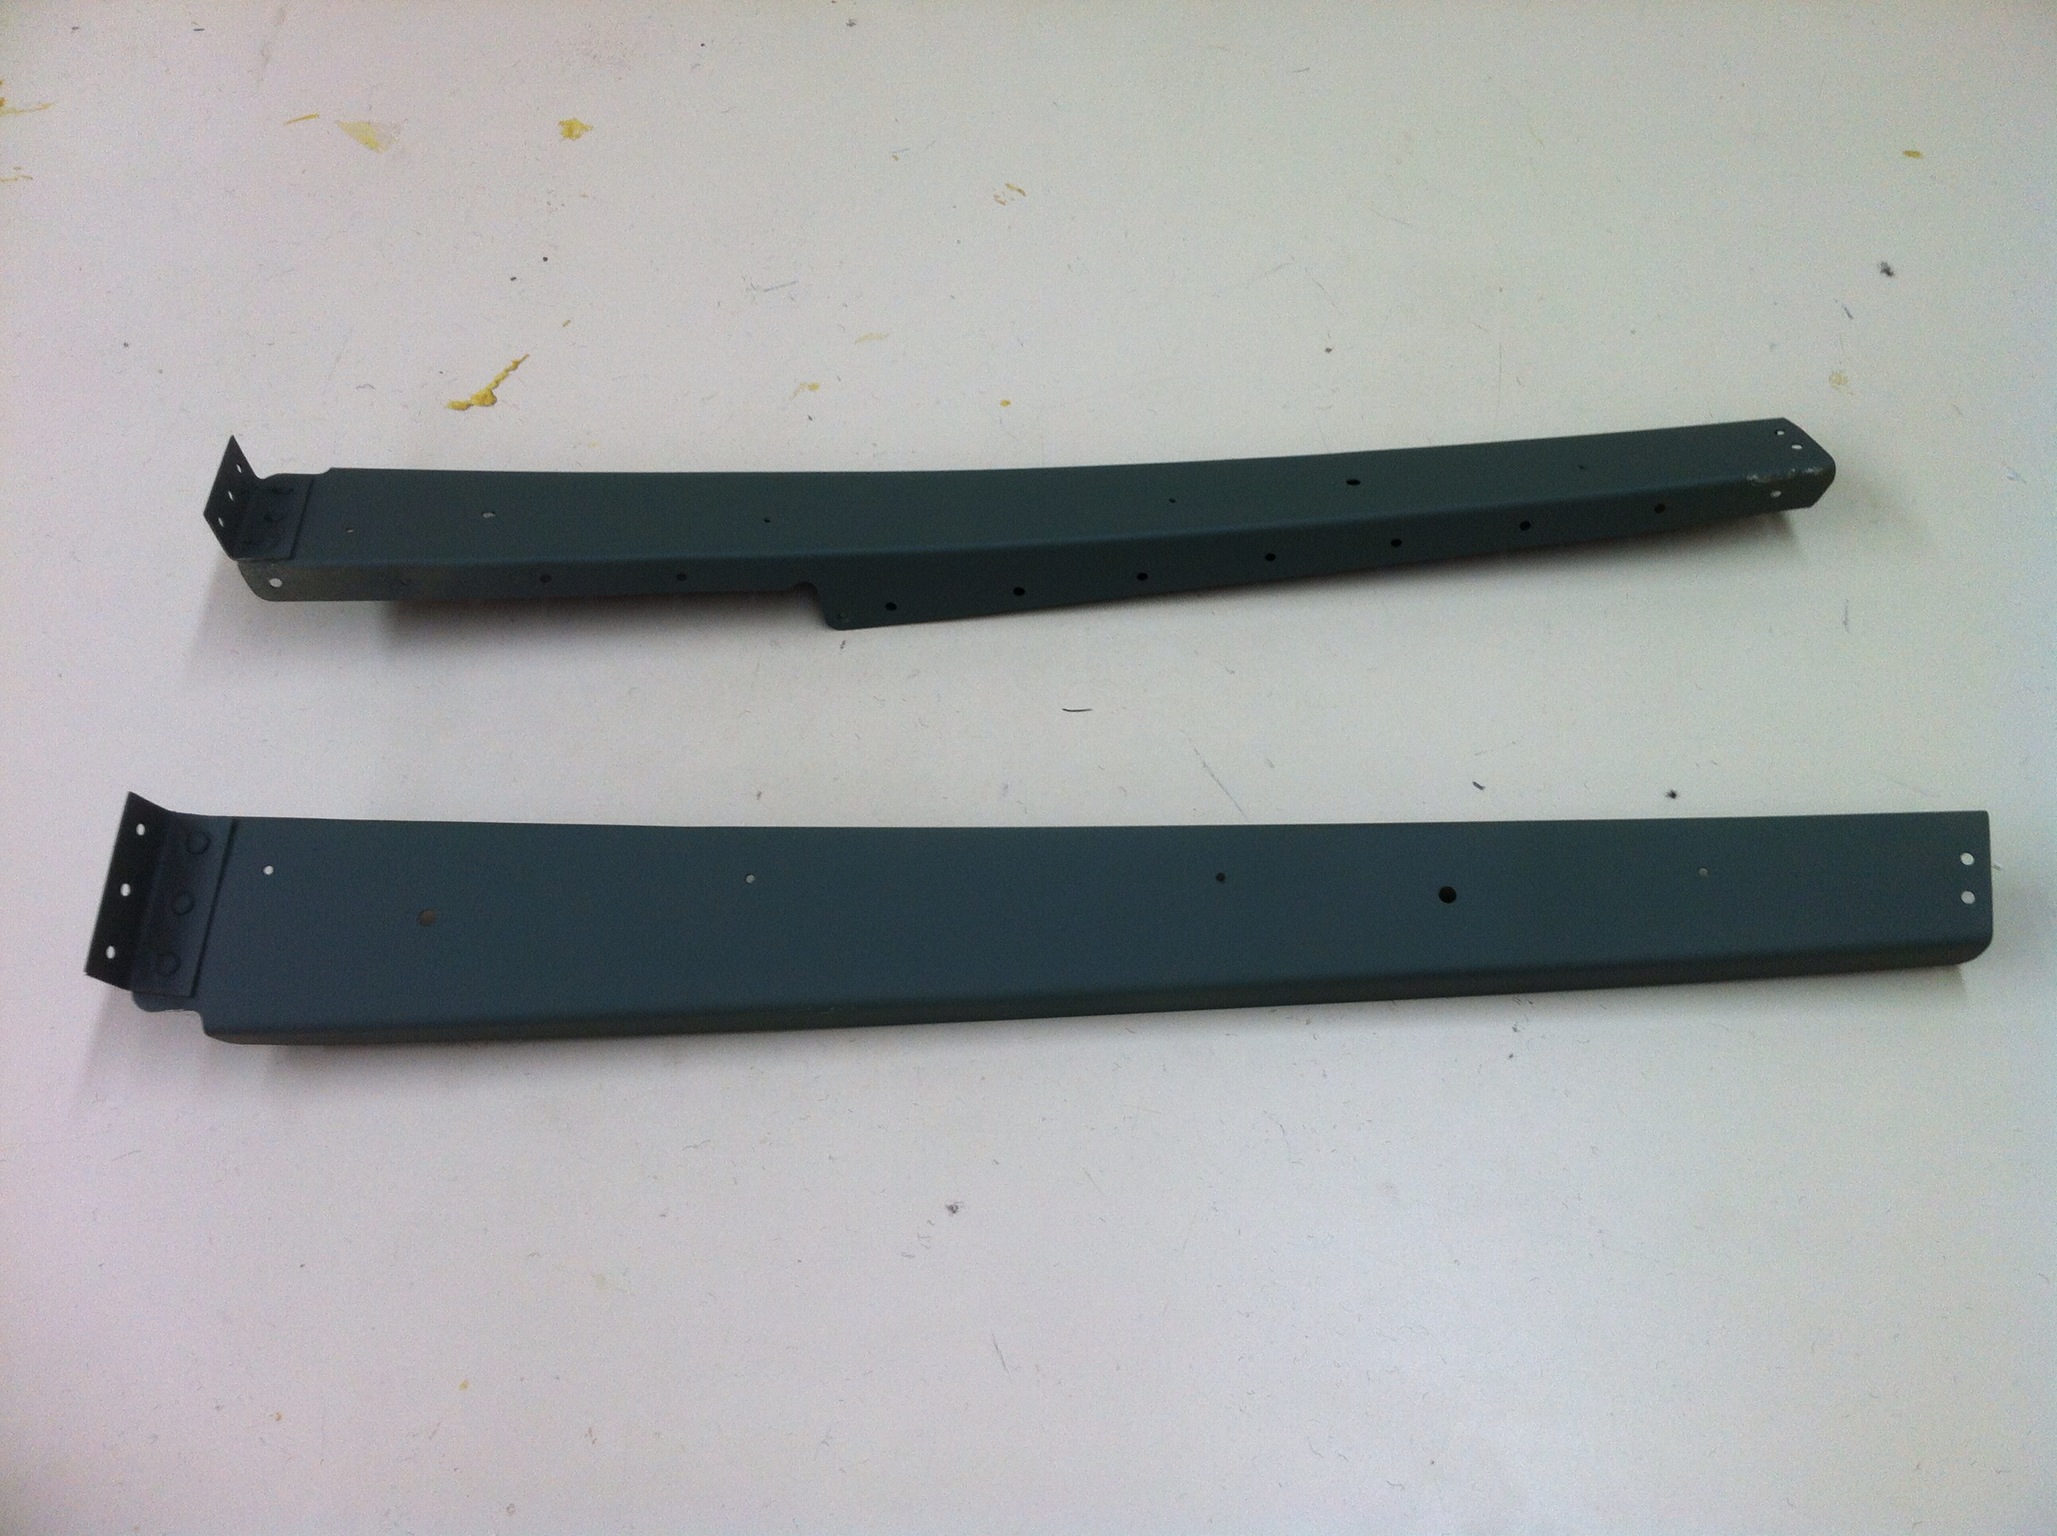
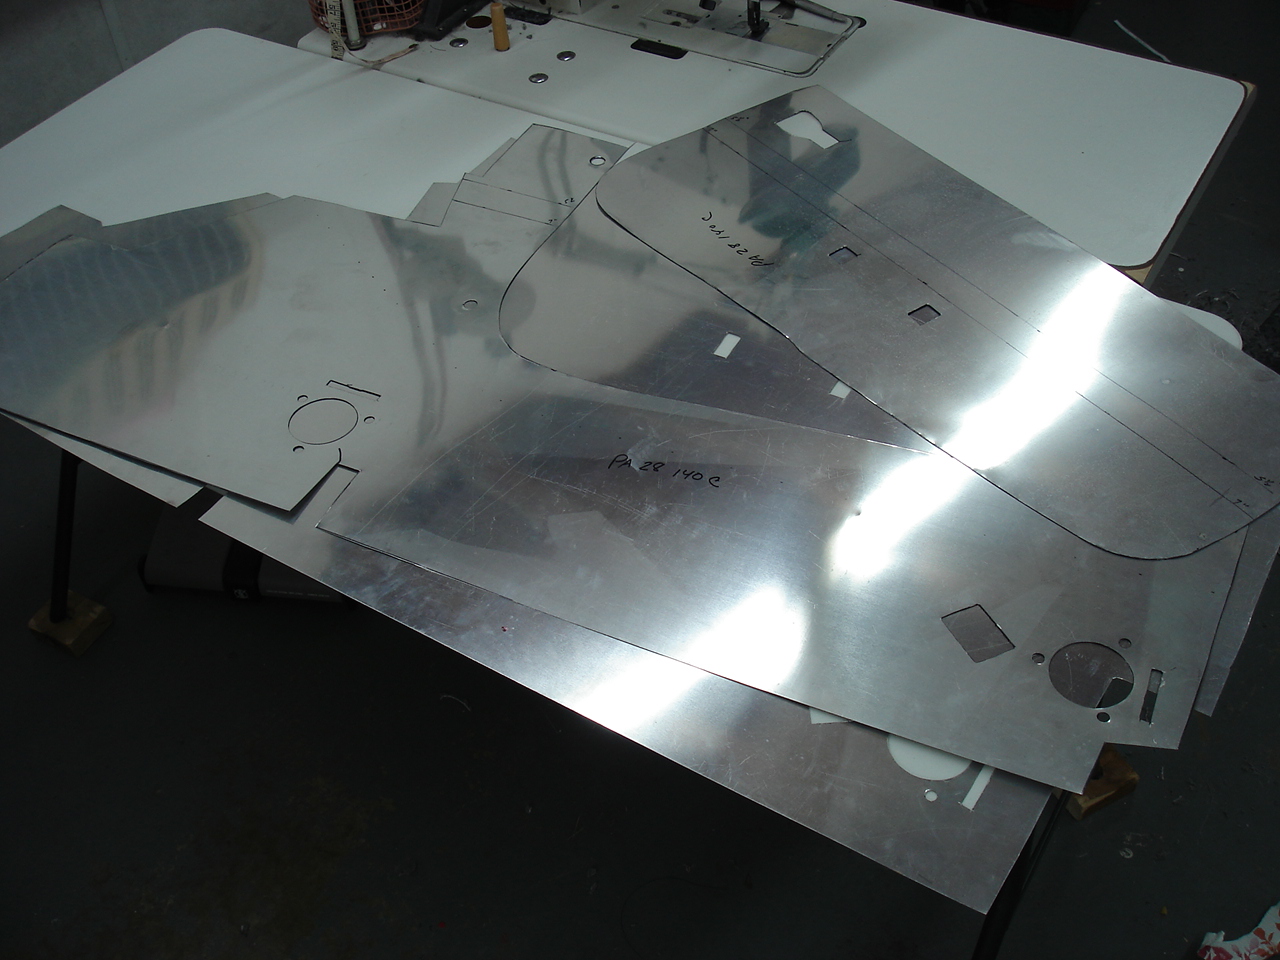
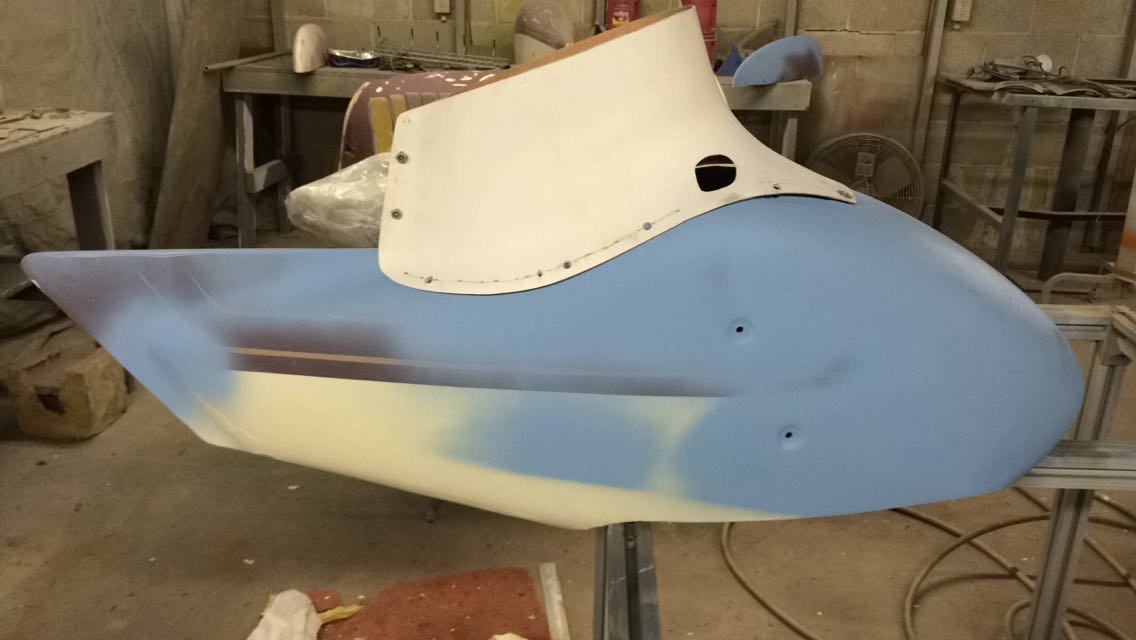
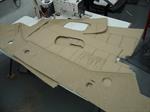
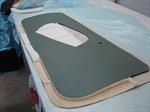
Glad to have it back down on the floor. Next, I'll start working on the 3rd window installation while I'm finishing up some other things like the nose fairing mod and whatnot. Got the blueprints all out, picked up some 3rd window parts and got to cuttin'. You've always heard "measure twice, cut once" but with me it seems to be "measure ten times and cut careful ! "
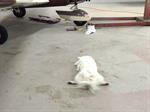

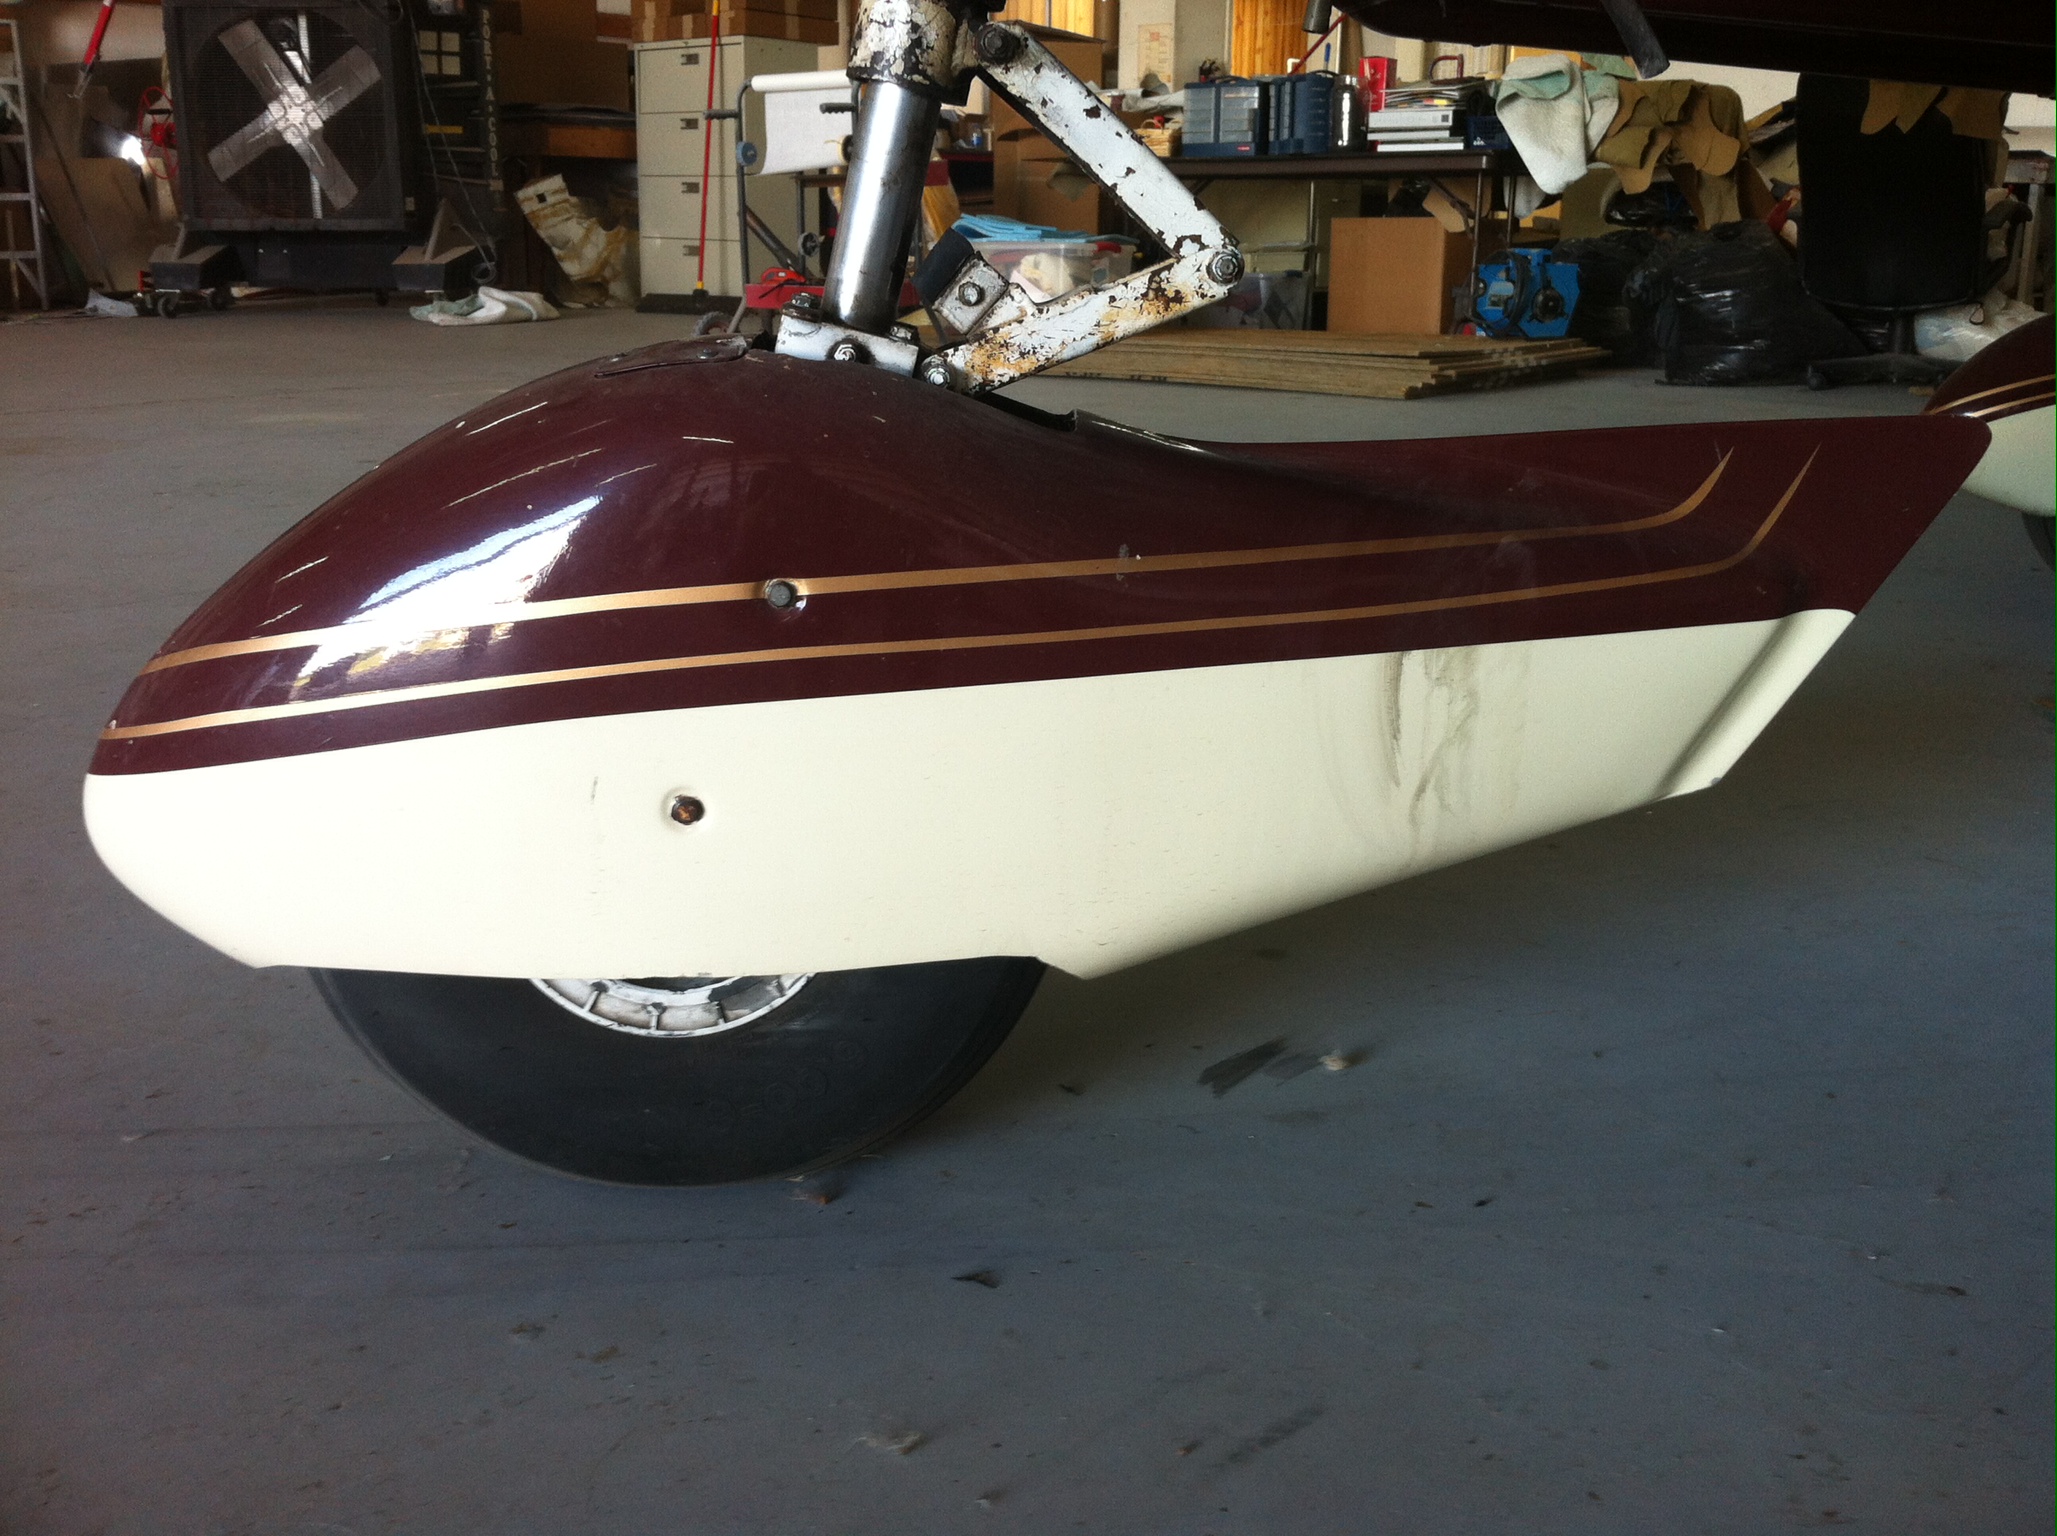
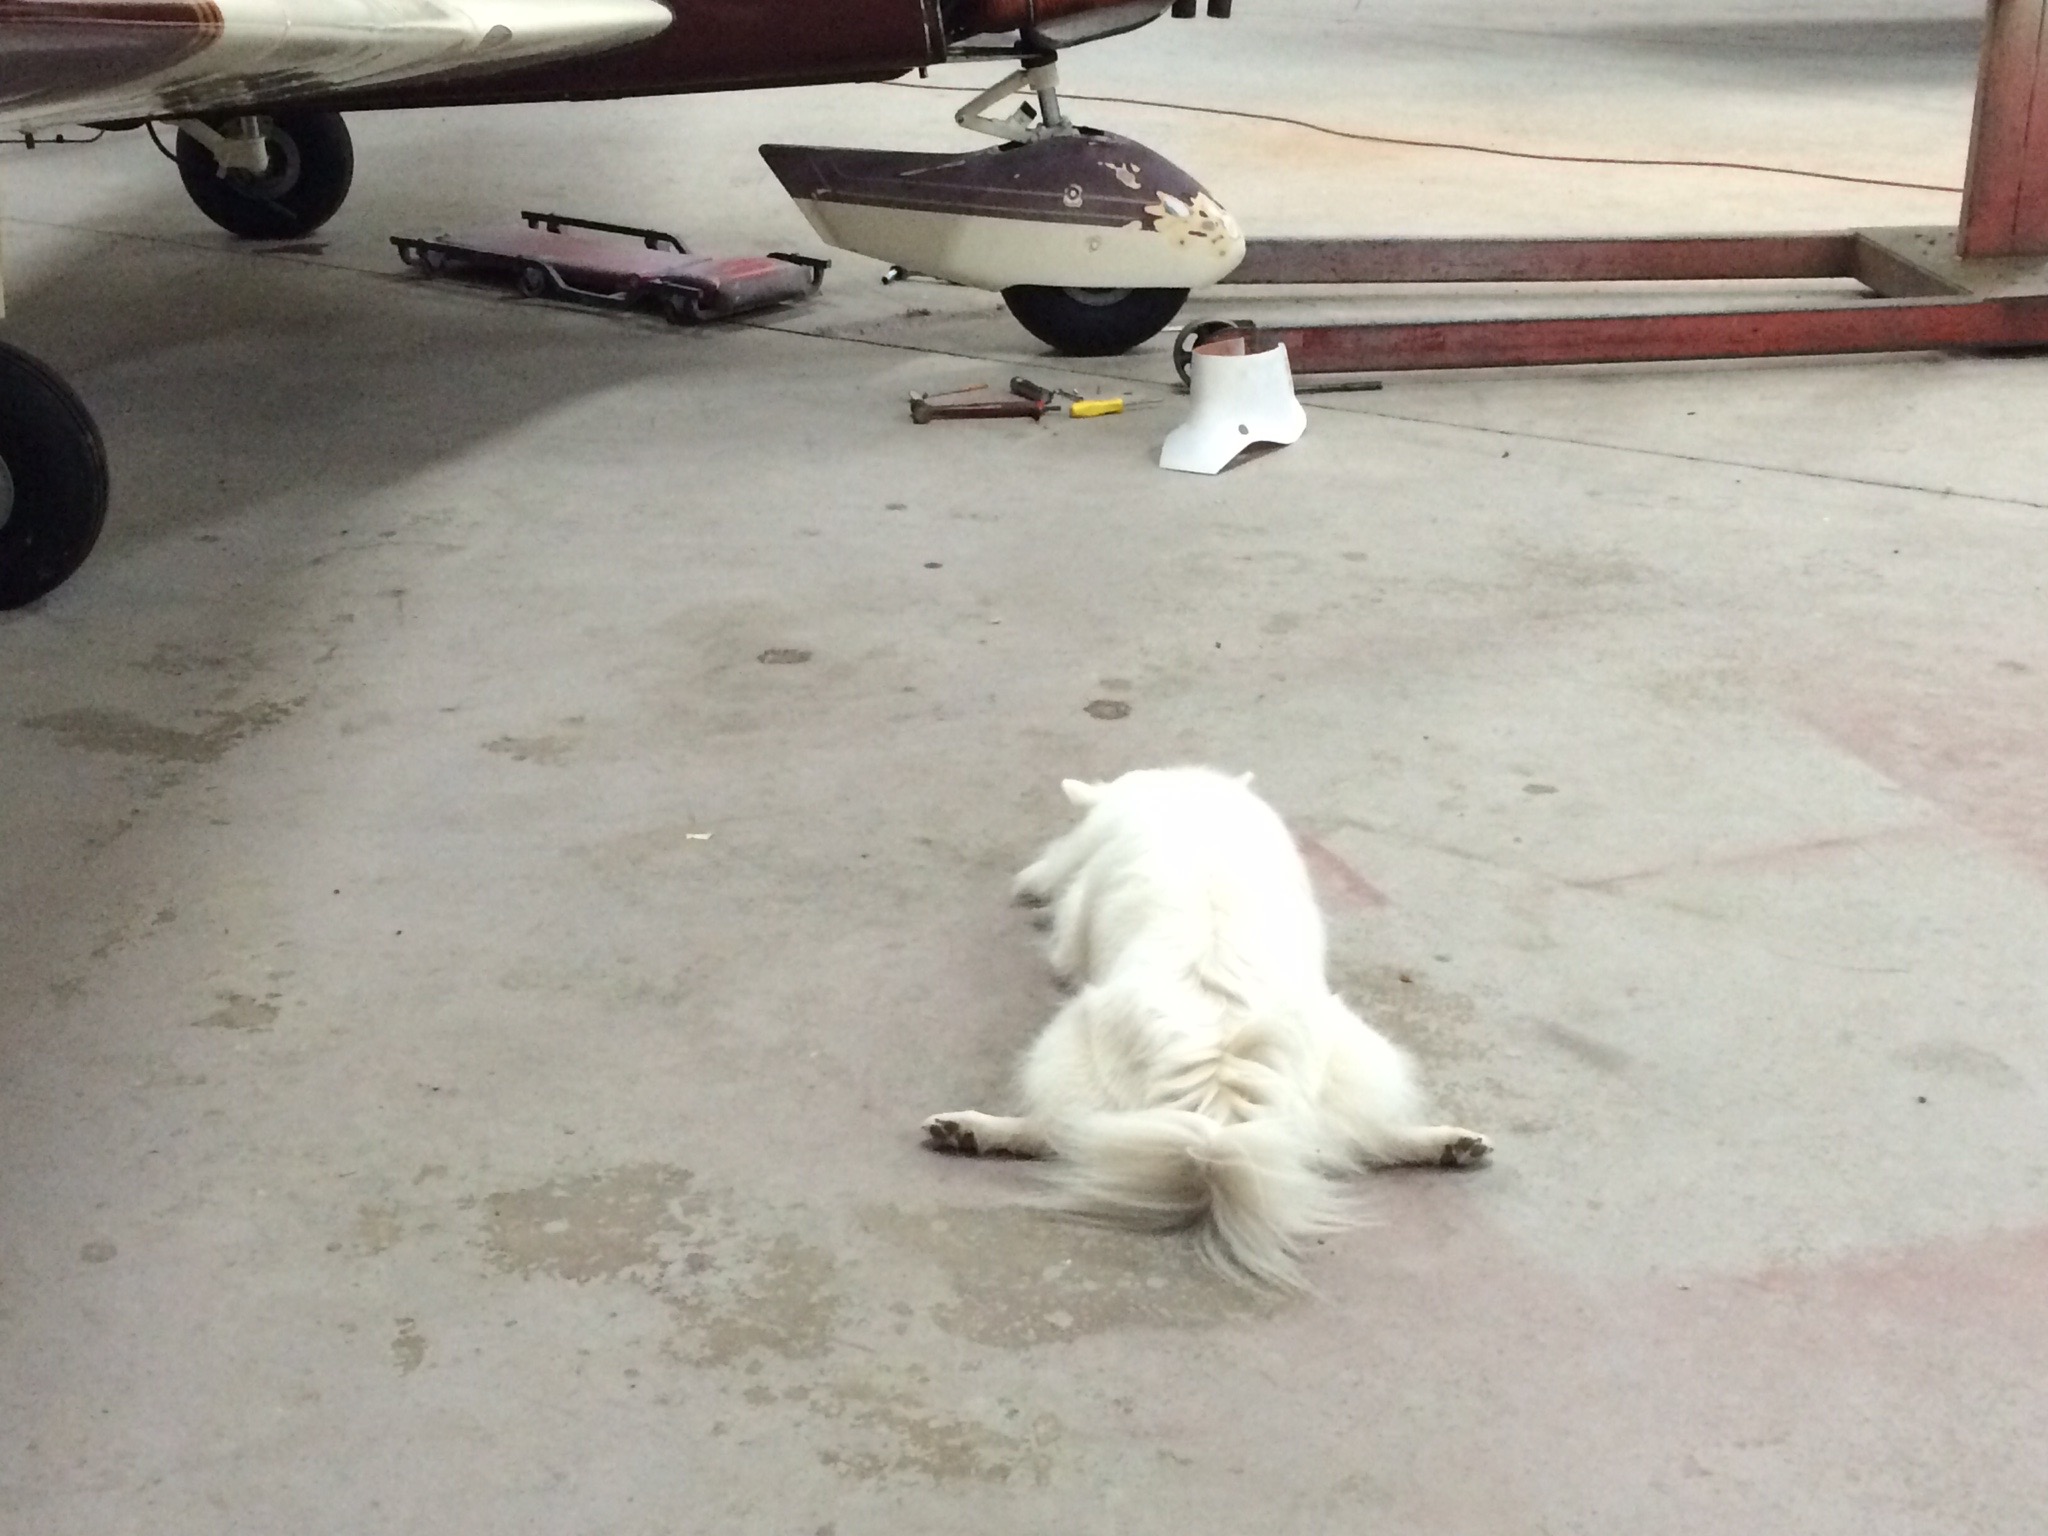
Here's an upclose look at the nose fairing as it was before I removed it to service the wheels, etc. As you can see, the nose pant needs to be painted because there are some minor dings in the paint. Since I'm going to repaint it anyway, I'd really like to install one of those nose gear speed farings. We all know that the nose gear is the most drag on the aircraft, and if you don't believe it, just fly one with the nose pant removed ! So I went ahead and purchased the nose gear speed fairing kit. This required a lot of fitting, measuring, drilling etc and as you can see I had a good helper. My buddy Rocky is always ready to eyeball whatever I'm doing and be sure its right ;-) After I got the nutplates riveted on and everything smoothed out, off to the paint booth it goes for me to epoxy prime and paint everything back like it was only way cooler !!